CameraX is also a JetPack component from Google, which is a new gadget, so I want to share my experience in using it in my project.
What is CameraX?
The Google Developer Documentation gives you the following evaluation of AmeraX:
CameraX is a Jetpack support library designed to help you streamline the development of camera applications.It provides a consistent and easy-to-use API interface for most Android devices and is backward compatible to Android 5.0 (API level 21).
Although it leverages the capabilities of camera2, it uses a simpler, case-based approach that has life cycle awareness.It also solves device compatibility issues, so you don't need to include device-specific code in your code base.These features reduce the amount of code you need to write to add camera functionality to your application.
Finally, with CameraX, developers can apply the same camera experience and functionality with a pre-installed camera in just two lines of code CameraX Extension Is an optional plug-in that allows you to Supported Devices Add effects like portraits, HDR, night mode and beauty to your app.
My foolish opinion: CameraX is a handy weapon used by Google to solve various problems that developers encounter when developing camera functions, such as adapting.
Getting Started with CameraX
CameraX is still testing alpha, and as of now the latest version of the core library is 1.0.0-alpha05, it is estimated that Google will continue to fix existing bug s and launch a stable version in the future (I don't know what time?).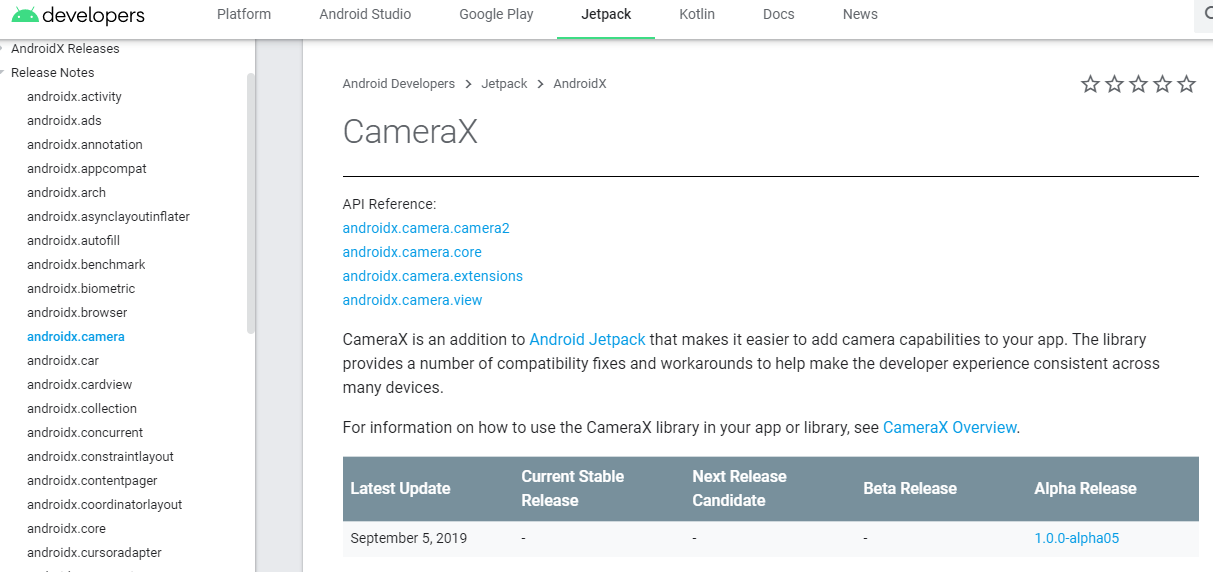
CameraX is used in projects
CameraX is built on Camera2, and its internal implementation details are much the same as those of Camera2, which was previously introduced by Google, so friends who have used Camera2 before may have a closeness to CameraX hhh.And for small ones that haven't been exposed to Camera2 or camera feature development? Believe me, it's really easy, simple, and easy to get started with CameraX.
The following code is implemented in Java, and I believe that Kotlin's partners can understand it at a glance. Most of the online information is also Kotlin's?
CameraX Dependency
The first is to add the following dependencies to build.gradle(Module:app), which can be added according to specific requirements?
	// CameraX Core Library
    def camerax_version = "1.0.0-alpha05"
    // CameraX view
    def camerax_view_version = "1.0.0-alpha02"
    // CameraX Extension library
    def camerax_ext_version = "1.0.0-alpha02"
    implementation "androidx.camera:camera-core:$camerax_version"
    //If you want to use Camera2 extensions
    implementation "androidx.camera:camera-camera2:$camerax_version"
    // If you want to use CameraX View
    implementation "androidx.camera:camera-view:$camerax_view_version"
    // If you want to use the extended capabilities of CameraX
    implementation "androidx.camera:camera-extensions:$camerax_ext_version"
    //Apply for permission
    implementation 'com.tbruyelle.rxpermissions2:rxpermissions:0.9.5'
CameraX Get Permissions
CameraX still requires us to announce and apply dynamically, since we still use cameras.
1. Register the relevant permissions in AndroidManifest.xml, and trust that everyone understands ~
    <uses-permission android:name="android.permission.CAMERA"/>
    <uses-feature android:name="android.permission.camera"/>
    <uses-permission android:name="android.permission.WRITE_EXTERNAL_STORAGE" />
    <uses-permission android:name="android.permission.READ_EXTERNAL_STORAGE"/>
2. Dynamically apply for permissions where appropriate in your project
For convenience, I use the RxPermissons library to dynamically apply for permissions and manage them
@SuppressLint("CheckResult")
    public void initPermission() {
RxPermissions rxPermissions = new RxPermissions(this);

          rxPermissions.request(
                       Manifest.permission.CAMERA,
                       Manifest.permission.WRITE_EXTERNAL_STORAGE,
                       Manifest.permission.READ_EXTERNAL_STORAGE)
                .subscribe(new Consumer<Boolean>() {
                    @Override
                    public void accept(Boolean aBoolean) throws Exception {
                        if (aBoolean) {
                           //Permission application succeeded, operation
                        } else {
                           //Failed to apply for permission, operation
                        }
                    }
                });
    }
Page Layout
As we all know, whether we take a photo or a video, we all want to see the current preview to control the effect of the shot. So what is CameraX doing to let us preview?The answer is its TextureView, and we need to put a TextureView in the layout XML of the preview page.
    <RelativeLayout
        android:orientation="vertical"
        android:layout_width="match_parent"
        android:layout_height="match_parent">

        <TextureView
            android:id="@+id/containerCamera"
            android:layout_width="match_parent"
            android:fitsSystemWindows="true"
            android:layout_height="match_parent"
            />
    </RelativeLayout>
The output of the preview will then be displayed in this TextureView.
The big show is coming. How can I get my camera to turn on to see the image and save the photo I took?
1. Configuration of CameraX (tell CameraX what you want to do)
What CameraX can do is generally divided into three parts - image preview PreView, image analysis Analyze, and image capture Capture.
We'll configure them individually and tell CameraX how to use them.
The objects of ImageCapture class, ImageAnalysis class, Preview class are the objects we use for our specific operations
The configuration process is as follows:
    ImageCapture imageCapture;
    ImageAnalysis imageAnalysis;
    Preview preview;

    void initCameraConfig() {
         //Configuration config for taking previews
         PreviewConfig.Builder configBuilder = new PreviewConfig.Builder().setLensFacing(CameraX.LensFacing.BACK);
         preview = new Preview(configBuilder.build());
         //Configuration config for picture analysis, resolution inside Size object, CameraX automatically finds the best resolution for the current device
        ImageAnalysisConfig imageAnalysisConfig = new ImageAnalysisConfig.Builder().setTargetResolution(new Size(1080,2248)).build();
        imageAnalysis = new ImageAnalysis(imageAnalysisConfig);
        //Configuration config for picture shooting
		ImageCaptureConfig.Builder captureBuilder = new ImageCaptureConfig.Builder().setLensFacing(CameraX.LensFacing.BACK);
        imageCapture = new ImageCapture(captureBuilder.build());
    }
2. How to use objects of ImageCapture class, ImageAnalysis class, Preview class?
First you need to add them to LifeCycle management
CameraX.bindToLifecycle(getSelf(), preview, imageAnalysis, imageCapture);
Then register binding-related events for them
First is the event of image preview and image analysis
		//Specific operation of image preview
        preview.setOnPreviewOutputUpdateListener(new        			  Preview.OnPreviewOutputUpdateListener() {
            @Override
            public void onUpdated(Preview.PreviewOutput output) {
        	   //This is an important step
        	   //Attach the output of the preview to your TextureView control so that you can see the preview
              containerCamera.setSurfaceTexture(output.getSurfaceTexture());
            }
        });

		//Specific operation of image analysis
        imageAnalysis.setAnalyzer(new ImageAnalysis.Analyzer() {
            @Override
            public void analyze(ImageProxy image, int rotationDegrees) {
            	// An image keeps coming in and you can do whatever you want with it
            }
        });
The photo shooting and saving operation is more lost than above, but it is also very simple gray!
            //Create a File to store photos, remember to check for permissions
            String imageName = "QG7777777.png";
            //Here are the output and callback of taking a photo, click events that can bind a button, and so on
			imageCapture.takePicture(createImageFile(imageName), new 	ImageCapture.OnImageSavedListener() {
                @SuppressLint("CheckResult")
                @Override
                public void onImageSaved(@NonNull File file) {
					//Callback after successfully saving photos
                }

                @Override
                public void onError(@NonNull ImageCapture.ImageCaptureError imageCaptureError, @NonNull String message, @Nullable Throwable cause) {
                   //Callback after failure to save photo
                    String errorMsg = "An unknown error has occurred";
                    if(cause != null) {
                        errorMsg = cause.getMessage();
                    }
                }
            });

     //Save the file with the specified name, with absolute path of'/storage/emulated/0/'+imageName
     File createImageFile(String imageName) {
        return new File(Environment.getExternalStorageDirectory(),imageName);
    }
Well, follow the steps here and you'll be able to take a picture taken by CameraX.
Not enough. Want more basic operations?
CameraX also supports a lot of basic operations. Here's an example of a click-focus operation that 1.0.0-alpha05 already supports
CameraX's focus operation (which I think) is condensed into three steps:
1. Get the screen coordinates of the area where the user clicks on the screen
2. Convert the coordinates of the screen coordinate system to those CameraX can understand
3. Tell CameraX that you want to turn on Click Focus (Configuration)
Focusing is easy. There are many ways to get the coordinates of the click area. My code refers to the following:
        /**
         *Realization of Focusing by Clicking on the Area of the Picture
         */
containerCamera.setOnTouchListener(new View.OnTouchListener() {
            @Override
            public boolean onTouch(View v, MotionEvent event) {
                TextureViewMeteringPointFactory pointFactory = new TextureViewMeteringPointFactory(containerCamera);
                MeteringPoint meteringPoint = pointFactory.createPoint(event.getX(),event.getY());
                FocusMeteringAction action = FocusMeteringAction.Builder
                        .from(meteringPoint)
                        .build();
                try { CameraX.getCameraControl(CameraX.LensFacing.BACK).startFocusAndMetering(action);
                } catch (CameraInfoUnavailableException e) {
                    e.printStackTrace();
                }
                return false;
            }
        });
Extensions?
Yes, CameraX also supports a number of extensions, such as turning on HDR, turning on portrait mode, turning on **Beauty mode**, and so on.
CameraX also enriches the opening of extended functions and automatically determines if the device supports it.o()d
Let's go back to config with the example of turning on HDR
First check to see if your build.gradle(Module:app) has a dependency on the CameraX extensions plug-in and is not preceded by it.
When creating preview and imageCapture objects, tell CameraX that we want to turn on HDR, which will help us detect if the device supports HDR and turn it on.
It is so simple that there are no previous cumbersome operations and adapting problems.
		//Configuration config for taking previews
         PreviewConfig.Builder configBuilder = new PreviewConfig.Builder().setLensFacing(CameraX.LensFacing.BACK);
         HdrPreviewExtender hdrPreviewExtender = HdrPreviewExtender.create(configBuilder);
         //Take a preview, turn on the HDR, determine if the hardware conditions support turning on, or turn on directly
         if(hdrPreviewExtender.isExtensionAvailable()) {
             hdrPreviewExtender.enableExtension();
         }
         preview = new Preview(configBuilder.build());

        //Configuration config for picture shooting
        ImageCaptureConfig.Builder captureBuilder = new ImageCaptureConfig.Builder().setLensFacing(CameraX.LensFacing.BACK);
        HdrImageCaptureExtender hdrImageCaptureExtender = HdrImageCaptureExtender.create(captureBuilder);
         //Take a picture, turn on the HDR, and decide if the hardware conditions support turning on, turn it on directly
        if(hdrImageCaptureExtender.isExtensionAvailable()) {
             hdrImageCaptureExtender.isExtensionAvailable();
         }
        imageCapture = new ImageCapture(captureBuilder.build());
summary
CameraX is a great JetPack component from Google. It's really easy to get started, easy to use and saves a lot of development time.LifeCycle is also bound, so life cycle management is a breeze.
Although it's not mature yet, it's still in beta and Google will fix bug s and introduce new features in the future. Looking forward to its future~
This article is just about getting started with CameraX. To learn more and get the latest information, go to the documentation at the Google home.