preface
How to install MySQL database step by step on a Linux host? You must be right to read this article!
1, Linux server installation
Options for installing Linux server: Centos, Redhat, Oracle Linux.
Linux installation package download:
https://mp.weixin.qq.com/s/PFKkftgaTWpJKCnhI3uxZw
Referring to the documents on the official website, the actual combat environment is configured as follows:
- Redhat 7.9 x86_64
- Memory 2G
- Hard disk 50G

⭐ Linux host installation tutorial can refer to: Practical part: installing Linux system on VMware Workstation virtual machine
2, MySQL installation media Download
MySQL installation package official website download address: MySQL Product Archives !
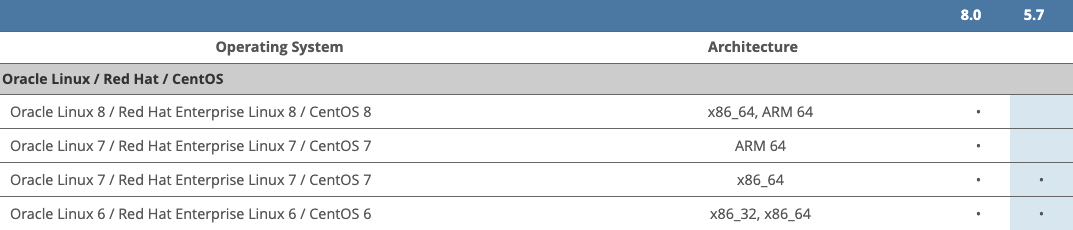
Select version:
- Classic version 5.7.20
- Linux-Generic
- glibc-2.12 && x86-64
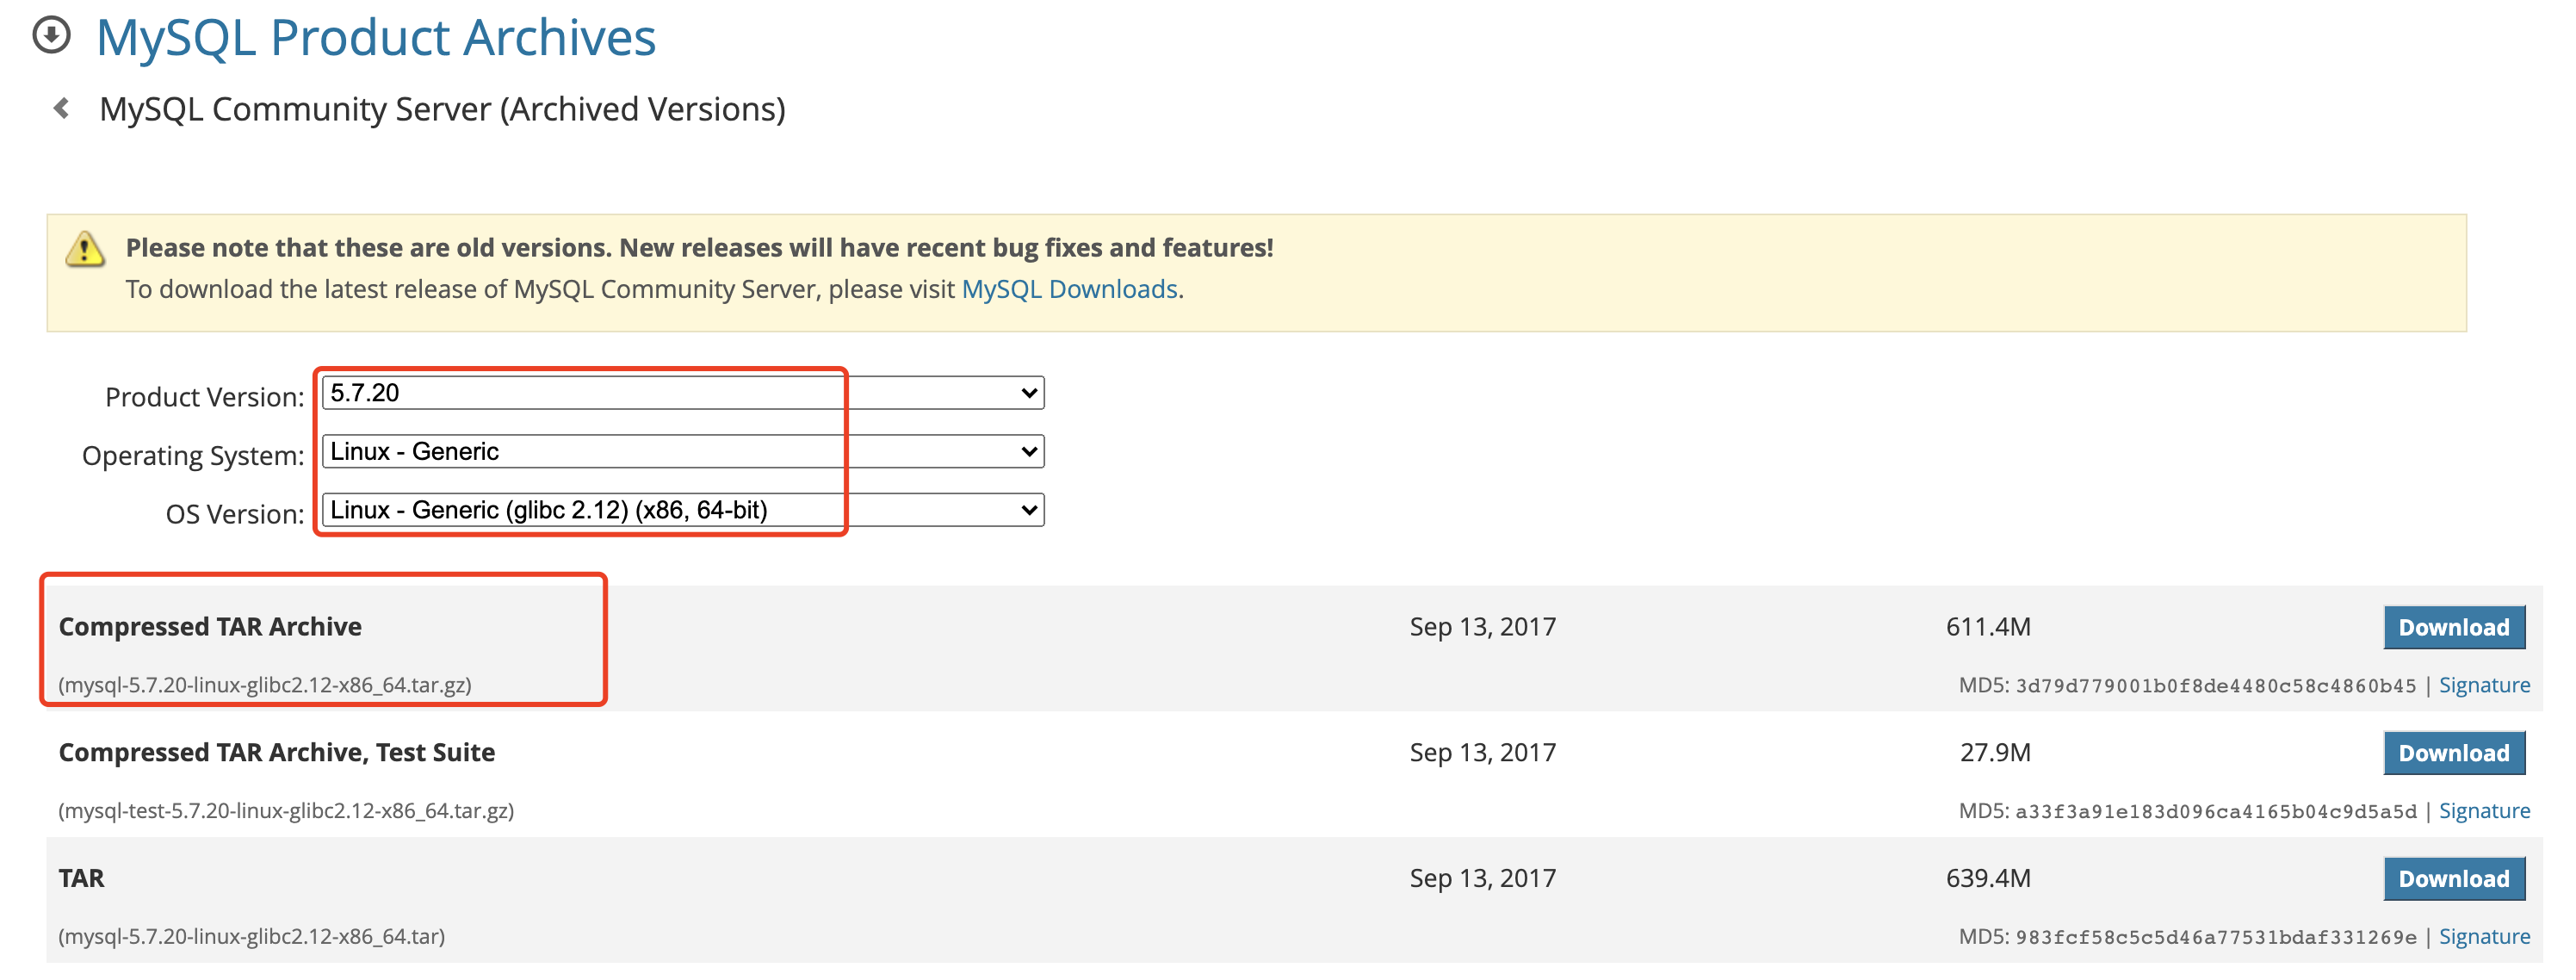
After downloading, the installation package is as follows: mysql-5.7.20-linux-glibc2.12-x86_64.tar.gz, which is uploaded to the Linux server folder through ftp tool.
3, MySQL installation
Refer to the official document for installation steps: Installing MySQL on Unix/Linux Using Generic Binaries
1. Check installation media
Upload the installation media to the / soft Directory:

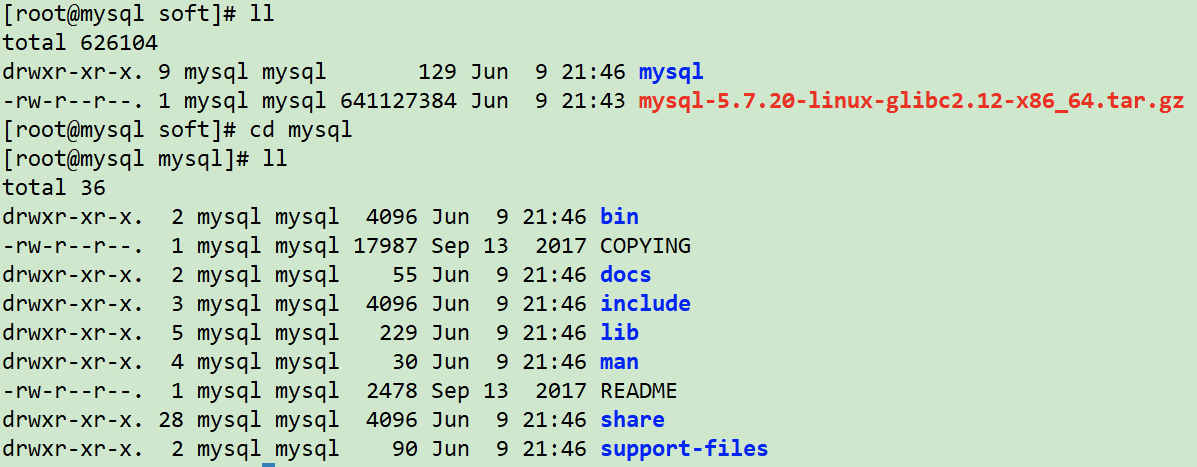
2. Unzip the installation media
Unzip the installation media and change the unzipped folder name to mysql:
cd /soft
tar -xvf mysql-5.7.20-linux-glibc2.12-x86_64.tar.gz
mv mysql-5.7.20-linux-glibc2.12-x86_64 mysql
3. Turn off firewall
systemctl stop firewalld
systemctl disable firewalld
systemctl status firewalld
4. Establish users and groups
To install mysql, you need to create a MySQL user:
groupadd mysql
useradd -r -g mysql -s /bin/false mysql

5. Create related directories
mkdir -p /data/mysql
chown -R mysql:mysql /data
chown -R mysql:mysql /soft
chmod 750 /data

6. Configure environment variables
Configure the root user environment variable:
cat <<EOF>> /root/.bash_profile
export PATH=\$PATH:/soft/mysql/bin
EOF
##Effective environment variable
source /root/.bash_profile

7. Install dependent packages
Configure the yum source and install the libaio package:
##Mount mirror source
mount /dev/cdrom /mnt
##Configure yum source
cat <<EOF>>/etc/yum.repos.d/local.repo
[local]
name=local
baseurl=file:///mnt
gpgcheck=0
enabled=1
EOF
##Install dependent packages
yum install -y libaio

8. Uninstall the built-in mariadb and mysql
- Check whether mysql is installed in the system: rpm -qa | grep mysql is not installed because I minimize the installation.
- If yes, force uninstall: rpm -e --nodeps $(rpm -qa | grep mysql)

- Check whether mariadb is installed on the system: rpm -qa | grep mariadb
- If yes, force uninstall: rpm -e --nodeps $(rpm -qa | grep mariadb). The uninstall is successful here.

4, MySQL initialization
1. Initialize MySQL database
Initialize and create MySQL database with the following command:
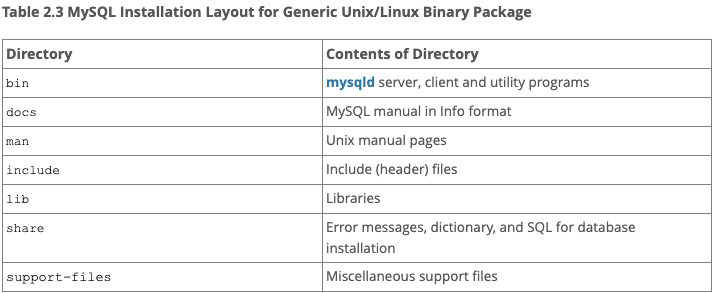
mysqld --initialize --user=mysql --basedir=/soft/mysql --datadir=/data/mysql/
Parameters: - basedir is the mysql decompression directory, - datadir is the mysql data storage directory.

📢 Note: the initial password of the root user is displayed here: yhfvt_rP,24M !
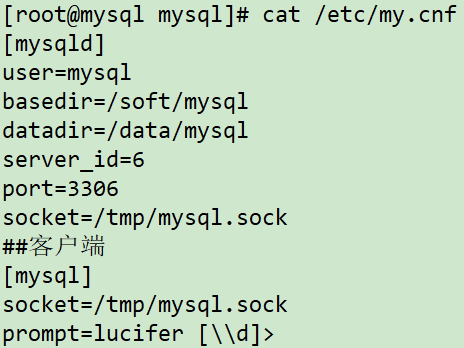
2. Configure my.cnf
Configuration my.cnf file:
cat <<EOF>/etc/my.cnf
[mysqld]
user=mysql
basedir=/soft/mysql
datadir=/data/mysql
server_id=6
port=3306
socket=/tmp/mysql.sock
##client
[mysql]
socket=/tmp/mysql.sock
prompt=lucifer [\\\\d]>
EOF
Start MySQL service:
/soft/mysql/support-files/mysql.server start

Of course, MySQL service can also be configured to start automatically!
3. Configure MySQL startup and self startup
Linux 6&7 general configuration mode:
cp /soft/mysql/support-files/mysql.server /etc/init.d/mysqld
chkconfig mysqld on

After configuration, you can start the MySQL service with service mysqld start!
Linux 7 configuration mode:
##Configure mysqld.service file:
cat <<EOF>>/usr/lib/systemd/system/mysqld.service
[Unit]
Description=MySQL Server
Documentation=man:mysqld(8)
Documentation=http://dev.mysql.com/doc/refman/en/using-systemd.html
After=network.target
After=syslog.target
[Install]
WantedBy=multi-user.target
[Service]
User=mysql
Group=mysql
ExecStart=/soft/mysql/bin/mysqld --defaults-file=/etc/my.cnf
LimitNOFILE = 5000
EOF
systemctl enable mysqld
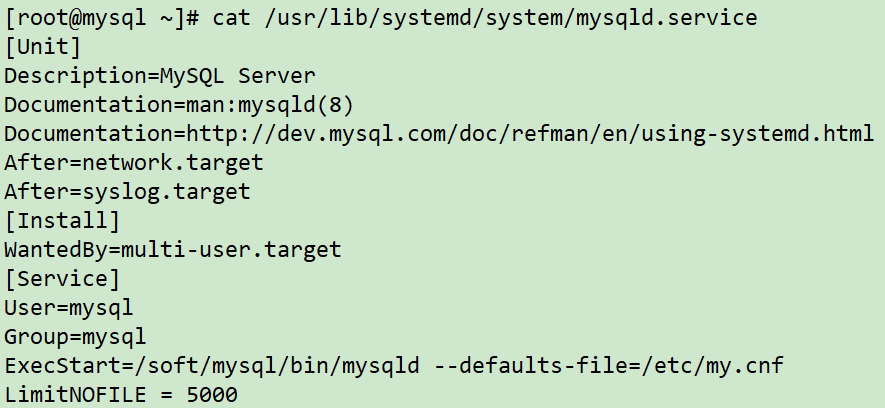
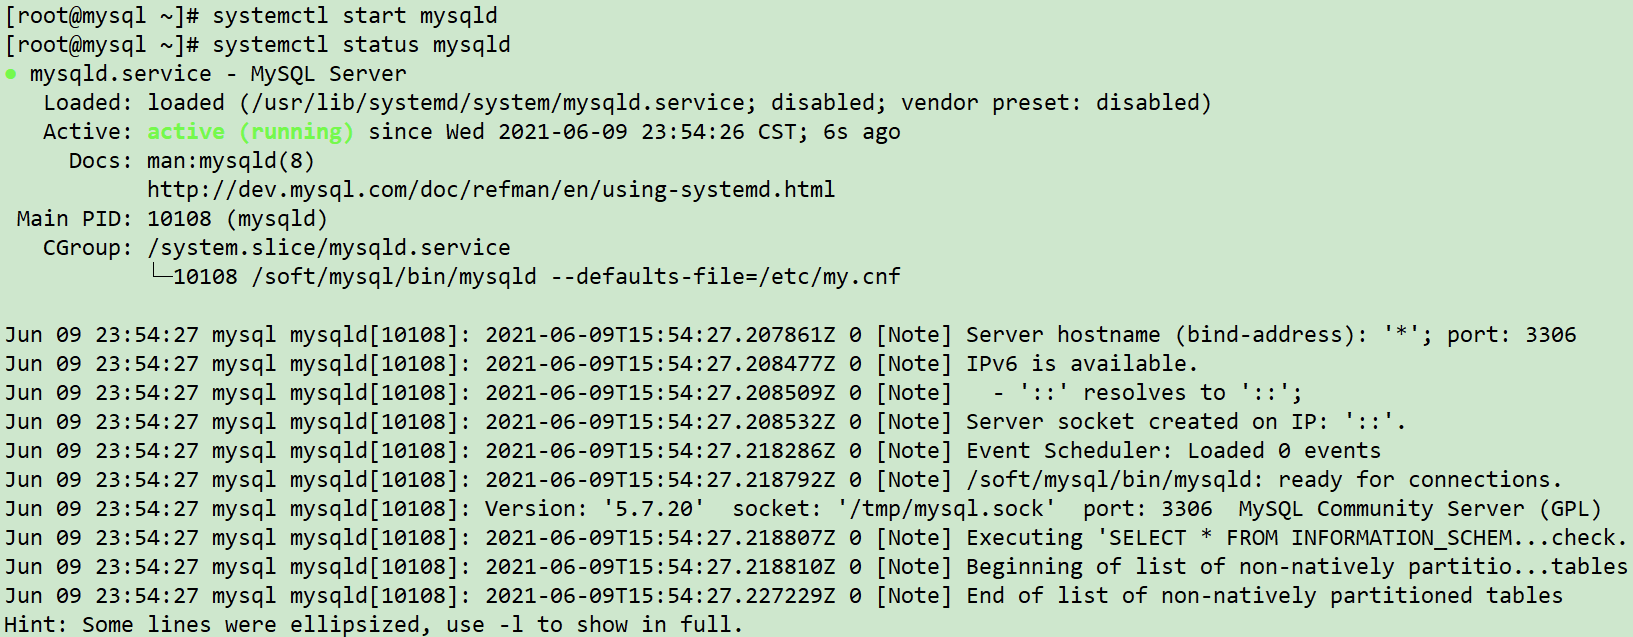
After configuration, you can start the mysql service with systemctl start mysqld!
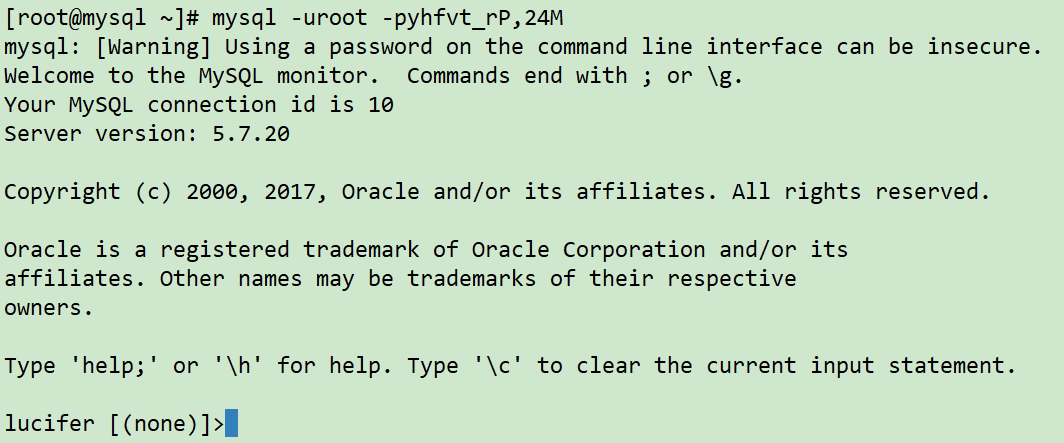
4. Modify MySQL ROOT password
Try to connect to mysql database:
mysql -uroot -pyhfvt_rP,24M
Because the initial password is hard to remember, you need to modify the initial password of the database root user!
Reset root password:
mysqladmin -uroot -pyhfvt_rP,24M password mysql

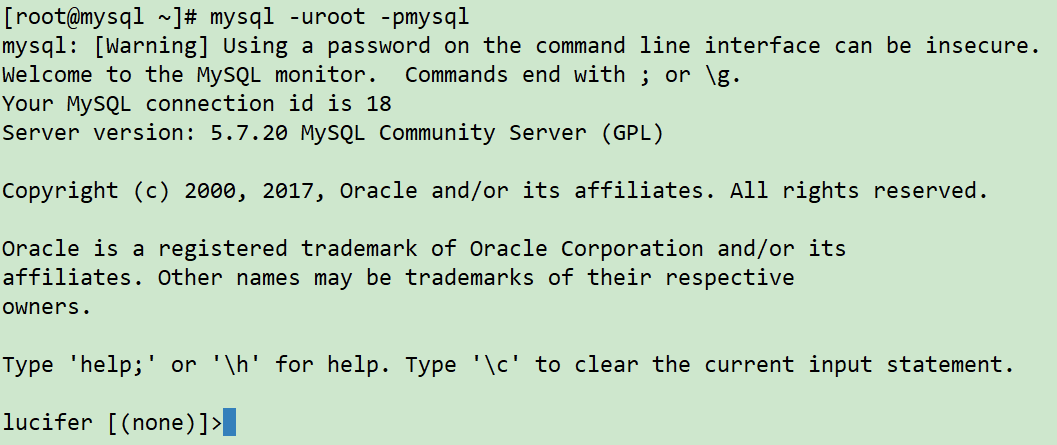
Connect to MySQL database with new password:
mysql -uroot -pmysql
5. Query test
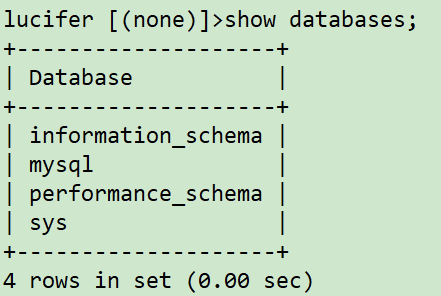
To view the currently created database:
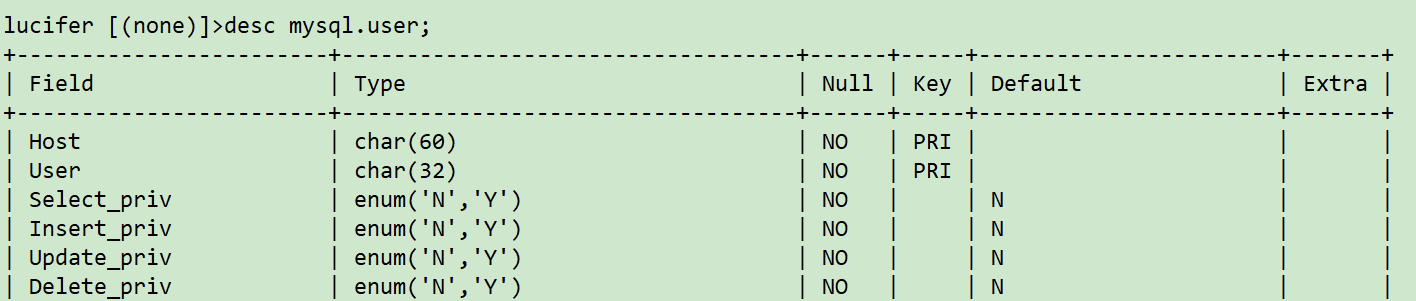
To view the user information of MySQL database:
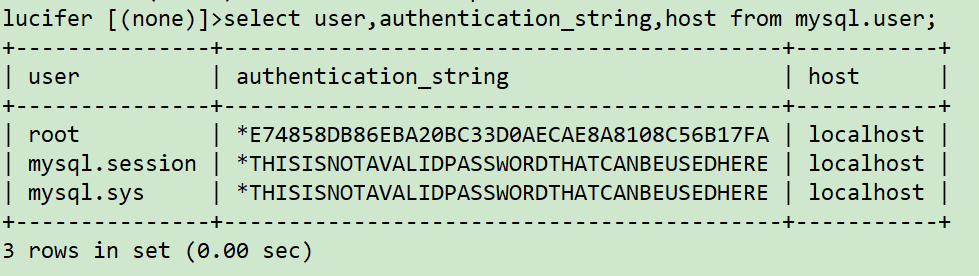
So far, MySQL database has been installed and can be connected for test operation!