About Jenkins Cluster
stay Quick Build Jenkins Cluster In this article, we quickly set up a Jenkins cluster with docker. Today we are creating pipeline tasks in this cluster environment to experience parallel tasks under the Jenkins cluster.
environmental information
There are three computers in the cluster environment as follows:
| Host Name | IP Address | Role |
|--|--|--|
| master | 192.168.133.131 | Master node of Jenkins cluster, providing web services |
| agent1 | 192.168.133.132 | Join Node 1 of the Jenkins cluster, labeled maven |
| agent2 | 192.168.133.133 | Join Node 2 of the Jenkins cluster, labeled gradle |
Actual Content
To experience the Jenkins cluster performing two tasks at the same time, this is a hot open source project for compiling and building GitHub:
- Compile and build spring-cloud-alibaba on agent1, then transfer the build results to the/usr/local/build_result directory of the master computer through the scp command;
- Compile and build the spring-framework in agent2, then transfer the build results to the / usr/local/build_result directory of the master computer through the scp command;
Dead work
The following preparations are required to successfully perform the following tasks:
- Create folder/usr/local/build_result on master computer
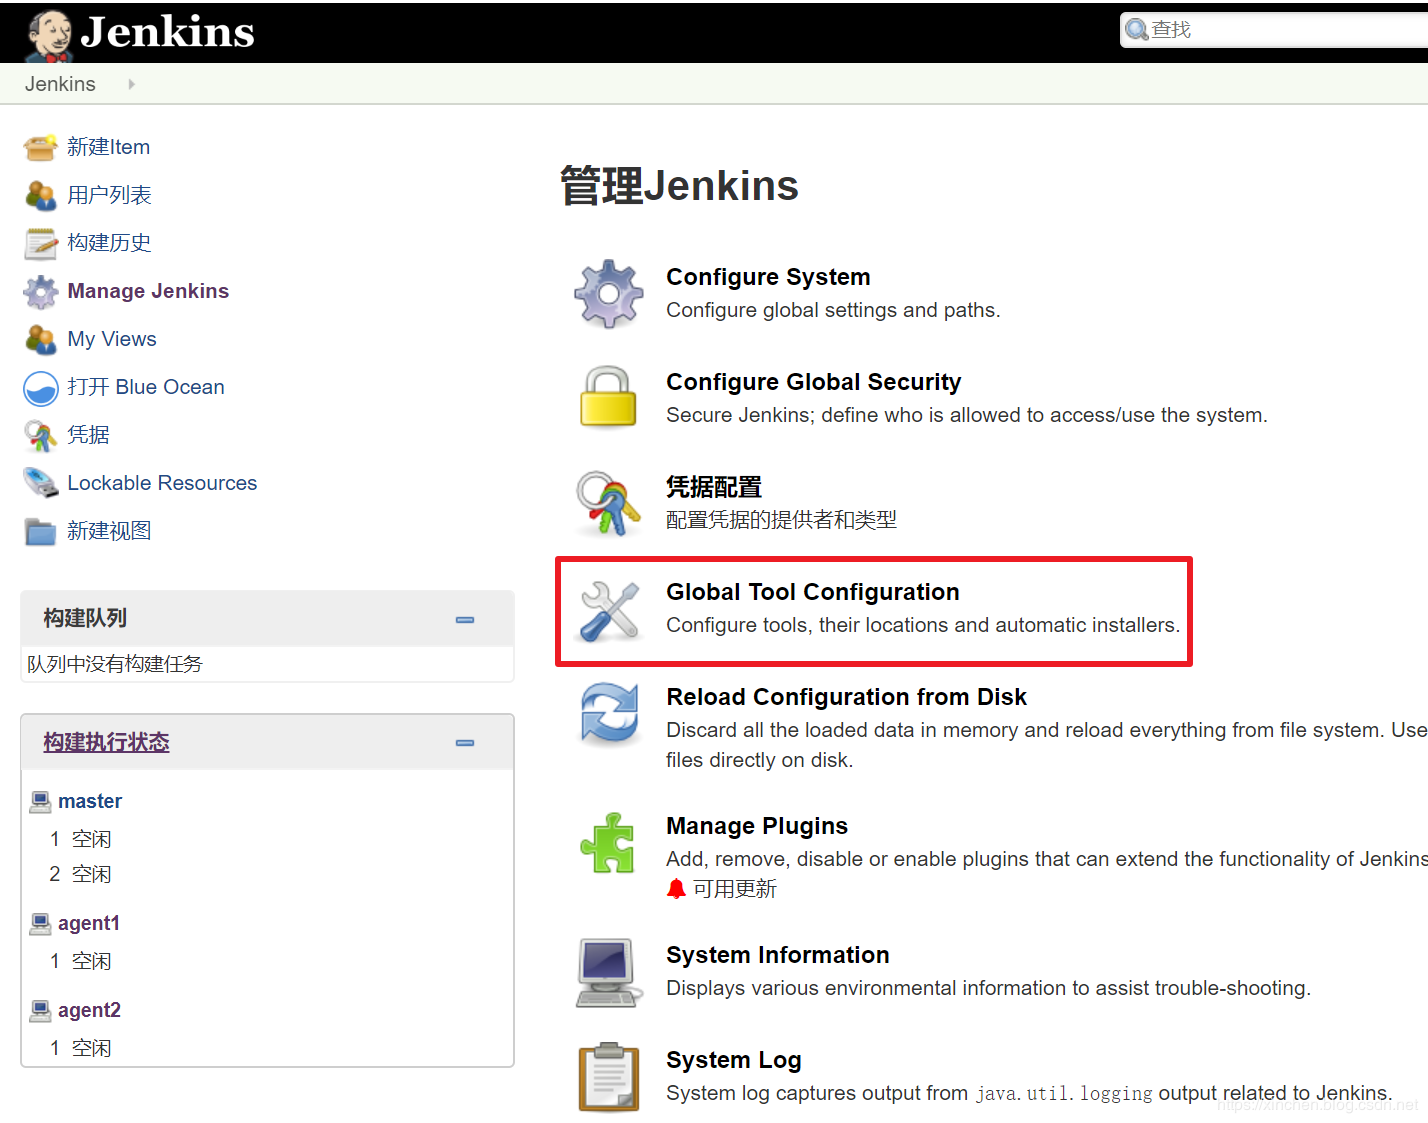
- Configure maven and select Global Tool Configuration on the Jenkins page as shown in the red box below:
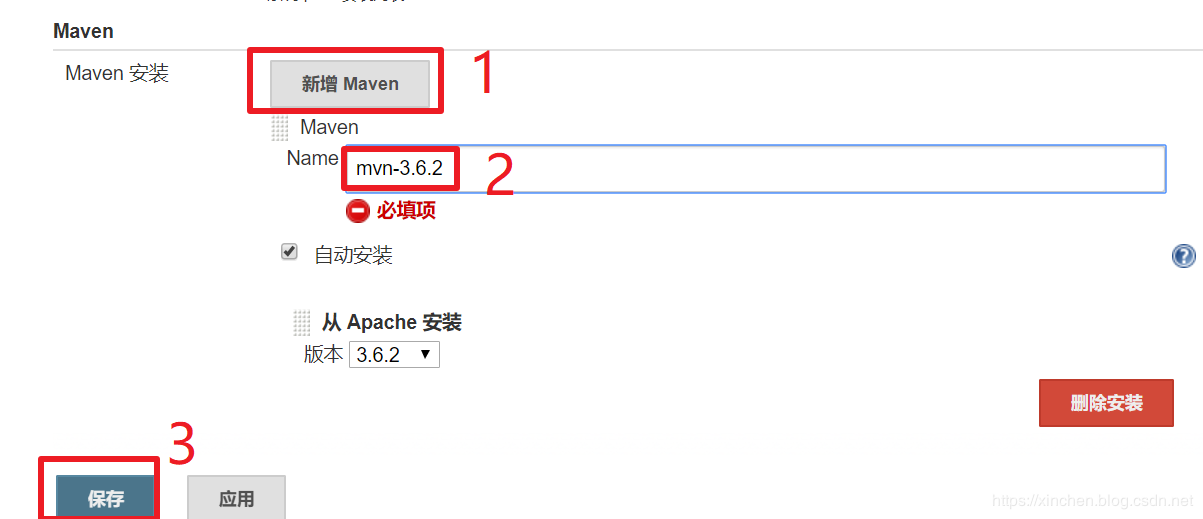
- Add a new maven configuration called mvn-3.6.2 and click the Save button, as shown below:
- When transferring files to master using scp commands on agent1 and agent2, ssh first enters yes in the console. To avoid this wait for input while performing tasks, we perform it manually once and then it is no longer needed. After ssh logs into agent1, ssh executes the following commands into the container:
docker exec -it agent /bin/bash
- Execute the command ssh root@192.168.133.131, when the console prompts for yes or no, enter yes, and follow the prompt for master's password, then log in to master successfully:
[root@agent1 16]# docker exec -it agent /bin/bash
root@82eb8cfec0a6:/# ssh root@192.168.133.131
The authenticity of host '192.168.133.131 (192.168.133.131)' can't be established.
ECDSA key fingerprint is SHA256:DPE2nldWHiOhC4DB9doy7jPWNZVup6XFZ+sR2i1gqz8.
Are you sure you want to continue connecting (yes/no)? yes
Warning: Permanently added '192.168.133.131' (ECDSA) to the list of known hosts.
root@192.168.133.131's password:
Last login: Sat Nov 16 19:59:42 2019 from 192.168.133.132
- You are now logged in to master by ssh in the container of agent1, so you need to enter exit command twice in succession to return to the console of agent1.
- Do the same on an agent2 computer;
Now that you are ready, you can create a task.
Compile tasks to build spring-cloud-alibaba
spring-cloud-alibaba is a maven project that is compiled and built with maven:
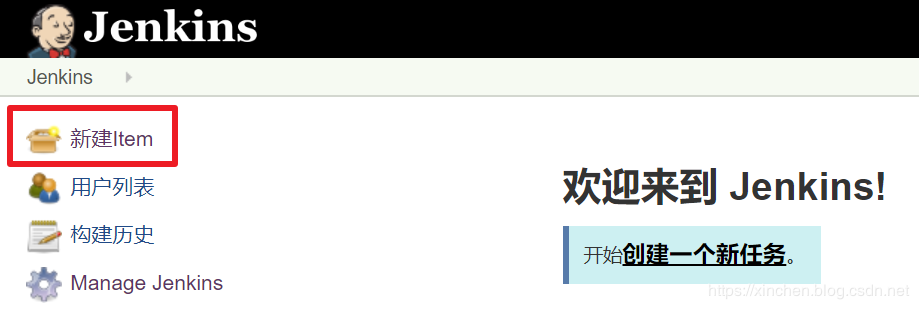
- On the Jenkins page, create a task by clicking on the red box in the image below:
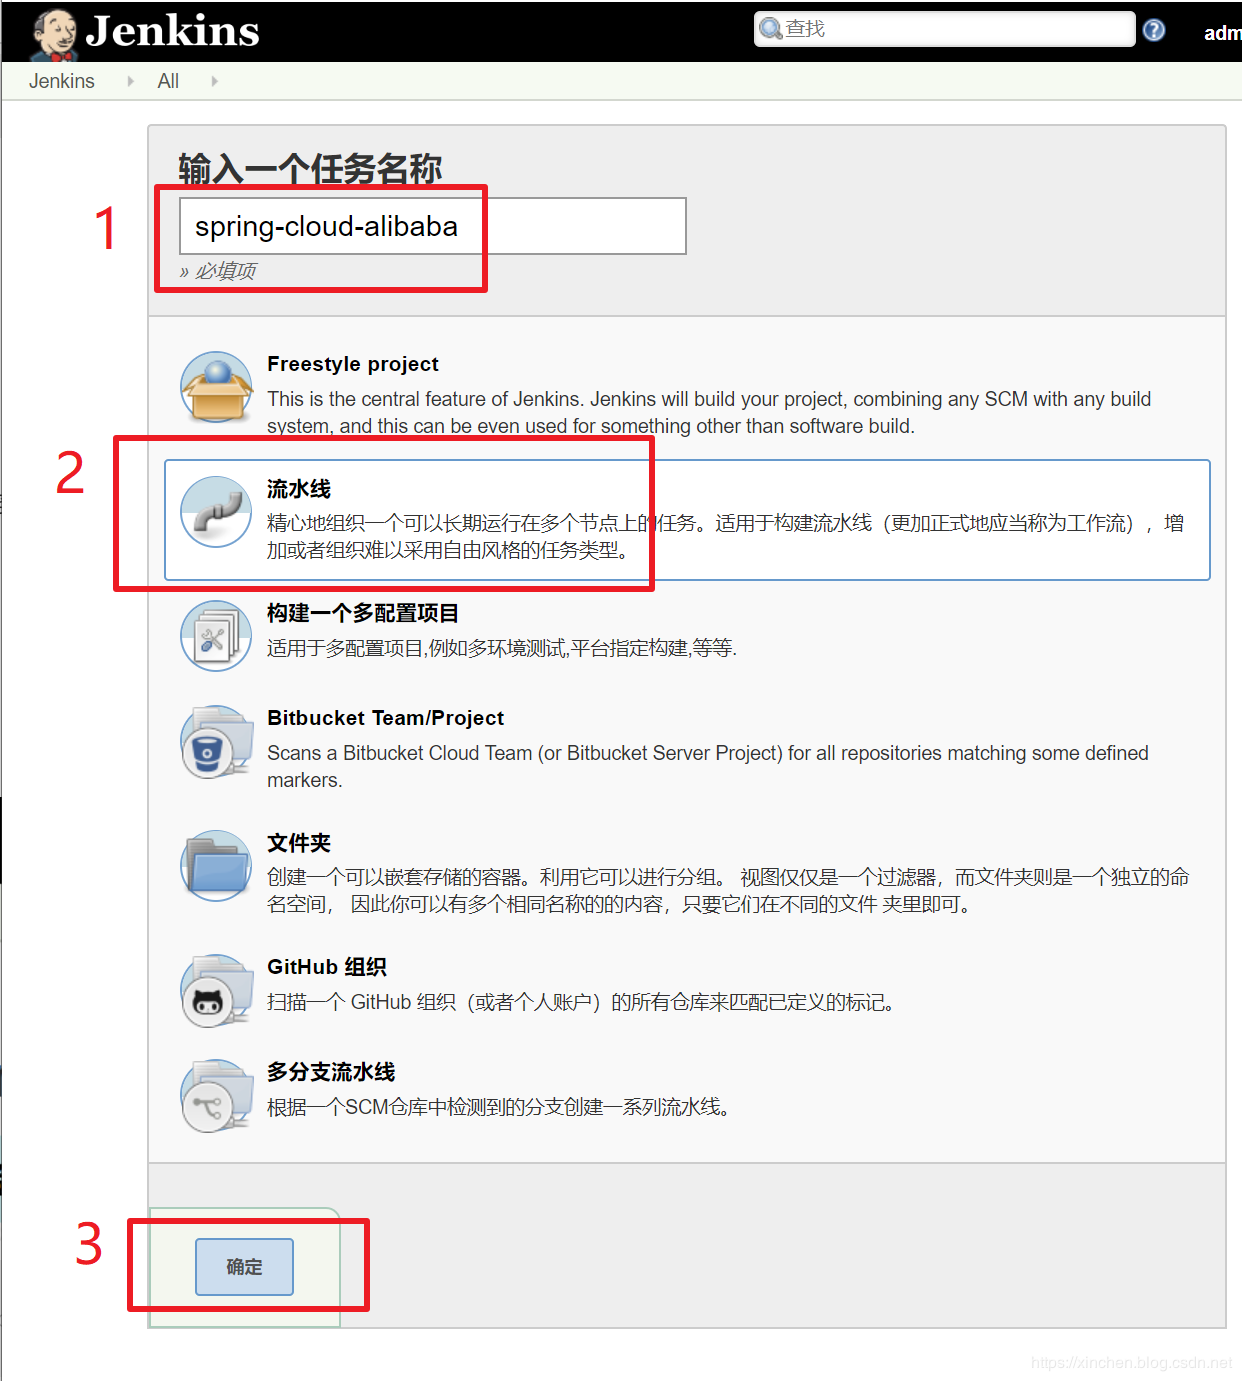
- As shown below, create a pipeline task named spring-clolud-alibaba:
- The following red box is where you enter the pipeline script:
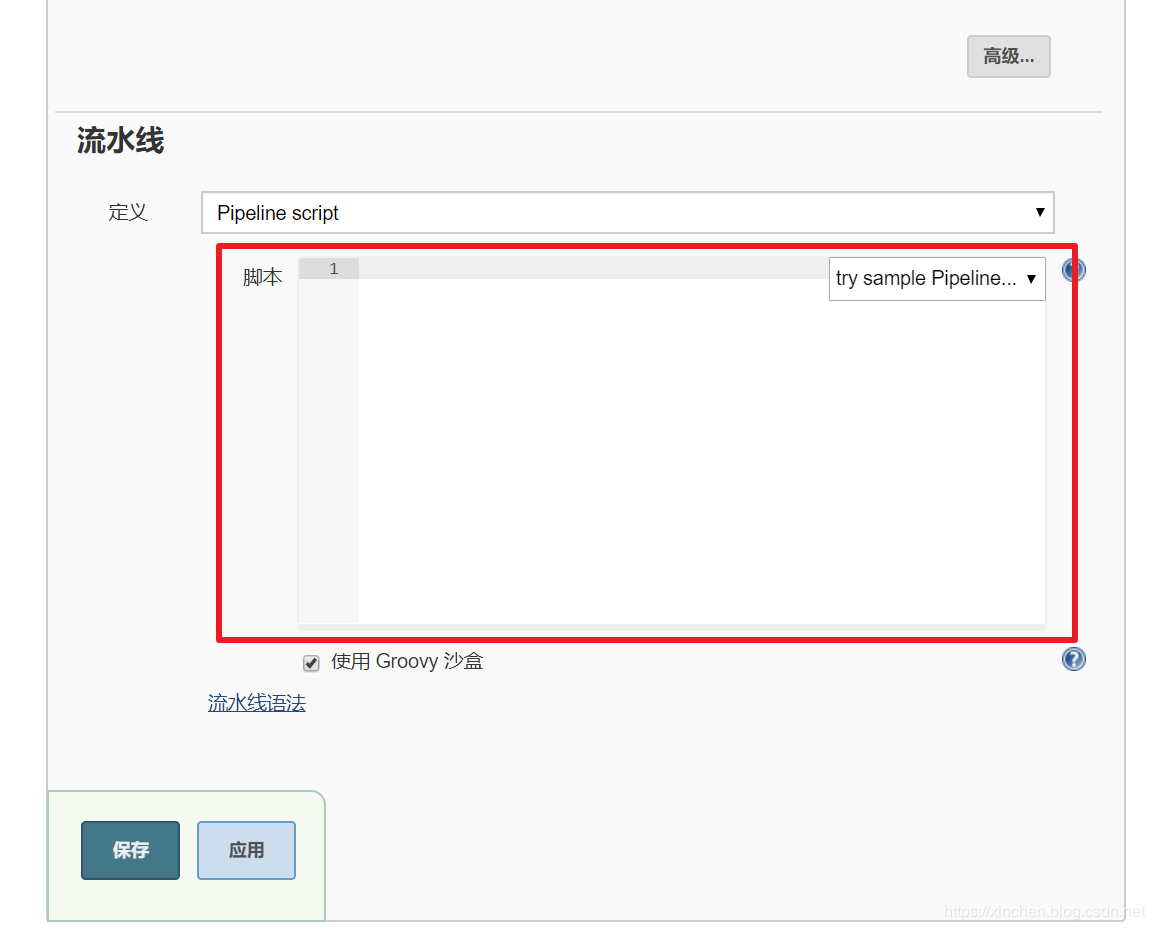
- Enter the following at the red box position in the image above:
pipeline {
    agent {
        label 'maven'
    }
    tools {
        maven 'mvn-3.6.2'
    }
    stages {
        stage('Checkout') {
            steps {
                echo 'from GitHub download spring-cloud-alibaba Project Source(2.1.1.RELEASE Archive Pack)'
                sh 'wget https://github.com/alibaba/spring-cloud-alibaba/archive/v2.1.1.RELEASE.tar.gz'
                echo 'Download complete, unzip archive package'
                sh 'tar -zxf v2.1.1.RELEASE.tar.gz'
            }
        }
        stage('Build') {
            steps {
                echo 'Start Compiling Build'
                sh 'cd spring-cloud-alibaba-2.1.1.RELEASE && mvn clean package -U -DskipTests'
            }
        }
        stage('Save') {
            steps {
                echo 'Transfer build results to storage server'
                sh 'cd spring-cloud-alibaba-2.1.1.RELEASE/spring-cloud-alibaba-nacos-discovery/target && sshpass -p 888888 scp ./*.jar root@192.168.133.131:/usr/local/build_result'
                echo 'transfer complete'
            }
        }
        stage('Clean') {
            steps {
                echo 'Clear Maven engineering'
                sh 'cd spring-cloud-alibaba-2.1.1.RELEASE && mvn clean'
                echo 'Clean Up'
            }
        }
    }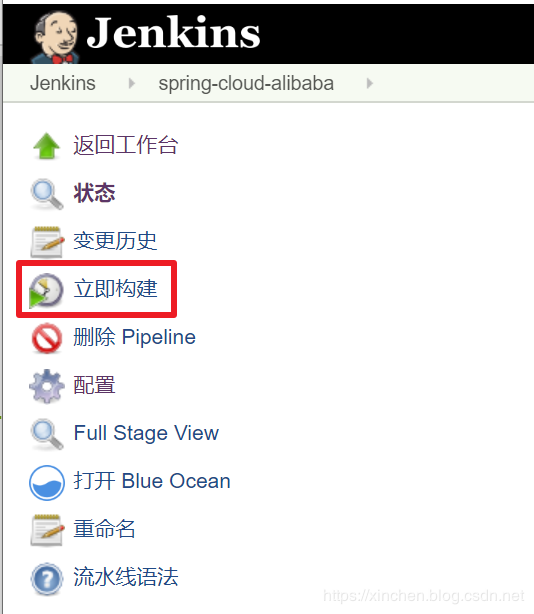
}- After clicking the Save button at the bottom, click Build Now in the red box below to start the task:
Click on the red ball in the red box in the image below to jump to the page where the task information is output in real time:
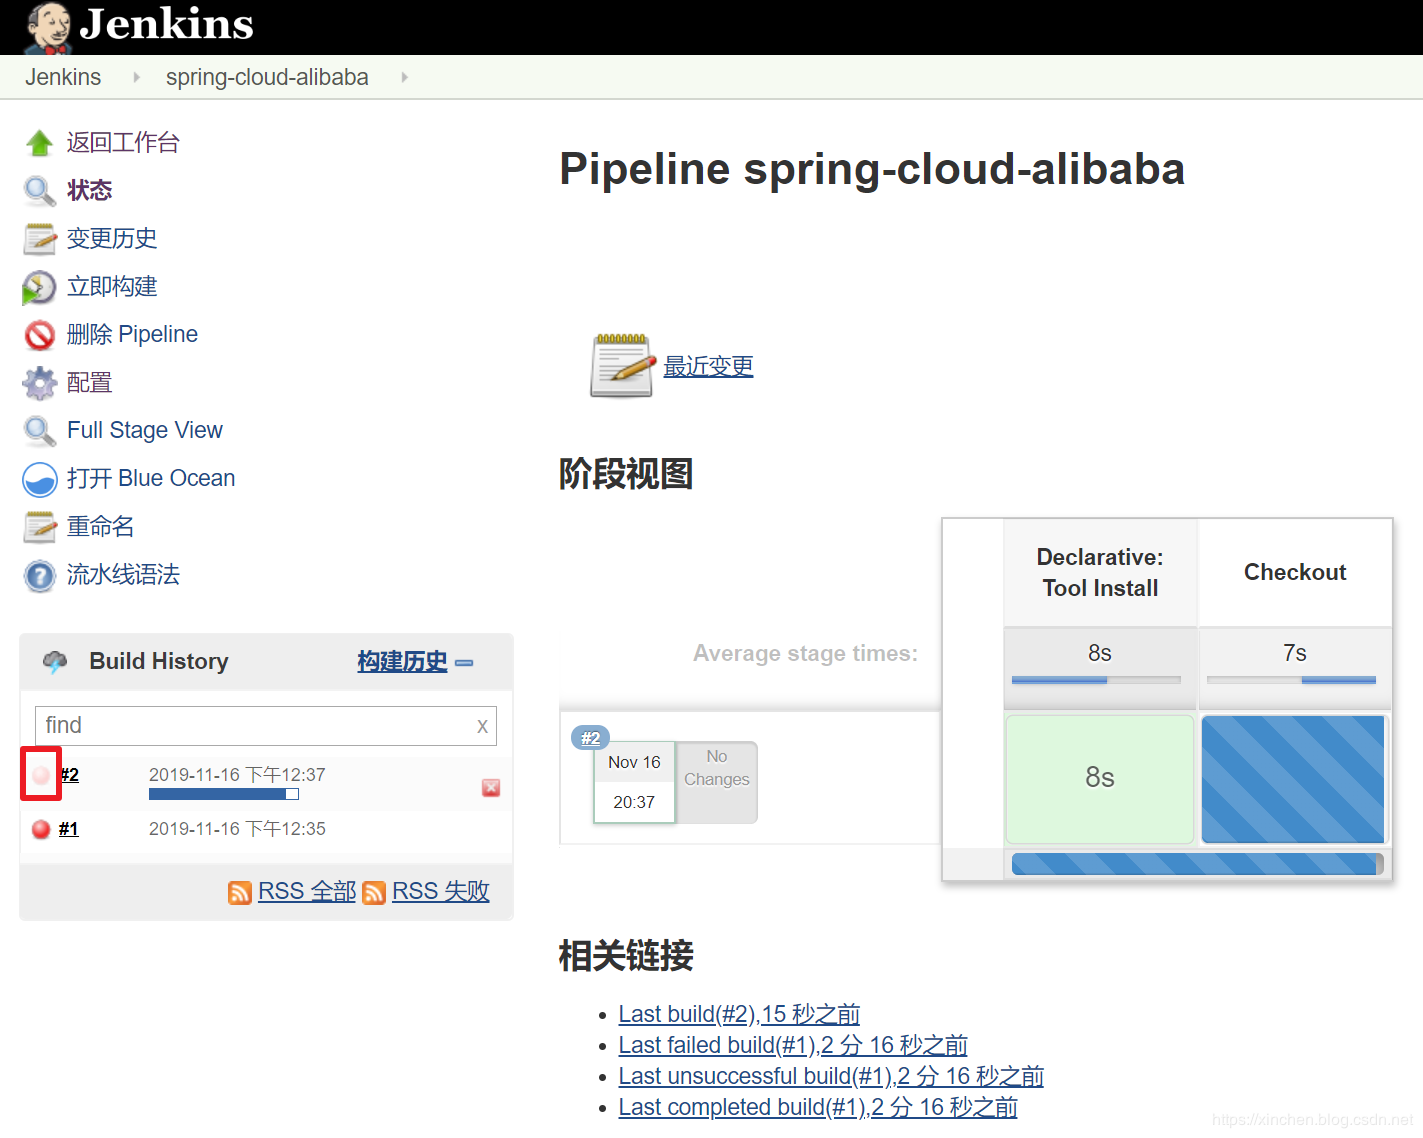
Page real-time output build information:

-
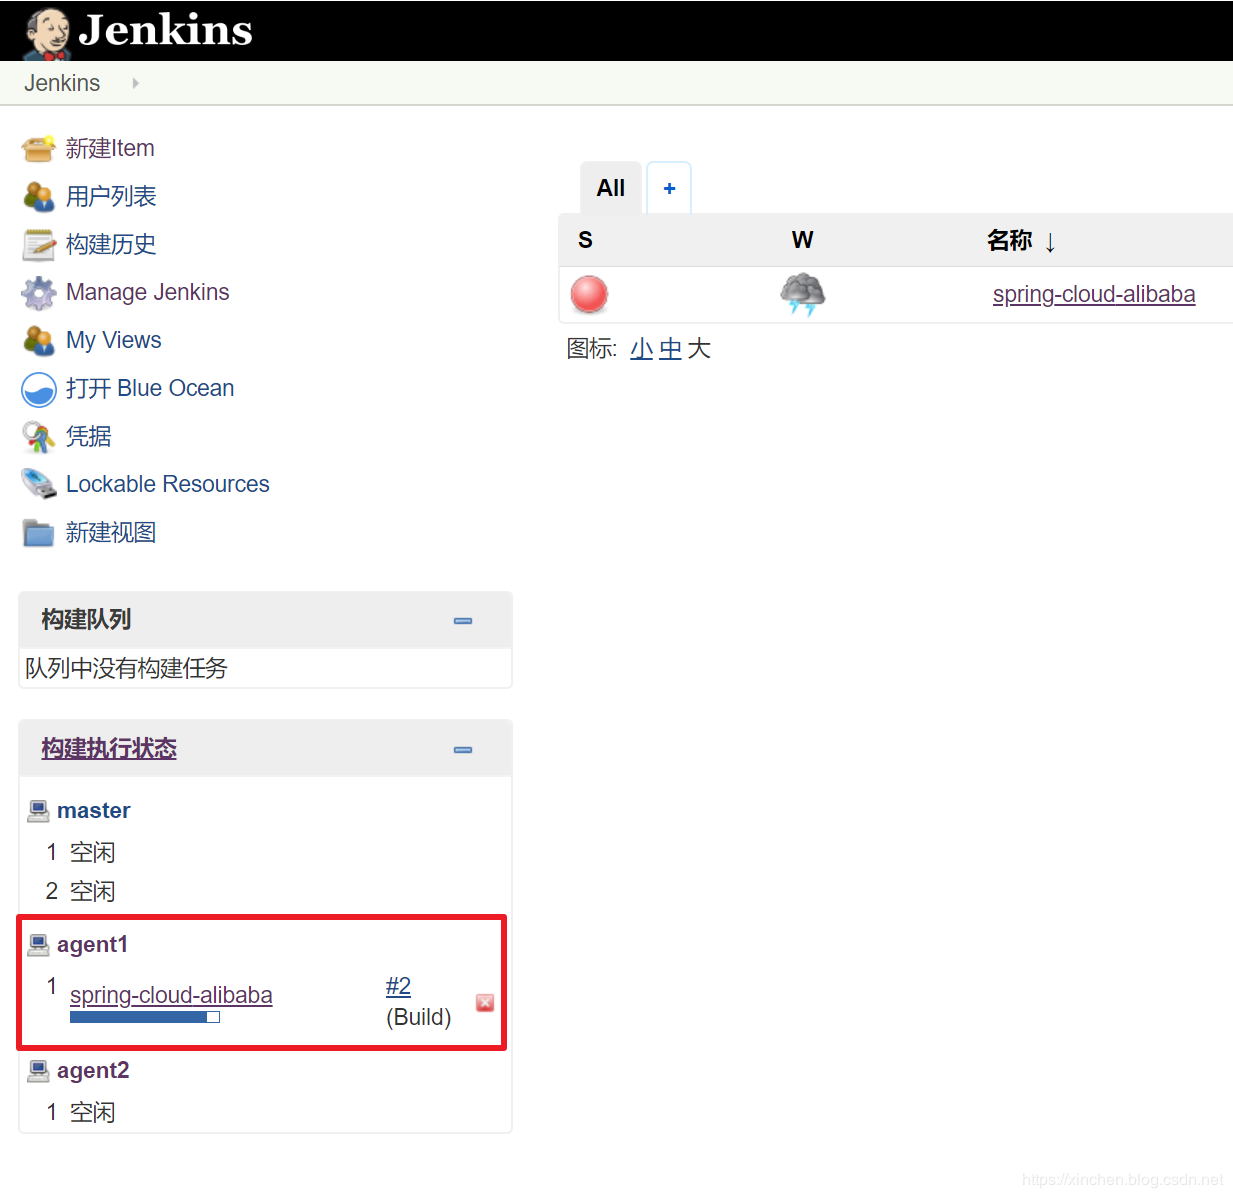
On the main page, you can see that agent1 is executing a task, as shown in the red box below, and you can see that the label in the pipeline script is in effect, dispatching the task to a node labeled maven to execute it:
Compiling and building the spring-cloud-alibaba project is a time-consuming operation, so let's create another task now: Compiling and building the spring-frameworkCompile tasks for building spring-framework
The spring-framework is a gradle project and does not require preparation of the gradle environment. The gradle tool is automatically downloaded when the compile command is executed: - Create a pipeline task named spring-framework:
- The pipeline script is as follows:
pipeline {
    agent {
        label 'gradle'
    }

    stages {
        stage('Checkout') {
            steps {
                echo 'from GitHub download spring-framework Project Source(master branch)'
                checkout([$class: 'GitSCM', branches: [[name: '*/master']], doGenerateSubmoduleConfigurations: false, extensions: [], submoduleCfg: [], userRemoteConfigs: [[url: 'https://github.com/spring-projects/spring-framework.git']]])
            }
        }
        stage('Build') {
            steps {
                echo 'Start Compiling Build'
                sh './gradlew build'
            }
        }
        stage('Transfer build results') {
            steps {
                echo 'Transfer build results to storage server'
                sh 'cd spring-core/build/libs && sshpass -p 888888 scp ./*.jar root@192.168.133.131:/usr/local/build_result && cd ../../..'
                echo 'transfer complete'
            }
        }
        stage('Clean') {
            steps {
                echo 'Clear gradle engineering'
                sh './gradlew clean'
                echo 'Clean Up'
            }
        }
    }
}-
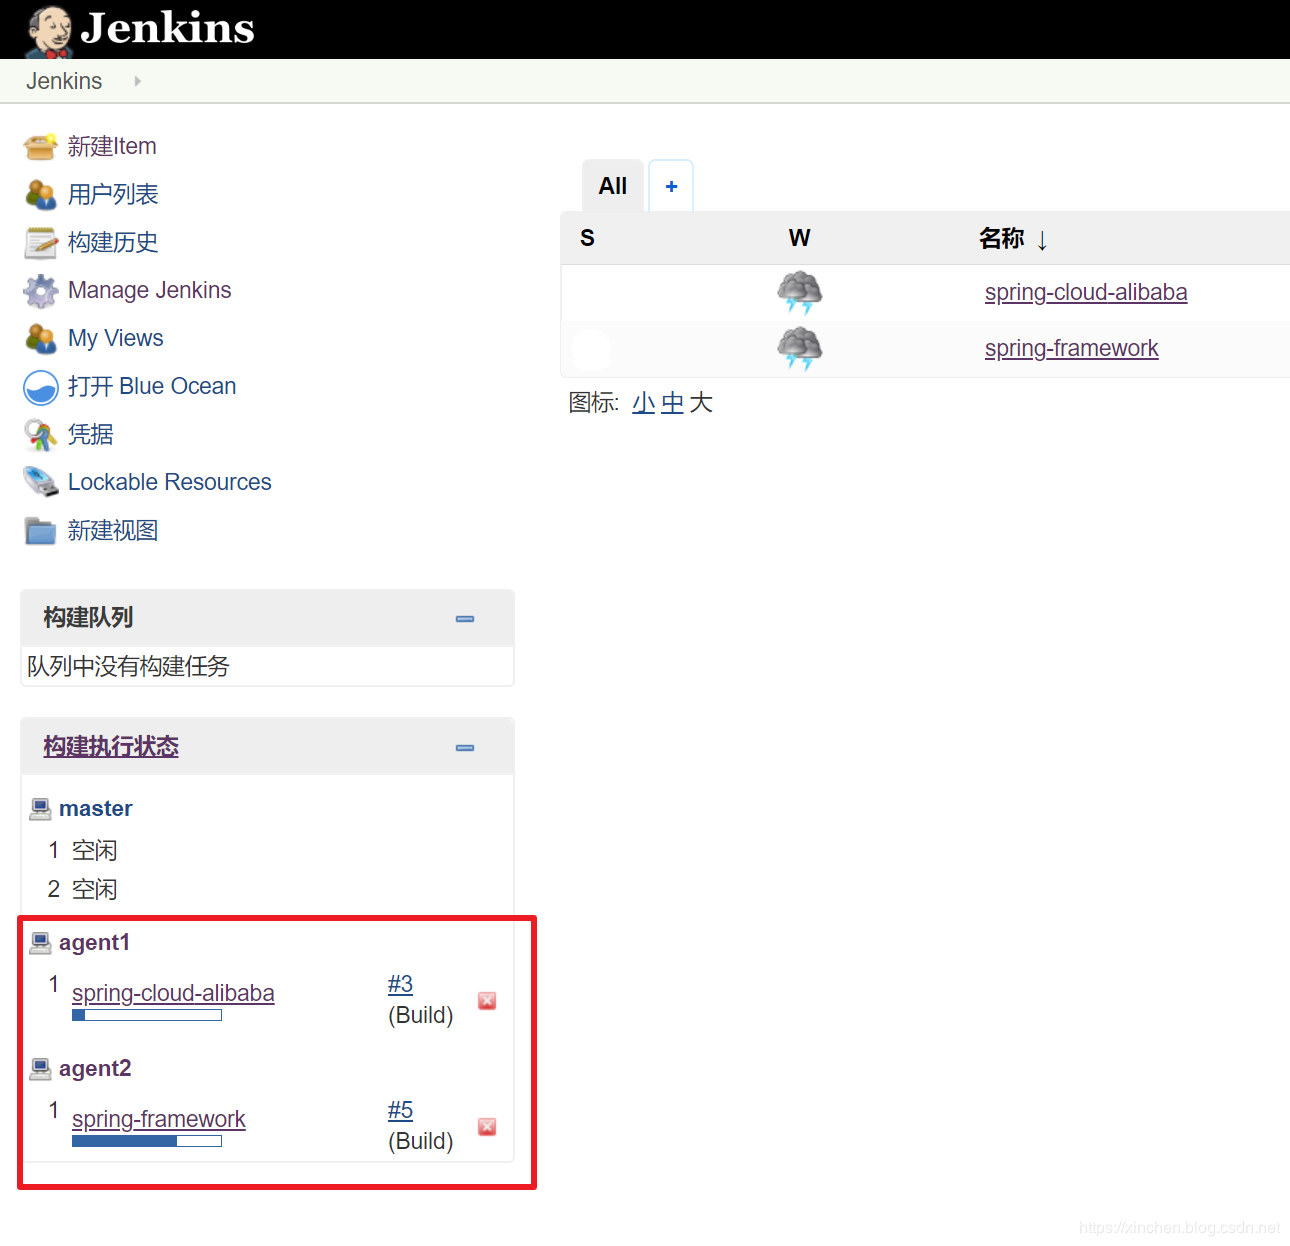
Immediately execute this task, and you can see that the task has been scheduled to be executed on agent2 while agent1 and agent2 are executing the task simultaneously, as shown below:
View build results
After successful builds, both tasks will transfer the results of the build to the master's/usr/local/build_result directory using the scp command:
[root@master build_result]# ls
agent.jar                      spring-cloud-alibaba-nacos-discovery-2.1.1.RELEASE.jar          spring-cloud-alibaba-nacos-discovery-2.1.1.RELEASE-sources.jar  spring-objenesis-repack-3.1.jar
spring-cglib-repack-3.3.0.jar  spring-cloud-alibaba-nacos-discovery-2.1.1.RELEASE-javadoc.jar  spring-core-5.2.2.BUILD-SNAPSHOT.jar
Thus, the pipeline battle under the Jenkins cluster is completed. With the help of the pipeline label parameters, the task dispatch nodes can be controlled, and the multi-task can be executed simultaneously at multiple nodes.