solr installation and configuration
download
Download address: http://www.apache.org/dyn/closer.lua/lucene/solr/7.5.0
Unzip directly after downloading.
To configure
Create a new core
Enter the directory after decompression (replaced by ~ / Solr root /), enter ~ / Solr root / server / Solr /, create a new directory, and define the directory name yourself. What I define is test core, and then copy the conf directory in ~ / Solr root / server / Solr / configsets /? Default / directory to the newly built test core.
data-config.xml
Create a new data-config.xml file and write the following to the file.
<?xml version="1.0" encoding="UTF-8"?>
<dataConfig>
    <dataSource name="source1" type="JdbcDataSource"
              driver="com.mysql.jdbc.Driver"
              url="jdbc:mysql://127.0.0.1:3306/emails"
              user="root"
              password="root"
              batchSize="-1" />
    <document>
        <entity name="users" dataSource="source1"
            query="select id,name,id_card,staff_level,status from users">
            <field column="id" name="id" />
            <field column="name" name="name" />
            <field column="id_card" name="id_card" />
            <field column="staff_level" name="staff_level" />
            <field column="status" name="status" />
        </entity>
    </document>
</dataConfig>
Explain:
Email is the name of the library. The following fields define the fields from select.
solrconfig.xml
Edit solrconfig.xml file, search "requestHandler", and add the following code to the parallel requestHandler configuration block:
<requestHandler name="/dataimport" class="solr.DataImportHandler">
    <lst name="defaults">
        <str name="config">data-config.xml</str>
    </lst>
</requestHandler>
managed-schema
Edit the managed schema file and keep the following three field s:
<field name="_version_" type="plong" indexed="false" stored="false"/>
<field name="_root_" type="string" indexed="true" stored="false" docValues="false" />
<field name="_text_" type="text_general" indexed="true" stored="false" multiValued="true"/>
Edit other fields, corresponding to the fields in the data-config.xml file:
<field name="id" type="string" indexed="true" stored="true" required="true" multiValued="false" />
<field name="name" type="string" indexed="true" stored="true"/>
<field name="id_card" type="string" indexed="true" stored="true"/>
<field name="staff_level" type="string" indexed="true" stored="true"/>
<field name="status" type="string" indexed="true" stored="true"/>
Download Database Link Library
Download address: http://central.maven.org/maven2/mysql/mysql-connector-java/8.0.11/mysql-connector-java-8.0.11.jar
In the mysql-connector-java-8.0.11.jar and ~ / Solr root / dist directory
solr-dataimporthandler-extras-7.5.0.jar ,solr-dataimporthandler-7.5.0.jar
The three jar packages are copied to ~ / Solr root / server / Solr webapp / webapp / WEB-INF / lib
Start solr
Execute start command:
./~/solr-root/bin/solr start
Access after startup: 127.0.0.1:8983, as shown in the following interface: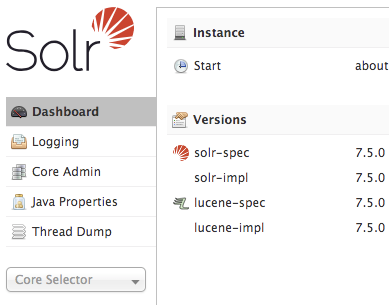
Import mysql data
Select the new test core.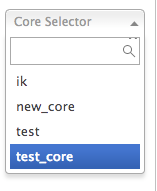
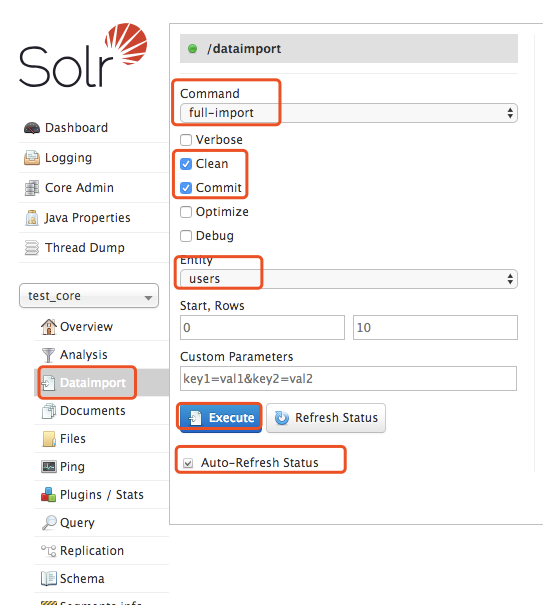
After execution: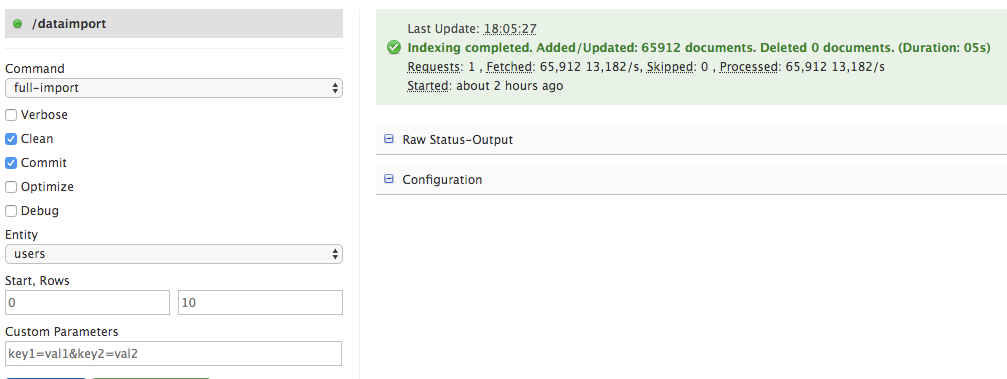
test
PHP operation solr
Install the solr extension.

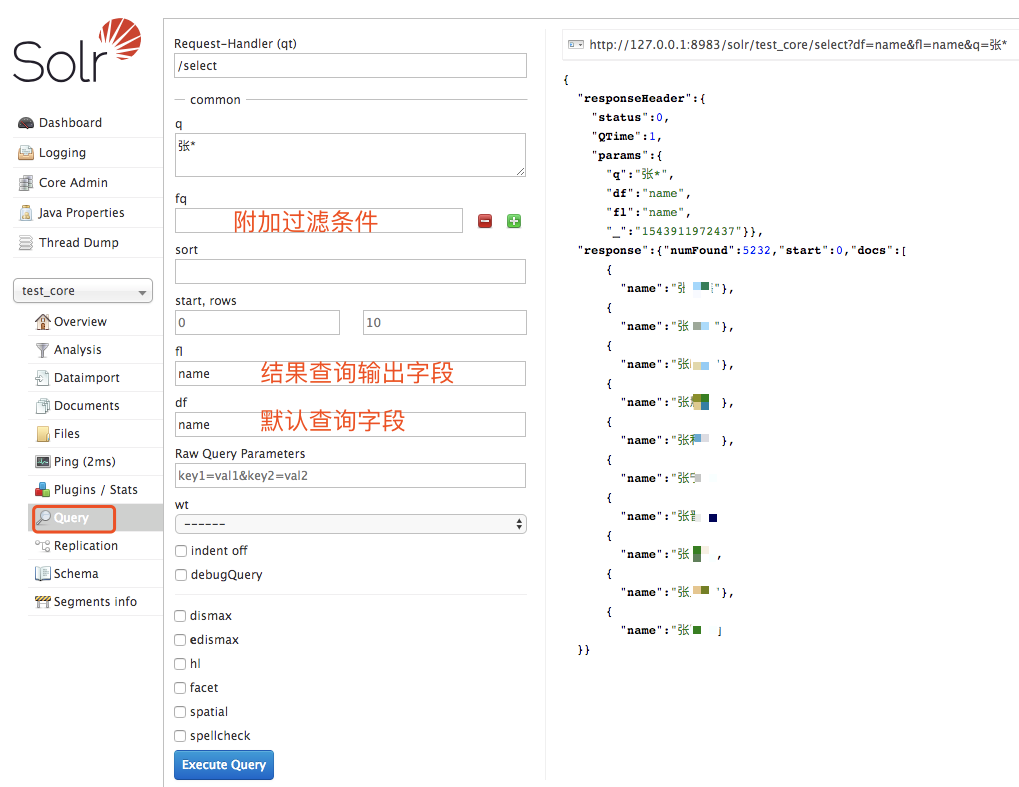
query
You can directly access the url similar to the following through curl:
Add data
$client = new \SolrClient($options);
$data = array(
        array(
                'id' => 'EN80922032',
                'name' => 'Men's polished straight casual jeans',
                'brand' => 'ENERGIE',
                'cat' => 'Jeans',
                'price' => '1870.00'
        ),
        array(
                'id' => 'EN70906025',
                'name' => 'brand LOGO Lapel zip coat',
                'brand' => 'ENERGIE',
                'cat' => 'Loose coat',
                'price' => '1680.00'
        ),
        //Custom data...
);

foreach($data as $key => $value) {
        $doc = new \SolrInputDocument();
        foreach($value as $key2 =>$value2) {
                $doc->addField($key2,$value2);
        }
        $client->addDocument($doc);

}
$client->commit();die;