Introduction to Phoenix
Phoenix is an open source SQL engine for HBase. You can use the standard JDBC API instead of the HBase client API to create tables, insert data, and query your HBase data.
Phoenix is an SQL engine built on HBase. You may have "Will Phoenix reduce the efficiency of HBase?" Or "Is Phoenix inefficient?" Such doubts, in fact, do not. Phoenix achieves the same or possibly better performance than your own handwriting (let alone write a lot less code):
Compile your SQL query into native HBase scan statements
key to detect the best start and end of a scan statement
Carefully orchestrate your scan statements and let them execute in parallel
Let the calculation approach the data through
Push the predicate of your WHERE clause to the server filter
Executing aggregated queries through service-side hooks (called co-processors)
In addition, Phoenix has made some interesting enhancements to optimize performance more:
Implement two-level index to improve query performance of non-primary key fields
Statistical data to improve the level of parallelization and help to select the best optimization scheme
Skip the scan filter to optimize IN, LIKE, OR queries
Optimizing the Primary Key to Uniform Distribution of Writing Pressure
Download CDH Phoenix
1,download
https://github.com/chiastic-security/phoenix-for-cloudera/tree/4.8-HBase-1.2-cdh5.8
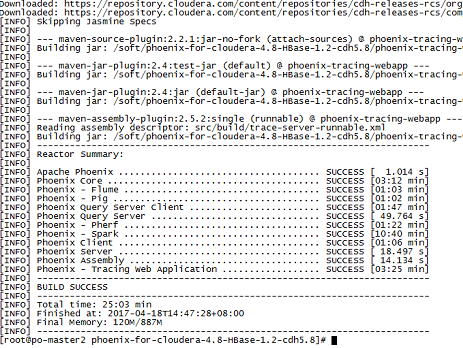
2,Compile(Long compilation time,Wait patiently)
mvn clean package -DskipTests
3. Decompression
Extract the compiled phoenix-4.8.0-cdh5.8.0.tar.gz
[root@master1 phoenix]#tar -zxvf  phoenix-4.8.0-cdh5.8.0.tar.gz
[root@master1 phoenix]# cd phoenix-4.8.0-cdh5.8.0
[root@master1 phoenix-4.8.0-cdh5.8.0]# ll
total 166152
drwxr-xr-x 2 root root      4096 Apr 18 16:41 bin
-rw-r--r-- 1 root root      1930 Aug  8  2016 build.txt
drwxr-xr-x 3 root root      4096 Aug  8  2016 dev
drwxr-xr-x 2 root root      4096 Aug  8  2016 docs
drwxr-xr-x 3 root root      4096 Aug  8  2016 examples
drwxr-xr-x 2 root root      4096 Apr 18 16:40 lib
-rw-r--r-- 1 root root 113247548 Apr 18 14:43 phoenix-4.8.0-cdh5.8.0-client.jar
-rw-r--r-- 1 root root   6619716 Apr 18 14:30 phoenix-4.8.0-cdh5.8.0-queryserver.jar
-rw-r--r-- 1 root root  22498517 Apr 18 14:43 phoenix-4.8.0-cdh5.8.0-server.jar
-rw-r--r-- 1 root root  27739579 Apr 18 14:29 phoenix-4.8.0-cdh5.8.0-thin-client.jar
4. Copy phoenix-4.8.0-cdh5.8.0-server.jar to each RegionServer
[root@slave1 ~]# find / -name 'phoenix-4.8.0-cdh5.8.0-server.jar'
/soft/bigdata/clouderamanager/cloudera/parcels/CDH-5.10.0-1.cdh5.10.0.p0.41/lib/hbase/lib/phoenix-4.8.0-cdh5.8.0-server.jar
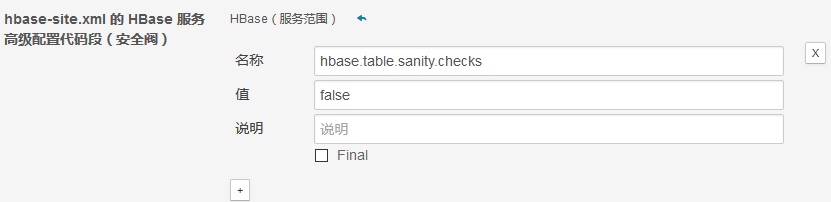
5. Increase hbase-site.xml configuration
<property>
<name>hbase.table.sanity.checks</name>
<value>false</value>
</property>
CDH modification method:
Click Hbase on the cluster management page to enter the Hbase management interface
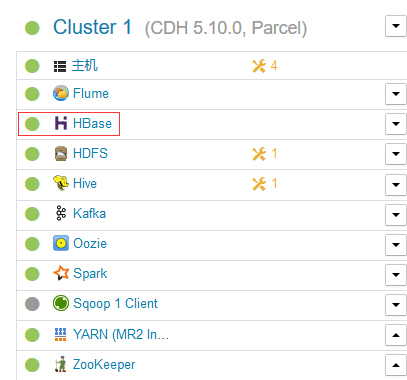
Click Configuration

Choose Advanced

Add the following configuration
6. Restart Hbase
7. Log on to phoneix
Enter phoenix-4.8.0-cdh5.8.0/bin directory to execute
[root@master1 phoenix-4.8.0-cdh5.8.0]# cd /soft/phoenix/phoenix-4.8.0-cdh5.8.0/bin/
[root@master1 bin]# ll
total 140
-rwxr-xr-x 1 root root 32440 Aug  8  2016 daemon.py
-rwxr-xr-x 1 root root  1881 Aug  8  2016 end2endTest.py
-rw-r--r-- 1 root root  1621 Aug  8  2016 hadoop-metrics2-hbase.properties
-rw-r--r-- 1 root root  3056 Aug  8  2016 hadoop-metrics2-phoenix.properties
-rw-r--r-- 1 root root  1084 Aug  8  2016 hbase-site.xml
-rw-r--r-- 1 root root  2583 Aug  8  2016 log4j.properties
-rwxr-xr-x 1 root root  5128 Aug  8  2016 performance.py
-rwxr-xr-x 1 root root  3249 Aug  8  2016 pherf-cluster.py
-rwxr-xr-x 1 root root  2729 Aug  8  2016 pherf-standalone.py
-rwxr-xr-x 1 root root  9354 Aug  8  2016 phoenix_utils.py
-rw-r--r-- 1 root root  6082 Apr 18 16:41 phoenix_utils.pyc
-rwxr-xr-x 1 root root  2739 Aug  8  2016 psql.py
-rwxr-xr-x 1 root root  7659 Aug  8  2016 queryserver.py
-rw-r--r-- 1 root root  1820 Aug  8  2016 readme.txt
-rwxr-xr-x 1 root root  4315 Aug  8  2016 sqlline.py
-rwxr-xr-x 1 root root  5426 Aug  8  2016 sqlline-thin.py
-rw-r--r-- 1 root root  6895 Aug  8  2016 tephra
-rwxr-xr-x 1 root root  2037 Aug  8  2016 tephra-env.sh
-rwxr-xr-x 1 root root  6884 Aug  8  2016 traceserver.py
[root@master1 bin]# ./sqlline.py slave1:2181
Setting property: [incremental, false]
Setting property: [isolation, TRANSACTION_READ_COMMITTED]
issuing: !connect jdbc:phoenix:slave1:2181 none none org.apache.phoenix.jdbc.PhoenixDriver
Connecting to jdbc:phoenix:slave1:2181
SLF4J: Class path contains multiple SLF4J bindings.
SLF4J: Found binding in [jar:file:/soft/phoenix/phoenix-4.8.0-cdh5.8.0/phoenix-4.8.0-cdh5.8.0-client.jar!/org/slf4j/impl/StaticLoggerBinder.class]
SLF4J: Found binding in [jar:file:/soft/bigdata/clouderamanager/cloudera/parcels/CDH-5.10.0-1.cdh5.10.0.p0.41/jars/slf4j-log4j12-1.7.5.jar!/org/slf4j/impl/StaticLoggerBinder.class]
SLF4J: See http://www.slf4j.org/codes.html#multiple_bindings for an explanation.
SLF4J: Actual binding is of type [org.slf4j.impl.Log4jLoggerFactory]
17/04/18 20:48:14 WARN util.NativeCodeLoader: Unable to load native-hadoop library for your platform... using builtin-java classes where applicable
Connected to: Phoenix (version 4.8)
Driver: PhoenixEmbeddedDriver (version 4.8)
Autocommit status: true
Transaction isolation: TRANSACTION_READ_COMMITTED
Building list of tables and columns for tab-completion (set fastconnect to true to skip)...
264/264 (100%) Done
Done
sqlline version 1.1.9
0: jdbc:phoenix:slave1:2181>
8. Simple Testing

3. Installation of squirrel (phoneix Visualization Tool on windows)
1. Download
Download address: http://www.squirrelsql.org/
Download the required version


2. Installation
cmd enters the command line

Enter in the jar package storage path
java -jar squirrel-sql-snapshot-20170312_2141-standard.jar
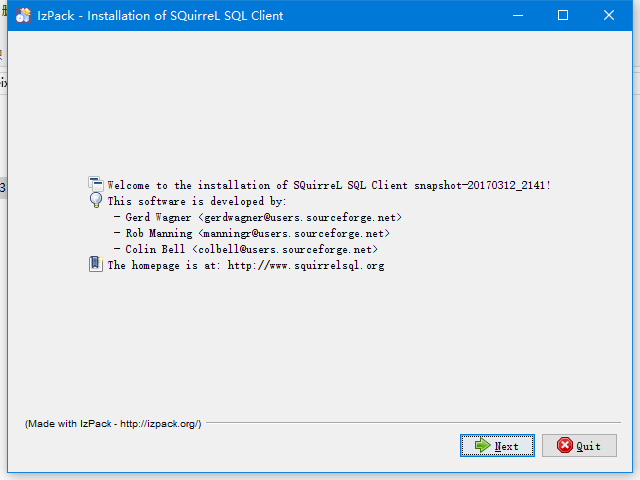
next is installed all the way.
3. Configure connection phoneix
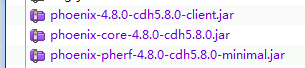
Add several jar packages under squirrel's lib
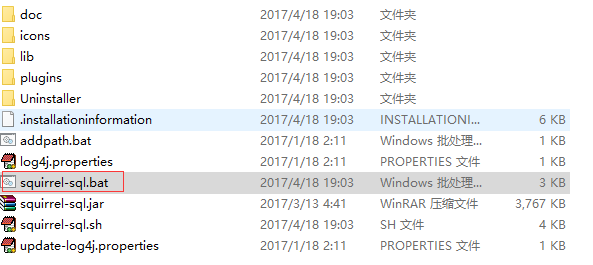
Double-click squirrel-sql.bat in the squirrel installation directory
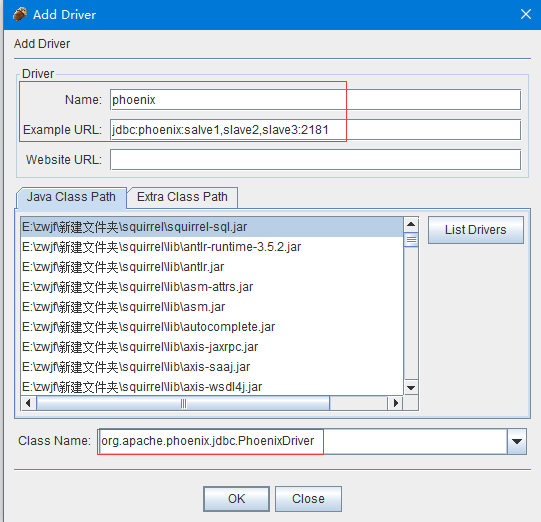
Click Drivers and then click + number
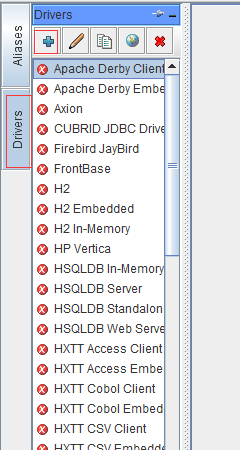
Name starts by herself and fills in the url.
Classname fills in org. apache. phoenix. jdbc. Phoenix Driver
Then click OK
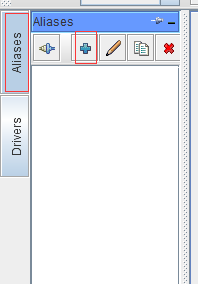
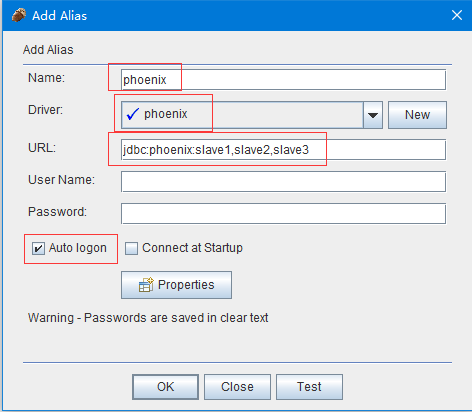
Click Aliases, and then click + number
Name starts by itself and chooses the river you just configured.
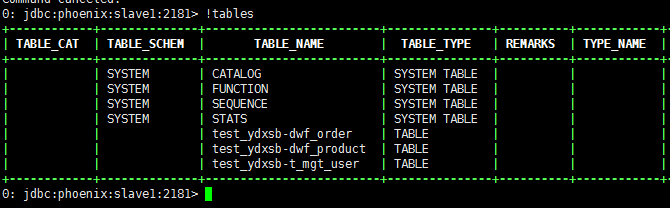
Click OK to connect successfully
You can see phoenix's table.
