Nginx
Nginx is a high-performance, lightweight web service software with high stability, low system resource consumption and high processing capacity for HTTP concurrent connections.
Frequently used commands

Experimental steps
1. Obtain the source package on Windows remotely and mount it on Linux
2. Decompress the source package and download the installation environment package
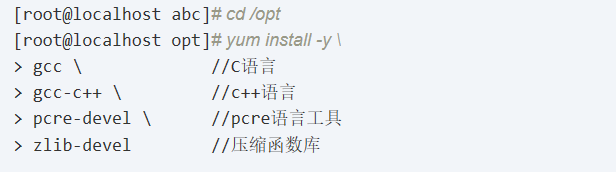
3. Create program users and configure related components of Nginx service
4. Compile and install
5. Optimize the startup script of Nginx service and establish command soft connection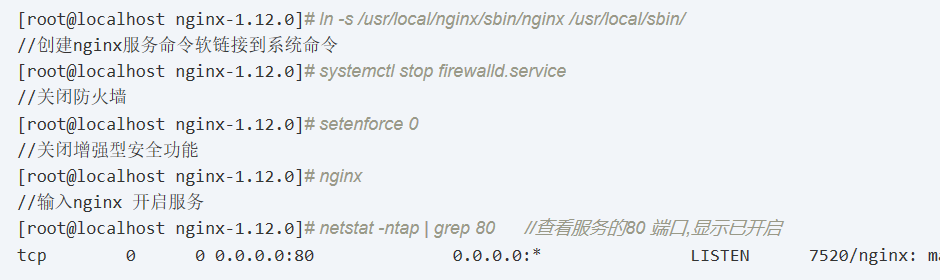
6. Use the browser to visit 192.168.235.158 to access the homepage of Nginx service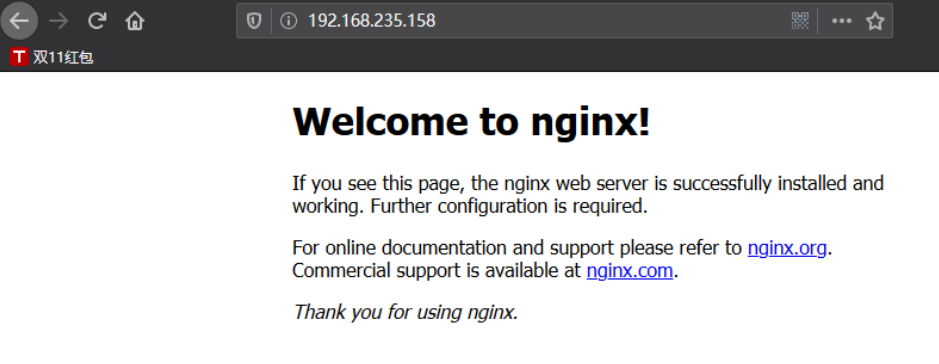
7. Create service management script
[root@localhost nginx-1.12.0]# cd /etc/init.d/
//Cut into the startup profile directory

#!/bin/bash
# chkconfig: - 99 20
##Annotation information
# description: Nginx Service Control Script
PROG="/usr/local/nginx/sbin/nginx"
##Set variable to nginx command file
PIDF="/usr/local/nginx/logs/nginx.pid"
##Set the variable PID file process number to 5346
case "$1" in
    start)
        $PROG                                              ##Opening service
        ;;
    stop)
        kill -s QUIT $(cat $PIDF)                   ##Shut down service
        ;;
    restart)                                                  ##Restart service
        $0 stop
        $0 start
        ;;
    reload)                                                  ##Heavy load service
        kill -s HUP $(cat $PIDF)
        ;;
    *)                                                          ##Error input prompt
                echo "Usage: $0 {start|stop|restart|reload}"
                exit 1
esac
exit 0

[root@localhost init.d]# chmod +x nginx
//Grant nginx execution permission
[root@localhost init.d]# chkconfig --add nginx
//Add nginx to the service manager
[root@localhost init.d]# service nginx stop
//Using service to control nginx service stop
[root@localhost init.d]# service nginx start
//Using service to control the startup of nginx service
Access status statistics of Nginx
Enable HTTP STUB STATUS status statistics module
● add -- with HTTP stub status module when configuring compilation parameters
(we have installed the statistics module along with you.)
● nginx -V check whether the installed Nginx contains HTTP stub status module
1. Modify the Nginx.conf configuration file
2. Install and configure DNS Service
[root@localhost ~]# yum -y install bind
//Install the bind package for DNS Service
[root@localhost ~]# vim /etc/named.conf
//Edit Master profile

options {
        listen-on port 53 { any; };
        ##Replace the listening address 127.0.0.1 with any,
        listen-on-v6 port 53 { ::1; };
        directory       "/var/named";
        dump-file       "/var/named/data/cache_dump.db";
        statistics-file "/var/named/data/named_stats.txt";
        memstatistics-file "/var/named/data/named_mem_stats.txt";
        recursing-file  "/var/named/data/named.recursing";
        secroots-file   "/var/named/data/named.secroots";
        allow-query     { any; };
        ##Replace authorized localhost with any

[root@localhost ~]# vim /etc/named.rfc1912.zones
//Edit zone profile

zone "bdqn.com" IN {        type master;
##Replace localhost with the domain name bdqn.com
        file "bdqn.com.zone";
        ##Specify the zone data configuration file bdqn.com.zone
        allow-update { none; };
};

[root@localhost ~]# cd /var/named
[root@localhost named]# cp -p named.localhost bdqn.com.zone
//The template of replication area data profile is bdqn.com.zone
[root@localhost named]# vim bdqn.com.zone
//Edit area data profile
$TTL 1D
@       IN SOA  @ rname.invalid. (
                                        0       ; serial
                                        1D      ; refresh
                                        1H      ; retry
                                        1W      ; expire
                                        3H )    ; minimum
        NS      @
        A       127.0.0.1
www IN  A       192.168.235.158
##Delete the contents of the original last line and add the domain name resolution address as the local address

[root@localhost named]# systemctl start named
//Start dns Service
[root@localhost named]# systemctl stop firewalld.service
//Turn off firewall
[root@localhost named]# setenforce 0
//Turn off enhanced security
3. Turn on the virtual machine test access status statistics of a WIndows system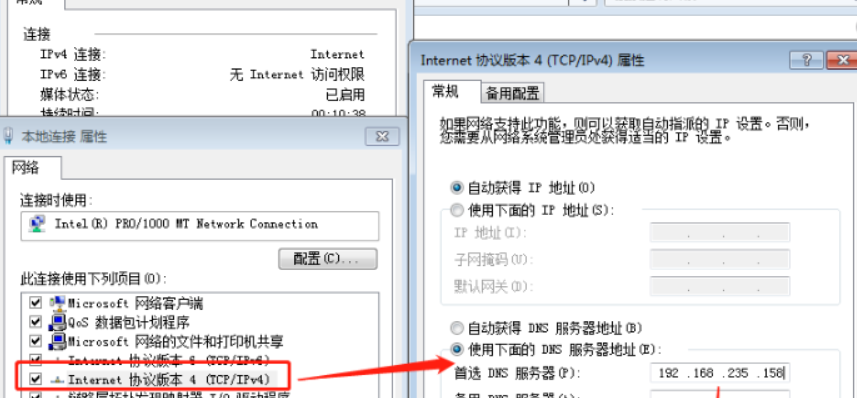
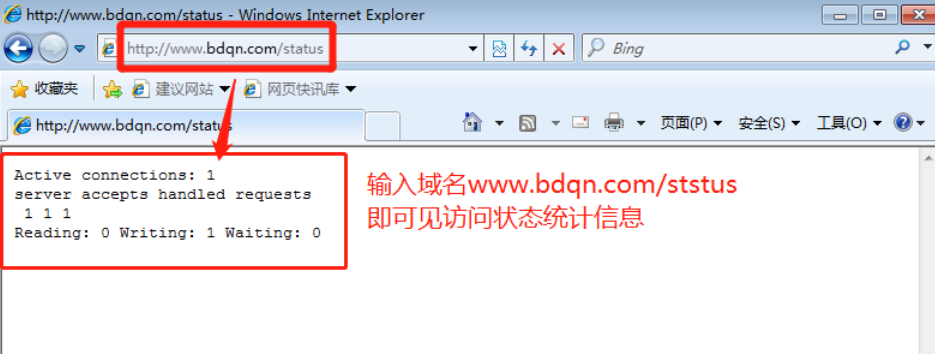
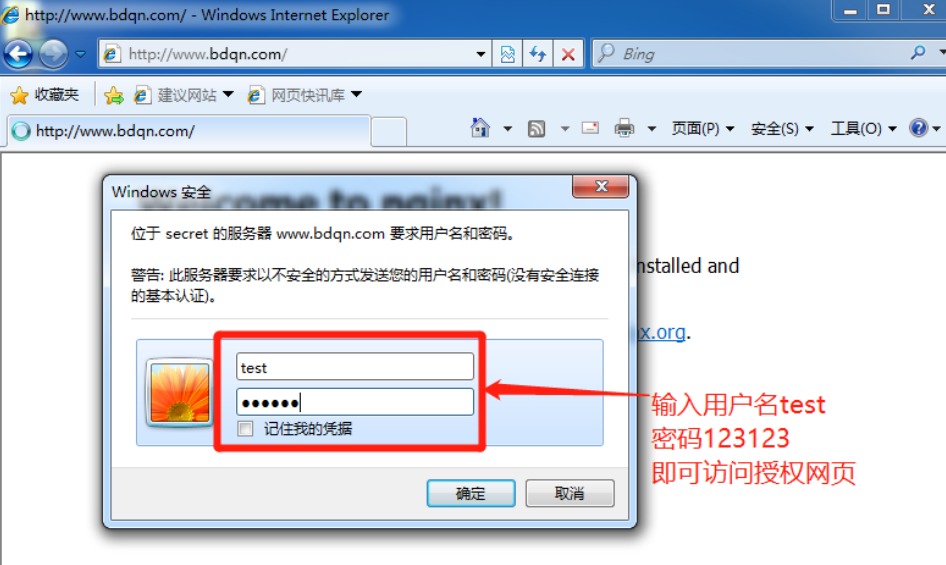
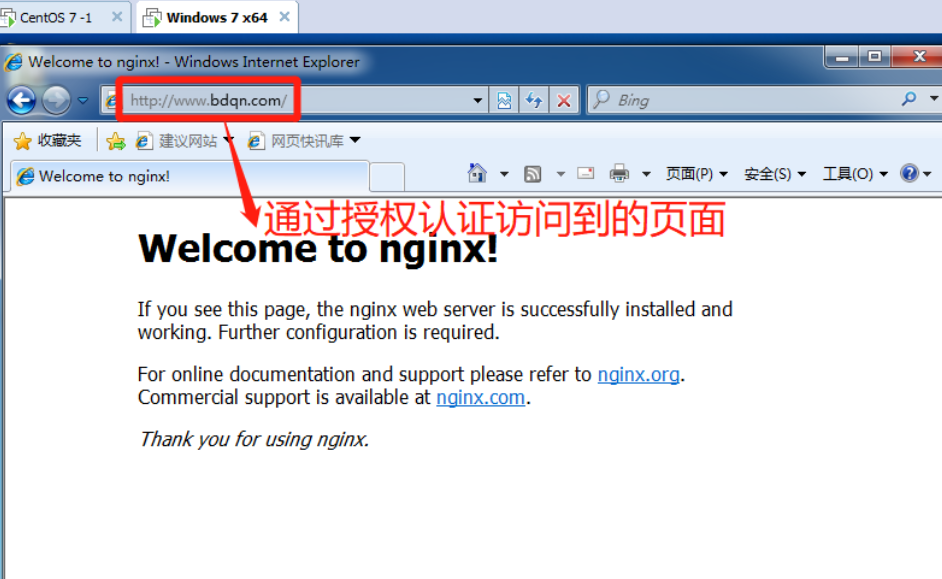
Nginx access control authorization
1. Generate user password authentication file
2. Modify the main configuration file to the corresponding directory, and add the authentication configuration item
3. Restart service, access test
1. Modify the Nginx.conf configuration file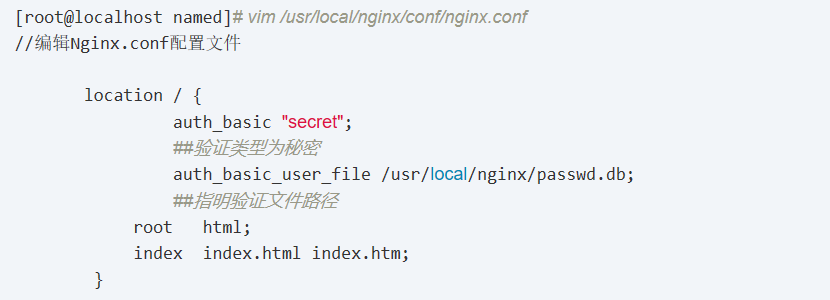
2. Install httpd tools kit and specify user name and password
3. Use the tester to verify the access control authorization effect