- Like, pay attention to, and form good habits
- For details of the series of courses, please refer to superstar learning link: https://me.chaoxing.com (click to link)
- Welcome to guide
1. Preface
Recently, superstar learning general course needs several cover pictures (the template picture is not satisfied and can't match the course), so I want to make a few word cloud maps by myself. However, I don't have much knowledge of natural language processing (although I'm also very interested), so I sat down quietly and spent half a day learning how to make a word cloud map (from reading local TXT document to reading local p DF documents, as well as online reading PDF documents, here PDF documents are mainly for reading a Book of ideas), and the result is a bit addictive: the daughter-in-law did not move from the table in front of the computer for a long time (finally had to mistake the superheated rice). OK, let's get back to the point and start today's blog!
2. Read PDF document
This section of the blog mainly introduces the version of Python 3. X (since 2020, the version of Python 2. X will not be maintained any more, so it is recommended that beginners learn Python 3. X in one step) to parse and read the PDF file content. A third-party library - pdfminer Library (different from Python 2, pdfminer3k library needs to be installed for Python 3). The code part also refers to some published blog content, but the blogger still disassembles the code of other blogs in detail, and shows it to Python beginners in a simple and understandable way, so that beginners can not copy other people's code directly (most of the code is sealed and installed, too professional to be suitable for beginners) and run it on their own computer Xu found many bugs, but did not know how to debug, or did not know where to start. The blogger hopes that the so-called detailed explanation can make beginners really understand (if you still don't know, please leave a message, and the blogger will interpret it for the blogger at the first time). All right, stop talking and get back to the main body!
The following is a detailed analysis of how to use Python language to read PDF documents (Boyou can choose any e-book):
(1) Preparations
- Install the Python integrated development environment (IDE) in advance
- See Bo Wen for details. Getting started with python (1): Python installation
- Install the third-party library pdfminer3k in advance
- It seems that the direct pip install pdfminer3k failed (Boyou can try it), just transfer to local installation (download pdfminer3k To local, extract code: j4en);
- Take the installation of Python IDE in Anaconda3 as an example. From the start menu, find Anaconda Prompt under the Anaconda3 folder. Click to open it and enter: pip install D:\zgq\pdfminer3k-master.zip (the local computer storage location of pdfminer3k is next). Wait until the installation is completed.
(2) Implementation source code (local PDF)
- Import module (the tutorial about pdfminer3k will take time to introduce the blog)
from pdfminer.pdfparser import PDFParser, PDFDocument
from pdfminer.pdfinterp import PDFResourceManager, PDFPageInterpreter

from pdfminer.converter import PDFPageAggregator
from pdfminer.layout import LTTextBoxHorizontal, LAParams
- Set the path of read and output files
Pdf_file ='python. PDF '(default working path)
Txt_file ='python. TXT '(default working path)
#pdf_file = 'C:\Users\Administrator\Desktop\'Python.pdf '(computer desktop)
#Txt file ='c: \ users \ administrator \ desktop \ python. TXT '(computer desktop)
- Generate the object and read the file (it is recommended to find a PDF with fewer pages first)
device = PDFPageAggregator(PDFResourceManager(), laparams=LAParams())
interpreter = PDFPageInterpreter(PDFResourceManager(), device)

document = PDFDocument()
parser = PDFParser(open(pdf_file, 'rb'))
parser.set_document(document)
document.set_parser(parser)
document.initialize()
- Open TXT document to write content
with open(txt_file, 'w', encoding='utf-8') as f:
    page_list = list(document.get_pages())
    page_list_length = len(page_list)
    print('The number of PDF is: ', page_list_length)

    for page in document.get_pages():
        # Accept LTPage object
        interpreter.process_page(page)

        # Get the text text property of the LTPage object
        layout = device.get_result()
        for x in layout:
            if isinstance(x, LTTextBoxHorizontal):
                results = x.get_text()
                f.write(results)
- Verify conversion to a TXT document (for next step's word cloud)
with open('Python.txt',encoding='utf-8') as f:
    txt_text = f.readlines()
txt_text[:10]
3. Generate word cloud
Suddenly I feel a little hungry. I wanted to add some more food, but in order to finish the blog as soon as possible, I still insist on it! No longer verbose, go straight to the text.
(1) Preparations
- Install the third-party library wordcloud in advance
- Directly enter: pip install wordcloud in the Anaconda Prompt command line window, and wait for the installation to complete (you need to have a network)
- You can also download the local installation wordcloud (extract password: 9ld7; remember to select the corresponding 32-bit or 64 bit: depends on your computer operating system.)
(2) Implementation of source code (making word cloud map)
- Import module
import matplotlib.pyplot as plt
from wordcloud import WordCloud
- Read generated TXT document
with open('Python.txt',encoding='utf-8') as f:
    mytext = f.readlines()
- Generate my word cloud objects
mycloud = WordCloud().generate(str(mytext))
- Miracles appear (show cloud pictures of words)
plt.imshow(mycloud)
plt.axis('off')   # Turn off the display of cloud map coordinates
plt.savefig('out.jpg',dpi=1000,edgecolor='blue', bbox_inches='tight', quality=95)  # Save word cloud (to work path)
plt.show()
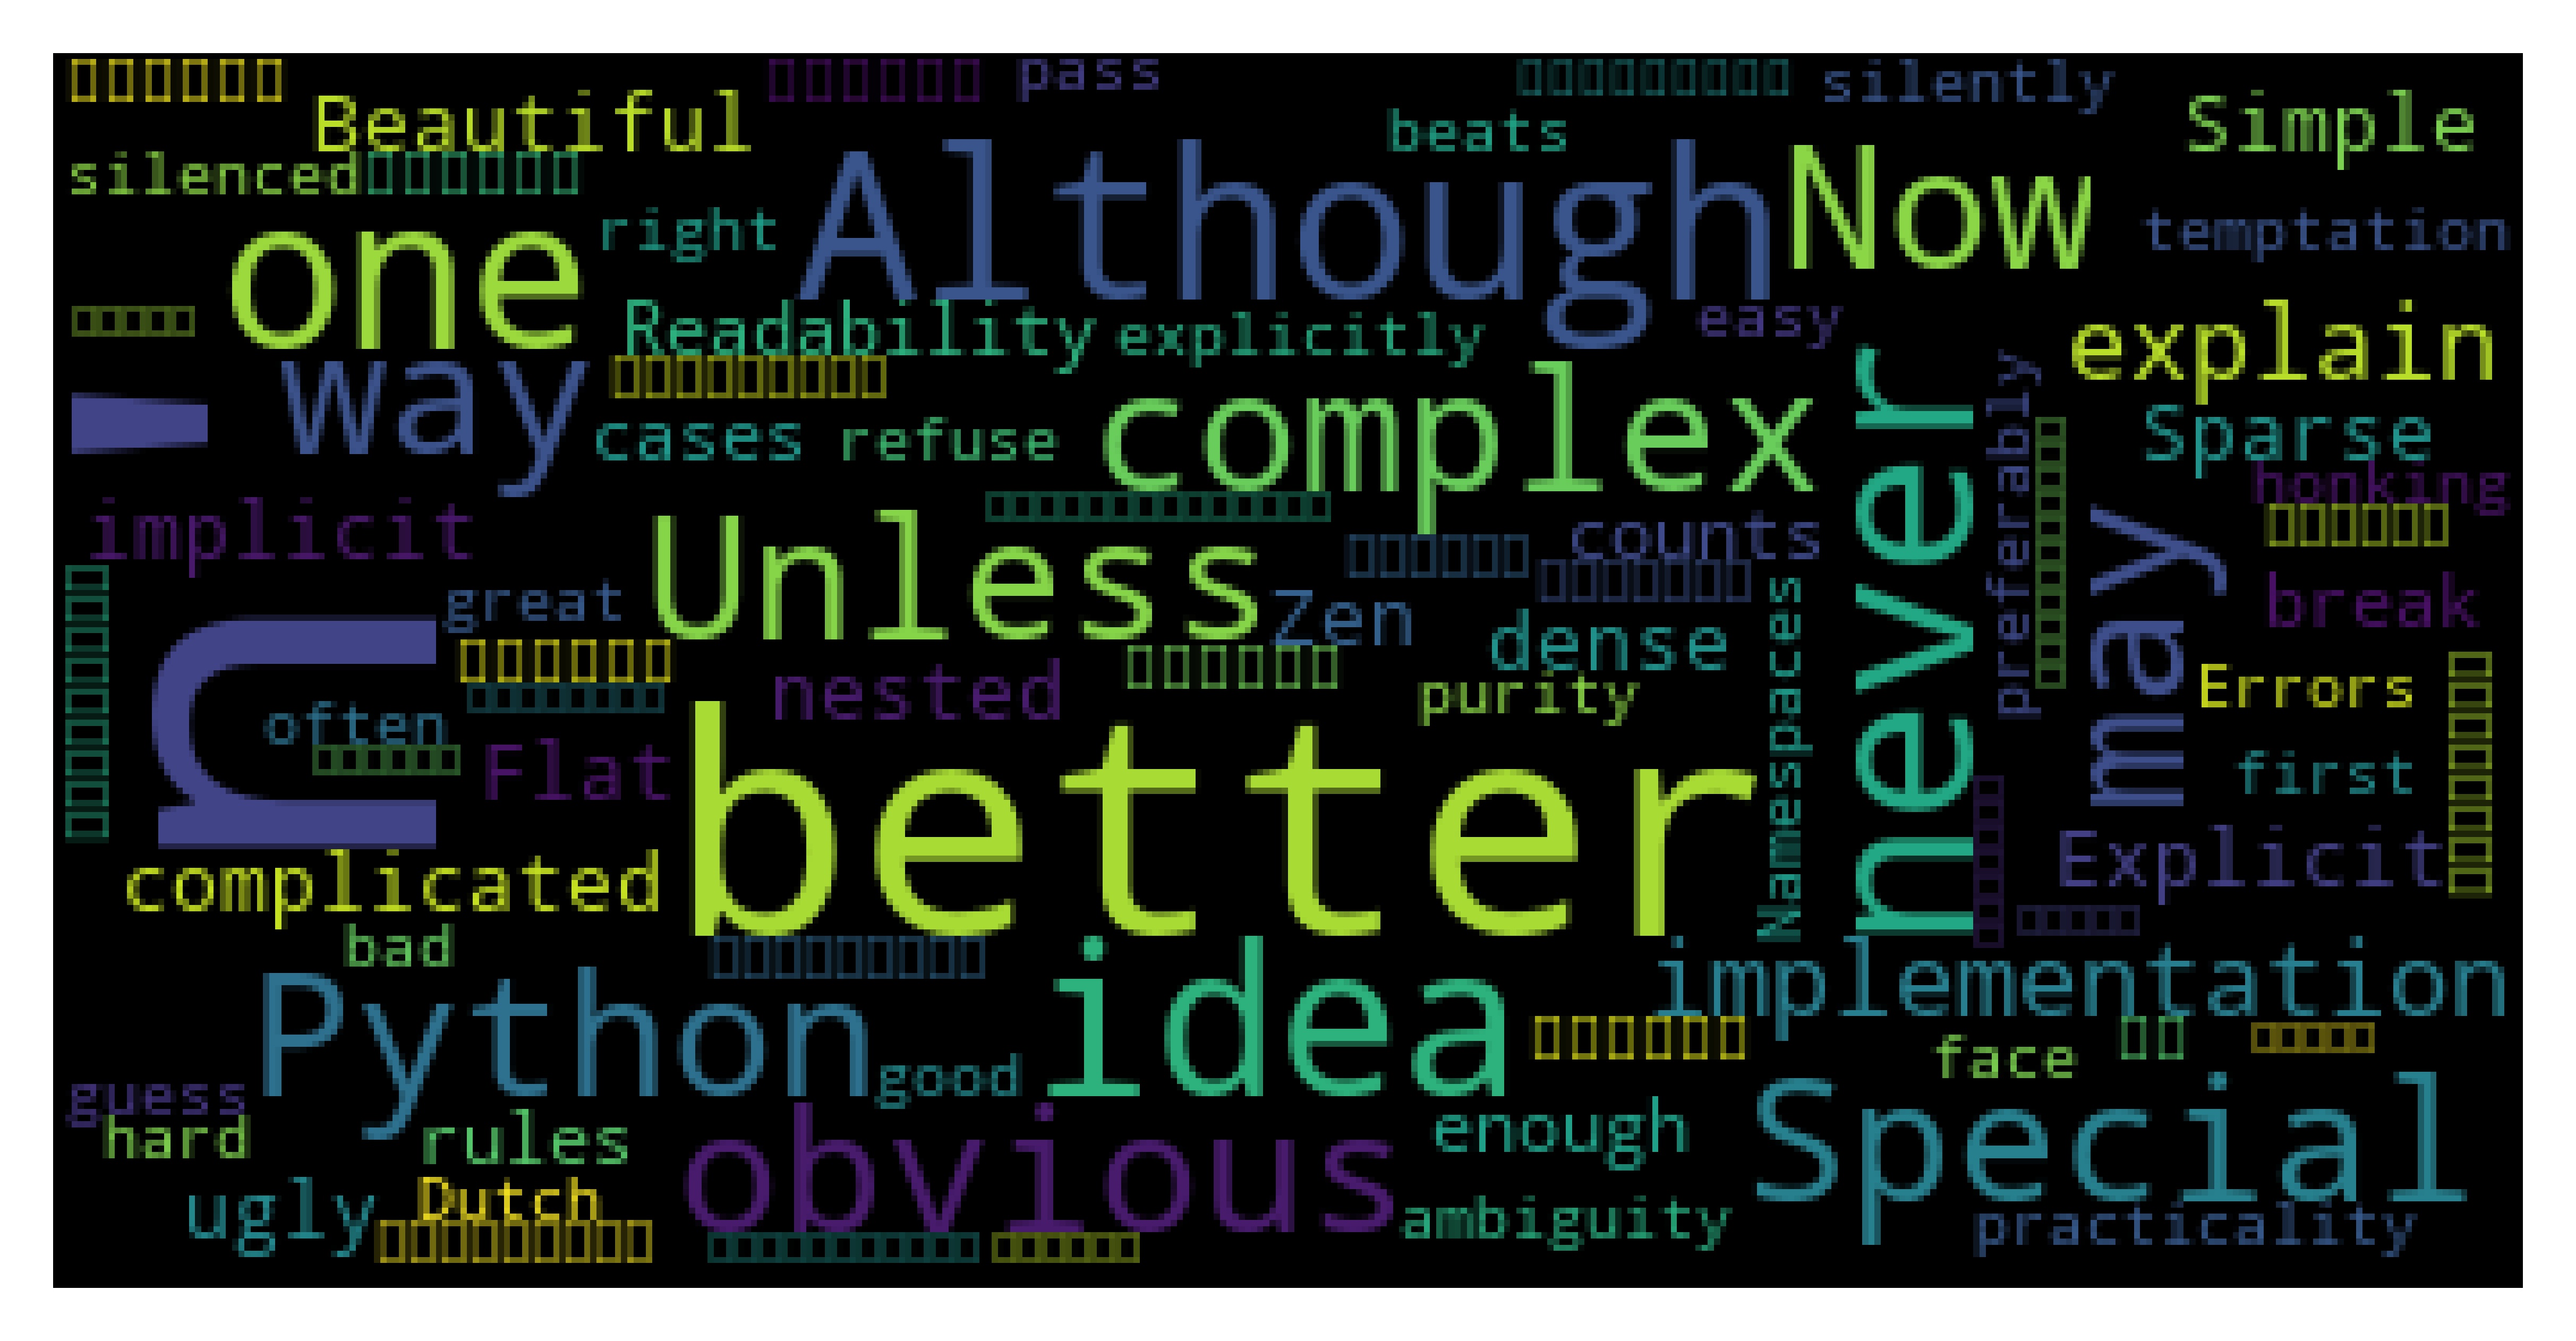
- Chinese display problem: Chinese cannot be displayed (some small squares)
- Add parameter: font_path = 'simsun.ttc' (you can choose another font from C:\Windows\Fonts)
- As a result, the small box disappears (the picture is not obvious due to the PDF document selection)
mycloud = WordCloud(font_path = 'simsun.ttc').generate(str(mytext))
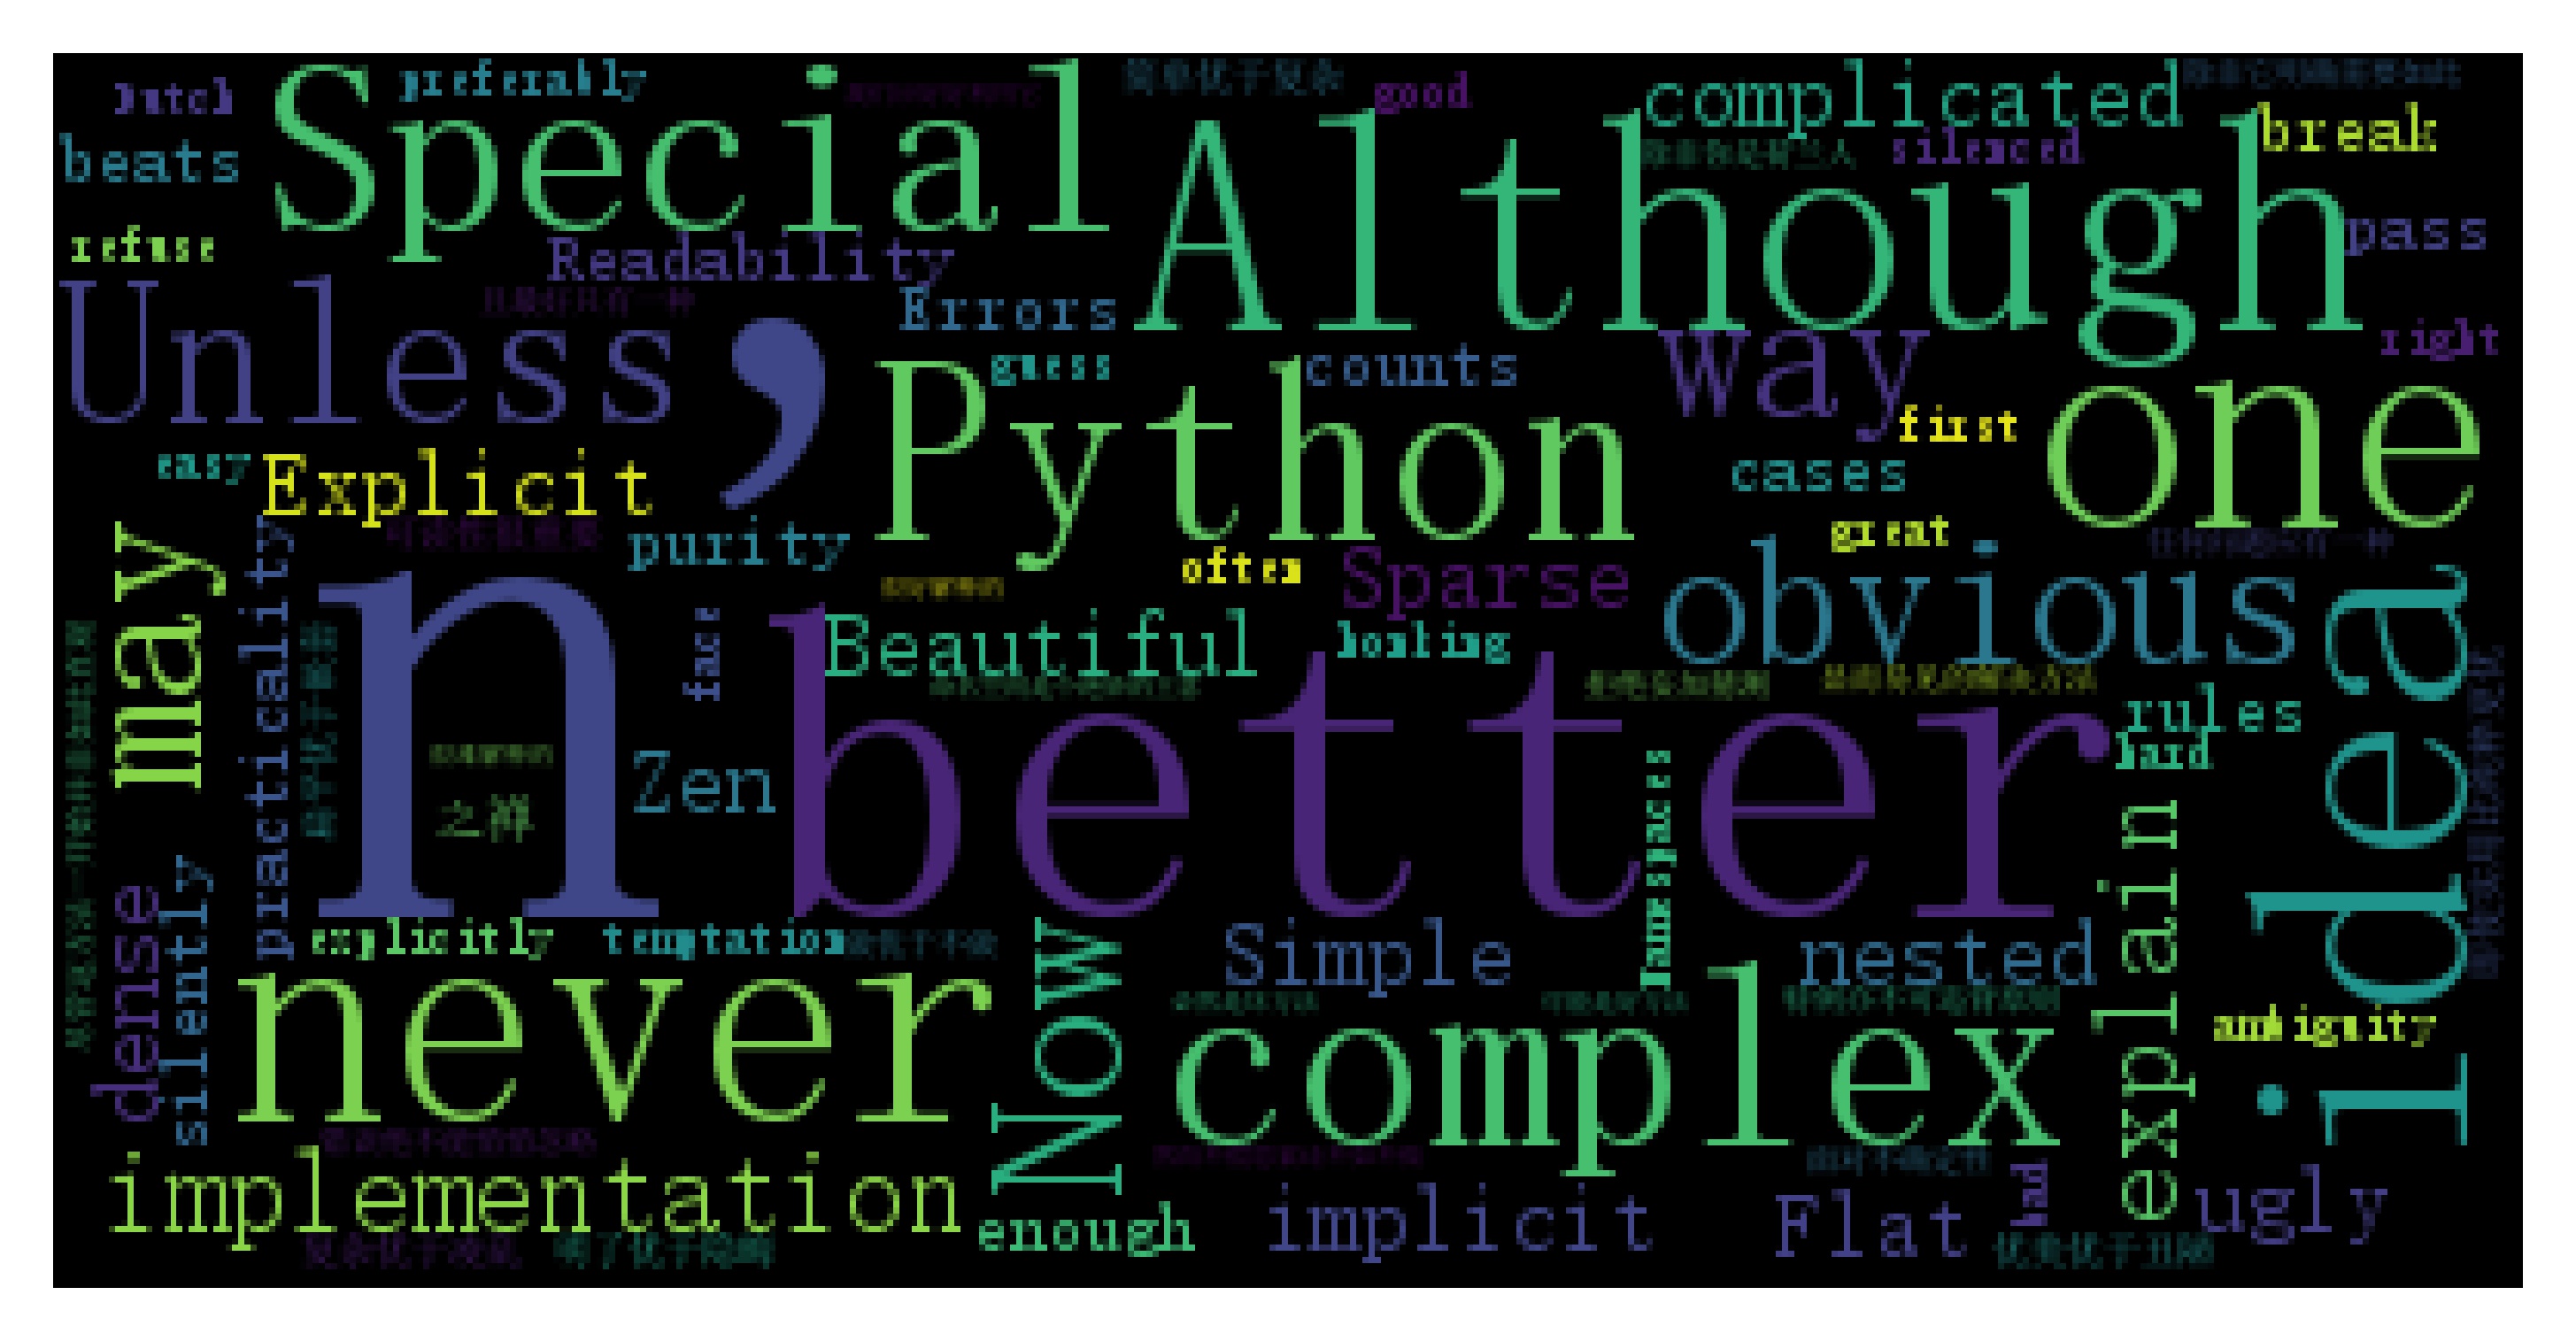
- Thinking question: do you find that "n" is the biggest? Why do you think about it? I'm sure you'll get rid of it. I won't be long winded again!
- Beautify the cloud map of words: find some parameters by yourself: for example, background color, etc!
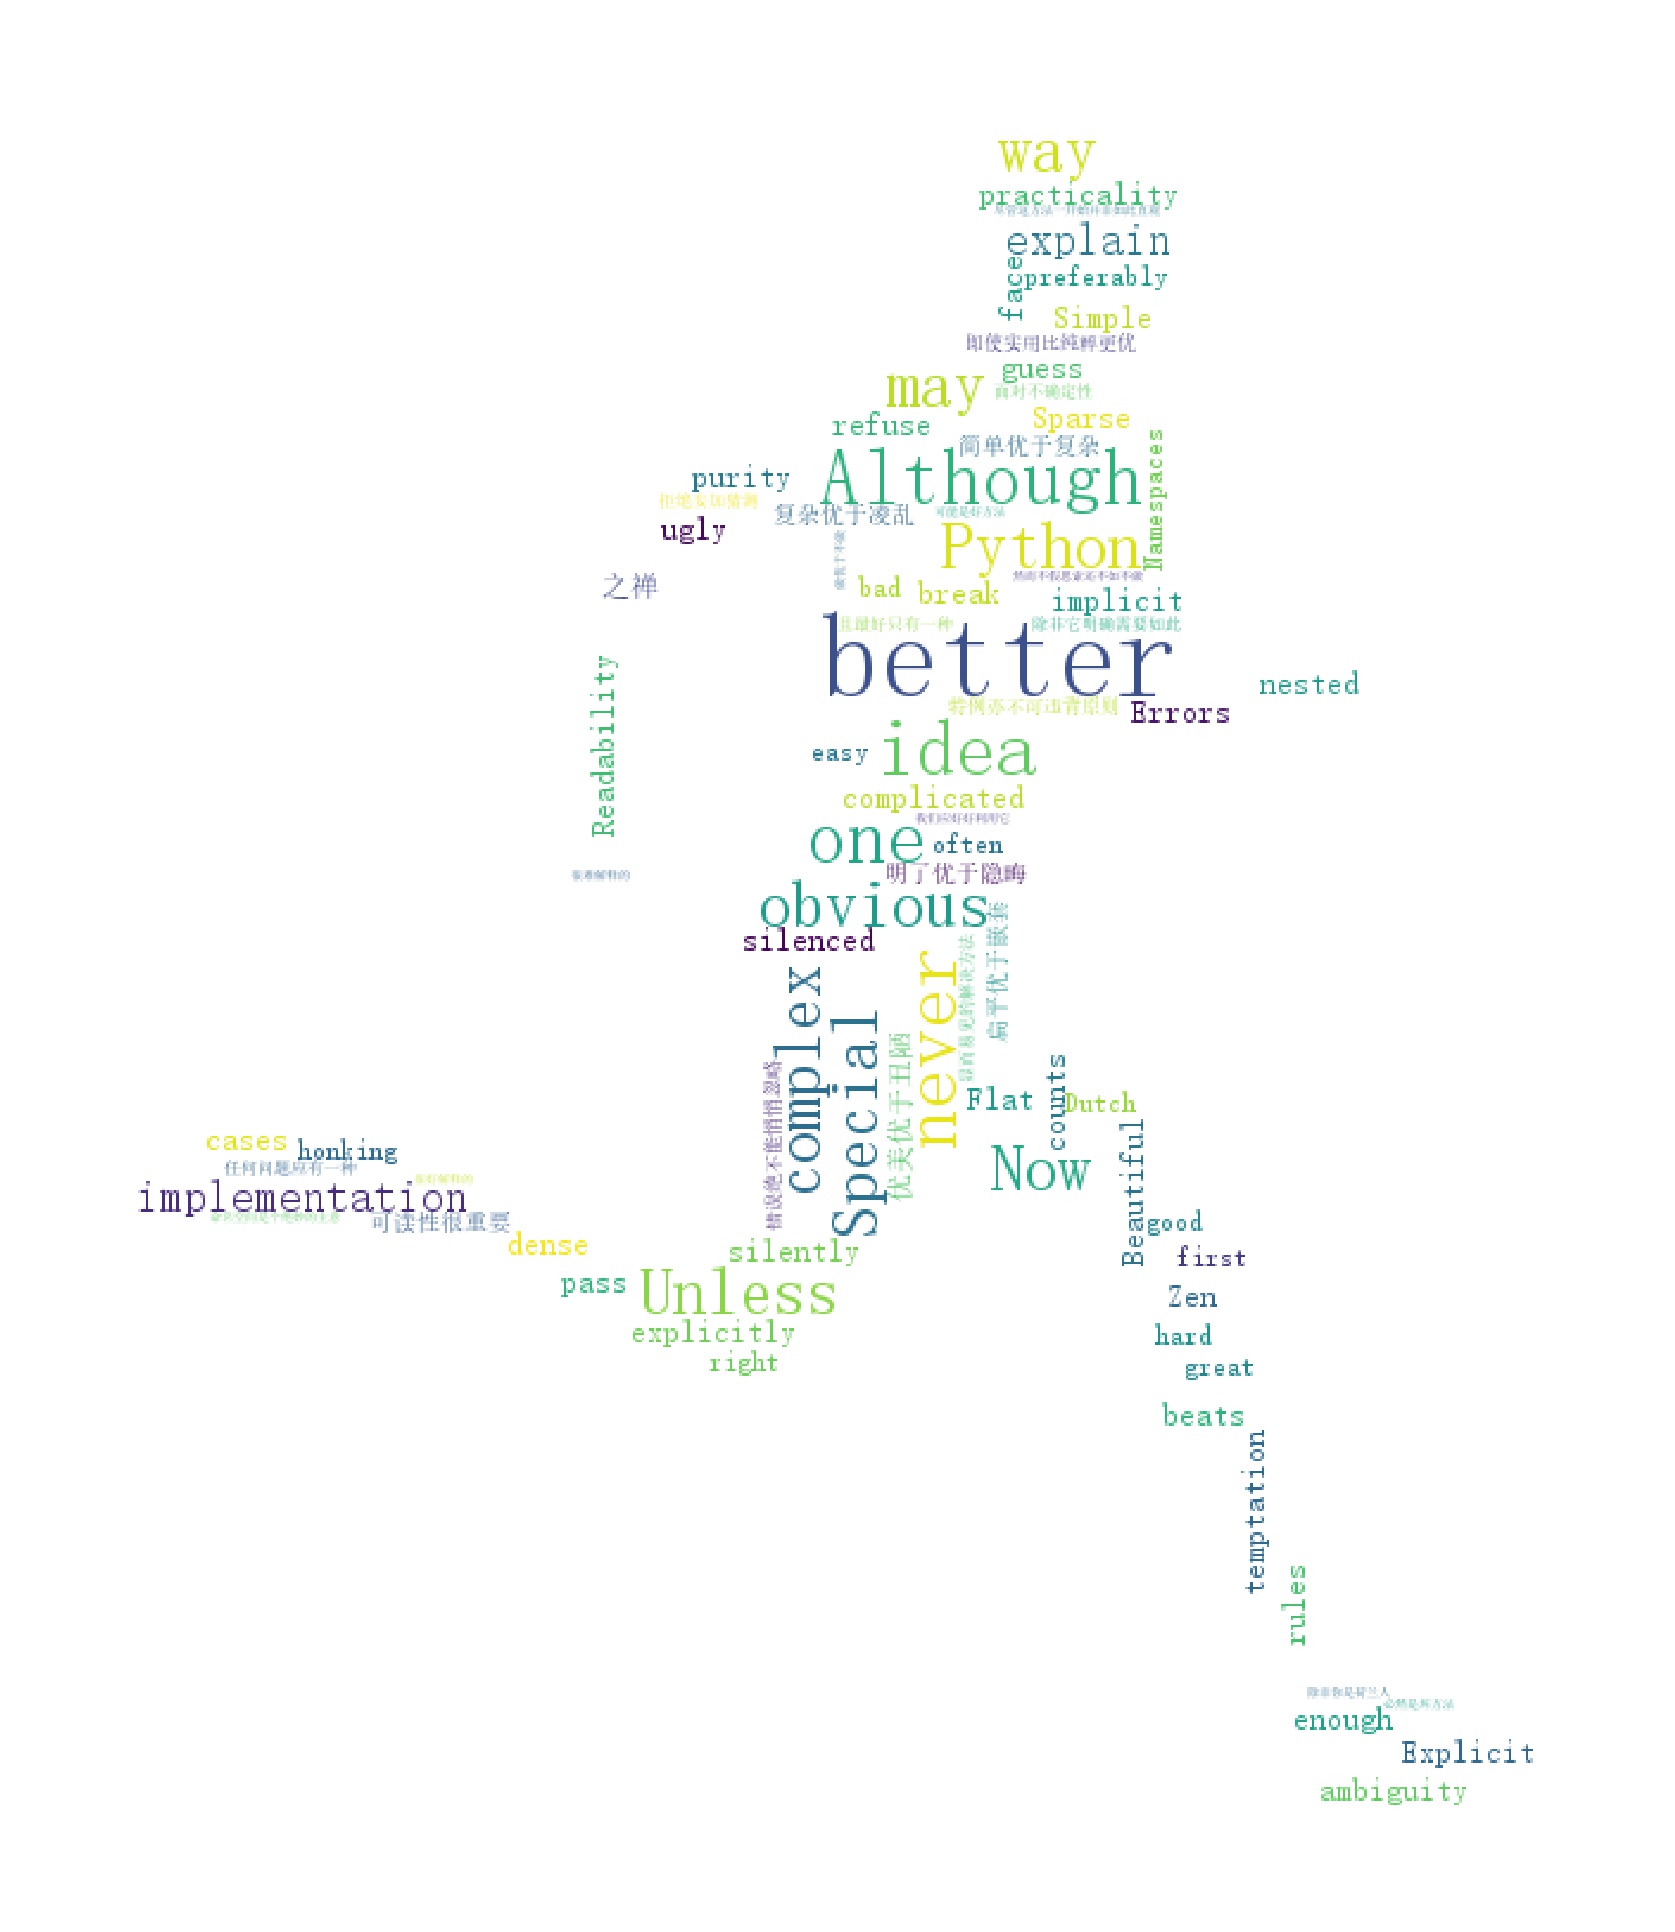
- Can we generate word cloud graphs of other graphs (rectangular word graphs are disgusting)? Of course, no problem, look at the code (no longer parsing, directly encapsulating the code)!
from wordcloud import WordCloud
import matplotlib.pyplot as plt
import imageio

filename = "Python.txt"
mytext = open(filename).read()

picture = imageio.imread('people.jpg')

mycloud = WordCloud(
                background_color = 'white',  # background color
                max_words = 20000,           # Maximum number of words
                mask = picture,              # Draw word cloud with this parameter value, and width and height will be ignored
                max_font_size = 30,          # Display the maximum value of the font
                font_path = 'simsun.ttc',    # To solve the problem of display word disorder
                collocations=False,          # Avoid repetition
               ).generate(mytext)

plt.imshow(mycloud)

plt.axis('off')

plt.savefig('new.jpg',dpi=1000,edgecolor='blue',transparent=True, bbox_inches='tight', quality=95)
plt.show()
- Writing is not easy. Don't go whoring for nothing!
- The praise and concern of the friends is the biggest encouragement for Zhang to insist on writing!
- Keep updating, not finished to be continued
- Let's look forward to it!
- Concluding Remarks: Life is short, U need Python!
Next: natural language processing (2): pdfminer3k Library Tutorial

