Preface
MySQL backup generally uses full library backup plus log backup. Depending on business needs, you can use full backup at 1 a.m. every Sunday and incremental backup every hour to recover the most complete data when MySQL fails.
1. Bilog Log Recovery
MySQL's binary logs record all additions and deletions to the database (provided you have to turn on the binlog yourself), as well as the execution time of those operations. The binlog usage scenario is master-slave synchronization and database recovery.To turn on binlog, you need to edit the main configuration file of MySQL as follows:
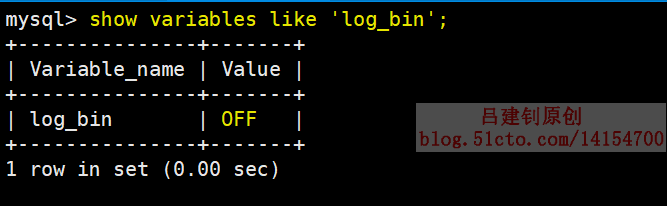
1. Check if the binary function is on (as follows, OFF means not on):
2. Turn on binary logging:
[root@mysql ~]#  vim /etc/my.cnf    #Write the following configuration under the mysqld field to open the binary log and specify the binary file name
#Opening binary log requires specifying server-id, otherwise the service will fail to start
log-bin=/usr/local/mysql/data/bin_log
server-id=1
[root@mysql ~]# systemctl restart mysqld
#After restarting, two files will be generated in the specified directory, as follows:
[root@mysql data]# pwd
/usr/local/mysql/data
[root@mysql data]# ls | grep bin_log
bin_log.000001   #Each time you restart the mysql service or execute the flush logs command, a new file of this type is generated, 000001, 000002...
bin_log.index       #This file stores the index of all binaries
When the binary logging function is turned on, all additions and deletions will be recorded in the binary log file. Note that additions and deletions are operations, not including check operations.
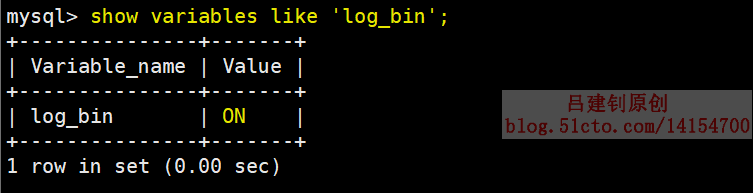
3. Make sure that binary logging is on
4. Perform additions and deletions to test whether bin_log has a record
mysql> reset master;            #Empty all binaries, starting at 00001
<!--Create a library and create a table in it-->
mysql> create database test_db1;
mysql> use test_db1;
mysql> create table tb1(id int primary key auto_increment,name varchar(20));
<!--Insert two pieces of data into the table-->
mysql> insert into tb1(name) values('zhangsan');
mysql> insert into tb1(name) values('lisi');
#Restart a new log file to perform the operation.Note that at this point all the above operations are written to the first binary log file
mysql> flush logs;
mysql> delete from tb1 where name='lisi';    <!--Delete the second inserted data-->
mysql>  insert into tb1(name) values('tom');         <!--Insert a new piece of data-->
<!--The above operation was written to the second log file-->
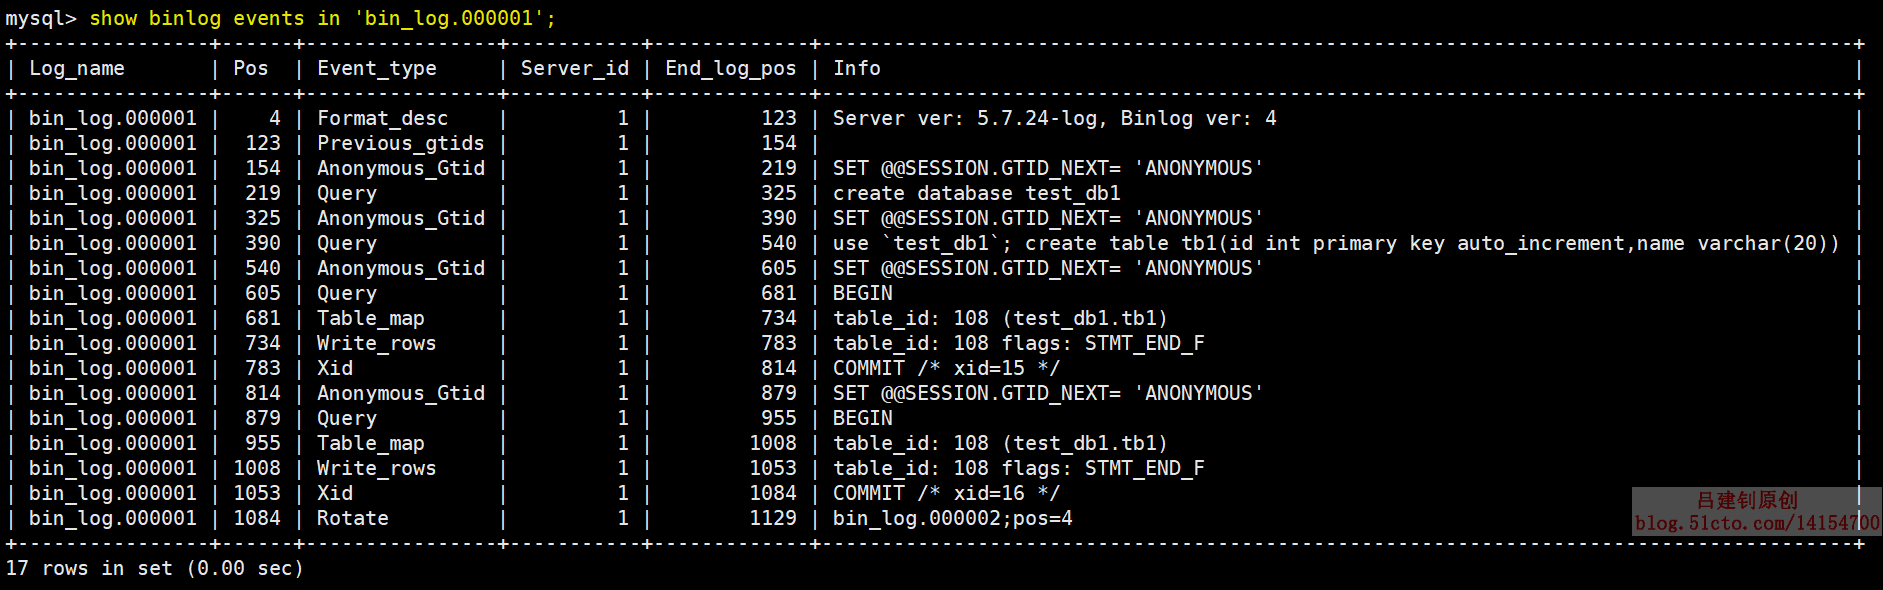
5. View binary log files and their contents in MySQL
View binary log files:
View the contents of the binary log file:
The complete command format is as follows:
SHOW BINLOG EVENTS[IN 'log_name'] [FROM pos] [LIMIT [offset,] row_count]
# in: Specify the binary file to view;
# From: Specify from which "pos" location to start viewing
# Limit: limit the number of rows returned, offset refers to how many rows are skipped before being displayed
Note: If you do not specify a binary file name, the events in the first binary log file are displayed by default, and the contents of the file include the log file name, the start location, event type, end location, information, and so on.
Other commands:
- show master logs: also view binary log files;
- PURGE BINARY LOGS: Used to delete binaries;
Example:
- PURGE BINARY LOGS TO'mysql-bin.00010'; #Remove all other files before this file
- PURGE BINARY LOGS BEFORE'2016-08-28 22:46:26'; #Deleted binary files before specified time
6. View binary log content locally using mysqlbinlog
[root@mysql data]# pwd
/usr/local/mysql/data
[root@mysql data]# mysqlbinlog bin_log.000001
#Use the -v option to see the details in the log file, two vs to see more details, but three vvv s won't help
[root@mysql data]# mysqlbinlog -v bin_log.000001
[root@mysql data]# mysqlbinlog -vv bin_log.000001
7. Recover data from binary logs
Assuming that the sql statement that started deleting the lisi record was a mistake, the data will now be recovered from the binary log.
1) First, you need to find the location of the sql statements deleting lisi records in the binary log. Each sql statement is a transaction, so you need to start from its begin to commit to be a complete sql statement.The following: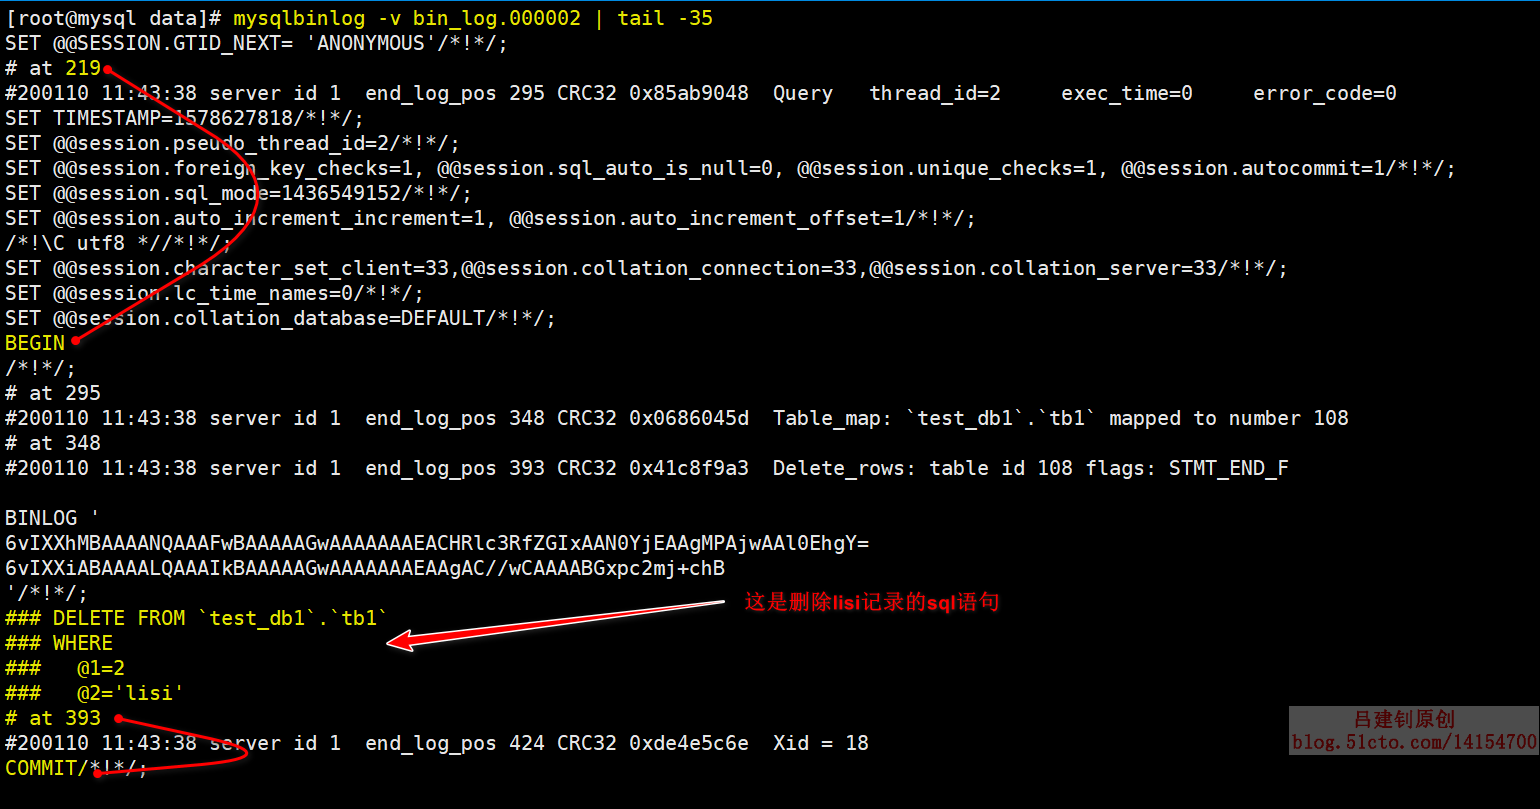
As you can see above, the delete event occurrence position is 219 and the event end is 393.
2) Event recovery process: directly restore the database to the deletion location 219 using the bin-log log, then skip the failure point, and then restore all the following operations, the specific recovery process is as follows:
Export related binlog files (convert binaries to sql statements to generate new files):
[root@mysql data]# mysqlbinlog bin_log.000001 > /tmp/01.sql
[root@mysql data]# mysqlbinlog --stop-position=219 bin_log.000002 > /tmp/219.sql
[root@mysql data]# mysqlbinlog --start-position=393 bin_log.000002 > /tmp/393.sql
The first of these instructions is to use msyqlbinlog to view the first binary file and generate a new file. The second two instructions - - stop-postition means that you don't view it until 219, and you don't start to view it until 393.The final result is that the newly generated file will not contain sql statements that delete lisi records.
3) Delete database
mysql> drop database test_db1;
4) Restore data using binlog
[root@mysql data]# mysql -uroot -p123.com < /tmp/01.sql   #Restore the first log file
[root@mysql data]# mysql -uroot -p123.com < /tmp/219.sql   #Restore the second
[root@mysql data]# mysql -uroot -p123.com < /tmp/393.sql    #Restore the third
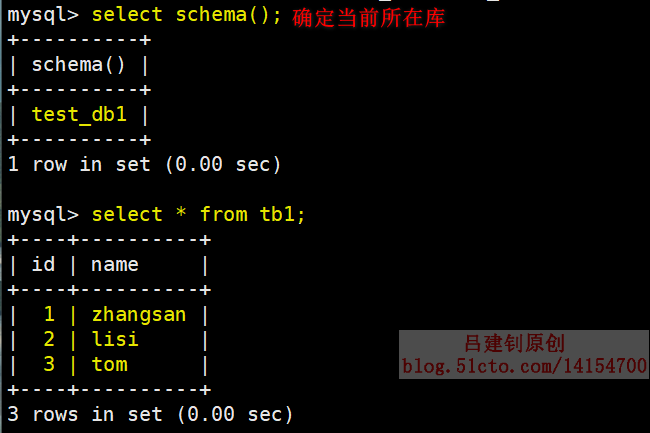
5) Determine that the data has been recovered
2. mysqldump backup tool
Mysqldump is a tool MySQL uses for backup and data transfer.It mainly produces a series of SQL statements, which can be encapsulated into a file containing all the SQL commands needed to rebuild the database, such as CREATE DATABASE, CREATE TABLE, INSERT, and so on.It can be used for lightweight, fast migration or database recovery.Mysqldump is the most common backup method, which imports data tables into SQL script files and is relatively appropriate to upgrade between MySQL versions.Mysqldump can generally be used for backups when the amount of data is small (several G s).Backups with the mysqldump tool are not recommended when there is a large amount of data.
mysqldump can be exported for a single table, multiple tables, a single database, multiple databases, and all databases.
Example use of mysqldump:
1. Back up a table
[root@mysql backup]# mysqldump -u root -p123.com mysql user > mysql-user.sql          #Backup user table in mysql Library
[root@mysql backup]# ls                  #View backup files
mysql-user.sql
2. Restore user tables in mysql database
[root@mysql backup]# mysql -u root -p123.com mysql < mysql-user.sql
3. Back up mysql Library
[root@mysql backup]# mysqldump -u root -p123.com --databases mysql > mysql.sql            #Backup mysql Library

[root@mysql backup]# ls             #View backup files
mysql.sql
4. Restore mysql Library
[root@mysql backup]# mysql -u root -p123.com < mysql.sql
5. Back up all libraries (when exporting a large amount of data, you can add the'--opt'option to optimize execution speed)
[root@mysql backup]# mysqldump -u root -p123.com --opt --all-databases > all-data.sql         #Back up all libraries

[root@mysql backup]# ls              #View backup files
all-data.sql