One backend code deployment
1 Django packaging
1 setup.py file creation
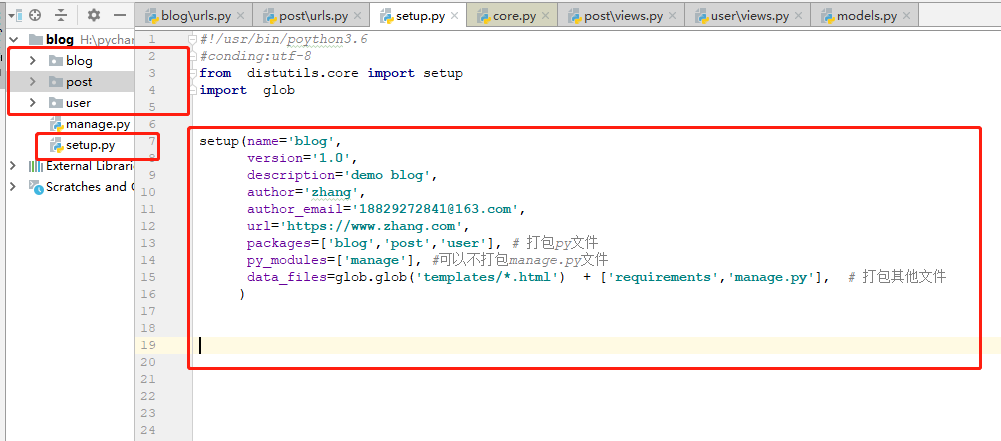
The details are as follows
#!/usr/bin/poython3.6
#conding:utf-8
from  distutils.core import setup
import  glob

setup(name='blog',
      version='1.0',
      description='demo blog',
      author='zhang',
      author_email='18829272841@163.com',
      url='https://www.zhang.com',
      packages=['blog','post','user'], # Package py file
      py_modules=['manage'], #Can not package the manage.py file
      data_files=glob.glob('templates/*.html')  + ['requirements','manage.py'],  # Package other files
     )
2. Package the application in the root directory as follows
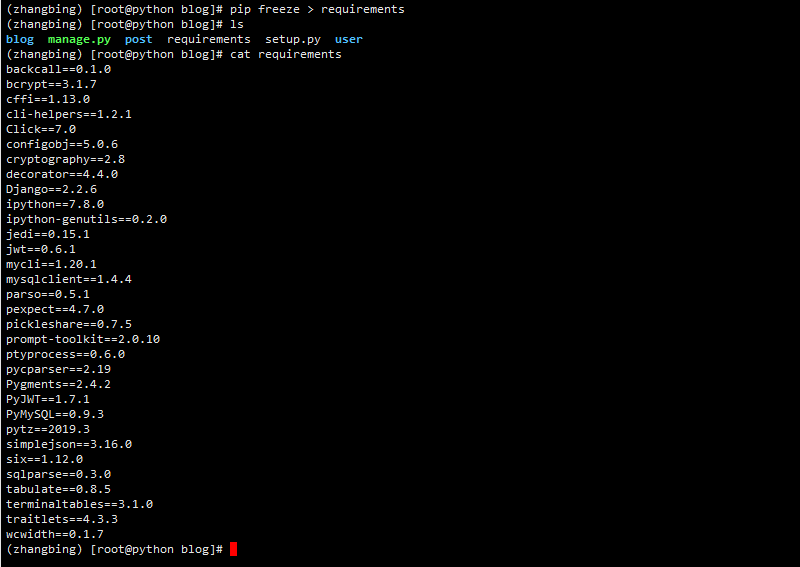
1 export dependent installation configuration
pip freeze > requirements # The file name here needs to be the same as other files in the package above
The results are as follows
2 Pack
python setup.py sdist --formats=gztar #This indicates that the package file is tar.gz
as follows

2 deployment
1 create and process directories and related virtual environments
 mkdir blog01
 cd blog01/
 pyenv virtualenv 3.5.3  blog01
 pyenv local blog01
give the result as follows

2 installation dependency and deployment
1 installation dependent
yum -y install mysql-devel python-devel
2 deployment
Copy the previous package to this directory and extract and rename it

Installation dependency
cd blog/
 pip install --upgrade pip  # Upgrade installation package
pip install -r  requirements
View installation results

Startup service
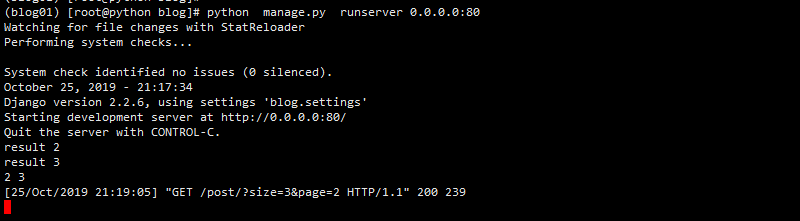
python manage.py runserver 0.0.0.0:80
give the result as follows
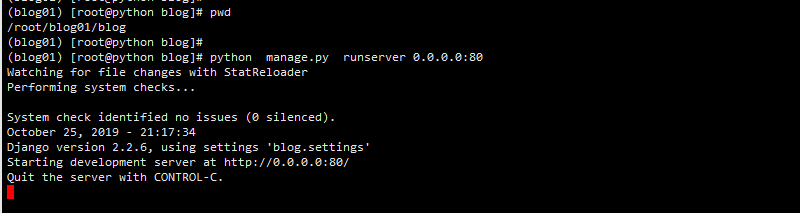
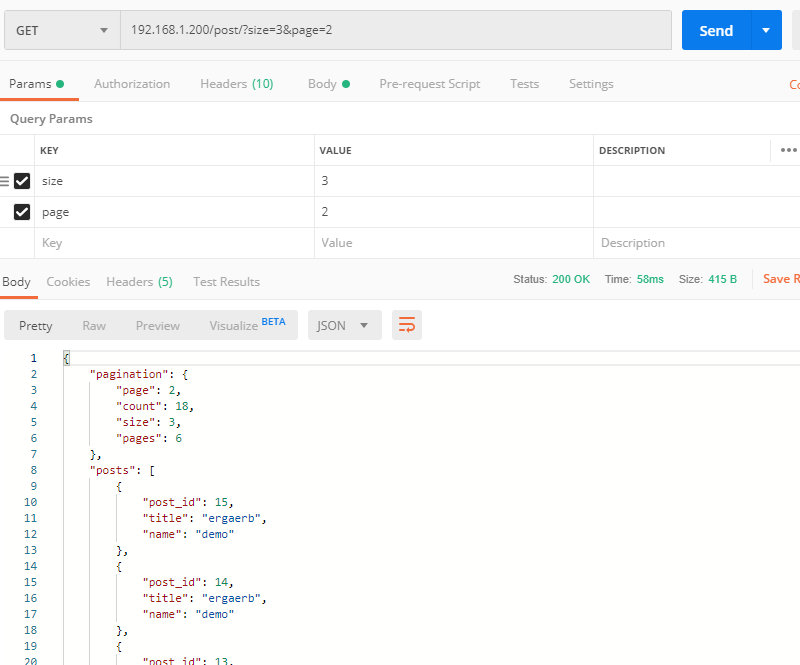
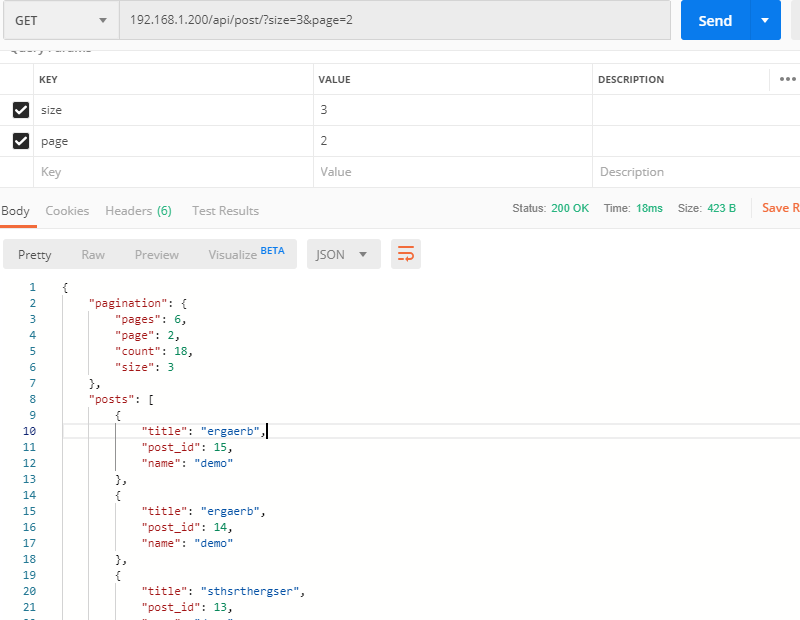
The test is as follows
Two UWSGI
1 WSGI overview
web server gateway interface is the interface definition between Web Server and application program defined in python.
The application is in the charge of django of WSGI, while the server of WSGI can be in the charge of UWSGI
2 UWSGI
UWSGI is a C language project that provides a WEB server that supports WSGI protocol and can communicate with python's WSGI applications.
Official documents
https://uwsgi-docs.readthedocs.io/en/latest/
UWSGI can start HTTP service directly and accept HTTP request. And call django application
3 installation and configuration
1 installation
pip install uwsgi
Check if the installation is successful

2 uWSGI+ Django project deployment
The root directory is as follows

Run the following code in the django project root directory
uwsgi --http :8000 --wsgi-file blog/wsgi.py --stats :8001
The test is as follows

The above indicates normal operation
Related configuration of three nginx
1 HTTP nginx reverse proxy configuration
The basic environment is as follows

The configuration is as follows
Modify the configuration file / etc/nginx/conf.d/default.conf to add the following
    location ^~  /api/   {
        rewrite  ^/api(/.*)  $1  break;  #Rewrite the URL, remove the previous api, $1 means the corresponding URL after removing the api
        proxy_pass  http://192.168.1.200:8000;
    }
The effective configuration is as follows
systemctl reload nginx
The test is as follows
2 deploy UWSGI
At present, nginx and uwsgi directly use HTTP communication, which is inefficient and needs to be modified to uwsgi communication.
1 create blog.ini file
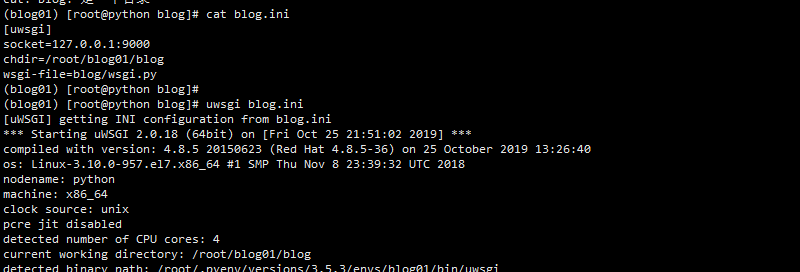
1 the root directory of this project is / root/blog01/blog, so blog.ini is put in this directory, and the relevant contents are as follows
[uwsgi]
socket=127.0.0.1:9000
chdir=/root/blog01/blog
wsgi-file=blog/wsgi.py
Startup service
uwsgi blog.ini
as follows
2 modify nginx reverse proxy as follows
    location ^~  /api/   {
        rewrite  ^/api(/.*)  $1  break;
        #proxy_pass  http://192.168.1.200:8000;
        include  uwsgi_params;
        uwsgi_pass  127.0.0.1:9000;
    }
Effective configuration and overload
systemctl reload nginx
The test is as follows

Four front end project packaging
1 react project packaging
1 rimraf installation
Its function is to delete files recursively, equivalent to Rm-rf
npm install rimraf --save-dev
2 package.json configuration
Replace in package.json, and the result is as follows

The function of the above build is to execute the command corresponding to build when calling build
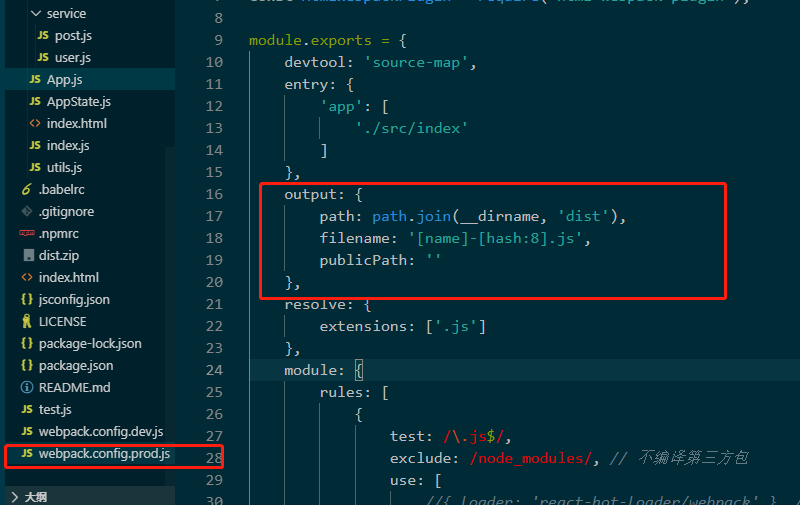
Modify webpack.config.prod.js as follows
3 construction
npm run build
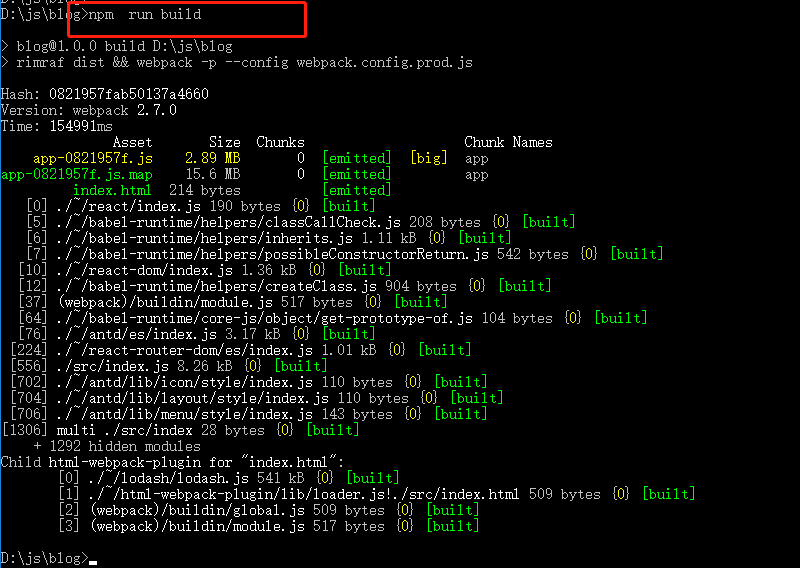
Upload package
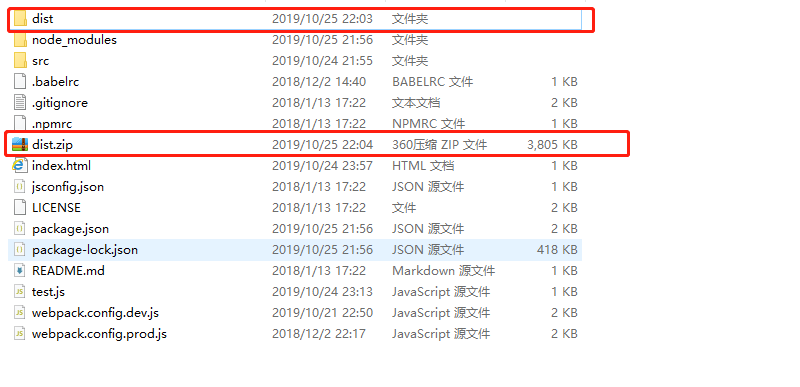

Modify nginx configuration as follows

The overload configuration is as follows

Visit is as follows
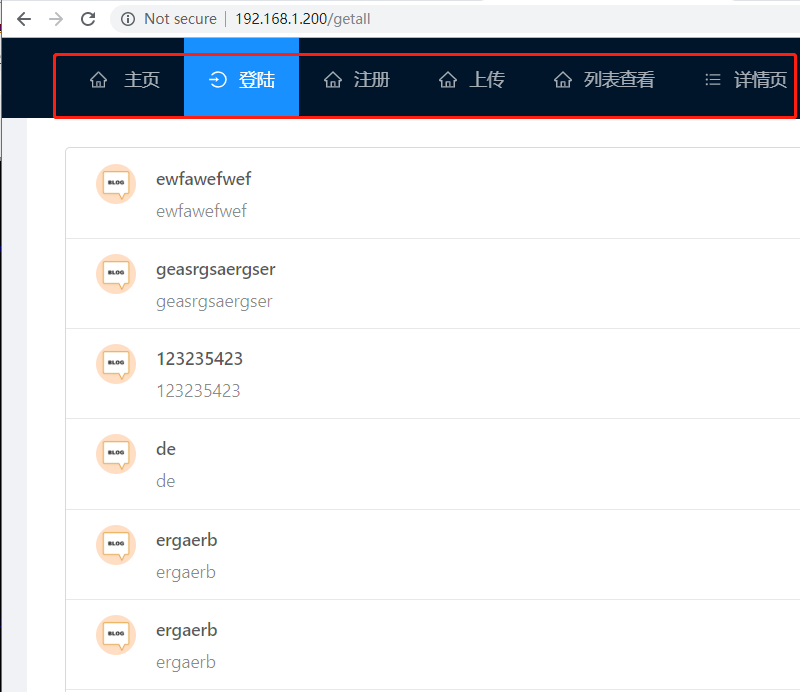
Basic deployment of blog platform completed