MONGDB installation and use
Let's review what we shared last time:
- How to use log package
- Principle and implementation of log package
- Custom log
If you are still interested in GO's log package, you can check the article How to play GO's log?
Today, let's play a simple mongodb installation and use

Introduction to MONGODB
MongoDB is a database based on distributed file storage
Written in C + +
MongoDB mainly provides scalable high-performance data storage solutions for WEB applications
Yes / no relational database has the most abundant functions. It supports very loose data structure, which is similar to JSON BSON format
The syntax of MONGODB is a bit similar to the object-oriented query language, and it is also very simple for us to use

mongodb installation
Download mongodb installation package
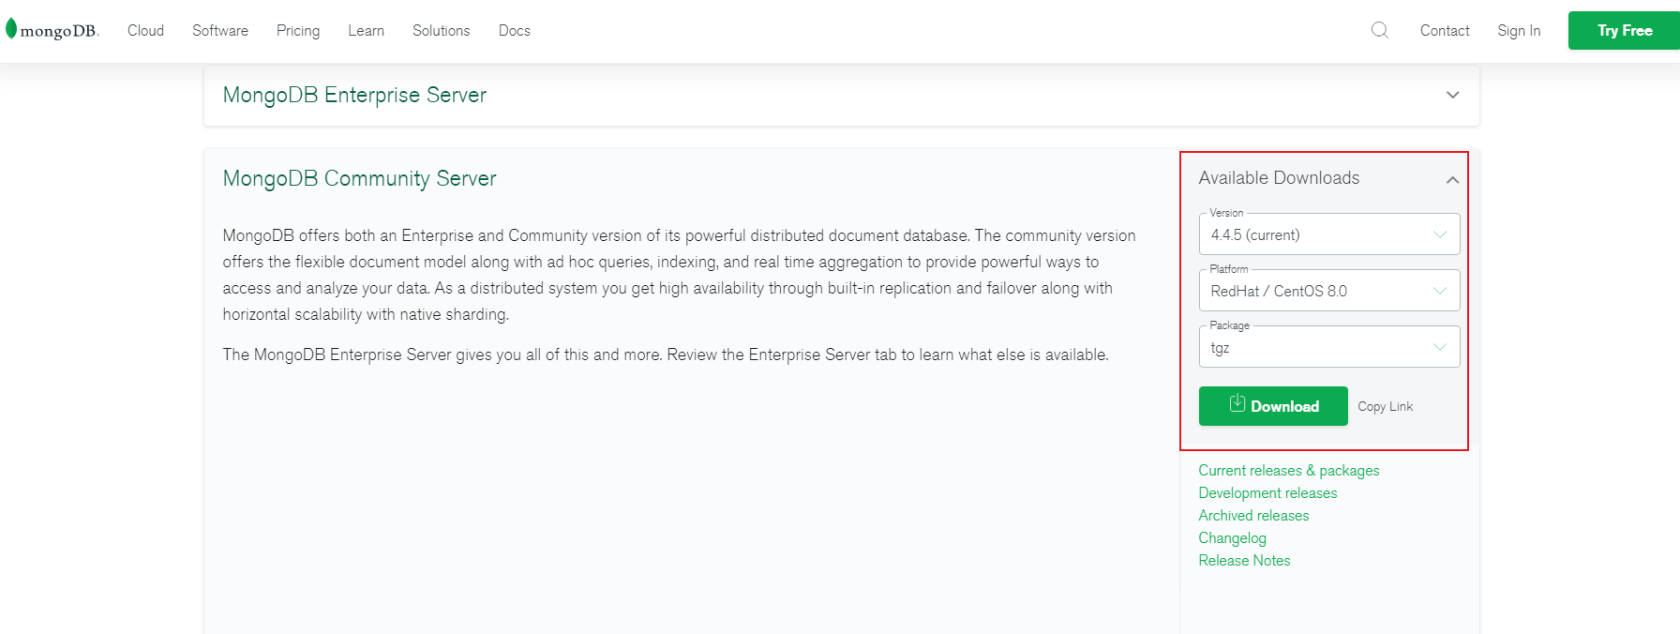
website: www.mongodb.com/try/download/commu...
You can download mongdb installation packages of multiple systems on the official website, such as windows, centos, ubuntu, etc., as shown in the figure

According to the content on the page, we can choose different versions and ask for them on demand. By default, we will be crab eaters and go directly to the latest version

Install MONGODB software
Unzip the mongodb package
tar xvf mongodb-linux-x86_64-rhel80-4.4.4.tgz
Change the extracted directory to mongodb and move it to / usr/local
mv mongodb-linux-x86_64-rhel80-4.4.4.tgz mongodb
mv mongodb /usr/local/
Enter the mongodb directory
- Create data directory
- Create db directory under data directory
- Create a log directory under the data directory
mkdir data
cd data
mkdir db
mkdir log
Go back to the mongo directory, create the mongodb configuration file, mongodb.conf, and then use it for startup
It needs to be configured under mongodb.conf
- dbpath
Data storage location of database
- logpath
Log file storage location
- logappend
Is the log appended
- port
Port number
- auth
Is certification required
- fork
Run as a daemon
bind
Restrict the ip address of remote access. If there is no restriction, you can write 0.0.0.0
dbpath=/usr/local/mongodb/data/db
logpath=/usr/local/mongodb/data/log/mongodb.log
logappend=true
port=27017
auth=true
fork=true
bind_ip=0.0.0.0
Write the mongodb executable program to / etc/profile, and the file will be read automatically when starting up
export MONGODB_HOME=/usr/local/mongodb
export PATH=$PATH:$MONGODB_HOME/bin
Start mongodb service
mongod -f /usr/local/mongodb/mongodb.conf
About firewall
You can directly close the firewall of the system
The firewall opens port 27017 to allow clients to connect mongdb
Viewing the status of MONGODB
Query mongodb status
ps aux |grep mongodb
View port
netstat -antp |grep 27017
Close mongodb
There are the following two operations. You can choose what you like and use what you like

Kill the PID through the kill command
mongod -f /usr/local/mongodb/mongodb.conf --shutdown
mongodb sets the role, user name and password
- /The configuration of usr/local/mongodb/mongodb.conf is as follows. We can set auth to false. When the auth field is turned on, authentication is turned on, and when it is turned off, authentication is turned off

- mongodb has multiple roles
| role | |
|---|---|
| user | read,readWrite |
| administrators | dbAdmin,dbOwner,userAdmin |
| Cluster Administrator | clusterAdmin,clusterManager,clusterMonitor,hostManager |
| Backup and restore permissions | backup,restore |
| All database permissions | readAnyDatabase,readWriteAnyDatabase,userAdminAnyDatabase,dbAdminAnyDatabase |
| Super user | root |
| Internal role | __system |
Use of mongodb database
Select database
use xxx
Create administrator account
db.createUser({user:'admin2',pwd:'123456',roles:[{role:'readWriteAnyDatabase',db:'admin'}]})After execution, the following effects are obtained:
Successfully added user: {
        "user" : "admin2",
        "roles" : [
                {
                        "role" : "readWriteAnyDatabase",
                        "db" : "admin"
                }
        ]
}
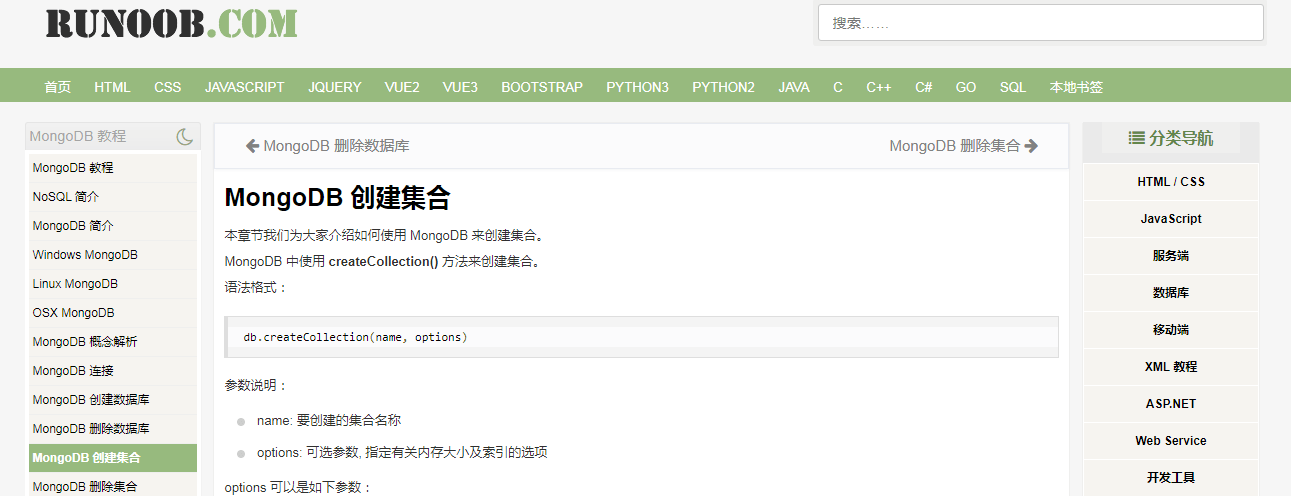
Next, for the specific mongodb database operation, you can learn a wave from the rookie tutorial, which will be used soon
www.runoob.com/mongodb/mongodb-cre...

mongodb setting startup
Add a mongodb service to init.d
vim /etc/rc.d/init.d/mongod
Write a concrete implementation of this service
start() {
    /usr/local/mongodb/bin/mongod  --config /usr/local/mongodb/mongodb.conf
}

stop() {
    /usr/local/mongodb/bin/mongod --config /usr/local/mongodb/mongodb.conf --shutdown
}
case "$1" in
    start)
     start
     ;;

    stop)
     stop
     ;;

    restart)
     stop
     start
     ;;
      *)
 echo  $"details: $0 {start|stop|restart}"
 exit 1
esac
- Add execution permission to the executable of this service
chmod +x /etc/rc.d/init.d/mongod
- Start mongod
service mongod start
- Close mongod
service mongod stop
- Restart mongod
service mongod restart
Visualization tools
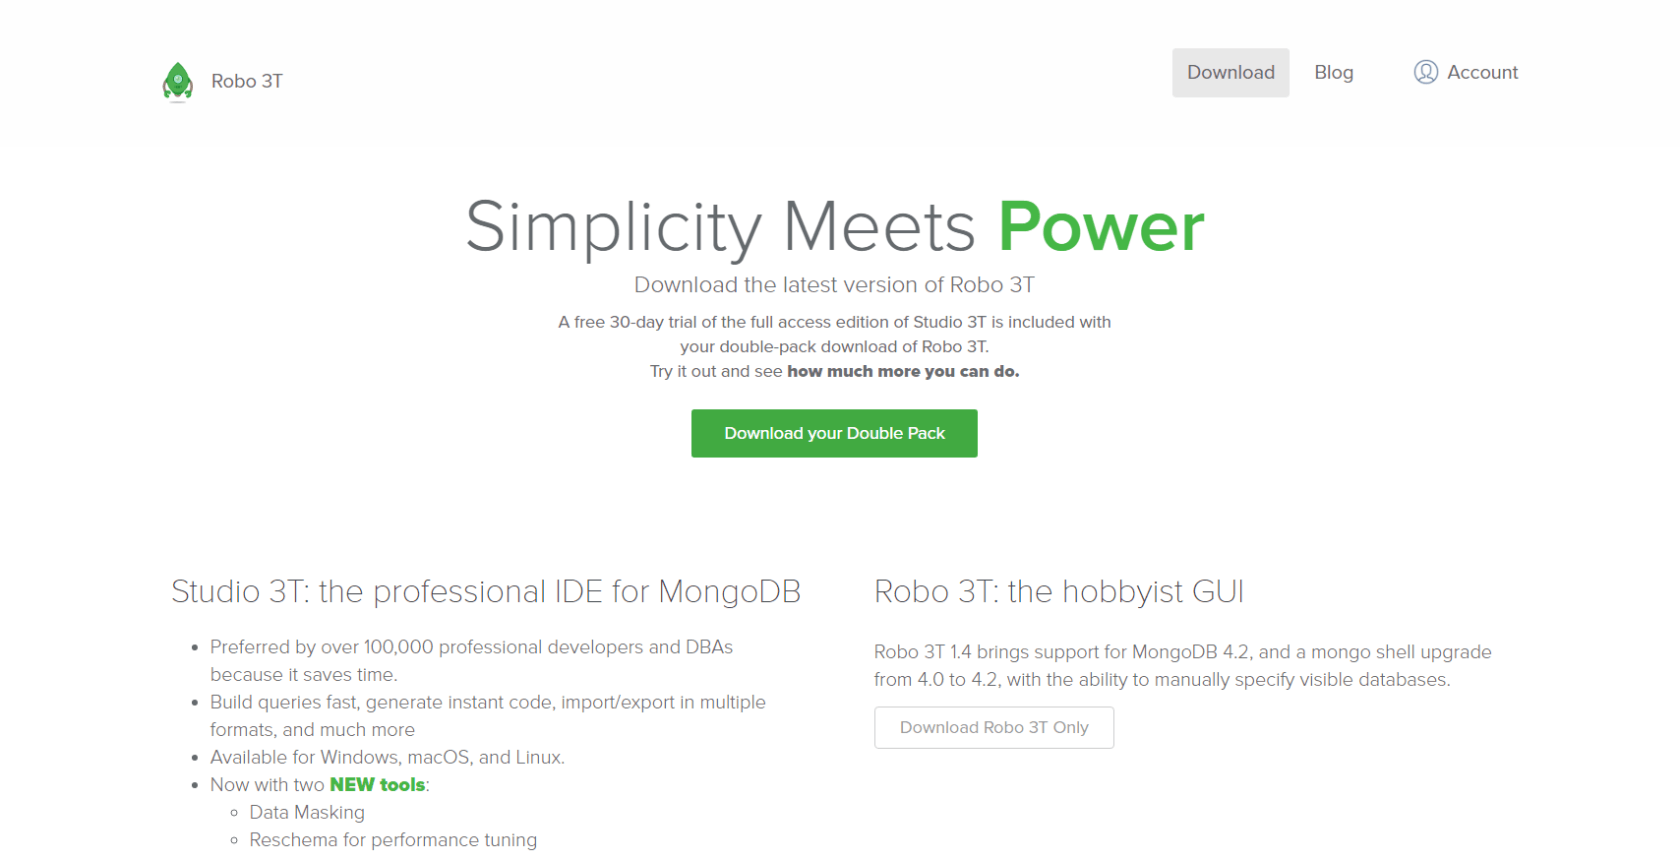
A visualization tool is introduced, which is very easy to use. It is much easier to use than nosql
The download link of Robo 3T 1.3.1 is as follows
The software operation is relatively simple. After you download it, you can get familiar with the interface and use it.

GOLANG simple operation mongodb
There are two kinds of mongodb drivers that we use more:
Mongodb official library, go.mongodb.org/mongo-driver/mongo
Third party library gopkg.in/mgo.v2
The address is: labix.org/mgo
We use the official driver library to introduce mongdb
- increase
- Delete
- change
- check
type Test struct {
    Name         string `bson:"name"`
    Age         int    `bson:"age"`
    CreateTime int64  `bson:"createTime"`
    UpdateTime int64  `bson:"updateTime"`
}


func initMongdb() error {
    // 1. Establish mongodb connection
    // Fill in your mongdb address. The default port is 27017
    clientOptions := options.Client().ApplyURI("mongodb://admin:123456@xxxx:27017/admin?authMechanism=SCRAM-SHA-1")
    mclient, err := mongo.Connect(context.TODO(), clientOptions)
    if err != nil {
        mlog.Error(err)
        return err
    }
    // 2. Select database my_db
    database := mclient.Database("admin")
    // 3. Select table my_collection
    collection := mgMongoDatabase.Collection("deviceToken")

    mlog.Info("connect mongdb successfully")


    // insert data
    record := &Test{
        Name:        "Little Devil boy",
        CreateTime: time.Now().Unix(),
        UpdateTime: time.Now().Unix(),
    }
    result, err := collection.InsertOne(context.TODO(), record)
    if err != nil {
        mlog.Error(err)
        return err
    }
    mlog.Info(result)

    // Update data
   // if err := UpdateData(bson.M{"name": "xxxx"}, bson.D{{"$set", bson.M{"age": 15}}}); err != nil {
    //        mlog.Error(err)
    //        return
    //    }


    //Query a single record
    //data := &DeviceToken{}
    //err = collection.FindOne(context.TODO(),bson.M{}).Decode(data)
    //mlog.Info(data)

    //Query all records
    data := []DeviceToken{}
    cursor, err := collection.Find(context.TODO(), bson.M{})
    cursor.All(context.TODO(), &data)
    mlog.Info(data)


    // Delete a record
    //res ,err := mgMongoCollection.DeleteOne(context.TODO(),bson.M{"name":"xxxx"})
    //if err != nil{
    //    mlog.Warn(err)
    //}

    return nil
}
Interested XDM S can practice more and paste the above code into their own environment to see the effect. The above mainly describes the following operations:
- Connect to mongodb database
- Select the corresponding library and table
- Insert one piece of data / insert multiple pieces of data
- Update one piece of data / insert multiple pieces of data
- Query a new piece of data / insert multiple pieces of data
- Delete a new piece of data / insert multiple pieces of data
The basic application of the corresponding database is still very simple, but after we will apply it, we must carefully taste the principles, how the official or third-party package is implemented, and whether we can write a version ourselves
Interested partners can try to go deeper
summary
- Introduction to mongodb
- How to install mongodb
- How to use mongodb simply
- How does GO operate mongodb
Welcome to like, follow and collect
My friends, writing is not easy
Your support and encouragement is my motivation to share and improve quality

Well, that's all for this time
Technology is open, and our mentality should be open. Embrace change, live in the sun and strive to move forward.
I'm Nezha, the Little Devil boy. Welcome to praise and pay attention to the collection. See you next time~