1.TextView. It mainly displays some text information on the interface.
The code is as follows:
    <TextView
        android:id="@+id/main_textview"
        android:layout_width="wrap_content"
        android:layout_height="wrap_content"
        android:text="Welcome!!"
        android:textSize="45dp" //Set text size
        android:layout_marginTop="150dp"
        android:layout_gravity="center"  //Interface Center
      >
The effect is as follows: 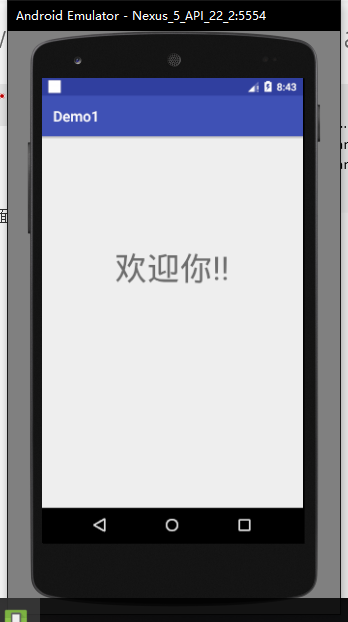
In addition, there are some small TextView settings such as color, font, location, etc. to view the relevant documents.
-
Button is an important control for programs to interact with users. We can add Button to activity_main.xml:
The code is as follows:
 <Button
       android:id="@+id/main_button"
       android:layout_width="wrap_content"
       android:layout_height="wrap_content"
       android:text="Please click"
       android:layout_gravity="center"//Place in the middle
       />
The effect is as follows: 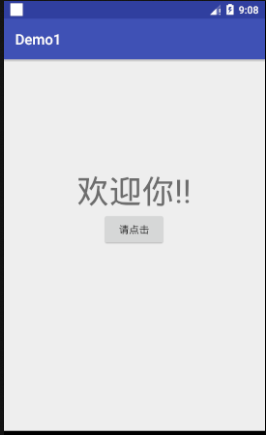
Be careful:
We want to register a listener for Button's click event in MainActivity. This button is available.
The code is as follows:
public class MainActivity extends AppCompatActivity  {
private Button button;
    @Override
    protected void onCreate(Bundle savedInstanceState) {
        super.onCreate(savedInstanceState);
        setContentView(R.layout.activity_main);
       Button button=findViewById(R.id.main_button);
       button.setOnClickListener(new View.OnClickListener() {
           @Override
           public void onClick(View view) {
               //Add logic here
           }
       });
    }
}
This will execute the onClick () method in the listener every time the button is clicked. We just need to add logic to this method.
If you don't like the way anonymous classes register listeners, we can also register with interfaces.
The code is as follows:
public class MainActivity extends AppCompatActivity  implements View.OnClickListener{
private Button button;
    @Override
    protected void onCreate(Bundle savedInstanceState) {
        super.onCreate(savedInstanceState);
        setContentView(R.layout.activity_main);
       Button button=findViewById(R.id.main_button);
       button.setOnClickListener(this) ;
    }

    @Override
    public void onClick(View view) {
        switch (view.getId()){
            case R.id.main_button:
            //Add logic here
                break;
                default:
                    break;
        }
    }
- EditText is a control that can edit simple text information, such as entering account and password information.
The code is as follows:
<LinearLayout xmlns:android="http://schemas.android.com/apk/res/android"
    xmlns:app="http://schemas.android.com/apk/res-auto"
    xmlns:tools="http://schemas.android.com/tools"
    android:layout_width="match_parent"
    android:layout_height="match_parent"
    android:orientation="vertical"
    tools:context="com.xdw.demo1.MainActivity">

  <EditText
      android:layout_width="match_parent"
      android:layout_height="wrap_content"
      android:hint="Please enter your account number."  //Prompting text      android:inputType="number"//Only numbers can be entered
      />
    <EditText
        android:layout_width="match_parent"
        android:layout_height="wrap_content"
        android:hint="Please enter your password."
        android:inputType="textPassword" //Text cryptographic settings
        />
   <LinearLayout
       android:layout_width="match_parent"
       android:layout_height="match_parent"
       android:orientation="horizontal"   //Horizontal layout
       android:gravity="center"
       >
       <Button
           android:id="@+id/main_button_a"
           android:layout_width="100dp"
           android:layout_height="45dp"
           android:text="Land"
           />
       <Button
           android:id="@+id/main_button_b"
           android:layout_width="100dp"
           android:layout_height="45dp"
           android:text="Sign out"
           />
   </LinearLayout>
</LinearLayout>
Here I add two buttons to make it look more beautiful...
The effect is as follows: 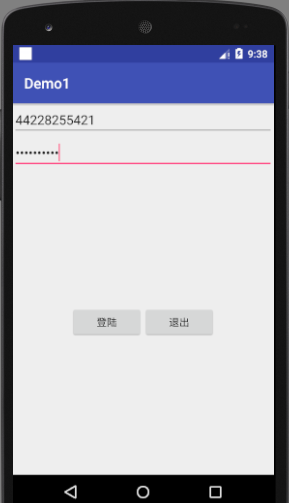
How do we know that when we click on "log in", we can know that we have monitored this event.
At this point, we add some code to MainActivity to make our buttons available.
The code is as follows:
public class MainActivity extends AppCompatActivity  implements View.OnClickListener{
private Button button;
    @Override
    protected void onCreate(Bundle savedInstanceState) {
        super.onCreate(savedInstanceState);
        setContentView(R.layout.activity_main);
       Button button=findViewById(R.id.main_button_a);
        Button button1=findViewById(R.id.main_button_b);
       button.setOnClickListener(this) ;
        button1.setOnClickListener(this);
    }

    @Override
    public void onClick(View view) {
        switch (view.getId()){
            case R.id.main_button_a:
                String i="Login successfully";
                Toast.makeText(MainActivity.this,i,Toast.LENGTH_LONG).show();//Additional content
                break;
            case R.id.main_button_b:
                break;
                default:
                    break;
        }
    }
}
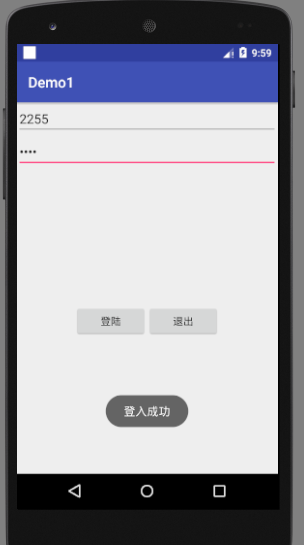
We can see that when we click the login button, the successful login message is prompted.
This will be of great use to us in the future.
4 ImageView: This is a picture control, usually stored in the directory at the beginning of "drawable".
The simple code is as follows:
  <ImageView
      android:layout_width="wrap_content"
      android:layout_height="wrap_content"
      android:src="@mipmap/icicic" //Specify a photo for ImageView
      />
The effect is as follows:
This is just a photo added to the interface, we can also set its size, location, etc.
 <ImageView
      android:layout_gravity="center"  //Set the picture in the middle
      android:layout_width="100dp"      //Set Picture Size
      android:layout_height="100dp"
      android:src="@mipmap/icicic"

      />
Design sketch: 
5 ProgressBar: A progress bar for the interface, indicating that our program is using some data
The simple code is as follows:
 <ProgressBar
      android:layout_marginTop="90dp"
      android:id="@+id/main_bar"
      android:layout_gravity="center"
      android:layout_width="wrap_content"
      android:layout_height="wrap_content" />
Design sketch: 
There are also other types of progress bars that can be set visible or invisible. Complete the process settings by 100%.