maven environment configuration
Step 1: unzip the compressed package and put it into a folder in a non Chinese directory
Compressed package download path: Maven – Download Apache Maven http://maven.apache.org/download.cgi
Step 2: add system variables
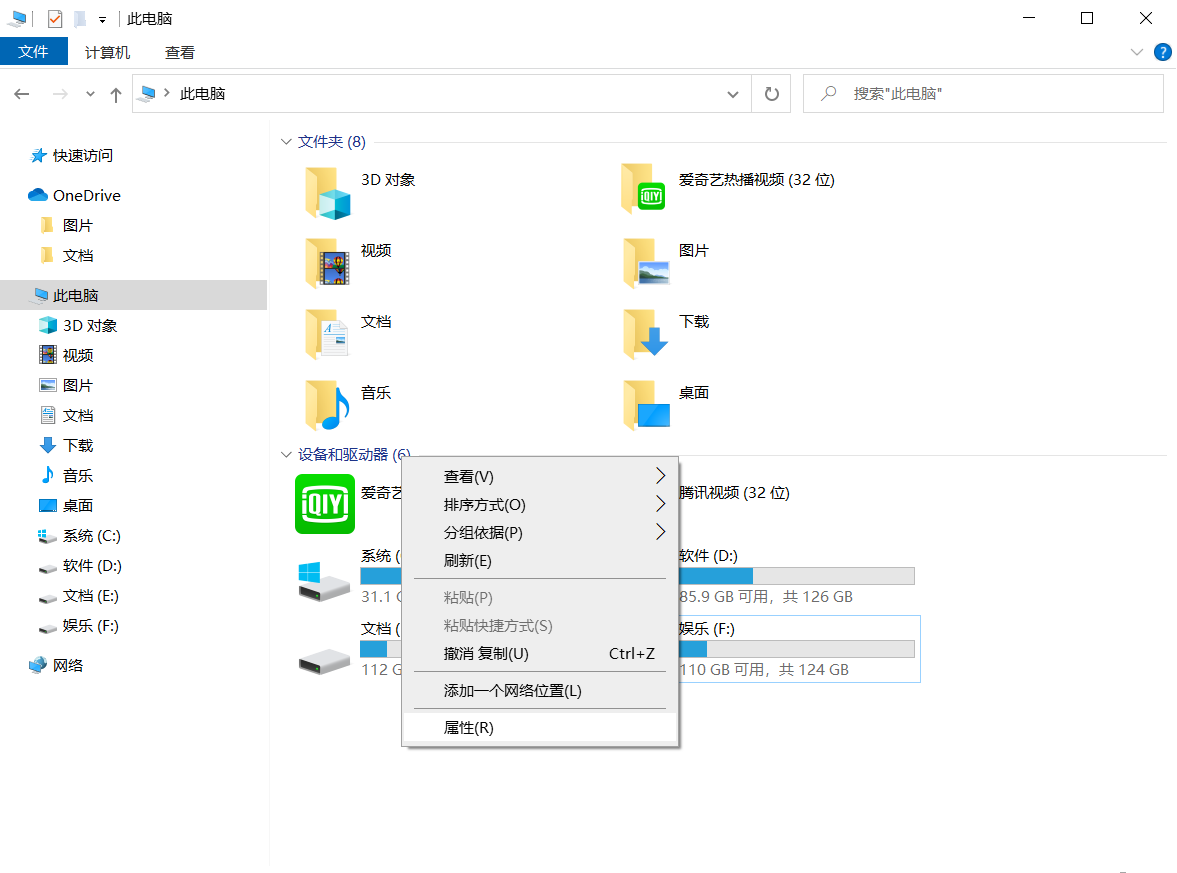
Step 1: right click on my computer and click properties
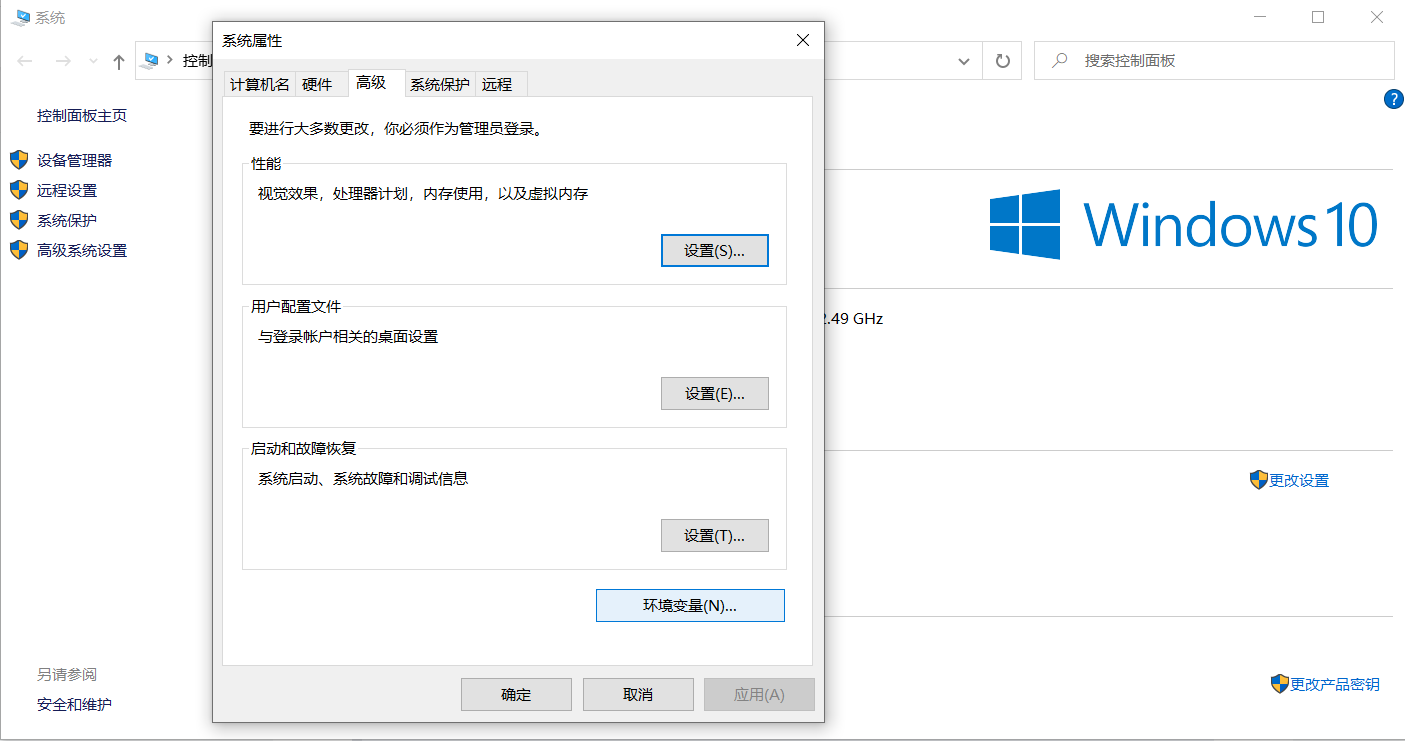
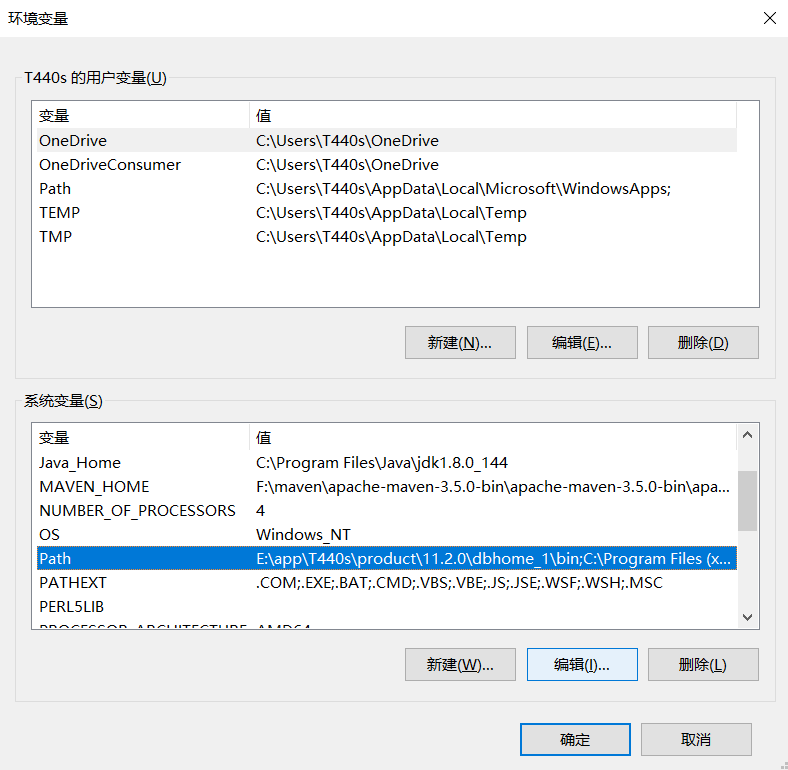
Step 2: after entering, click Advanced system settings, and then click environment variables
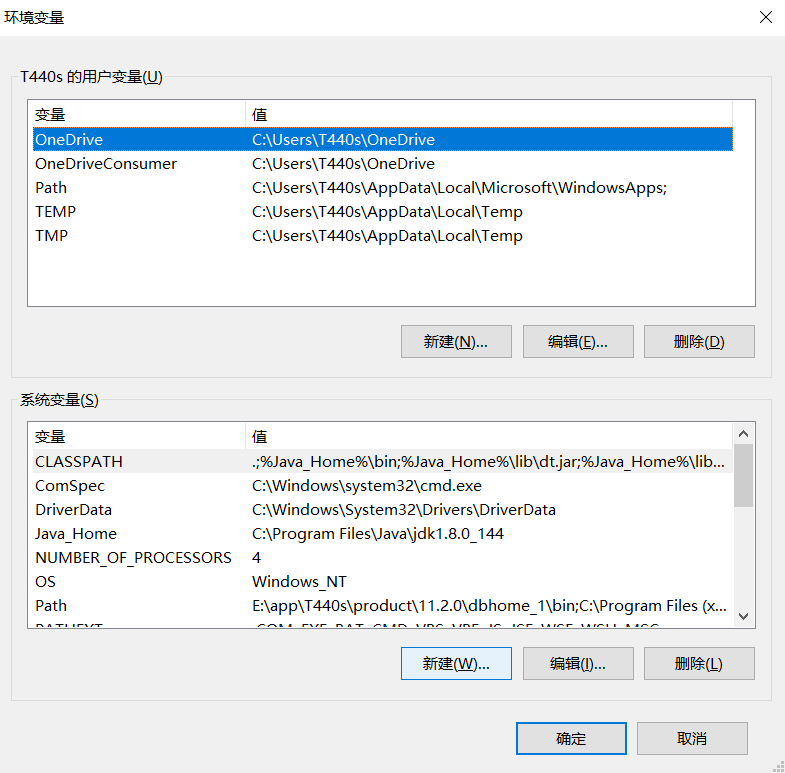
Step 3: click New in the system variable
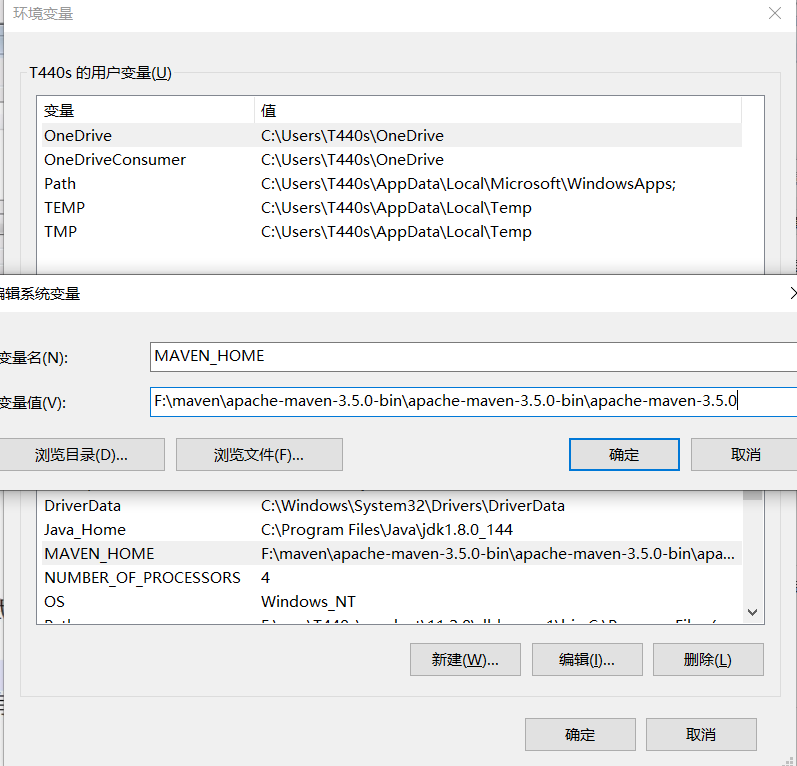
Step 4: copy the file path of the compressed package in step 1
The variable name is MAVEN_HOME
The variable value is the copied file path
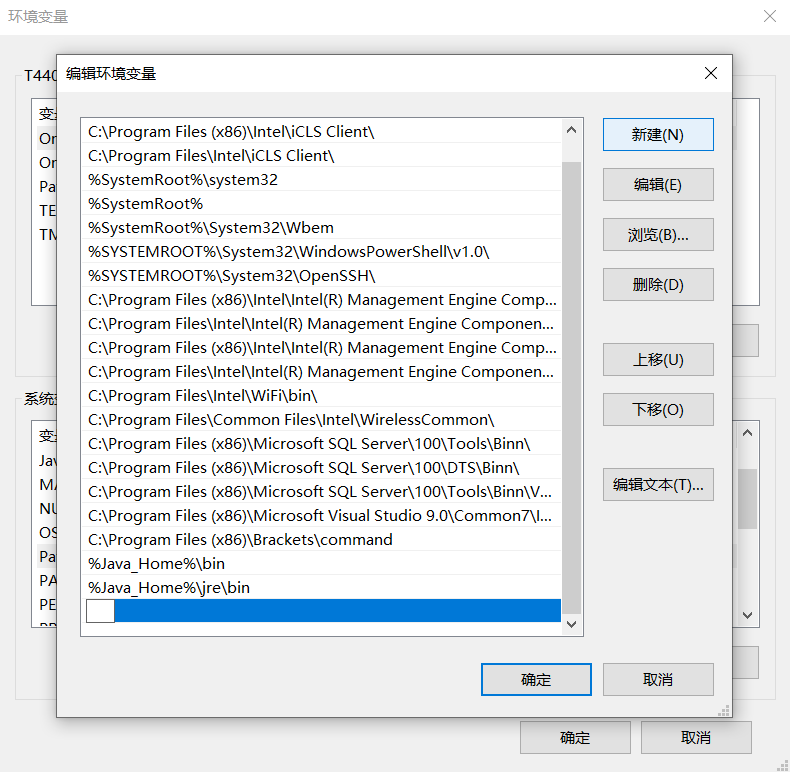
Step 5: find Path and click Edit
Step 6: click new and fill in% MAVEN_HOME%\bin
Verify whether the configuration is successful ----- enter cmd and open mvn -version as administrator
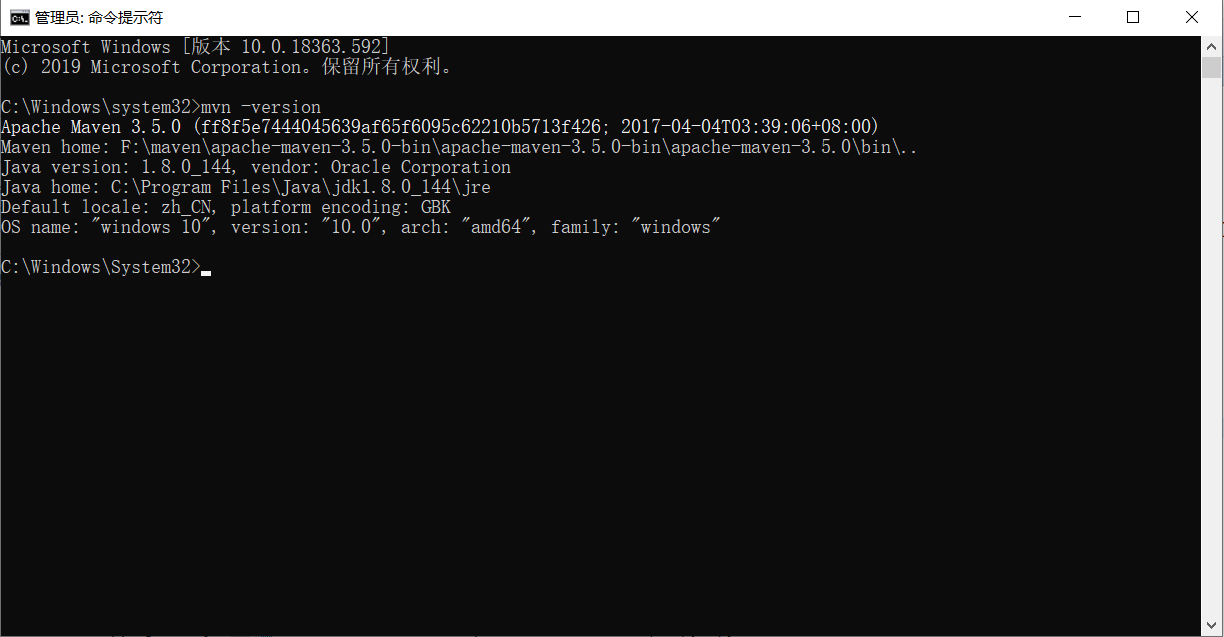
In this way, the configuration is successful
Here maven is ready to use
However, because the maven warehouse is located abroad, the download efficiency is very slow, so we need to configure the local warehouse
Step 3: configure local warehouse
Step 1: enter the extracted apache-maven-3.5.0-bin
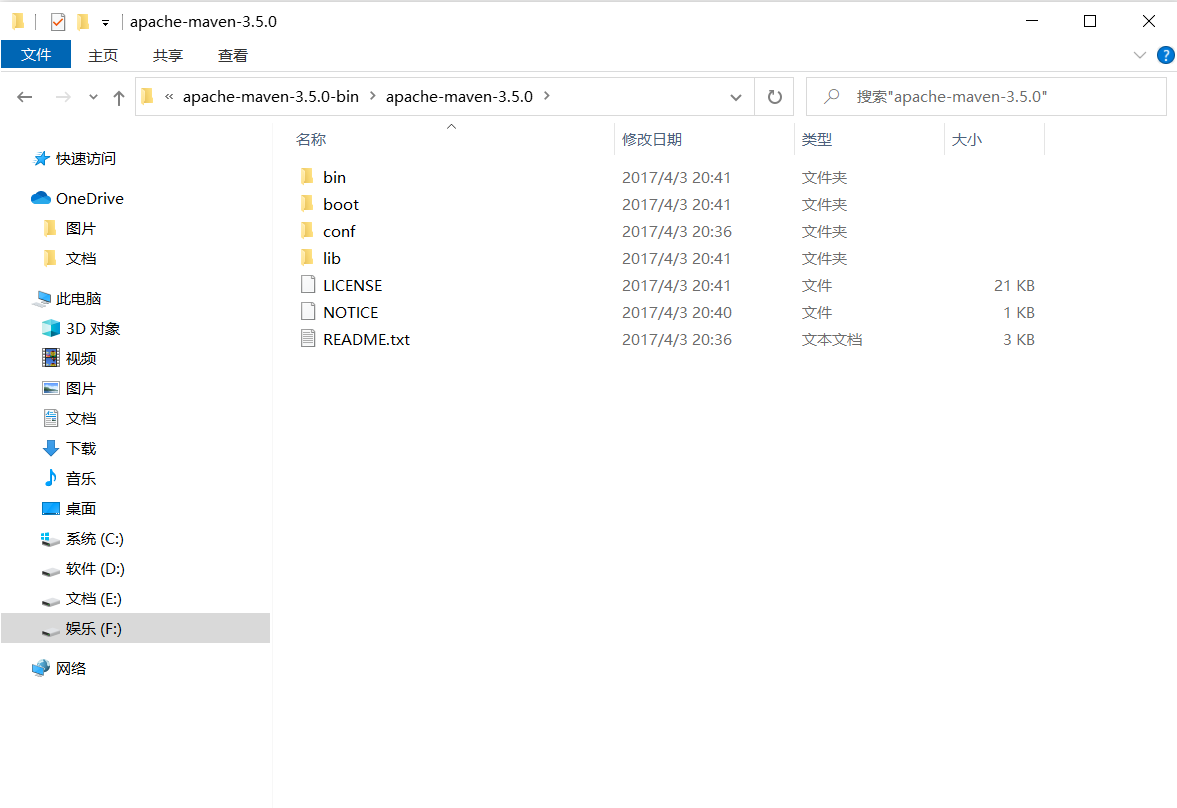
Step 2: click conf
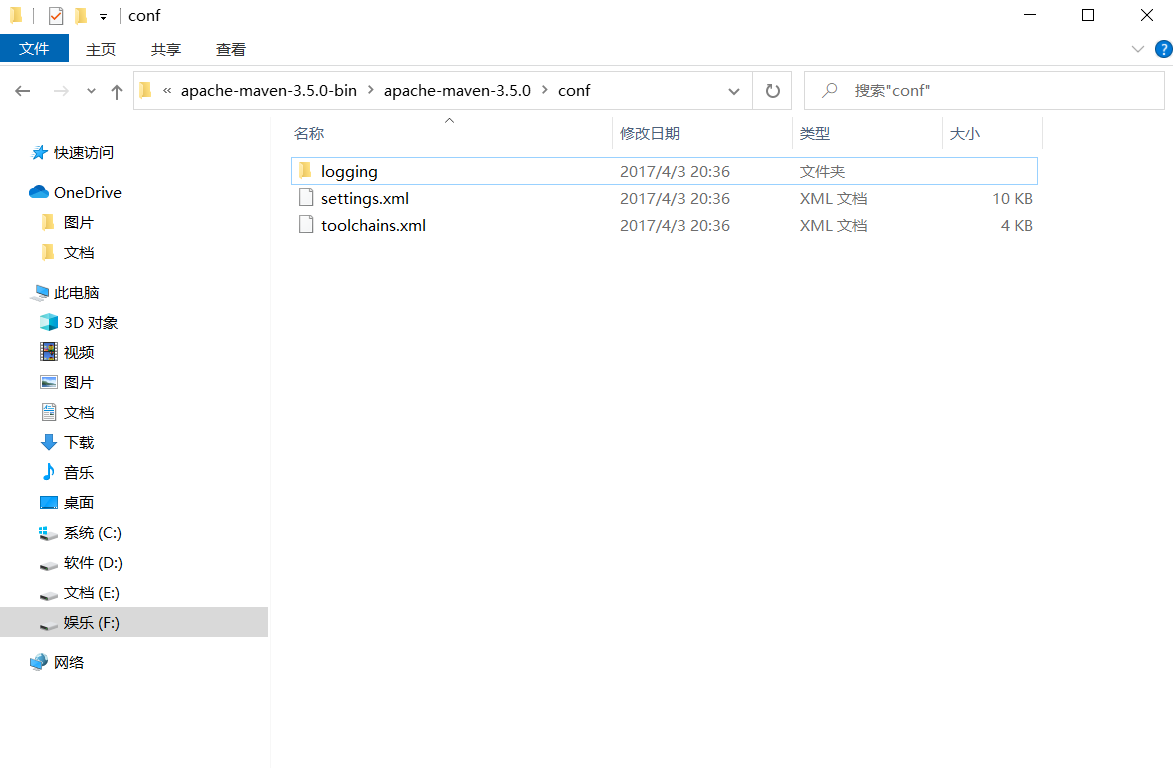
Step 3: open settings.xml with Notepad -- find a section labeled localRepository

Step 4: set the local repository - copy < localrepository > / path / to / local / repo < / localrepository > and change the address inside to the address you want to store

Step 5: find the label mirror
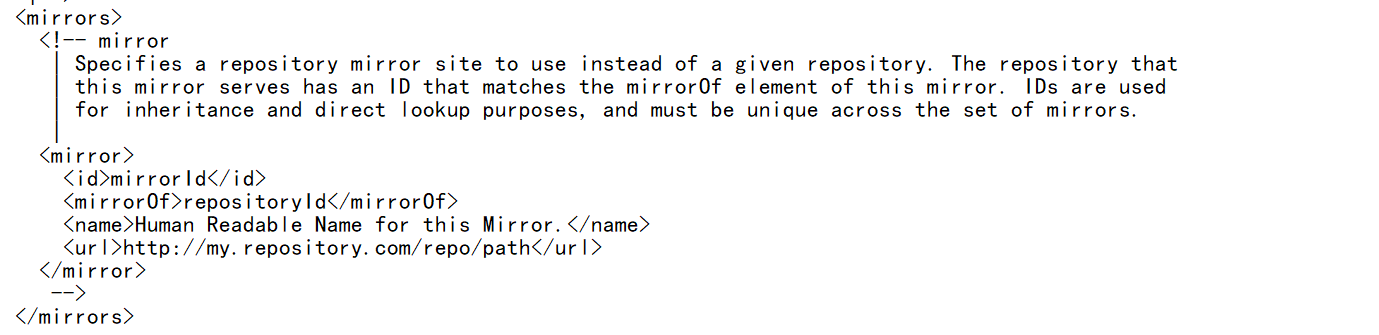
Step 6: Here we want to use the image warehouse of alicloud private server
<mirror>
              <id>alimaven</id>
              <mirrorOf>central</mirrorOf>
              <name>aliyun maven</name>
              <url>http://maven.aliyun.com/nexus/content/groups/public/</url>
    </mirror>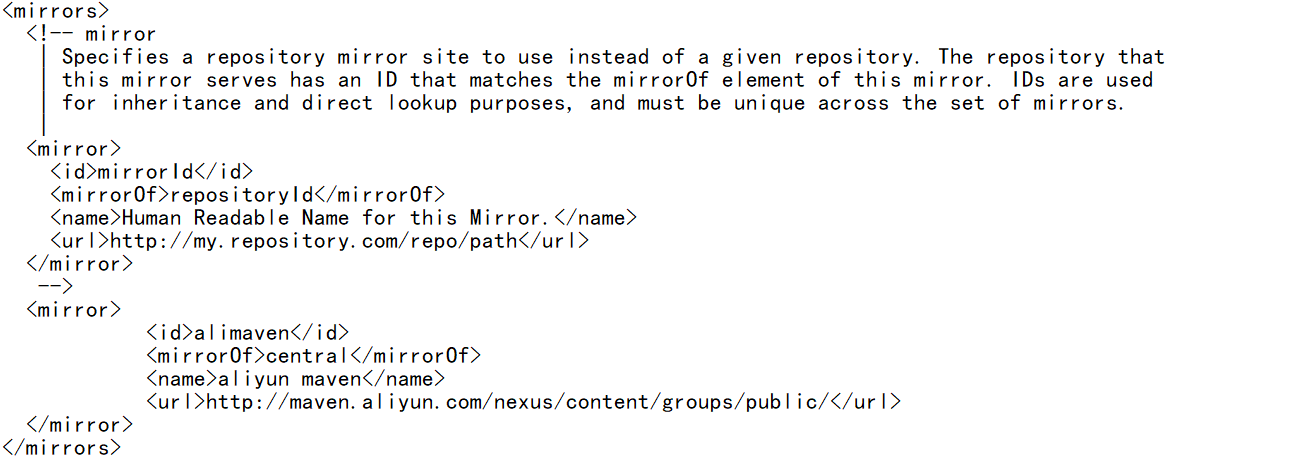
 Principle:

        After configuration
        1.adopt pom The coordinates of the file are read from the local warehouse first jar,If you have downloaded it, you can import it directly to the current project for use
        2.If there is no local warehouse, you will go to the alicloud image server to find what you need for development jar The package will be downloaded automatically when it is found
          To the local warehouse and import the project
        3.If Alibaba cloud does not have an image warehouse, it will go abroad maven Central warehouse to download, if any, directly to the local warehouse
          Library, and introduce the project to use
        4.If abroad maven If the central warehouse is not found, it is a code problem
Use of maven
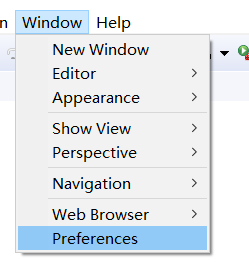
Step 1: eclipse sets the installation path of maven
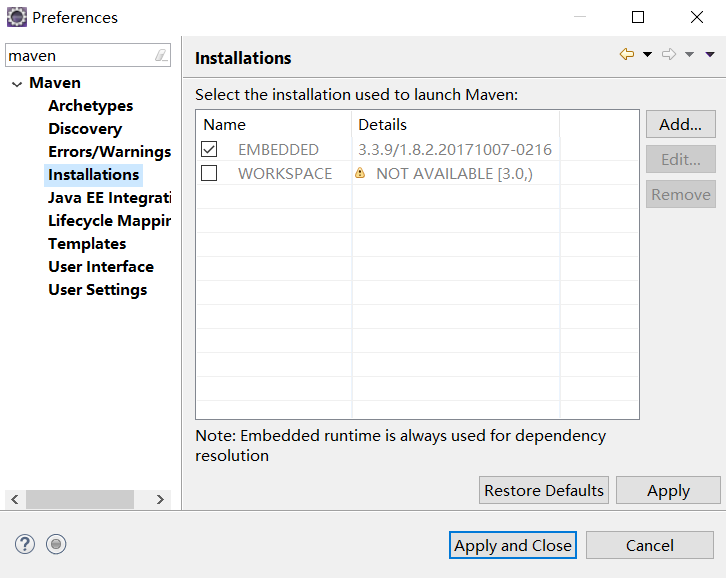
Step 1: click Window to find Preferences
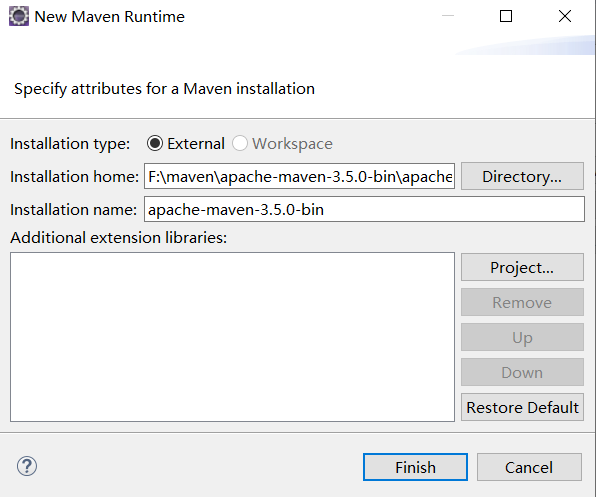
Step 2: find maven, click Installations, and click add on the right
Step 3: fill in the path of your Apache Maven
Step 4: check the new and apply it

Step 5: enter User Settings, the second one on the right will find settings.xml, and the last path will change accordingly
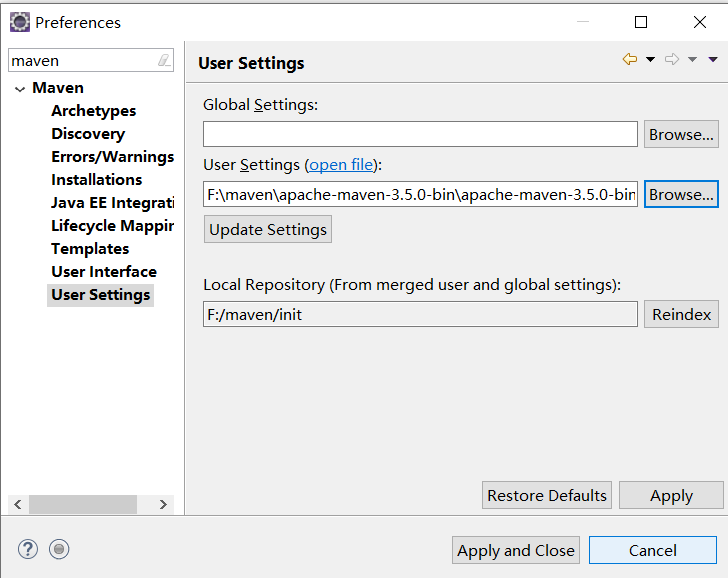
In this way, it is all configured, applied and closed
Step 2: use
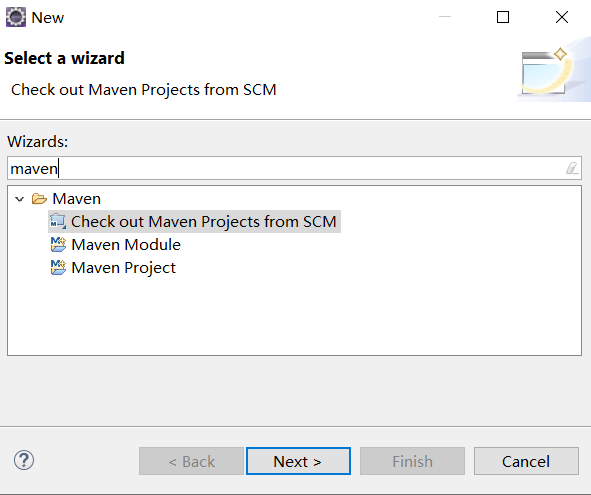
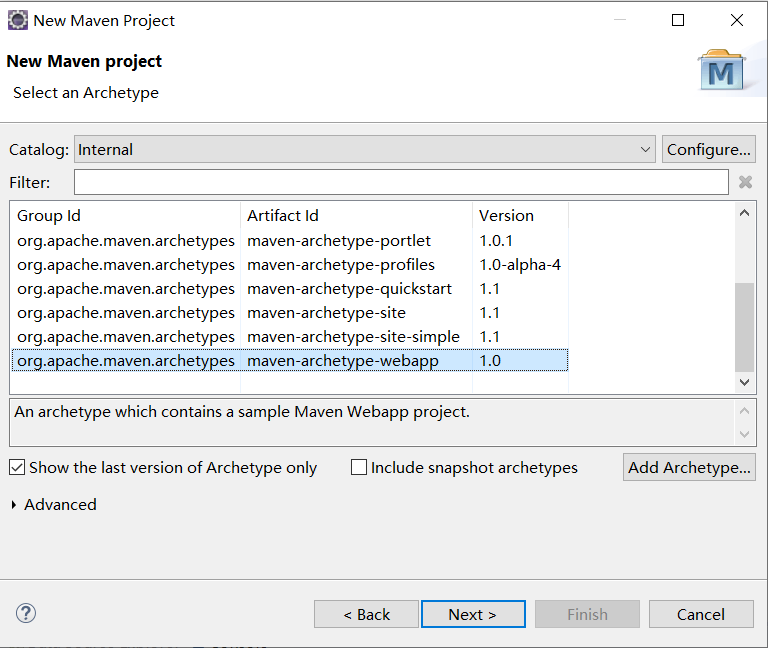
Step 1: double click Maven Project
Step 2: select Internal in the Catalog, select the last one in the text field, and then Next
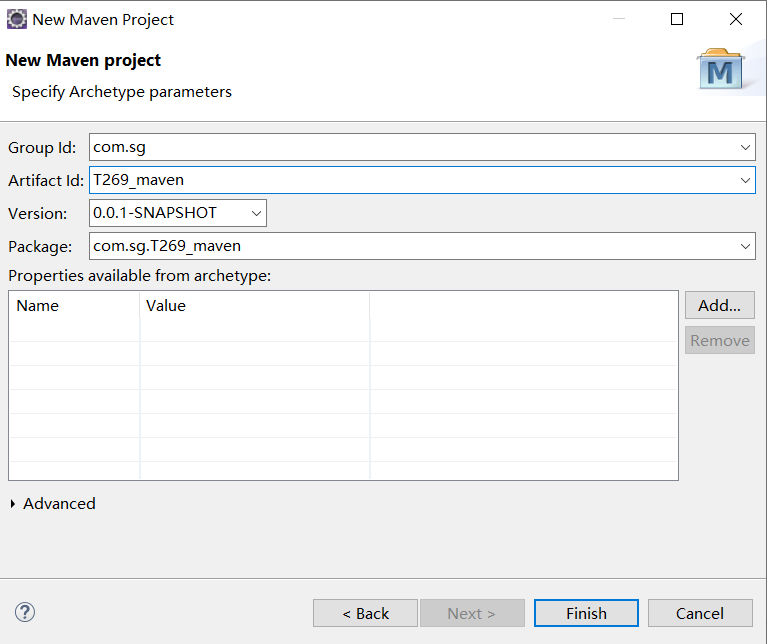
Step 3: the second is the project name
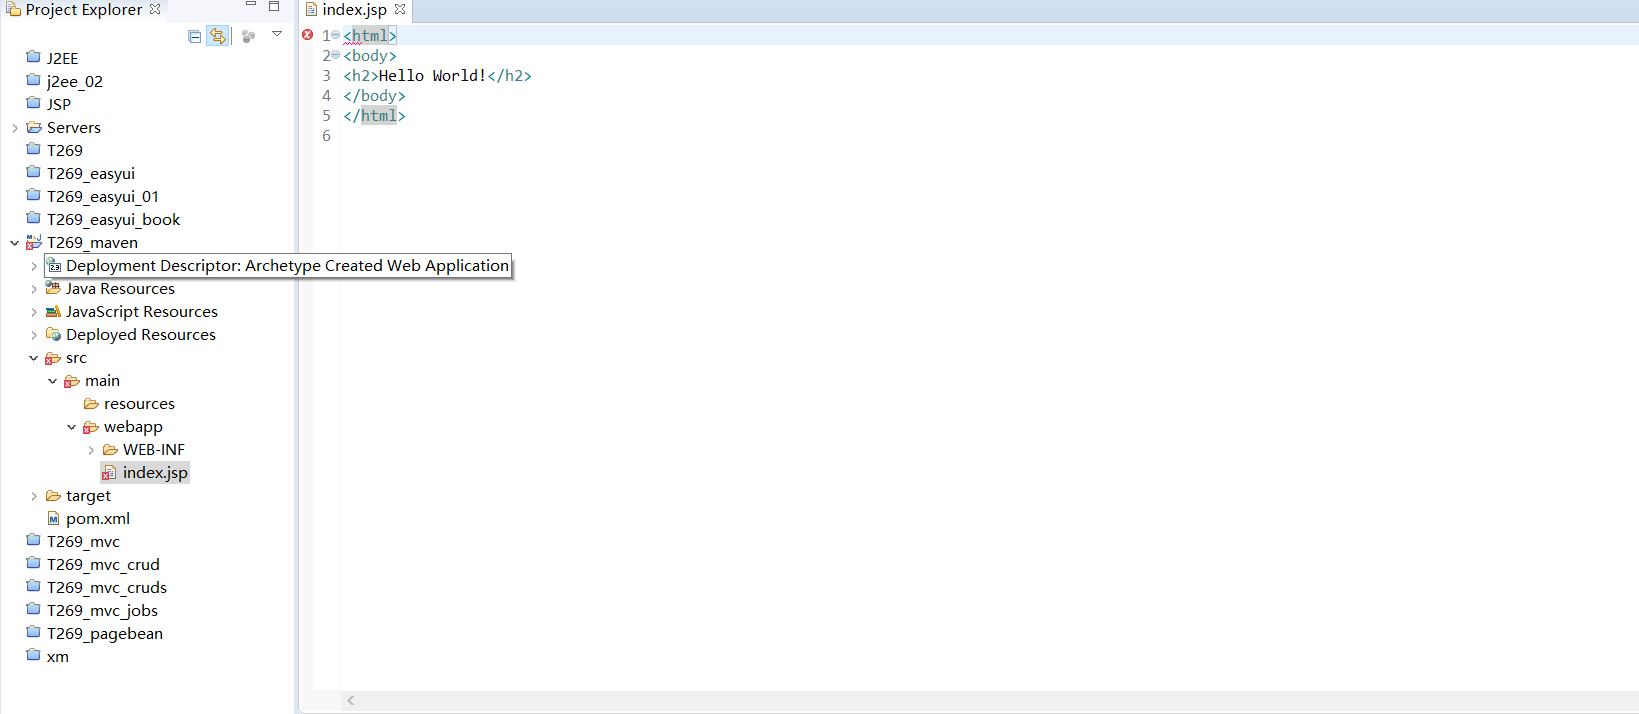
Step 4: the newly created project will have an error
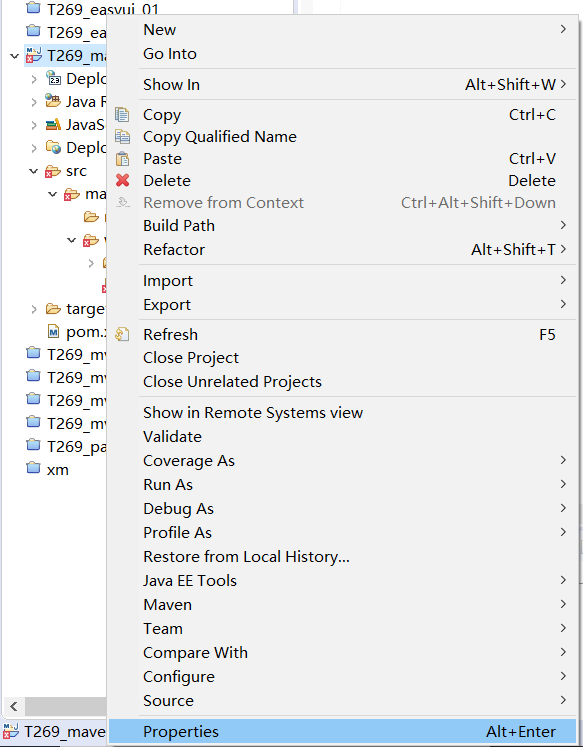
Click the item and right-click Properyies
Then find Project Facets
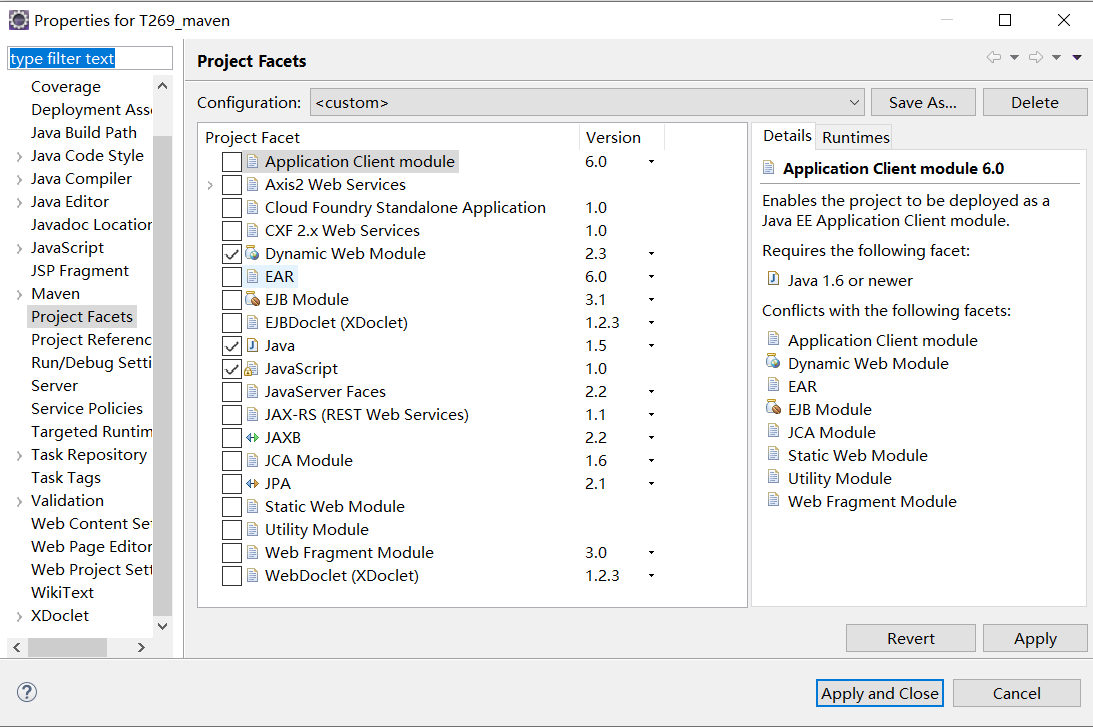
Then change the Dynamic Web Module to 3.1 and Java to 1.8
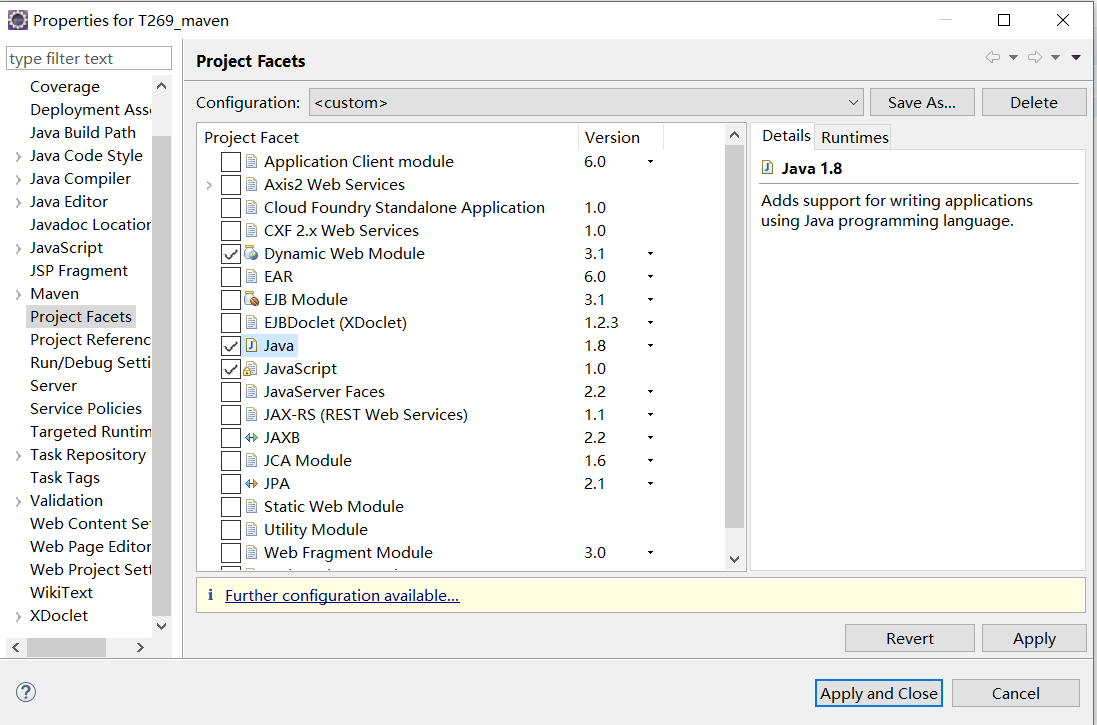
Then click the button in the figure above

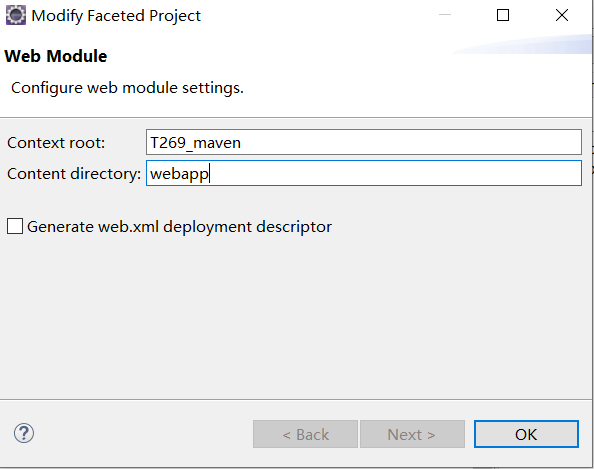
Change the second column to webapp
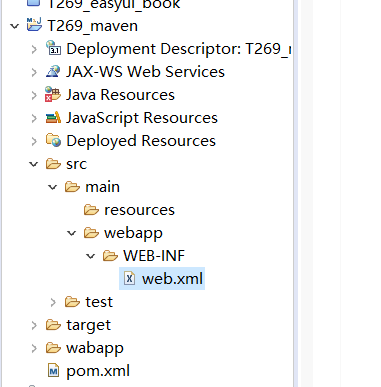
Then open web.xml

Change the content to
<web-app xmlns="http://xmlns.jcp.org/xml/ns/javaee"
         xmlns:xsi="http://www.w3.org/2001/XMLSchema-instance"
         xsi:schemaLocation="http://xmlns.jcp.org/xml/ns/javaee http://xmlns.jcp.org/xml/ns/javaee/web-app_3_1.xsd"
         version="3.1">
  <display-name>Archetype Created Web Application</display-name>
</web-app>
Then delete index.jsp and enter pom.xml
Change the content to
<project xmlns="http://maven.apache.org/POM/4.0.0" xmlns:xsi="http://www.w3.org/2001/XMLSchema-instance"
  xsi:schemaLocation="http://maven.apache.org/POM/4.0.0 http://maven.apache.org/maven-v4_0_0.xsd">
  <modelVersion>4.0.0</modelVersion>
  <groupId>com.sg</groupId>
  <artifactId>T269_maven</artifactId>
  <packaging>war</packaging>
  <version>0.0.1-SNAPSHOT</version>
  <name>T269_maven Maven Webapp</name>
  <url>http://maven.apache.org</url>
  <dependencies>
    <dependency>
      <groupId>javax.servlet</groupId>
      <artifactId>javax.servlet-api</artifactId>
      <version>4.0.0</version>
      <scope>provided</scope>
 </dependency>
  </dependencies>
  <build>
    <finalName>T269_maven</finalName>
  </build>
</project>
You can then call the servlet
package com.sg.dome;

import java.io.IOException;

import javax.servlet.ServletException;
import javax.servlet.annotation.WebServlet;
import javax.servlet.http.HttpServlet;
import javax.servlet.http.HttpServletRequest;
import javax.servlet.http.HttpServletResponse;
@WebServlet("/dome")
public class DomeServlet extends HttpServlet{
	@Override
	protected void service(HttpServletRequest arg0, HttpServletResponse arg1) throws ServletException, IOException {
		System.out.println("hollw realization");
	}
}
Operation results:
