MacBook Air M1 is configured with java development environment Maven + IDEA
1. JDK configuration
At present, Zulu JDK supports M1 chip. Download Azul Zulu Builds of OpenJDK
After downloading, click Install and follow the steps. After that, enter java -version on the console
openjdk version "17.0.1" 2021-10-19 LTS
OpenJDK Runtime Environment Zulu17.30+15-CA (build 17.0.1+12-LTS)
OpenJDK 64-Bit Server VM Zulu17.30+15-CA (build 17.0.1+12-LTS, mixed mode, sharing)
Zulu JDK is installed in / Library/Java/JavaVirtualMachines directory by default
2. MAVEN configuration
Download Maven
First, from Maven's official address: http://maven.apache.org/download.cgi Download the latest version of apache-maven-xxx-bin.tar.gz
Add it and unzip the downloaded file to / usr/local/maven.
Small tips: the shortcut key command + shift + G, and then go to / usr/local
Configure environment variables
$ vi ~/.bash_profile
Add the following maven configuration:
export M3_HOME=/usr/local/maven/apache-maven-3.8.4
export PATH=$M3_HOME/bin:$PATH
Execute the following command to make the configured environment variables effective:
$ source ~/.bash_profile
Test Maven for successful installation
You can output Maven environment address first
$ echo $M3_HOME
$ echo $PATH
If a value like this is output, the configuration is OK.
/usr/local/maven/apache-maven-3.8.4
/usr/local/maven/apache-maven-3.8.4/bin:/Users/wx/library/flutter/bin:/usr/local/opt/coreutils/libexec/gnubin:/Users/wx/library/flutter/bin:/usr/local/opt/coreutils/libexec/gnubin:/usr/local/bin:/usr/bin:/bin:/usr/sbin:/sbin:/Applications/VMware Fusion.app/Contents/Public:/Library/TeX/texbin:/Library/Frameworks/Mono.framework/Versions/Current/Commands
Next, use the maven command to check the maven version and identify whether the maven environment is successfully installed.
$ mvn -version
When successful, the output log is as follows:
Apache Maven 3.8.4 (9b656c72d54e5bacbed989b64718c159fe39b537)
Maven home: /usr/local/maven/apache-maven-3.8.4
Java version: 17.0.1, vendor: Azul Systems, Inc., runtime: /Library/Java/JavaVirtualMachines/zulu-17.jdk/Contents/Home
Default locale: zh_CN_#Hans, platform encoding: UTF-8
OS name: "mac os x", version: "11.6", arch: "aarch64", family: "mac"
In this way, Maven's environment under Mac is successfully configured.
Next, set Maven's image download warehouse and Ali image source.
First: click the conf file in / usr/local/maven/apache-maven-3.8.4, configure the settings.xml file, and set < localrepository > / usr / local / Maven_ Repository < / localrepository > configure it in settings. (if not, just paste it directly)
(maven_repository is the local warehouse of Maven. This file can be named at will. If not, you can build one yourself. It's best not to put it under Maven package for later maintenance and management.)
Then: modify the xx/conf/settings.xml configuration file in Maven installation directory, find the < mirrors > tag and add the following configuration
<mirrors>
    <mirror>
      <id>alimaven</id>
      <name>aliyun maven</name>
      <url>http://maven.aliyun.com/nexus/content/groups/public/</url>
      <mirrorOf>central</mirrorOf>
    </mirror>
</mirrors>
3. Download the idea of M1 download IntelliJ idea and install it directly after downloading
After installation, let's set the default configuration of the new project, mainly the configuration of Maven warehouse
-
Open idea and click IntelliJ idea - > Preferences - > maven in the upper left corner
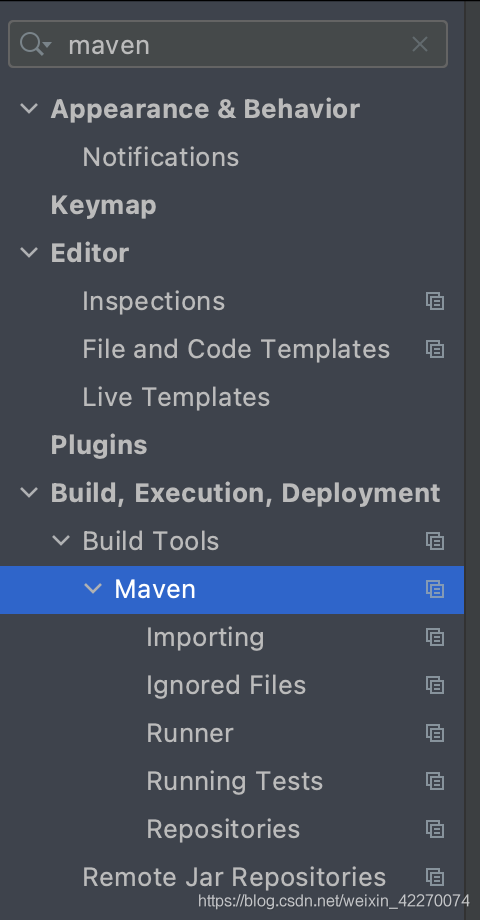
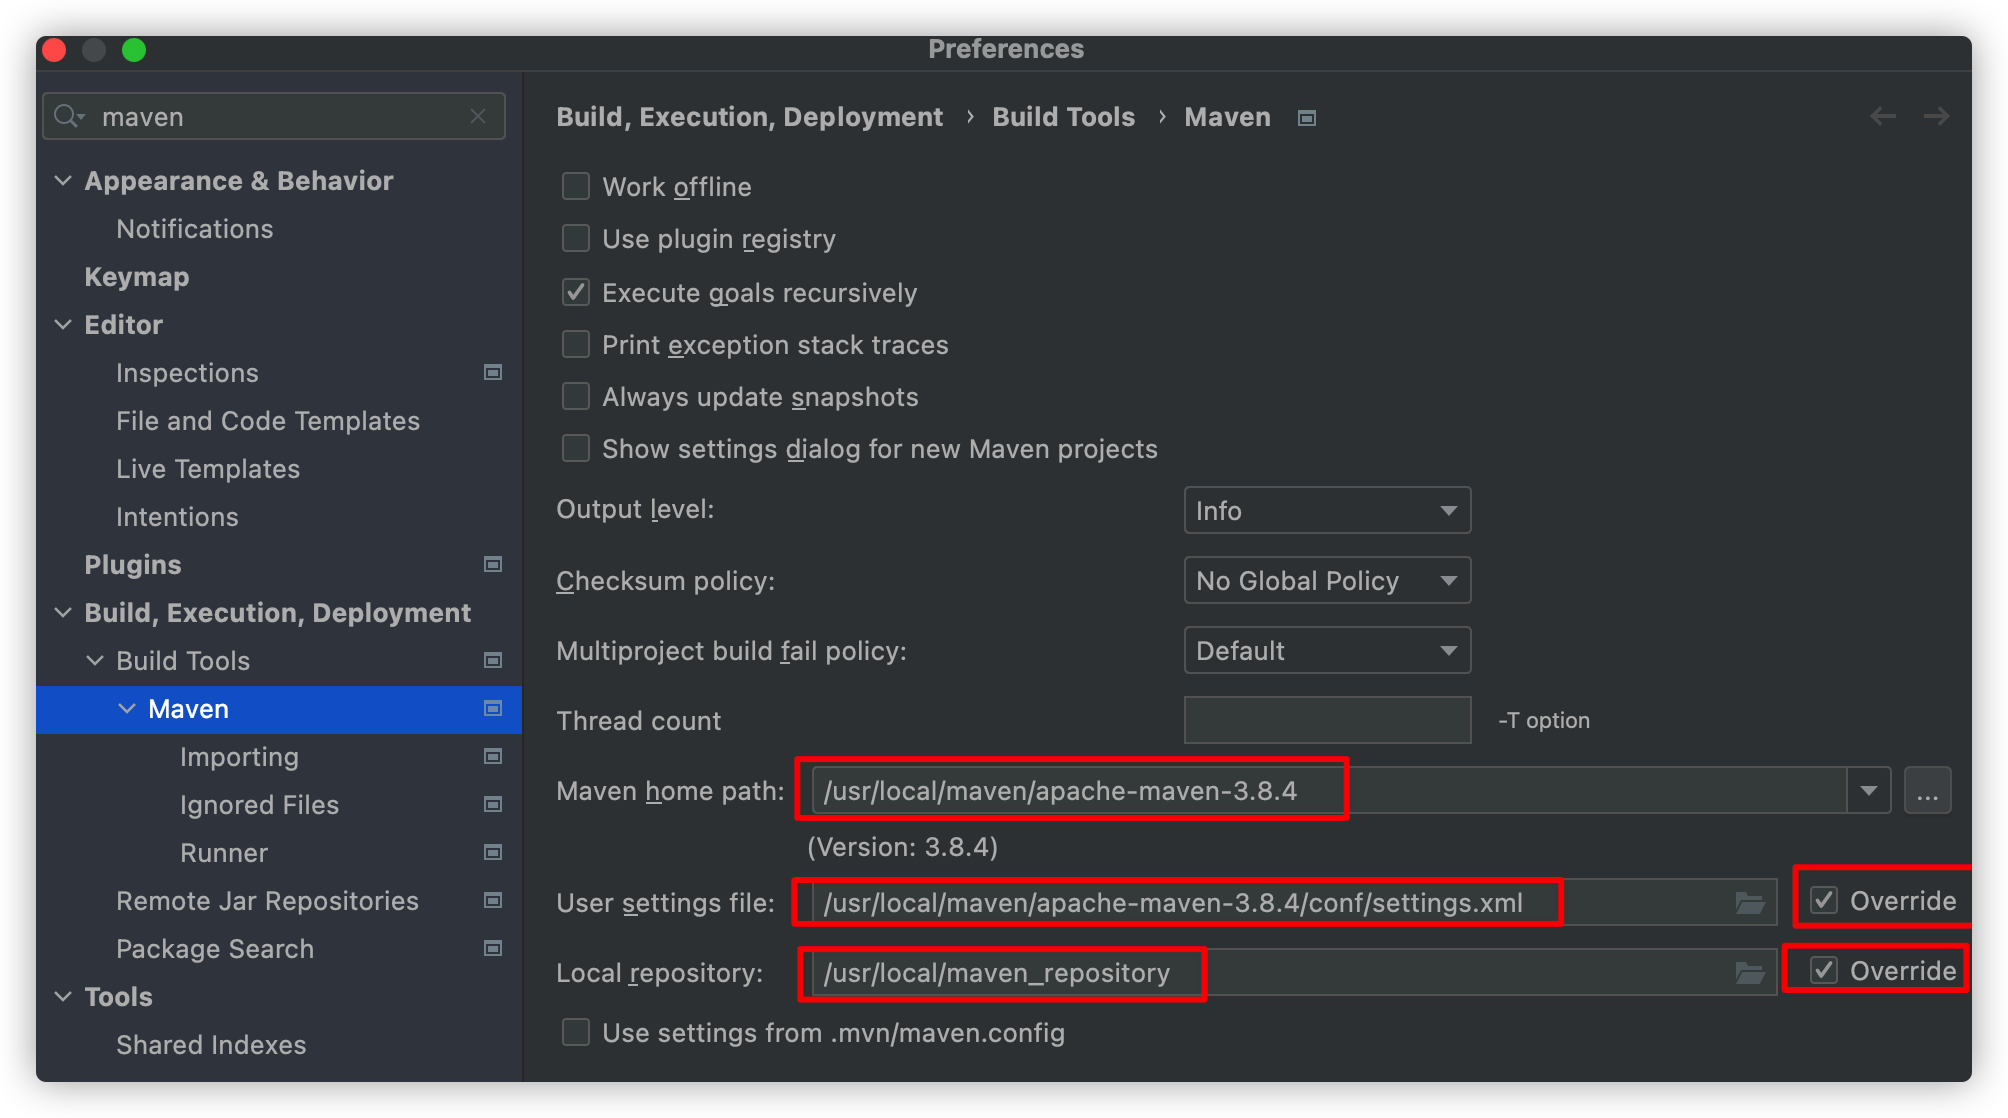
Only the five places circled in red on the right need to be configured:
-
Tick the place where the back circle circles
-
Maven home directory select the directory where you installed maven. My installation path is: (shift + command +. Show hidden directory)
/usr/local/apache-maven-3.8.4
- User settings file here, select the location of settings.xml file under conf in maven directory. My path:
/usr/local/apache-maven-3.8.4/conf/settings.xml
- Local repository here is the location of the maven local repository created above. Select the location of your own files
/usr/local/maven_repository
The above three steps should be changed to the location of your own files
- Click Apply in the lower right corner and click OK. The window closes automatically