I. Installing MySQL on Linux
MySQL Uninstall
Before installation, we can check whether the system has MySQL installed. If we have MySQL installed, we can uninstall the original MySQL installed.
rpm -qa | grep mysql
 Our system displays the above, then we uninstall the installed information by following commands (of course, this step depends on the situation, if you have not installed on your machine, you can skip this step)
Stop mysql service, delete mysql installed before
Delete commands such as:
Rpm-e-nodeps package name
rpm -ev  mysql80-community-release-el7-1.noarch
rpm -ev  akonadi-mysql-1.9.2-4.el7.x86_64
rpm -ev qt-mysql-4.8.5-13.el7.x86_64
If a dependency package error is prompted, try using the following command
rpm -ev perl-DBD-MySQL-4.023-5.el7.x86_64 --nodeps
If prompted incorrectly: error:% preun (xxxxx) scriptlet failed, exit status 1
Then try with the following command:
rpm -e --noscripts qt-mysql-4.8.5-13.el7.x86_64
Find the directory of the previous version of mysql, and delete the files and libraries of the old version of MySQL
find / -name mysql
The results are as follows.
/etc/selinux/targeted/active/modules/100/mysql
/etc/selinux/targeted/tmp/modules/100/mysql
/root/.local/share/akonadi/db_data/mysql
/var/lib/mysql
/var/lib/mysql/mysql
/usr/lib64/mysql
/data/mysql
Delete the corresponding mysql directory (Delete according to the directory on your system to delete, the example is the directory of my system)
rm -rf /etc/selinux/targeted/active/modules/100/mysql
rm -rf /etc/selinux/targeted/tmp/modules/100/mysql
rm -rf /root/.local/share/akonadi/db_data/mysql
rm -rf /var/lib/mysql
rm -rf /var/lib/mysql/mysql
rm -rf /usr/lib64/mysql
rm -rf /data/mysql
Install MySQL
1. Download Yum Resource Pack from Official Website
mkdir mysql
cd mysql
wget https://dev.mysql.com/get/mysql80-community-release-el7-1.noarch.rpm
rpm -ivh mysql80-community-release-el7-1.noarch.rpm
yum install mysql-server
Here if - bash: wget does not find the command
To find the command, you need to install the command:
yum install wget
Then continue to execute the download MySQL command
Start MySQL after installation
systemctl start mysqld
View MySQL Running Status
systemctl status mysqld
At this point we need to find the file / var/log/mysqld.log. We recommend using Xftp6 to open the file with a temporary password. root@localhost: The temporary password follows
# Log in with a temporary password
mysql -u root -p
# Modify the password of root account
mysql> ALTER USER 'root'@'localhost' IDENTIFIED BY 'New password(Here MySQL8.0 There are many specifications, such as capital letters, numbers, symbols and 8 digits.)';
Test whether the password was set successfully
Enter quit to exit mysql, re-execute 2 steps, and enter a new password to login.
Remote Connection Authorization
Enter the database first:
Execute commands: use mysql;
The following commands can be executed to modify root remote connection privileges:
mysql> update user set host = "%" where user='root';
CREATE USER 'root'@'%' IDENTIFIED WITH mysql_native_password BY 'New password';
View user rights:
mysql> select host, user, authentication_string, plugin from user;
 The host of root is%. This means that remote connections can be made.
Refresh the current configuration:
FLUSH PRIVILEGES;
Local Navicat remotely connects mysql on linux
If an unknown connection error is reported: Check whether the linux firewall is closed
If the firewall is not turned off
systemctl stop firewalld
If an error is reported: 2059 Authentication plugin'caching_sha2_password'cannot be loaded
May refer to https://blog.csdn.net/jinhaijing/article/details/83421189 Solve
The connection was successful as follows: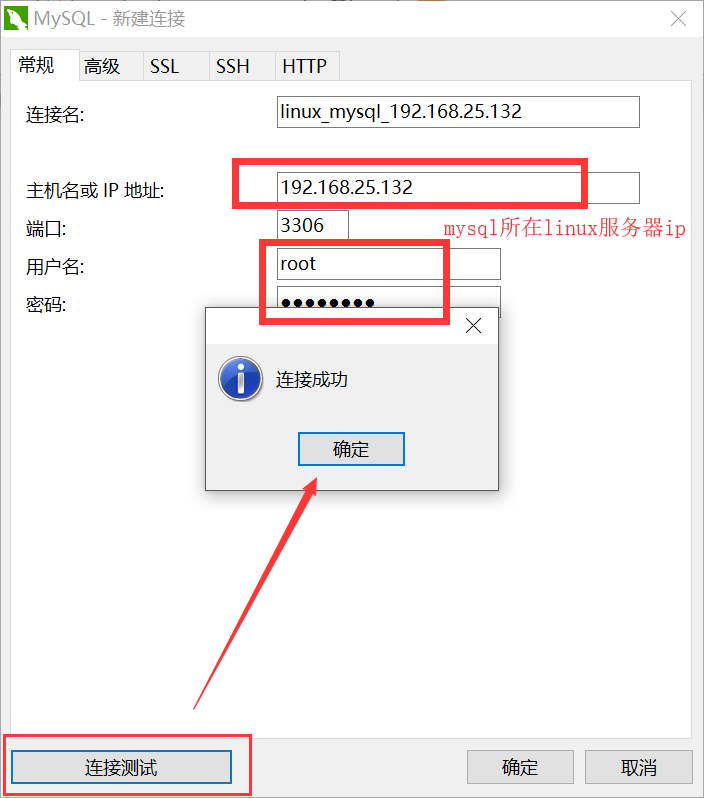
Installing JDK on Linux
java environment
First check to see if there is a java environment: rpm-qa | grep java
If you don't have a Java environment, go ahead and find the install packages available for java-1.8.0: yum list | grep java-1.8.0-openjdk
[root@yoyo ~]# yum list | grep java-1.8.0-openjdk
java-1.8.0-openjdk.i686                  1:1.8.0.191.b12-1.el7_6       updates
java-1.8.0-openjdk.x86_64                1:1.8.0.191.b12-1.el7_6       updates
java-1.8.0-openjdk-accessibility.i686    1:1.8.0.191.b12-1.el7_6       updates
java-1.8.0-openjdk-accessibility.x86_64  1:1.8.0.191.b12-1.el7_6       updates
java-1.8.0-openjdk-accessibility-debug.i686
java-1.8.0-openjdk-accessibility-debug.x86_64
java-1.8.0-openjdk-debug.i686            1:1.8.0.191.b12-1.el7_6       updates
java-1.8.0-openjdk-debug.x86_64          1:1.8.0.191.b12-1.el7_6       updates
java-1.8.0-openjdk-demo.i686             1:1.8.0.191.b12-1.el7_6       updates
java-1.8.0-openjdk-demo.x86_64           1:1.8.0.191.b12-1.el7_6       updates
java-1.8.0-openjdk-demo-debug.i686       1:1.8.0.191.b12-1.el7_6       updates
java-1.8.0-openjdk-demo-debug.x86_64     1:1.8.0.191.b12-1.el7_6       updates
java-1.8.0-openjdk-devel.i686            1:1.8.0.191.b12-1.el7_6       updates
java-1.8.0-openjdk-devel.x86_64          1:1.8.0.191.b12-1.el7_6       updates
java-1.8.0-openjdk-devel-debug.i686      1:1.8.0.191.b12-1.el7_6       updates
java-1.8.0-openjdk-devel-debug.x86_64    1:1.8.0.191.b12-1.el7_6       updates
java-1.8.0-openjdk-headless.i686         1:1.8.0.191.b12-1.el7_6       updates
java-1.8.0-openjdk-headless.x86_64       1:1.8.0.191.b12-1.el7_6       updates
java-1.8.0-openjdk-headless-debug.i686   1:1.8.0.191.b12-1.el7_6       updates
java-1.8.0-openjdk-headless-debug.x86_64 1:1.8.0.191.b12-1.el7_6       updates
java-1.8.0-openjdk-javadoc.noarch        1:1.8.0.191.b12-1.el7_6       updates
java-1.8.0-openjdk-javadoc-debug.noarch  1:1.8.0.191.b12-1.el7_6       updates
java-1.8.0-openjdk-javadoc-zip.noarch    1:1.8.0.191.b12-1.el7_6       updates
java-1.8.0-openjdk-javadoc-zip-debug.noarch
java-1.8.0-openjdk-src.i686              1:1.8.0.191.b12-1.el7_6       updates
java-1.8.0-openjdk-src.x86_64            1:1.8.0.191.b12-1.el7_6       updates
java-1.8.0-openjdk-src-debug.i686        1:1.8.0.191.b12-1.el7_6       updates
java-1.8.0-openjdk-src-debug.x86_64      1:1.8.0.191.b12-1.el7_6       updates
Install all files in java-1.8.0-openjdk
[root@localhost~]# yum -y install java-1.8.0-openjdk*
Installation process takes 1 - 2 minutes, a cup of coffee will be installed, check the version number: java -version
[root@yoyo ~]# java -version
openjdk version "1.8.0_191"
OpenJDK Runtime Environment (build 1.8.0_191-b12)
OpenJDK 64-Bit Server VM (build 25.191-b12, mixed mode)
[root@yoyo ~]#
Then enter javac, and if you can see the output of the content, you have installed it.
[root@yoyo ~]# javac
Usage: javac <options> <source files>
where possible options include:
  -g                         Generate all debugging info
  -g:none                    Generate no debugging info
  -g:{lines,vars,source}     Generate only some debugging info
  -nowarn                    Generate no warnings
  -verbose                   Output messages about what the compiler is doing
  -deprecation               Output source locations where deprecated APIs are used
  -classpath <path>          Specify where to find user class files and annotation processors
Partners who have installed java should know that environment variables need to be set after installation. The advantage of the previous installation through yum is that environment variables have been set automatically for us.
Installation of Tomcat on Linux
tomcat installation can download the installation package first, then decompress it. You can also install it online directly with yum. It's more convenient for us to install it online directly with yum.
yum install tomcat
//perhaps
yum -y install tomcat
- Y means you choose y when you are asked, so you don't need to enter y manually during installation.
After the installation is completed, the installation directory is in "/usr/share/tomcat". We use the cd command to cut to the directory and use the ls (or ll) command to view the files in the directory.
[root@yoyo tomcat]# ls
bin  conf  lib  logs  temp  webapps  work
[root@yoyo tomcat]# ll
total 4
drwxr-xr-x 2 root root   4096 Dec 28 10:41 bin
lrwxrwxrwx 1 root tomcat   11 Dec 28 10:41 conf -> /etc/tomcat
lrwxrwxrwx 1 root tomcat   22 Dec 28 10:41 lib -> /usr/share/java/tomcat
lrwxrwxrwx 1 root tomcat   15 Dec 28 10:41 logs -> /var/log/tomcat
lrwxrwxrwx 1 root tomcat   22 Dec 28 10:41 temp -> /var/cache/tomcat/temp
lrwxrwxrwx 1 root tomcat   23 Dec 28 10:41 webapps -> /var/lib/tomcat/webapps
lrwxrwxrwx 1 root tomcat   22 Dec 28 10:41 work -> /var/cache/tomcat/work
[root@yoyo tomcat]#
Start the tomcat service
View the status of tomcat: system CTL status Tomcat
[root@yoyo tomcat]# systemctl status tomcat
● tomcat.service - Apache Tomcat Web Application Container
   Loaded: loaded (/usr/lib/systemd/system/tomcat.service; disabled; vendor preset: disabled)
   Active: inactive (dead)
[root@yoyo tomcat]#
Active: inactive (dead) means tomcat is dead and the service is not running yet.
Start tomcat: system CTL start Tomcat (or system CTL start tomcat. service)
[root@yoyo tomcat]#  systemctl start tomcat
[root@yoyo tomcat]# systemctl status tomcat
● tomcat.service - Apache Tomcat Web Application Container
   Loaded: loaded (/usr/lib/systemd/system/tomcat.service; disabled; vendor preset: disabled)
   Active: active (running) since Fri 2018-12-28 10:48:38 CST; 5s ago
 Main PID: 5216 (java)
   CGroup: /system.slice/tomcat.service
           └─5216 /usr/lib/jvm/jre/bin/java -classpath /usr/share/tomcat/bin/bootstrap.jar:/usr/share/tomcat/bin...

Dec 28 10:48:38 yoyo server[5216]: Dec 28, 2018 10:48:38 AM org.apache.catalina.core.StandardService startInternal
Dec 28 10:48:38 yoyo server[5216]: INFO: Starting service Catalina
Dec 28 10:48:38 yoyo server[5216]: Dec 28, 2018 10:48:38 AM org.apache.catalina.core.StandardEngine startInternal
Dec 28 10:48:38 yoyo server[5216]: INFO: Starting Servlet Engine: Apache Tomcat/7.0.76
Dec 28 10:48:38 yoyo server[5216]: Dec 28, 2018 10:48:38 AM org.apache.coyote.AbstractProtocol start
Dec 28 10:48:38 yoyo server[5216]: INFO: Starting ProtocolHandler ["http-bio-8080"]
Dec 28 10:48:38 yoyo server[5216]: Dec 28, 2018 10:48:38 AM org.apache.coyote.AbstractProtocol start
Dec 28 10:48:38 yoyo server[5216]: INFO: Starting ProtocolHandler ["ajp-bio-8009"]
Dec 28 10:48:38 yoyo server[5216]: Dec 28, 2018 10:48:38 AM org.apache.catalina.startup.Catalina start
Dec 28 10:48:38 yoyo server[5216]: INFO: Server startup in 61 ms
Hint: Some lines were ellipsized, use -l to show in full.
[root@yoyo tomcat]#
You can see that the state is Active: active (running), which means tomcat is running normally.
You can also see Main PID: 5216 (java) to know that the PID is 5216
Visit tomcat
tomcat default port is 8080, then browse the input address: http://server public network ip:8080/. This page is temporarily inaccessible
Since tomcat's web pages require plug-ins to be installed, two plug-in packages, tomcat-webapps and tomcat-admin-webapps, continue to be used here.
yum install tomcat-webapps tomcat-admin-webapps
Then go to the browser and visit http://server public network ip:8080 to open tomcat's address.
Run springboot on Linux again
First we packaged the project into jar packages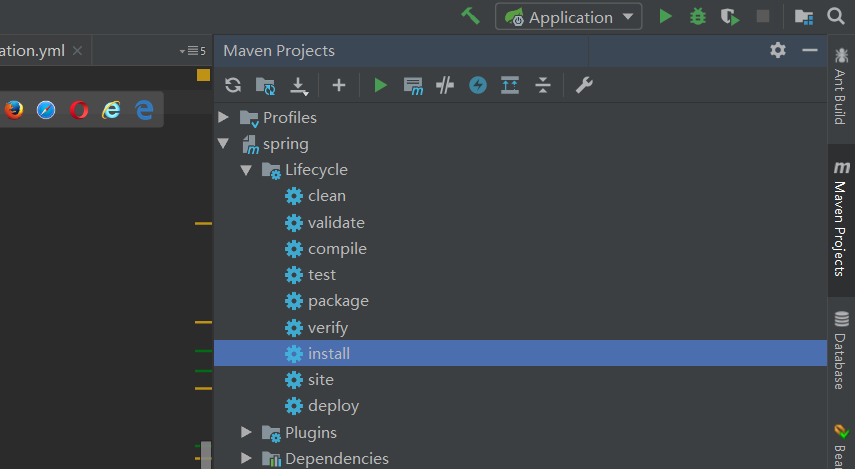 After packaging, we use Xftp6 to drag jar packages into Linux
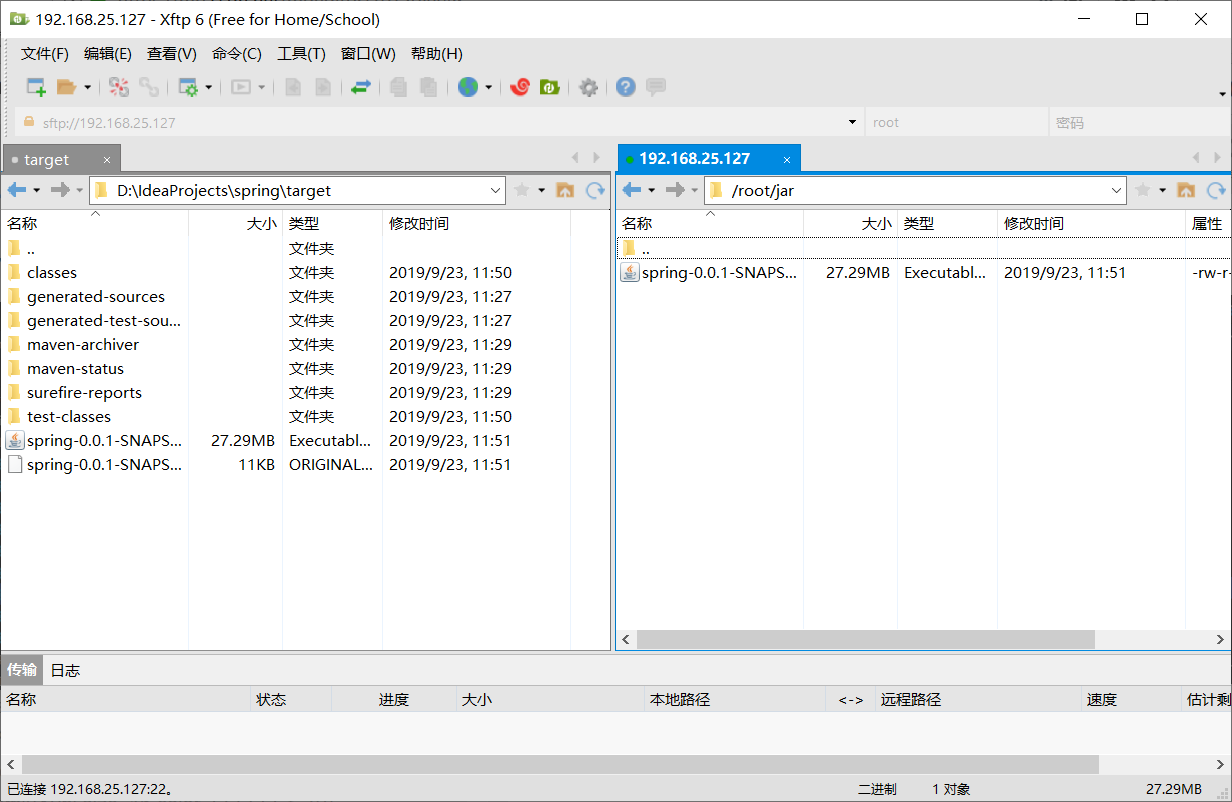
Then find the folder where the jar is located in Linux to see if it exists. Enter Running Command
Java-jar spring-0.0.1-SNAPSHOT.jar (full name of jar package here)
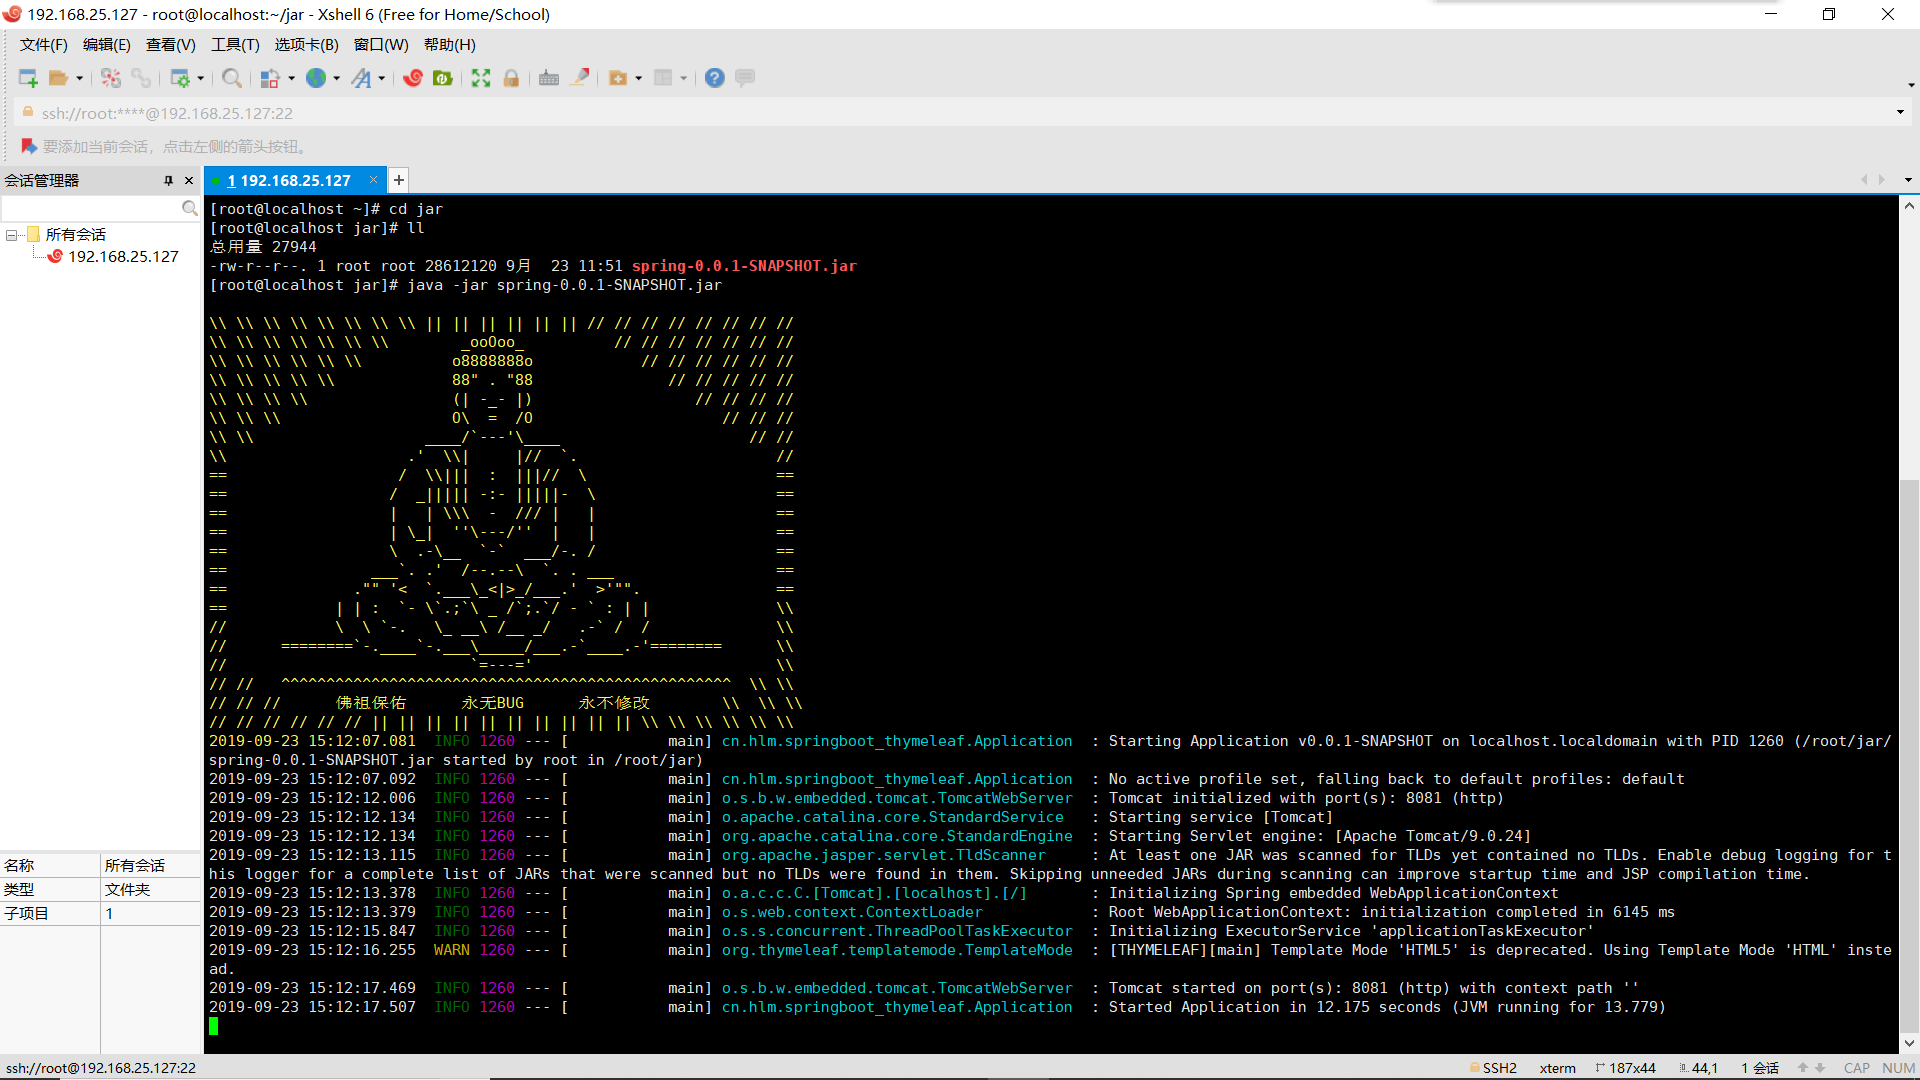 This is where it works. We can access it in the browser.
Then go to the browser and visit http://server public network ip:port number
That's the end of this sharing.