Linux Installation and configuration of nginx
1, What is nginx
Nginx (engine x) is a high performance HTTP and reverse proxy web server. It also provides IMAP/POP3/SMTP services. Nginx is the second most visited Russian by Igor sesoyev Rambler.ru The first public version 0.1.0 was released on October 4, 2004.
It publishes the source code in the form of BSD like license and is famous for its stability, rich feature set, sample configuration file and low consumption of system resources. nginx 1.0.4 was released on June 1, 2011.
Nginx is a lightweight Web server / reverse proxy server and email (IMAP/POP3) proxy server, which is distributed under BSD like protocol. Its characteristics are less memory and concurrent capability. In fact, nginx's concurrent capability is better in the same type of Web server. Chinese mainland users use Baidu website: Baidu, Jingdong, Sina, NetEase, Tencent, Taobao, etc.
2, nginx installation
2.1 download from official website
Download address: Click to enter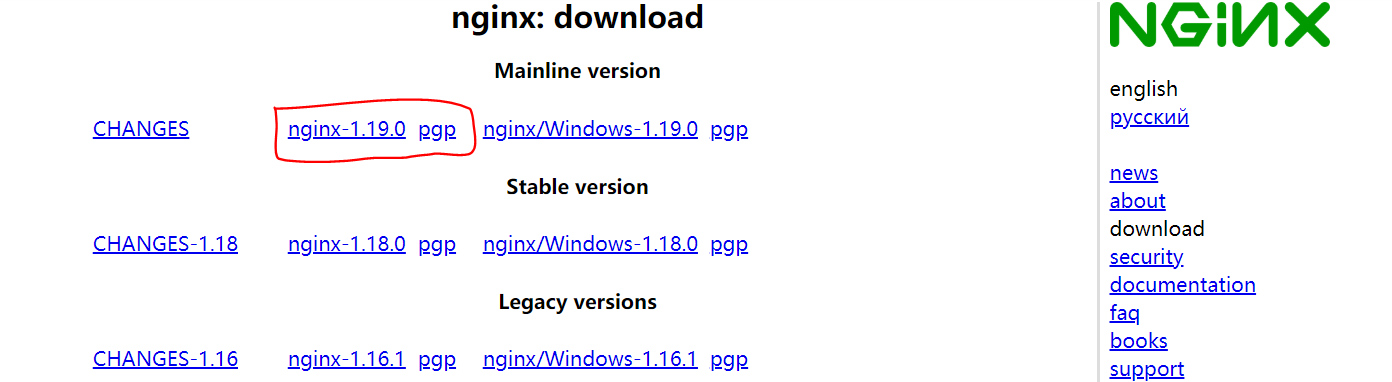
After downloading, use the Xftp tool to put it into the remote server. Before that, it is recommended to create a nginx folder on the remote server to store the compressed files. The relevant codes are as follows:
cd /usr/local/
mkdir nginx
2.2 download using wget command
Version can be downloaded according to their own needs, first go to the nginx official website to see what version, download.
wget -c https://nginx.org/download/nginx-1.19.0.tar.gz
2.3 unzip the installation package
tar -zxvf nginx-1.19.0.tar.gz
Unzip and enter the installation directory of nginx
2.4 configuration of nginx
2.4.1 use default configuration (recommended)
Let's first add the dependency library.
(1) Install gcc environment
yum install gcc-c++
(2) Install PCRE dependency Library
yum install -y pcre pcre-devel
(3) Install zlib dependency Library
yum install -y zlib zlib-devel
(4) Install OpenSSL secure socket layer cipher Library
yum install -y openssl openssl-devel
Execute the configuration command:
./configure
2.4.2 custom configuration (not recommended)
./configure \
--prefix=/usr/local/nginx \
--conf-path=/usr/local/nginx/conf/nginx.conf \
--pid-path=/usr/local/nginx/conf/nginx.pid \
--lock-path=/var/lock/nginx.lock \
--error-log-path=/var/log/nginx/error.log \
--http-log-path=/var/log/nginx/access.log \
--with-http_gzip_static_module \
--http-client-body-temp-path=/var/temp/nginx/client \
--http-proxy-temp-path=/var/temp/nginx/proxy \
--http-fastcgi-temp-path=/var/temp/nginx/fastcgi \
--http-uwsgi-temp-path=/var/temp/nginx/uwsgi \
--http-scgi-temp-path=/var/temp/nginx/scgi
Note: to specify the temporary file directory as / var/temp/nginx, you need to create the temp and nginx directories under / var
2.5 compilation and installation
Execute the order
make install
Find installation path command:
whereis nginx
2.6 start and stop nginx
Command to start and stop nginx
(1) Enter nginx directory first
cd /usr/local/nginx/sbin/
(2) Execute the command again
./nginx open
./nginx -s stop stop it
./nginx -s quit
./nginx -s reload
. / nginx -s quit: the stop step in this mode is to stop after the nginx process has finished processing tasks.
. / nginx -s stop: this method is equivalent to first finding out the nginx process id, and then using the kill command to force killing the process.
3, Installation command summary
wget -c https://nginx.org/download/nginx-1.19.0.tar.gz
tar -zxvf nginx-1.19.0.tar.gz


yum install gcc-c++
yum install -y pcre pcre-devel
yum install -y zlib zlib-devel
yum install -y openssl openssl-devel
./configure

make install
whereis nginx

cd /usr/local/nginx/sbin/
./nginx
./nginx -s stop
./nginx -s quit
./nginx -s reload
Reference link: https://blog.csdn.net/w410589502/article/details/70787468