The first reptile in life (python3)
Preface
This blog is used to record the first gadget written by Xiaobai in python. It takes more than a day. In addition, I am still learning. This blog is my opinion and notes. There will be many mistakes and shortcomings. I hope you can give me some advice. This paper is more basic, will be detailed about every step from 0 to completion (I use less, then I can pick it up again by relying on notes).
The crawler has three functions: crawling source code, crawling map and image character recognition.
Main interface: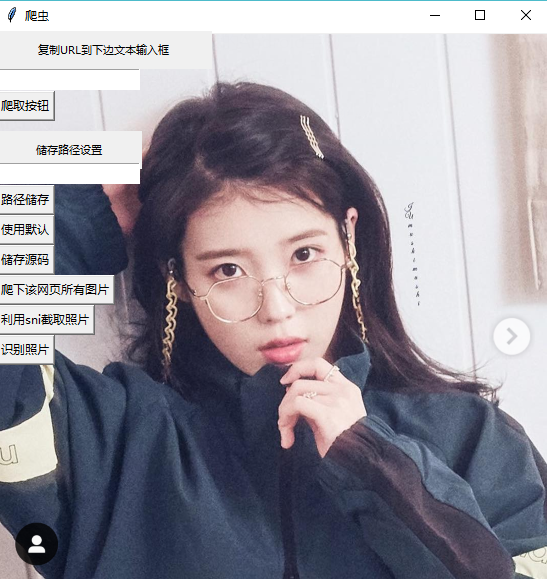
Crawling pictures: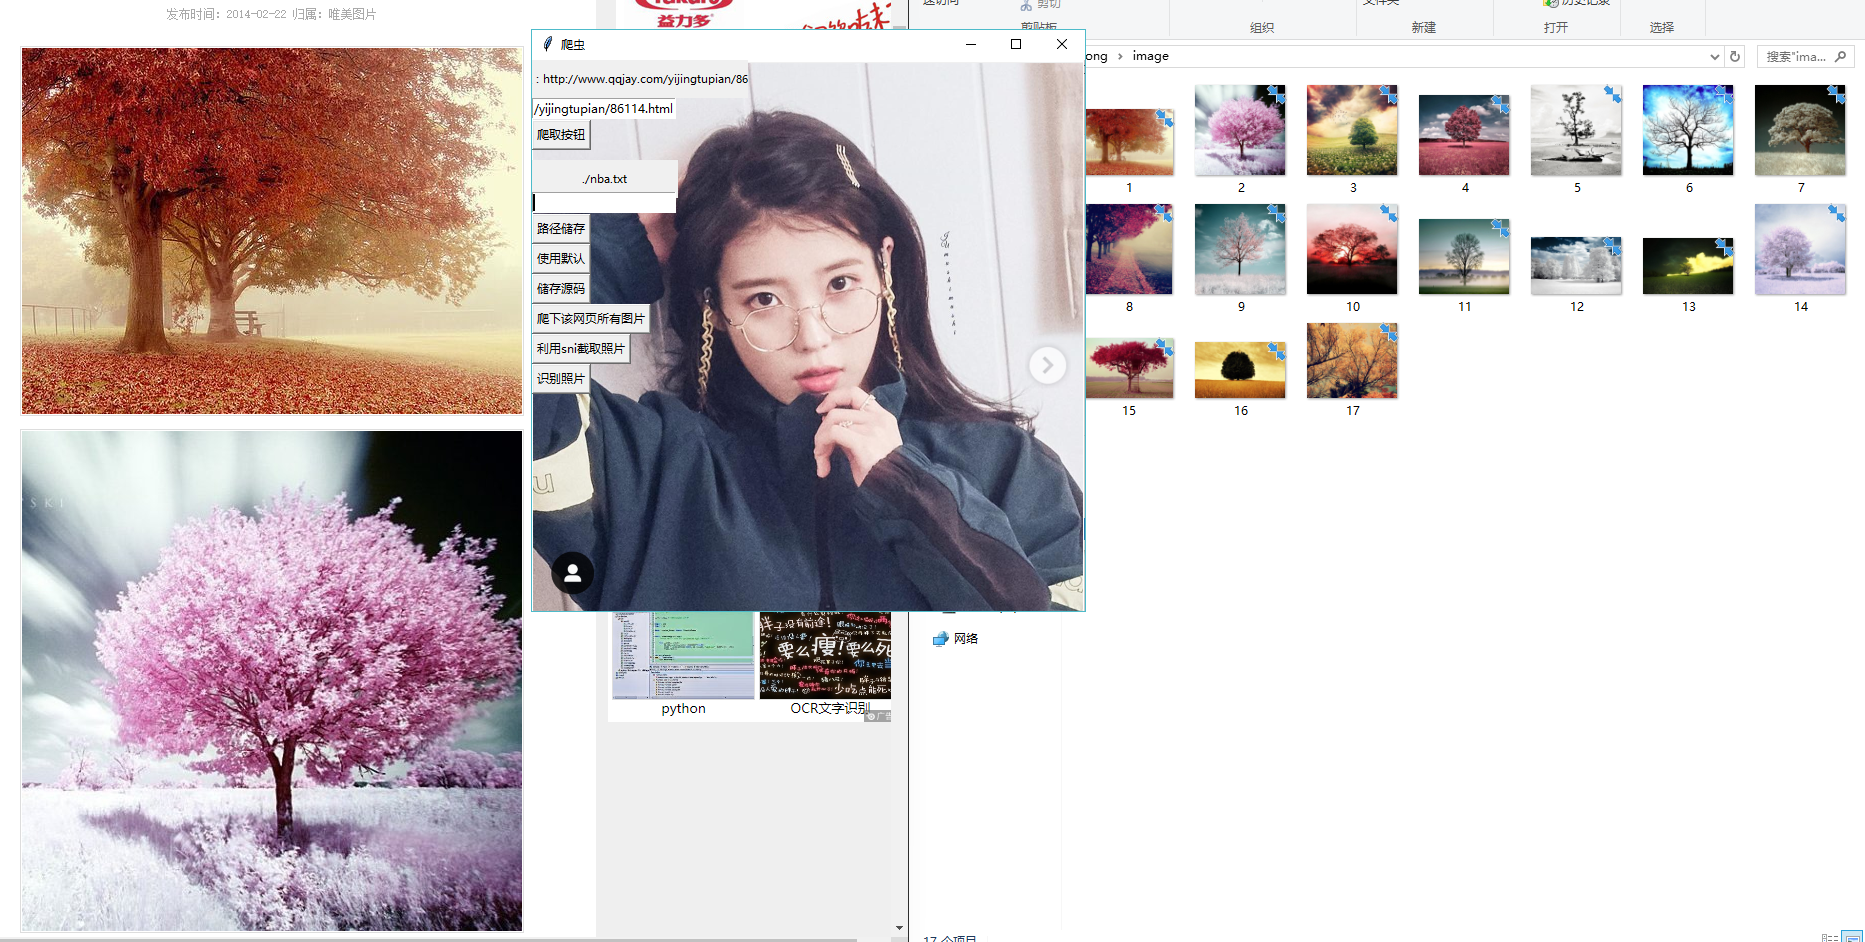
Recognize the text in the image (with Snipaste):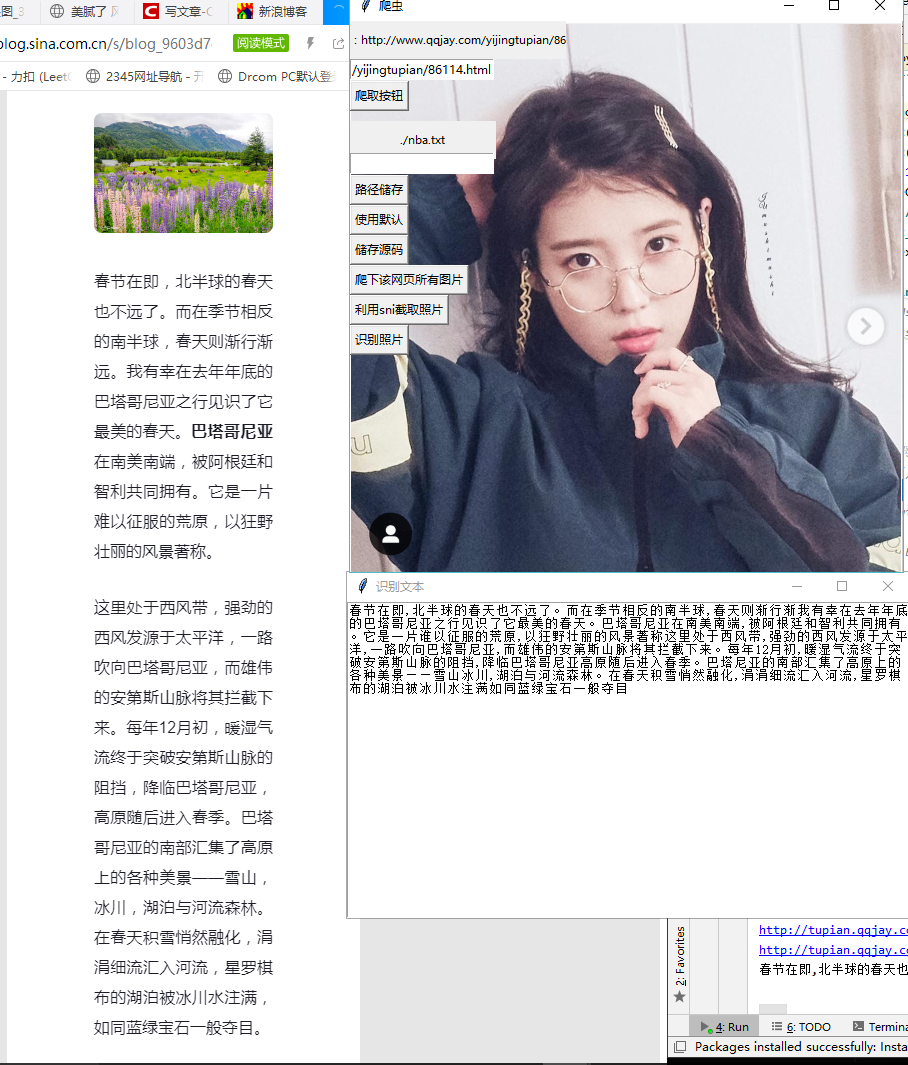
Step 1: configuration of environment and Library
The tool involves GUI interface design (tkinter), URL requests, urllib.request, picture capture (PIL), string matching (re), etc.
There are two main ways I know about library installation.
1, setting add library in pycharm
file–setting–project interpret–install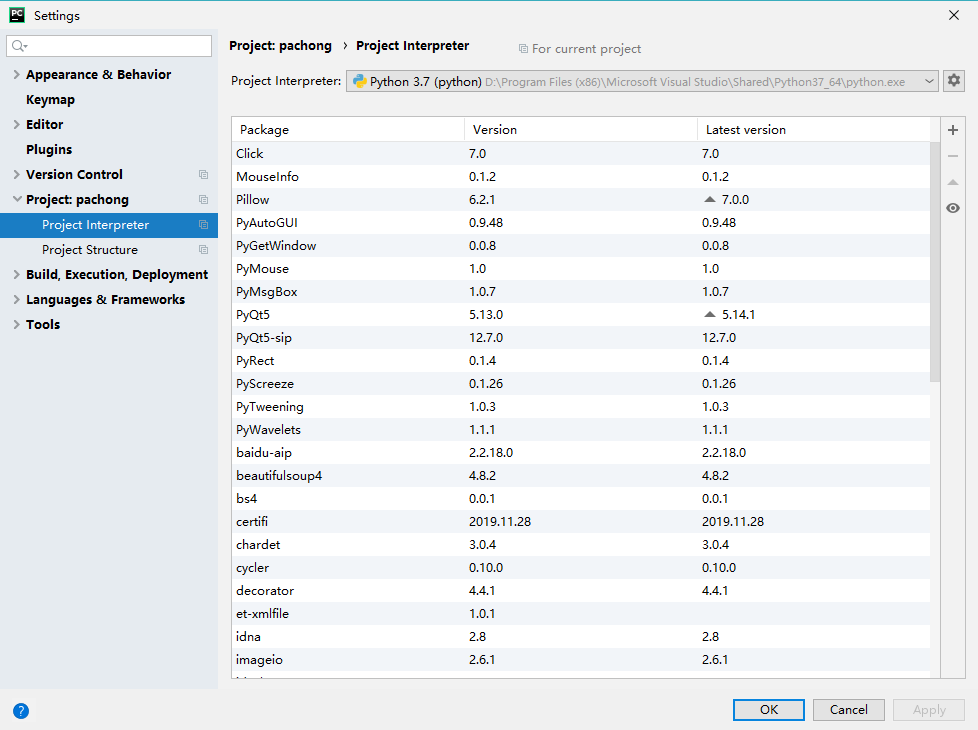
2, cmd installation
Move to the root directory of the interpreter, find the Scripts folder, double-click and enter cmd in the file directory input box to quickly open cmd and enter the folder. pip install (Library name)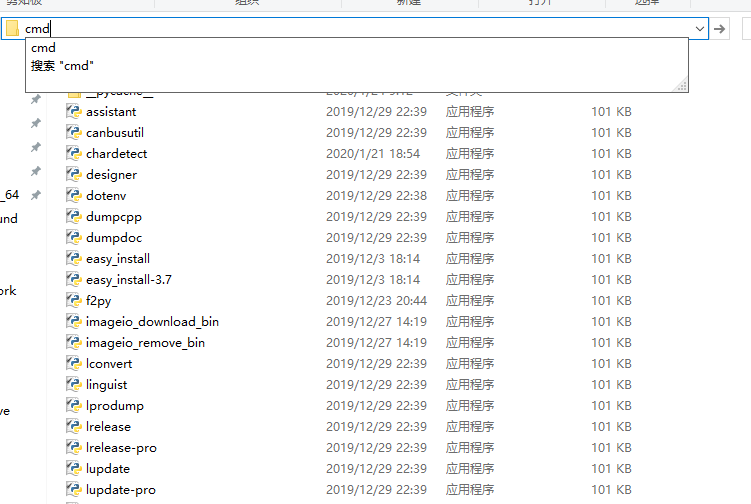
3, Solutions to common problems
1: Problems encountered by Xiaobai: multiple versions of the interpreter are installed in a computer, such as: Python 3.6.6, python 3.7, etc. Then you need to select the interpreter version when installing the library. You need to select the interpreter when creating the project. Later, you can also change it in setting. Otherwise, the library will be added continuously, but the library in pip list will not change.
2: There are many reasons why the setting method can't be installed. For example, the version is not compatible (most likely). Click the detail in the red bar and copy the ERROR reason to Baidu, which can often be solved easily.
3: cmd installation shows no permission, close open cmd as administrator.
4: Platform version not supported. This problem was encountered when I installed pyhook in version 3.7. Because the resources under pip and pycharm do not match the version (win32/64, cp35, 36, 37), I can find a file of what to solve by myself.
If you have all the libraries installed, you will report fewer errors during code calls.
Step 2: tkinter interface design
The popular science of the tkinter library on the Internet is very comprehensive. Let me talk about how I use it.
1, Main window
window = tk.Tk()
window.geometry("480x640") #Here is the small letter x
window.mainloop()

2, Component placement
1. The absolute position of place based on the top corner of the root window
xxx.place(x=0, y=304)
2. The pack age is typeset from top to bottom, with four areas (suitable for early debugging)
xxx.pack()
3. Grid virtual grid, setting grid coordinates for layout
3, button
xxx_button = tk.Button(window (root directory), text = 'key text', command = call function)
4, Dynamic string with text box label
    self.URL_way_label = StringVar()
    self.URL_way_label.set('copy URL To the text input box below')
    self.URL_label = tk.Label(window, textvariable = self.URL_way_label, font=('Microsoft YaHei', 8), width=30, height=2)
The height here refers to the height. The height = 2 will cover 1, 0
5, Input field entry
    self.URL_entry = tk.Entry(width=20)
    self.URL_entry.place(x=0,y=38)
    print(self.URL_entry.get())
Using get function to get the content of text box and deal with it
6, Background picture
	self.window = tk.Tk()
    self.window.title("Reptile")
    img = Image.open('./background/background.png')
    self.window_background = ImageTk.PhotoImage(img)
    w = self.window_background.width()
    h = self.window_background.height()
    self.window.geometry('%dx%d+0+0' % (w, h))

    background_label = tk.Label(self.window, image=self.window_background)
    background_label.place(x=0, y=0, relwidth=1, relheight=1)
The height is 1, higher than the root window and lower than the key. In addition, let the window size depend on the size of the picture. In addition to png, gif is also applicable (gif will not move).
7, GUI source code
	#"Save path settings (absolute / relative path)"
    #Initialization interface
    # The multiplier is a lowercase x
    self.window = tk.Tk()
    self.window.title("Reptile")
    img = Image.open('./background/IUUU.png')
    self.window_background = ImageTk.PhotoImage(img)
    w = self.window_background.width()
    h = self.window_background.height()
    self.window.geometry('%dx%d+0+0' % (w, h))

    background_label = tk.Label(self.window, image=self.window_background)
    background_label.place(x=0, y=0, relwidth=1, relheight=1)

    # URL prompt text box
    self.URL_way_label = StringVar()
    self.URL_way_label.set('copy URL To bottom text input box')
    self.URL_label = tk.Label(self.window, textvariable = self.URL_way_label, font=('Microsoft YaHei', 8), width=30, height=2)
    self.URL_label.place(x=0,y=0)
    # URL input box
    self.URL_entry = tk.Entry(width=20)
    self.URL_entry.place(x=0,y=38)
    # Start climbing button
    self.URL_button = tk.Button(self.window, text='Crawl button', command=self.URL_to_pachong)
    self.URL_button.place(x=0,y=60)
    # Save prompt text box
    self.LAY_way_label = StringVar()
    self.LAY_way_label.set("Save path settings")
    self.LAY_label = tk.Label(self.window, textvariable = self.LAY_way_label, font=('Microsoft YaHei', 8), width=20,height=2)
    self.LAY_label.place(x=0,y=100)
    # URL input box
    self.LAY_entry = tk.Entry(width=20)
    self.LAY_entry.place(x=0,y=132)
    # Save path OK button
    self.LAY_way_button = tk.Button(self.window, text='Path storage', command=self.LAY_way_confirm)
    self.LAY_way_button.place(x=0,y=154)
    # Default path determination button
    self.usual_LAY_way_button = tk.Button(self.window, text='Use default', command=self.LAY_way_confirm_as_usual)
    self.usual_LAY_way_button.place(x=0,y=184)
    # Storage button
    self.LAY_button = tk.Button(self.window, text='Storage source code', command=self.lay)
    self.LAY_button.place(x=0,y=214)
    # Picture download button
    self.download_photo_button = tk.Button(self.window, text='Climb down all pictures on this page', command=self.download_photo)
    self.download_photo_button.place(x=0,y=244)
    # Picture recognition button
    self.cut_photo_button = tk.Button(self.window, text='utilize sni Intercept photos', command=self.before_cut_photo)
    self.cut_photo_button.place(x=0,y=274)
    # Picture recognition button
    self.read_photo_button = tk.Button(self.window, text='Identifying photos', command=self.image2text)
    self.read_photo_button.place(x=0,y=304)
    #Cycle detection
    self.window.mainloop()
Note out the command, change the image path, and remove self. You should be able to run.
Mengxin Xiaobai's heart notes. If I have something wrong and can be improved, I hope you can give me some advice. 1069193895, we can study together.

