In another article, "Learning RecyclerView (2) from scratch", we have introduced how to add click and long-click event listeners to RecyclerView's item, but there must be some operations to monitor these events. Otherwise, it is meaningless to listen. This article records how to listen to RecyclerView's data. To do this, you can combine click events to modify or delete data, and record how to add partition lines for RecyclerView. Similarly, this article is based on the previous code.
RecyclerView has a high degree of freedom, one of the reasons is that it can be partially refreshed, so it is very convenient to add, delete and change individual data in the Adadapter of RecyclerView. The official API provides us with the following methods:
//This method is used to indicate the location of the new data when adding one data.
final void notifyItemInserted(int position)

//When this method is used to delete a data, position represents the location of the deletion.
final void notifyItemRemoved(int position)

//This method indicates that the location of the item corresponding to the position will not change, but the content of the item will change.
final void notifyItemChanged(int position)

//This method is generally used: most of the data loaded before the adapter is out of date and needs to be updated.
//When this method is called, recyclerView recalculates the subitems and all subitems to reposition
//For efficiency reasons, officials suggest replacing this with more precise methods, such as the three above.
final void notifyDataSetChanged()
These methods are easy to understand, and then we can add several methods to the TestAdapter:
//Remove data
public void removeData(int position) {
stringList.remove(position);
notifyItemRemoved(position);
}

//Additional data
public void addData(int position) {
stringList.add(position, "Add One");
notifyItemInserted(position);
}

//Change data for a location
public void changeData(int position) {
stringList.set(position, "Item " + position + " has changed");
notifyItemChanged(position);
}
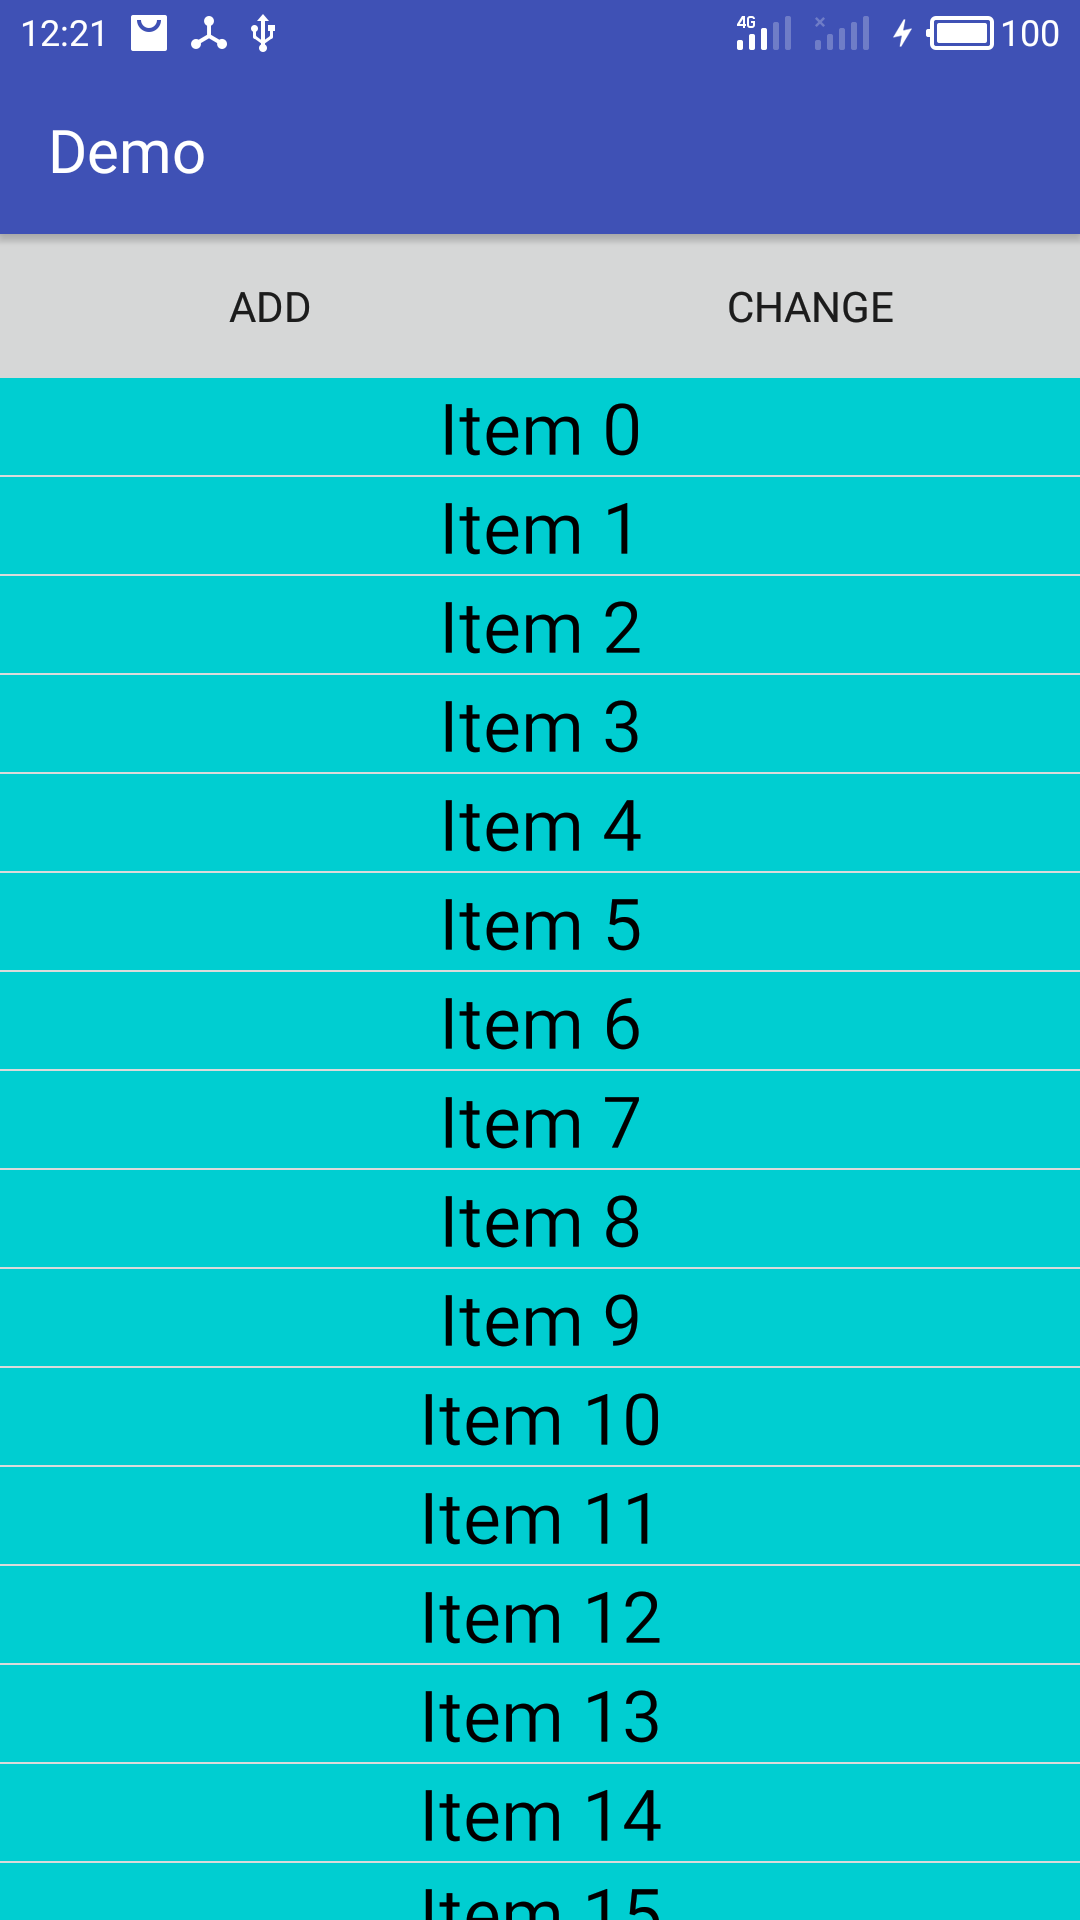
Add two buttons to the original MainActivity.xml layout:
<LinearLayout
android:layout_width="match_parent"
android:layout_height="wrap_content"
android:orientation="horizontal">

<Button
android:id="@+id/btn_add"
android:layout_width="0dp"
android:layout_height="wrap_content"
android:layout_weight="1"
android:text="add" />

<Button
android:id="@+id/btn_change"
android:layout_width="0dp"
android:layout_height="wrap_content"
android:layout_weight="1"
android:text="change" />
</LinearLayout>
Then, in MainActivity, handle the click events of these two Button s and call the addData () and changeData () methods in TestAdapter:
findViewById(R.id.btn_add).setOnClickListener(new View.OnClickListener() {
@Override
public void onClick(View view) {
mTestAdapter.addData(1);
}
});
findViewById(R.id.btn_change).setOnClickListener(new View.OnClickListener() {
@Override
public void onClick(View view) {
mTestAdapter.changeData(1);
}
});
Then modify the RecyclerView listener in MainActivity to delete the item on time.
rvTest.addOnItemTouchListener(new RecyclerViewClickListener(this, rvTest,
                new RecyclerViewClickListener.OnItemClickListener() {
                    @Override
                    public void onItemClick(View view, int position) {
                        Toast.makeText(MainActivity.this, "Click " + getList().get(position), Toast.LENGTH_SHORT).show();
                    }

                    @Override
                    public void onItemLongClick(View view, int position) {
                        mTestAdapter.removeData(position);
                        Toast.makeText(MainActivity.this, "Remove " + getList().get(position), Toast.LENGTH_SHORT).show();
                    }
                }));
Rerun the program and you should see the following results:
As you can see, the data has been added, deleted and changed correctly. And in the process of adding and deleting, it is not a sudden direct change, but a small animation effect, which makes it look very comfortable. It uses the animation effect provided by RecyclerView by default.
//This line of code is not required because RecyclerView will be used by default.
rvTest.setItemAnimator(new DefaultItemAnimator());
In "Learning RecyclerView from scratch (1)", we provide an abstract class ItemAnimator, which provides animation effect for RecyclerView item. DefaultItemAnimator () is one of its implementation classes. That is to say, we can define other animations ourselves, but I don't know much about animation implementation yet. So I don't record this first. I heard that there is an open source project on Github. RecyclerViewItemAnimators You can learn it.
public static abstract class ItemDecoration {
public void onDraw(Canvas c, RecyclerView parent, State state) {
onDraw(c, parent);
}

public void onDrawOver(Canvas c, RecyclerView parent, State state) {
onDrawOver(c, parent);
}

public void getItemOffsets(Rect outRect, View view, RecyclerView parent, State state) {
getItemOffsets(outRect,((LayoutParams)view.getLayoutParams()).getViewLayoutPosition(),parent)
}
}
Among the three methods, onDraw () and onDrawOver () are obviously used for drawing, so the logic of drawing partition lines can be put in it. The specific difference between them is that onDraw is an item. View is called before drawing, and onDrawOver is called after item view drawing, so we usually choose to override one of the methods. getItemOffsets, which tells RecyclerView to finish drawing an item When view ing, how many spaces should be left to facilitate the drawing of partition lines.
Next we can write an implementation class, which is referred to officially.
public class DividerItemDecoration extends RecyclerView.ItemDecoration {

    //Use the list Divider that comes with the system
    private static final int[] ATTRS = new int[]{
            android.R.attr.listDivider
    };

    public static final int HORIZONTAL_LIST = LinearLayoutManager.HORIZONTAL;
    public static final int VERTICAL_LIST = LinearLayoutManager.VERTICAL;

    private Drawable mDivider;
    private int mOrientation;

    public DividerItemDecoration(Context context, int orientation){
        //Loading system resources using TypeArray
        final TypedArray ta = context.obtainStyledAttributes(ATTRS);
        mDivider = ta.getDrawable(0);
        //cache
        ta.recycle();
        setOrientation(orientation);
    }

    public void setOrientation(int orientation){
        if(orientation != HORIZONTAL_LIST && orientation != VERTICAL_LIST){
            throw new IllegalArgumentException("invalid orientation");
        }
        mOrientation = orientation;
    }
    @Override
    public void onDraw(Canvas c, RecyclerView parent, RecyclerView.State state) {
        if(mOrientation == VERTICAL_LIST){
            drawVertical(c,parent);
        }else{
            drawHorizontal(c,parent);
        }
    }

    public void drawVertical(Canvas c,RecyclerView parent){
        //Get the left margin of the partition line, the padding value of RecyclerView
        final int left = parent.getPaddingLeft();
        //Right margin of partition line
        final int right = parent.getWidth() - parent.getPaddingRight();
        final int childCount = parent.getChildCount();
        //Traverse through all item view s and draw a partition line below them
        for(int i=0;i<childCount;i++){
            final View child = parent.getChildAt(i);
            final RecyclerView.LayoutParams params = (RecyclerView.LayoutParams) child.getLayoutParams();
            final int top = child.getBottom() + params.bottomMargin;
            final int bottom = top + mDivider.getIntrinsicHeight();
            mDivider.setBounds(left,top,right,bottom);
            mDivider.draw(c);
        }
    }

    public void drawHorizontal(Canvas c, RecyclerView parent) {
        final int top = parent.getPaddingTop();
        final int bottom = parent.getHeight() - parent.getPaddingBottom();

        final int childCount = parent.getChildCount();
        for (int i = 0; i < childCount; i++) {
            final View child = parent.getChildAt(i);
            final RecyclerView.LayoutParams params = (RecyclerView.LayoutParams) child
                    .getLayoutParams();
            final int left = child.getRight() + params.rightMargin;
            final int right = left + mDivider.getIntrinsicHeight();
            mDivider.setBounds(left, top, right, bottom);
            mDivider.draw(c);
        }
    }

    @Override
    public void getItemOffsets(Rect outRect, View view, RecyclerView parent, RecyclerView.State state) {
        if(mOrientation == VERTICAL_LIST){
            //Set the height of the offset to mDivider. get Intrinsic Height, which is exactly the height of the dividing line
            outRect.set(0,0,0,mDivider.getIntrinsicHeight());
        }else{
            outRect.set(0,0,mDivider.getIntrinsicWidth(),0);
        }
    }
}
Next, add the following code to MainAtivity and comment out the margin value in MainActivity.xml (the margin value was added before to distinguish the item s).
rvTest.addItemDecoration(new DividerItemDecoration(this,DividerItemDecoration.VERTICAL_LIST));
Rerun the program and you should see the following results:
It can be seen that there is a light grey segmentation line. Here we use the system's own splitting line style, we can completely use custom style to replace the system's splitting line, more knowledge about drawing the splitting line, such as the grid layout of the splitting line drawing, you can refer to the Yangshen blog:
http://blog.csdn.net/lmj623565791/article/details/45059587
As far as the usage of RecyclerView is concerned, we can see that although it is a little more troublesome than ListView, its freedom is very high, because many attributes need to be realized by ourselves. The subtext is that we can do what we want, so RecyclerView is really a powerful thing. I hope I can become strong gradually.