2.2. Install Ubuntu operating system on the host computer
In this article, the host computer uses VMware Workstation virtual machine to install Ubuntu operating system. The installation file of the operating system is ubuntu-20.04.3-desktop-amd64.
2.2.1.Ubuntu system installation
The first step is to create an Ubuntu image storage folder and a VMware virtual machine disk storage folder
Create an "Ubuntu" folder on the local computer desktop, and then copy the ubuntu-20.04.3-desktop-amd64.iso image to the "Ubuntu" folder, as shown in Figure 1.

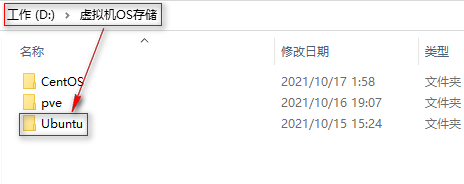
Create a "virtual machine OS storage / Ubuntu" folder in the D disk of the local computer to store the VMware virtual machine files created later, as shown in Figure 2.
The second step is to create a new virtual machine and edit the related configuration of the virtual machine
It is not much different from the configuration of CentOS system. It will not be demonstrated here. See< KVM deployment of KVM virtualization solution series (1-3) >Relevant contents.
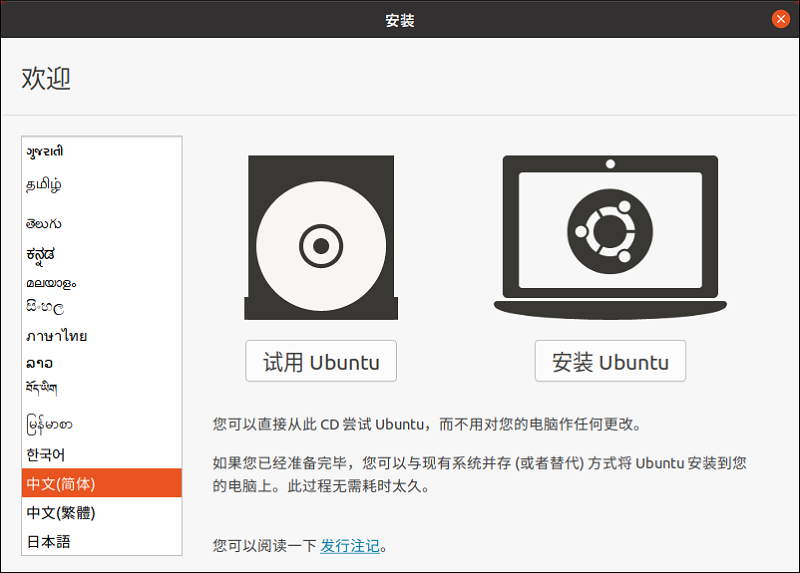
Step 3: start the virtual machine, enter the Ubuntu operating system installation interface, select the "Chinese (Simplified)" language, and then press the "install Ubuntu" button to continue, as shown in Figure 3
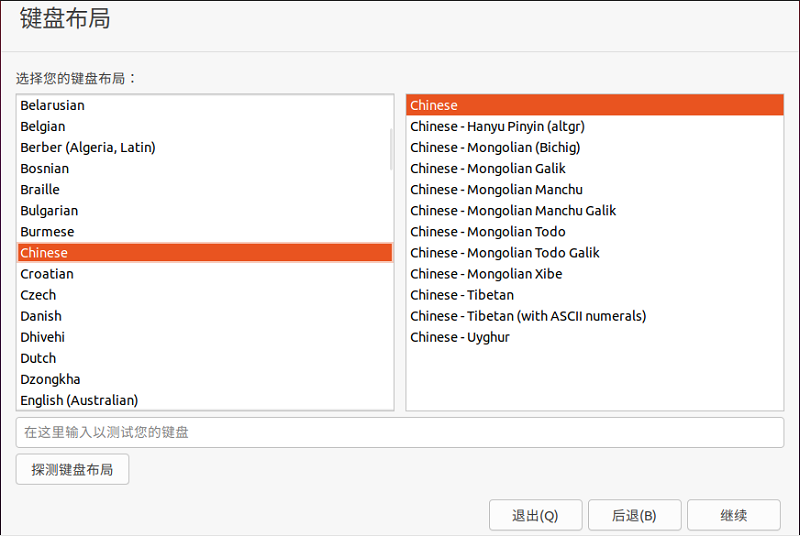
Step 4: the system enters the "keyboard layout" interface, select "Chinese", and click the "continue" button, as shown in Figure 4
Step 5: the system enters the "update and other software" interface, select "normal installation", and then click the "continue" button, as shown in Figure 5

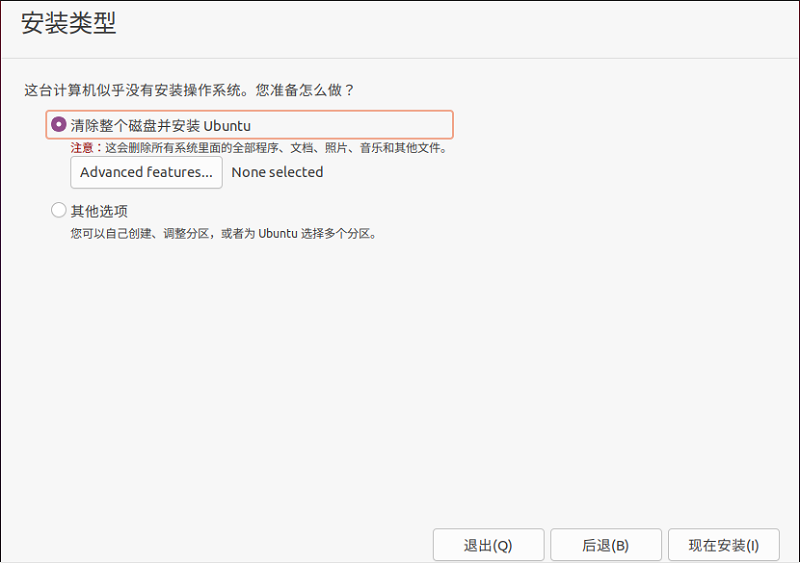
Step 6: the system enters the "installation type" interface, select "clear the entire disk and follow Ubuntu", and then click the "install now" button, as shown in Figure 6
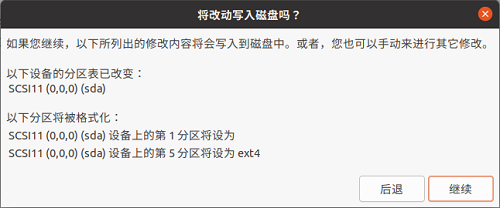
Step 7: the system pops up the "write changes to disk" interface, and click the "continue" button, as shown in Figure 7
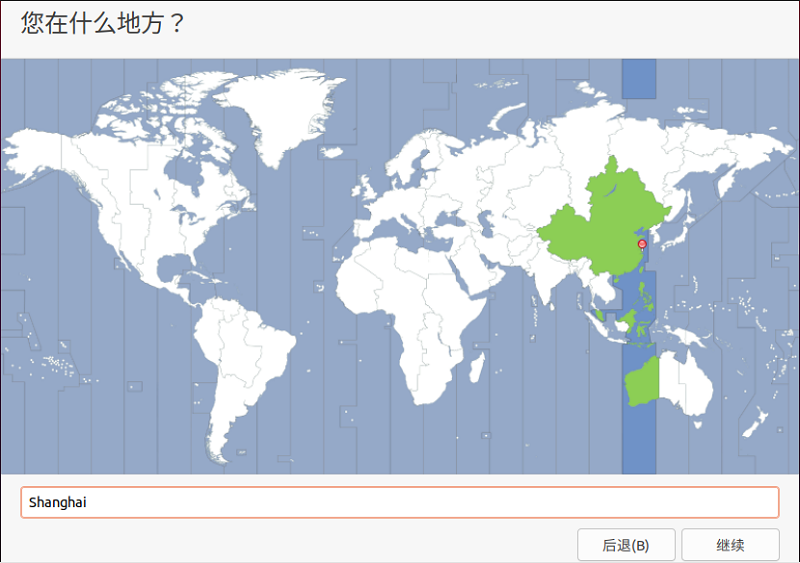
Step 8: the system enters the time zone selection interface, select the "Shanghai" time zone, and then click the "continue" button, as shown in Figure 8
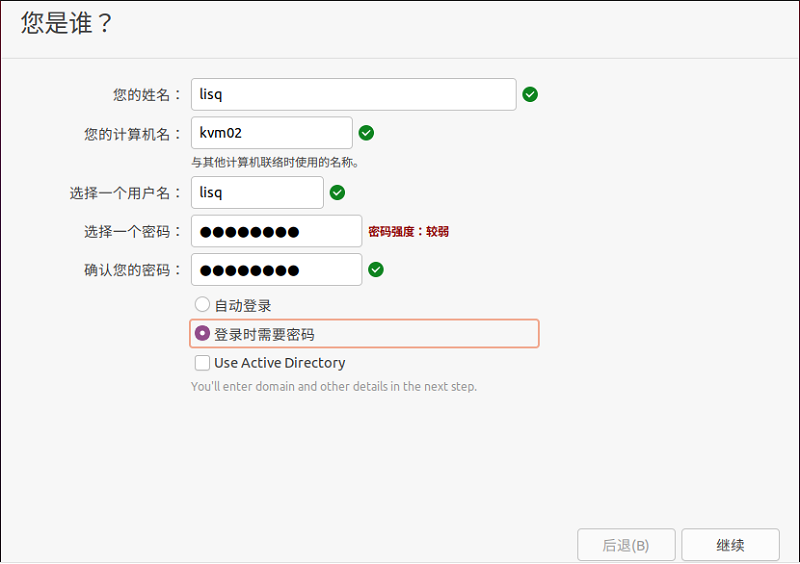
Step 9: the system enters the user name and password setting interface, fill in the user name and password according to the actual situation, select "password required for login", and then click the "Continue button", as shown in Figure 9
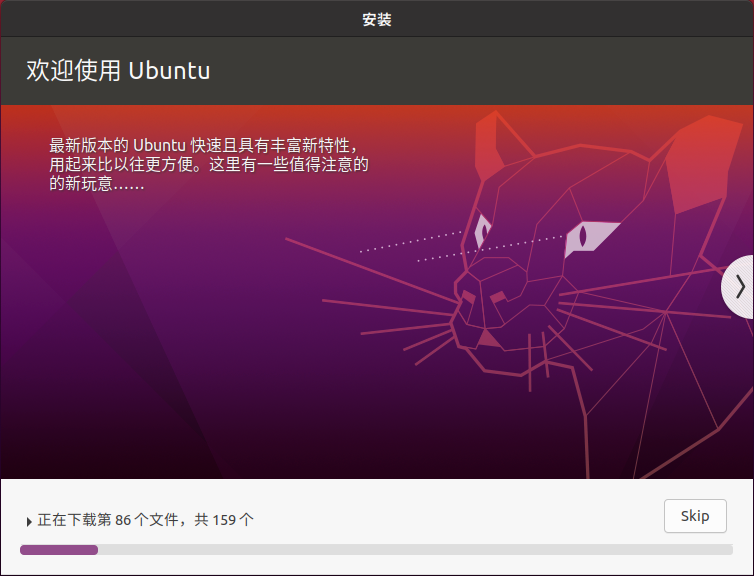
Step 10: the system enters the installation process. The whole installation takes about 7 minutes, as shown in Figure 10
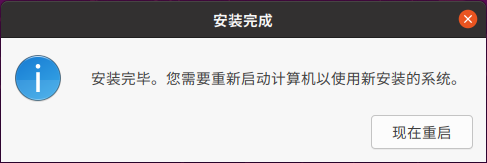
Step 11: after the system installation is completed, you need to restart to use the Ubuntu system. Click the "restart now" button, as shown in Figure 11
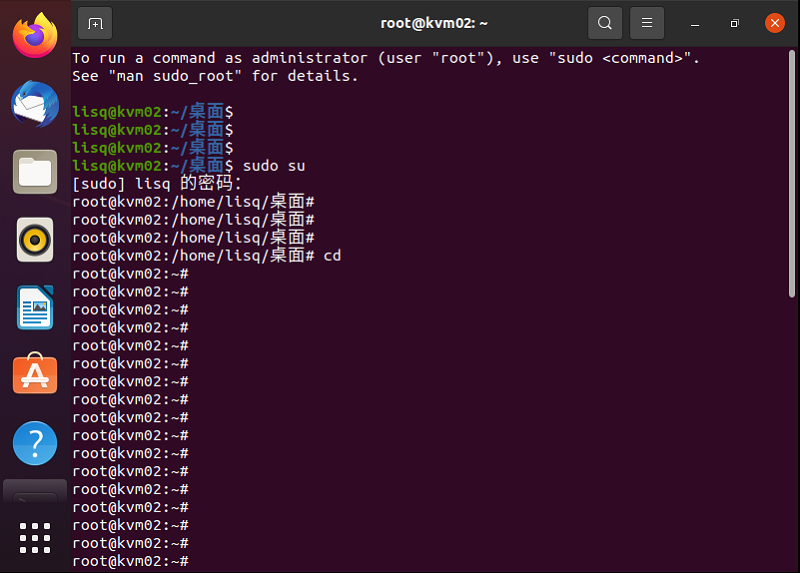
Step 12: open the terminal command window in the graphical user interface, and the command can be used normally, as shown in Figure 12
2.2.2. Basic network configuration
Set the network card IP address, subnet mask, gateway and DNS in the graphical interface to ensure that the Ubuntu server is connected to the Internet.
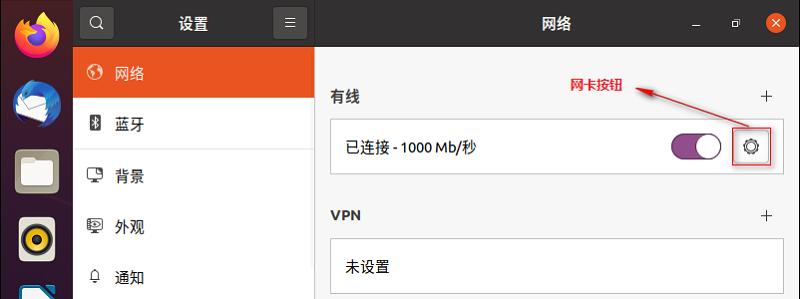
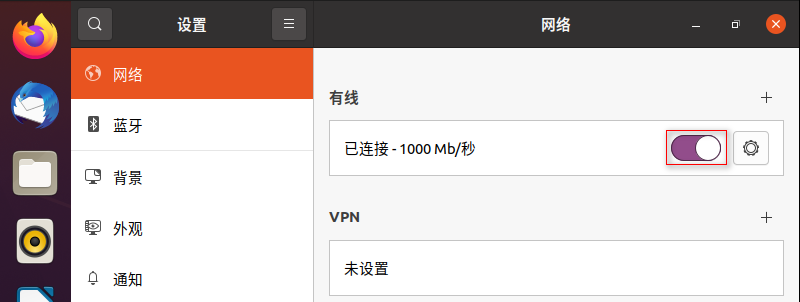
First, in the graphical interface, select the "wired setting" option to configure the network, as shown in Figure 13

Step 2: in the network graphical interface, click the network card configuration button to enter the network configuration interface, as shown in Figure 14
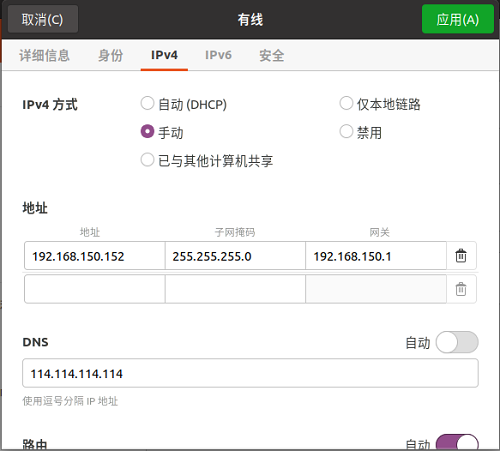
Step 3: in the network card configuration interface, select the "manual" configuration mode, configure the IP address, subnet mask, gateway and DNS information, and then click the "apply" button, as shown in Figure 15
Step 4: in the network interface, click the restart button of the network card to make the network card configuration effective, as shown in Figure 16
Step 5: use the ping command to check whether you can access the Internet
root@kvm02:~# ping www.baidu.com
PING www.a.shifen.com (14.215.177.39) 56(84) bytes of data.
64 Bits from 14.215.177.39 (14.215.177.39): icmp_seq=1 ttl=55 time=8.33 millisecond
64 Bits from 14.215.177.39 (14.215.177.39): icmp_seq=2 ttl=55 time=7.80 millisecond
64 Bits from 14.215.177.39 (14.215.177.39): icmp_seq=3 ttl=55 time=8.09 millisecond
64 Bits from 14.215.177.39 (14.215.177.39): icmp_seq=4 ttl=55 time=8.12 millisecond
2.2.3. Enable SSH service remote login
Different from CentOS 7 system, Ubuntu does not enable SSH service remote login by default. It cannot use SSH tools such as Xshell and CRT for remote login. You need to enable SSH Remote Service login.
The first step is to check whether the ssh server service is installed in Ubuntu. By default, only the SSH client service is installed
root@kvm02:~# dpkg -l | grep ssh
ii  libssh-4:amd64                             0.9.3-2ubuntu2.1                      amd64        tiny C SSH library (OpenSSL flavor)
ii  openssh-client                             1:8.2p1-4ubuntu0.3                    amd64        secure shell (SSH) client, for secure access to remote machines
ii  python3-paramiko                           2.6.0-2                               all          Make ssh v2 connections (Python 3)
Step 2: install the ssh server service
root@kvm02:~# apt-get install openssh-server
 Reading package list... complete
 Analyzing dependency tree for package
Reading status information... complete
The following software will also be installed:
  ncurses-term openssh-sftp-server ssh-import-id
 Recommended installation:
  molly-guard monkeysphere ssh-askpass
 The following [new] packages will be installed:
  ncurses-term openssh-server openssh-sftp-server ssh-import-id
 0 packages have been upgraded and 4 packages have been newly installed. To uninstall 0 packages, 95 packages have not been upgraded.
Need to download 688 kB Archive of.
It will consume 6 after decompression,010 kB Extra space.
Do you want to continue? [Y/n] y
Step 3: check the ssh server service again
root@kvm02:~# dpkg -l | grep ssh
ii  libssh-4:amd64                             0.9.3-2ubuntu2.1                      amd64        tiny C SSH library (OpenSSL flavor)
ii  openssh-client                             1:8.2p1-4ubuntu0.3                    amd64        secure shell (SSH) client, for secure access to remote machines
ii  openssh-server                             1:8.2p1-4ubuntu0.3                    amd64        secure shell (SSH) server, for secure access from remote machines
ii  openssh-sftp-server                        1:8.2p1-4ubuntu0.3                    amd64        secure shell (SSH) sftp server module, for SFTP access from remote machines
ii  python3-paramiko                           2.6.0-2                               all          Make ssh v2 connections (Python 3)
ii  ssh-import-id                              5.10-0ubuntu1                         all          securely retrieve an SSH public key and install it locally
Step 4: enable the ssh server service
root@kvm02:~# service ssh start
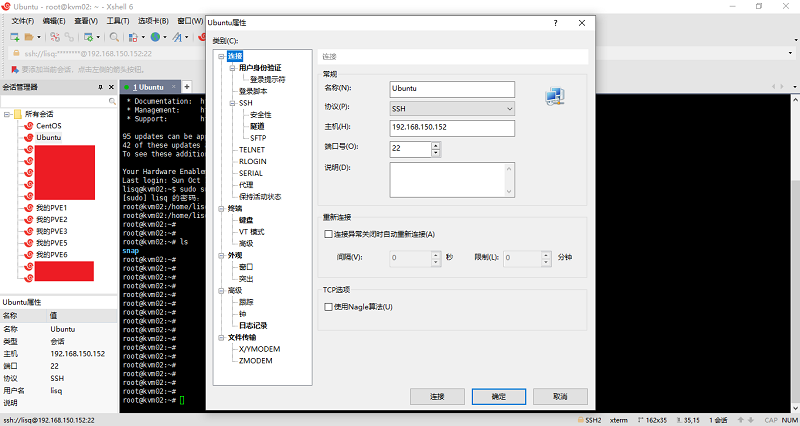
Step 5: set the root password. You need to log in to SSH with root permission, as shown in Figure 17
root@kvm02:~# passwd root
 New password:
Re enter the new password:
passwd: The password was successfully updated
2.2.4. Modify YUM software source of Ubuntu system
First, use the command "ls /ect/apt" to view the system default YUM source file
root@kvm02:~# ls /etc/apt
apt.conf.d  auth.conf.d  preferences.d  sources.list  sources.list.d  trusted.gpg.d
Step 2: use the command "cat /etc/apt/sources.list" to view the default YUM source file information of the system
From the output information, you can see that the address of the YUM source file is http://cn.archive.ubuntu.com/ubuntu/ , this address is the official Ubuntu server. Accessing the official Ubuntu server from home is slow and sometimes disconnected.
root@kvm02:~# cat /etc/apt/sources.list
......((omitted)
deb http://cn.archive.ubuntu.com/ubuntu/ focal main restricted
deb http://cn.archive.ubuntu.com/ubuntu/ focal-updates main restricted
deb http://cn.archive.ubuntu.com/ubuntu/ focal universe
deb http://cn.archive.ubuntu.com/ubuntu/ focal-updates universe
deb http://cn.archive.ubuntu.com/ubuntu/ focal multiverse
deb http://cn.archive.ubuntu.com/ubuntu/ focal-updates multiverse
deb http://cn.archive.ubuntu.com/ubuntu/ focal-backports main restricted universe multiverse
......((omitted)
Step 3: use the command "ping www.163.com" to check the connectivity between the Ubuntu server and NetEase
root@kvm02:~# ping www.163.com
PING z163picipv6.v.bsgslb.cn (110.167.163.22) 56(84) bytes of data.
64 Bits from 110.167.163.22 (110.167.163.22): icmp_seq=1 ttl=53 time=54.2 millisecond
64 Bits from 110.167.163.22 (110.167.163.22): icmp_seq=2 ttl=53 time=53.8 millisecond
64 Bits from 110.167.163.22 (110.167.163.22): icmp_seq=3 ttl=53 time=54.2 millisecond
Step 4: use the command "mv /etc/apt/sources.list /tmp" to back up the original YUM source file to / tmp
root@kvm02:~# mv /etc/apt/sources.list /tmp
Step 5: create a new YUM source file and add Netease YUM source address
Just add the http://cn.archive.ubuntu.com/ubuntu/ Replace the default address with Netease address http://mirrors.163.com/ubuntu/ Just.
root@kvm02:~# vi /etc/apt/sources.list
deb http://mirrors.163.com/ubuntu/ focal main restricted
deb http://mirrors.163.com/ubuntu/ focal-updates main restricted
deb http://mirrors.163.com/ubuntu/ focal universe
deb http://mirrors.163.com/ubuntu/ focal-updates universe
deb http://mirrors.163.com/ubuntu/ focal multiverse
deb http://mirrors.163.com/ubuntu/ focal-updates multiverse
deb http://mirrors.163.com/ubuntu/ focal-backports main restricted universe multiverse
Step 6: update the YUM source with the command "apt get update"
root@kvm02:~# apt-get update
 obtain:1 http://mirrors.163.com/ubuntu focal InRelease [265 kB]
obtain:2 http://mirrors.163.com/ubuntu focal-updates InRelease [114 kB]
obtain:3 http://mirrors.163.com/ubuntu focal-backports InRelease [101 kB]
......((omitted)
obtain:76 http://mirrors.163.com/ubuntu focal-backports/universe amd64 c-n-f Metadata [276 B]
obtain:77 http://mirrors.163.com/ubuntu focal-backports/multiverse amd64 c-n-f Metadata [116 B]
Downloaded 43.6 MB,It takes 14 seconds (3,229 kB/s)
Reading package list... complete
Step 7: update the component with the command "apt get upgrade"
root@kvm02:~# apt-get upgrade
 Reading package list... complete
 Analyzing dependency tree for package
Reading status information... complete
Calculating updates... complete
 The following packages will be upgraded:
......((omitted)
Processing for ca-certificates (20210119~20.04.2) Trigger for ...
Updating certificates in /etc/ssl/certs...
0 added, 0 removed; done.
Running hooks in /etc/ca-certificates/update.d...
done.
So far, the default YUM source of Ubuntu operating system has been modified to Netease YUM source, and it can be used normally.
2.2.5. Install ifconfig and vim command tools
The latest versions of Ubuntu do not support ifconfig command by default. If you want to use ifconfig command in Ubuntu, you need to install net tools network tools, as listed below.
root@kvm02:~# apt install net-tools
Ubuntu does not support VIM tools by default, but only vi tools. vi is not as simple and convenient as vim. It is recommended to install VIM command tools, as listed below.
root@kvm02:~# apt install vim
2.2.6. Configure NTP time synchronization server
The time synchronization between Linux operating system and virtualization platform will lead to many problems, especially the virtualization platform uses cluster function and distributed storage function, so it is very important to build NTP server. The NTP server can be a physical server or a virtual machine.
Server NTP configuration
The first step is to install ntp and ntpdate components with the command "apt get install ntp"
root@kvm02:~# apt-get install ntp
root@kvm02:~# apt-get install ntpdate
Step 2: use the ping command to check the connectivity between the local NTP server and the public NTP server
Alibaba cloud NTP server is used as the public NTP server, and Ubuntu server is used as the local NTP server. It is necessary to synchronize the time with the public NTP server when necessary. Therefore, it is necessary to ensure the interconnection between the local NTP server and Alibaba cloud NTP server.
root@kvm02:~# ping ntp.aliyun.com
PING ntp.aliyun.com (203.107.6.88) 56(84) bytes of data.
64 Bits from 203.107.6.88 (203.107.6.88): icmp_seq=1 ttl=53 time=46.6 millisecond
64 Bits from 203.107.6.88 (203.107.6.88): icmp_seq=2 ttl=53 time=47.6 millisecond
64 Bits from 203.107.6.88 (203.107.6.88): icmp_seq=3 ttl=53 time=46.8 millisecond
root@kvm02:~# ping ntp1.aliyun.com
PING ntp1.aliyun.com (120.25.115.20) 56(84) bytes of data.
64 Bits from 120.25.115.20 (120.25.115.20): icmp_seq=1 ttl=52 time=6.50 millisecond
64 Bits from 120.25.115.20 (120.25.115.20): icmp_seq=2 ttl=52 time=6.83 millisecond
64 Bits from 120.25.115.20 (120.25.115.20): icmp_seq=3 ttl=52 time=6.82 millisecond
Step 3: modify the NTP configuration file / etc/ntp.conf to log off the default NTP server address of the configuration file
root@kvm02:~# vim /etc/ntp.conf
#pool 0.ubuntu.pool.ntp.org iburst
#pool 1.ubuntu.pool.ntp.org iburst
#pool 2.ubuntu.pool.ntp.org iburst
#pool 3.ubuntu.pool.ntp.org iburst
#pool ntp.ubuntu.com
Step 4: modify the NTP configuration file / etc/ntp.conf and add the following configuration
root@kvm02:~# vim /etc/ntp.conf

#All machines in the 192.168.150.0 network segment are authorized to query and synchronize time from this machine
restrict 192.168.150.0 mask 225.225.225.0 nomotify notrap

#ntp server address
pool ntp1.aliyun.com
pool ntp2.aliyun.com
pool ntp3.aliyun.com

#When external time is not available, local time is used
pool 127.0.0.1
fudge 127.0.0.1 stratum 10

#Allow the upper layer time server to actively modify the local time
restrict ntp1.aliyun.com  nomodify notrap noquery
restrict ntp2.aliyun.com  nomodify notrap noquery
restrict ntp3.aliyun.com  nomodify notrap noquery
Step 5: save and exit, restart ntp service, join startup and self startup
root@kvm02:~# service ntp start
root@kvm02:~# service ntp restart
Step 6: query the current NTP server source information
root@kvm02:~# ntpq -p
     remote           refid      st t when poll reach   delay   offset  jitter
==============================================================================
 ntp1.aliyun.com .POOL.          16 p    -   64    0    0.000    0.000   0.000
 ntp2.aliyun.com .POOL.          16 p    -   64    0    0.000    0.000   0.000
 ntp3.aliyun.com .POOL.          16 p    -   64    0    0.000    0.000   0.000
 127.0.0.1       .POOL.          16 p    -   64    0    0.000    0.000   0.000
 120.25.115.20   10.137.53.7      2 u   61   64    3    6.461   -4.801   0.753
 203.107.6.88    10.137.38.86     2 u   60   64    3   43.712   -2.133   1.782
Step 7: when starting the NTP service, manually synchronize the local time. Note that this is the synchronization time between the local NTP server and the public NTP server
root@kvm02:~# ntpdate -u ntp1.aliyun.com
17 Oct 23:01:57 ntpdate[32973]: adjust time server 120.25.115.20 offset 0.002540 sec
Step 8: query whether the ntp synchronization time is started. If the following command execution results appear, the synchronization time is started successfully
root@kvm02:~# ntpstat
synchronised to NTP server (120.25.115.20) at stratum 3
   time correct to within 200 ms
   polling server every 64 s
Step 9: as an NTP server, you need to open the release NTP service in the firewall, otherwise the NTP client cannot synchronize the time
The ntp service uses the dup 123 port. By default, the Ubuntu firewall is closed and there is no restriction on the ntp service.
Linux client NTP configuration
Omitted, see< KVM deployment of KVM virtualization solution series (1-3)>
Linux client and NTP server test
Omitted, see< KVM deployment of KVM virtualization solution series (1-3)>
Win 10 client NTP configuration and test with NTP server
Omitted, see< KVM deployment of KVM virtualization solution series (1-3)>
So far, the NTP server and NTP client have been built and can be used normally.