Why log backup is needed
KubeSphere log system uses the log collection and storage scheme of Fluent Bit + ElasticSearch, realizes the life cycle management of Index through the cursor, and cleans the long-term logs regularly. For scenarios with log audit and disaster recovery requirements, the default 7-day log retention policy of KubeSphere is far from enough. Only backing up the ElasticSearch data disk does not guarantee data recoverability and integrity.
The elastic search open source community provides the SnapShot API to help us achieve long-term storage snapshot and recovery. This paper introduces how to transform the built-in elastic search component of KubeSphere (version 2.1.0) and practice log backup to meet the needs of audit and disaster recovery.
Note: for log export scenarios with small amount of data and query conditions, you can use the KubeSphere one click export function or try to use the elastic search dump tool. KubeSphere users of the external commercial version of ElasticSearch can also directly open the SnapShot Lifecycle Management function provided in the ElasticSearch X-Pack.
Prerequisite
Before executing the storage snapshot, we need to register the warehouse where the snapshot files are stored in the ElasticSearch cluster. Snapshot repositories can use shared file systems, such as NFS. Other storage types, such as AWS S3, need to be installed separately repository plug in Support.
Let's take NFS for example. The shared snapshot warehouse needs to be mounted to all the master nodes and data nodes of ElasticSearch, and the path.repo parameter should be configured in elasticsearch.yaml. NFS support ReadWriteMany access mode , so NFS is a good fit.
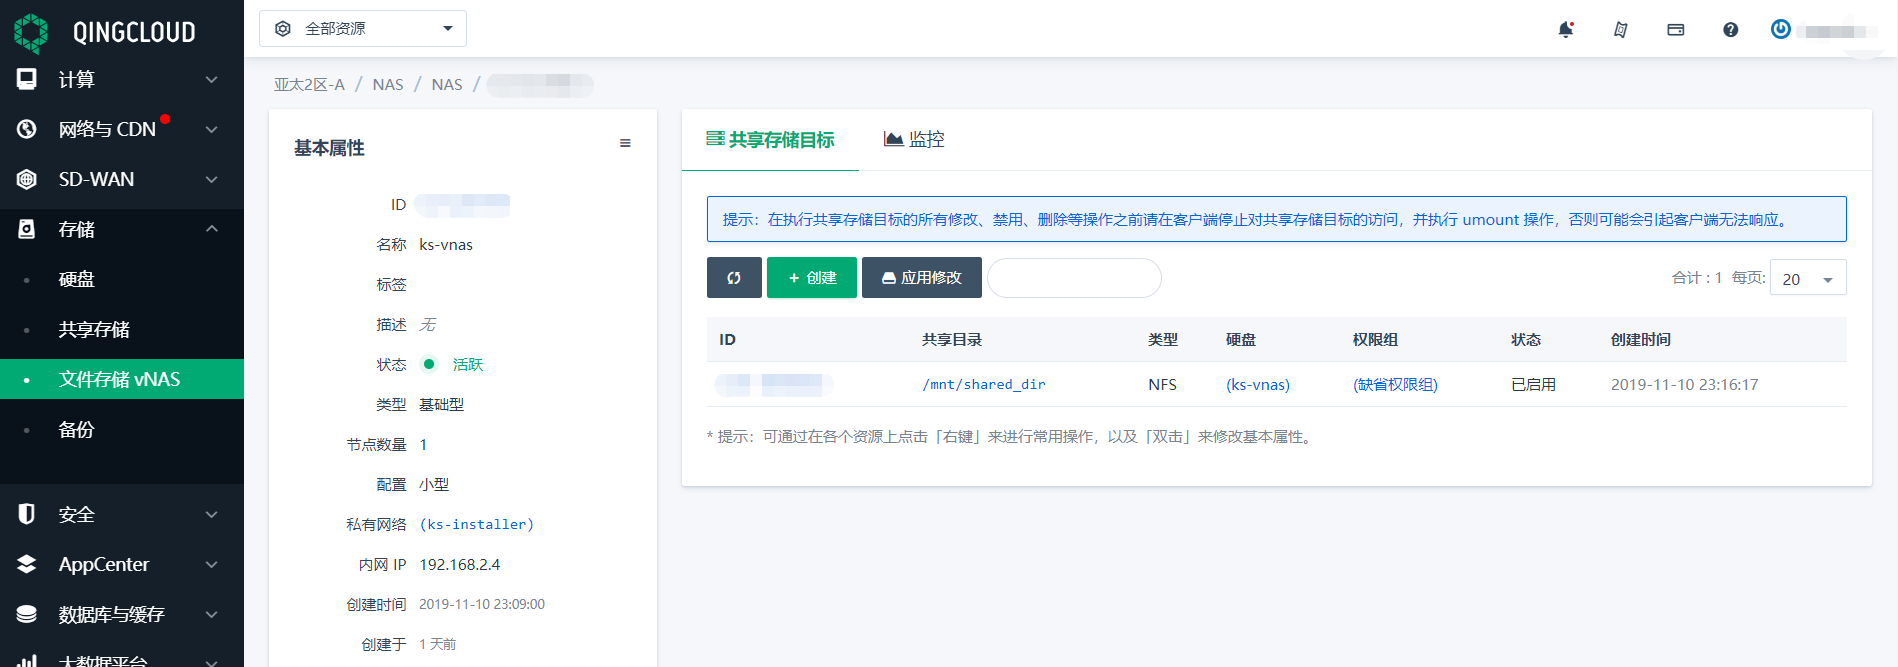
The first step is to prepare an NFS server, such as the QingCloud vNAS service used in this tutorial. The shared directory path is / MNT / shared dir.
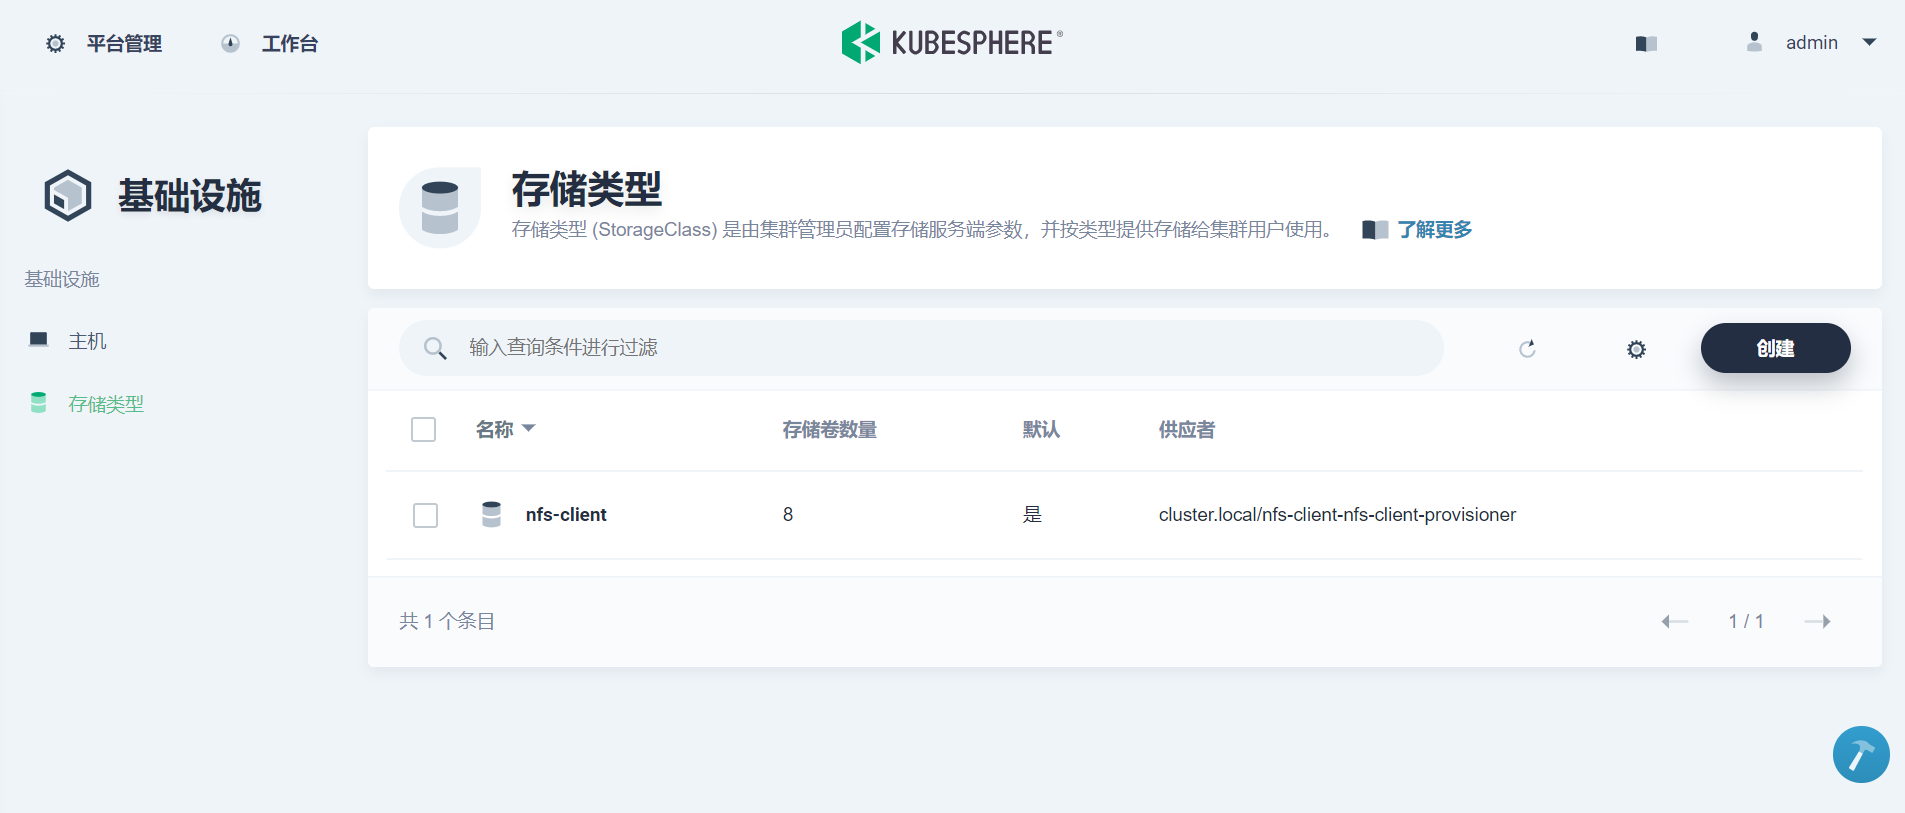
Then prepare StorageClass of NFS type on the KubeSphere environment, which we will use later when applying for Persistent Volume for snapshot warehouse. This article environment is already configured with NFS storage at installation time, so no additional operations are required. For readers with installation needs, please refer to Official documents of KubeSphere , modify conf/common.yaml and re execute the install.sh script.
1. ElasticSearch Setup
In KubeSphere, the primary node of ElasticSearch is the stateful replica set ElasticSearch logging discovery, and the data node is ElasticSearch logging data. This tutorial environment is one master and two slaves:
$ kubectl get sts -n kubesphere-logging-system
NAME                              READY   AGE
elasticsearch-logging-data        2/2     18h
elasticsearch-logging-discovery   1/1     18h
The first step is to prepare a persistent volume for the ElasticSearch cluster snapshot repository:
cat <<EOF | kubectl create -f -
---
apiVersion: v1
kind: PersistentVolumeClaim
metadata:
  name: elasticsearch-logging-backup
  namespace: kubesphere-logging-system
spec:
  accessModes:
    - ReadWriteMany
  volumeMode: Filesystem
  resources:
    requests:
      storage: 100Gi
  # Populate the storageClassName field based on your environment
  storageClassName: nfs-client
EOF
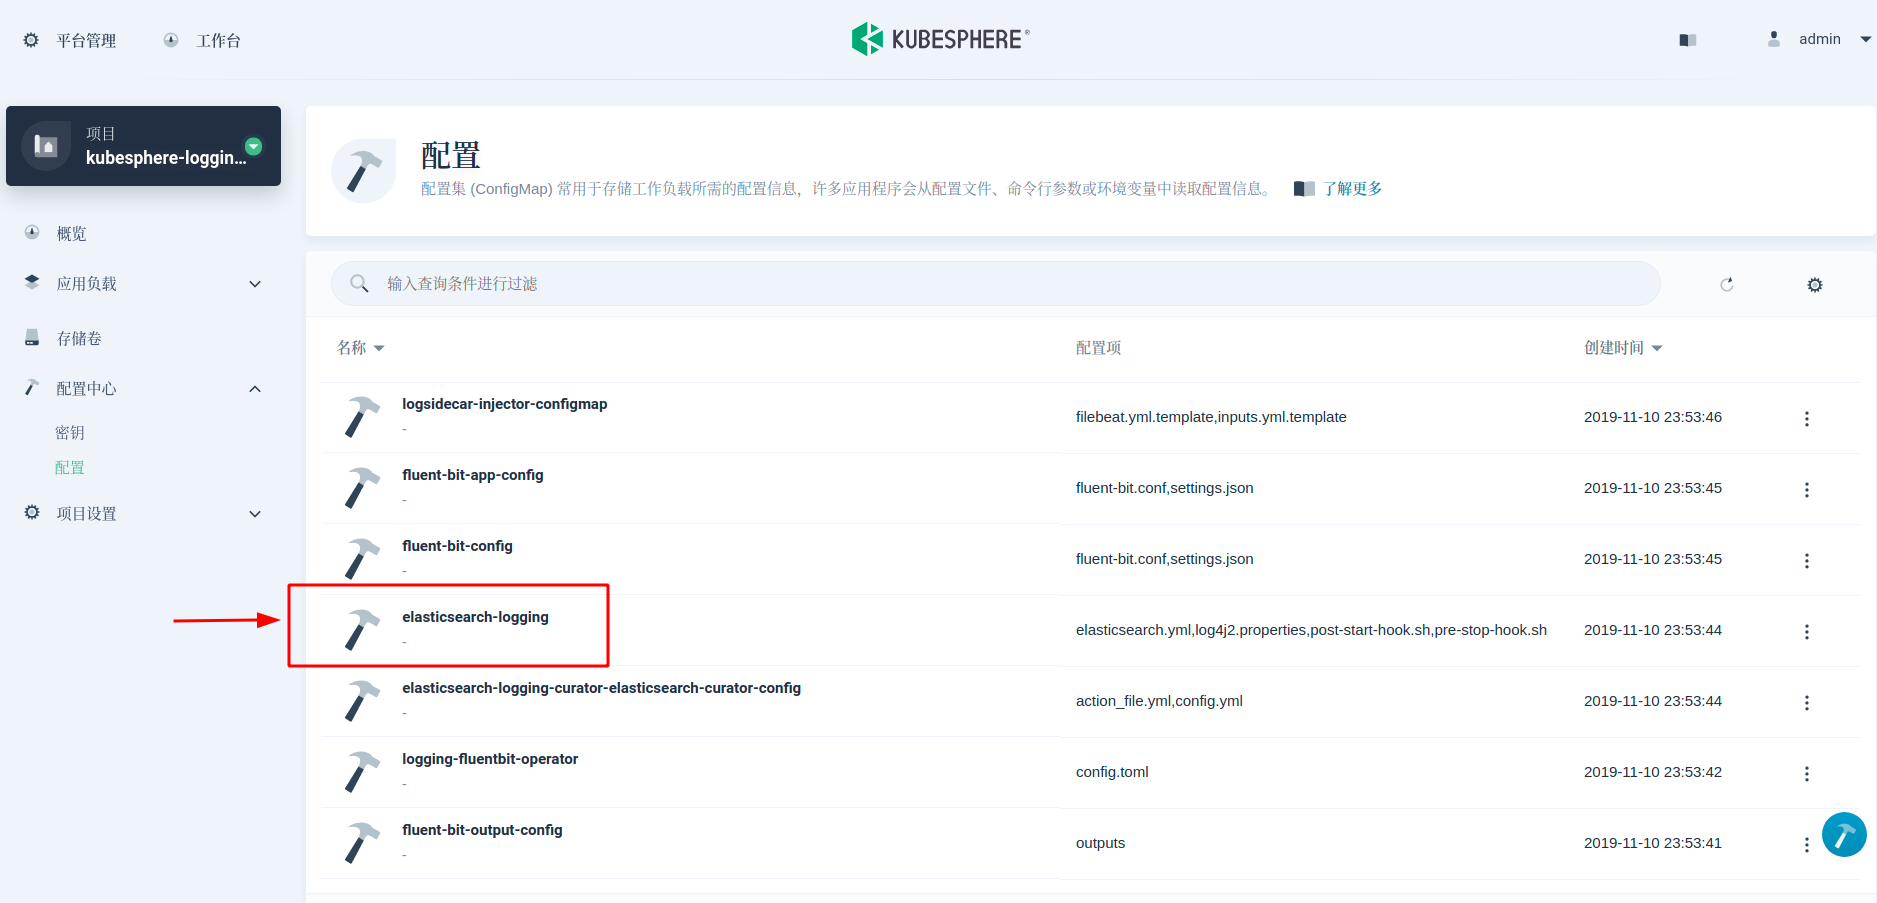
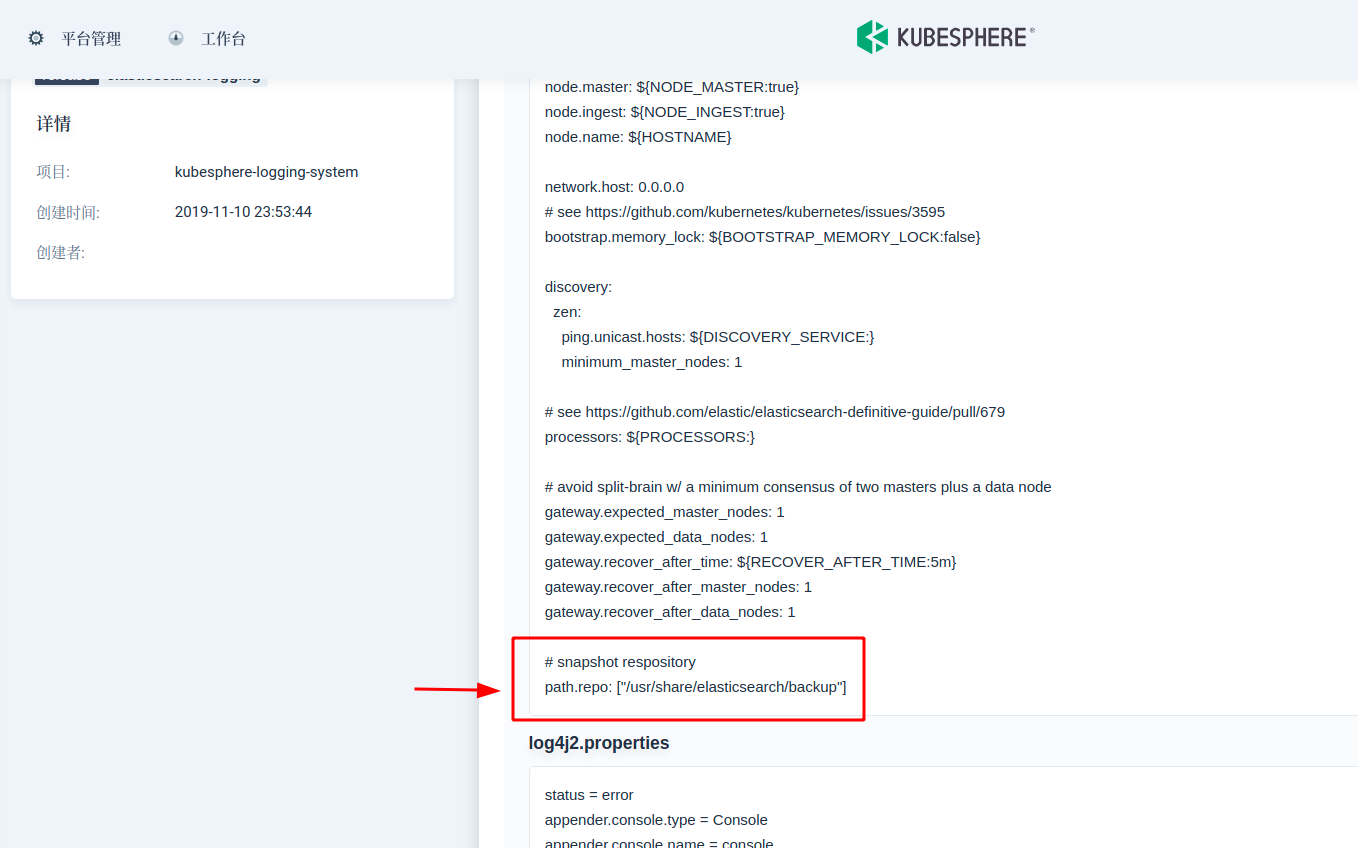
Second, modify the elasticsearch.yml configuration file to register the NFS directory path to each master-slave node. In KubeSphere, the elasticsearch.yml configuration can be found in configmap elasticsearch logging. On the last line, add path.repo: ["/usr/share/elasticsearch/backup"]
Step 3: modify StatefulSet YAML, mount the storage volume to each node of ElasticSearch, and use chown command in initContainer At startup, the owner user and user group of the initialized snapshot warehouse folder are elasticsearch.
In this step, we need to pay special attention to that we can't modify Stateful directly by kubectl edit. We need to backup the yaml content first, and then apply it again after modification.
kubectl get sts -n kubesphere-logging-system elasticsearch-logging-data -oyaml > elasticsearch-logging-data.yml
kubectl get sts -n kubesphere-logging-system elasticsearch-logging-discovery -oyaml > elasticsearch-logging-discovery.yml
Modify the yaml file to modify the elasticsearch-logging-data.yml generated above as an example. The yaml file of the primary node is also modified.
apiVersion: apps/v1
kind: StatefulSet
metadata:
  labels:
    # Omitted here due to space
    # ...
  name: elasticsearch-logging-data
  namespace: kubesphere-logging-system
  # -------------------------------------------------
  #   Comment or delete the meta information field of non labels, name, namespace
  # -------------------------------------------------
  # resourceVersion: "109019"
  # selfLink: /apis/apps/v1/namespaces/kubesphere-logging-system/statefulsets/elasticsearch-logging-data
  # uid: 423adffe-271f-4657-9078-1a75c387eedc
spec:
  # ...
  template:
    # ...
    spec:
      # ...
      containers:
      - name: elasticsearch
        # ...
        volumeMounts:
        - mountPath: /usr/share/elasticsearch/data
          name: data
        # --------------------------
        #   Add backup Volume mount
        # --------------------------
        - mountPath: /usr/share/elasticsearch/backup
          name: backup
        - mountPath: /usr/share/elasticsearch/config/elasticsearch.yml
          name: config
          subPath: elasticsearch.yml
        # ...
      initContainers:
      - name: sysctl
        # ...
      - name: chown
        # --------------------------------------
        #   Modify command to adjust the owner of snapshot warehouse folder
        # --------------------------------------
        command:
        - /bin/bash
        - -c
        - |
          set -e; set -x; chown elasticsearch:elasticsearch /usr/share/elasticsearch/data; for datadir in $(find /usr/share/elasticsearch/data -mindepth 1 -maxdepth 1 -not -name ".snapshot"); do
            chown -R elasticsearch:elasticsearch $datadir;
          done; chown elasticsearch:elasticsearch /usr/share/elasticsearch/logs; for logfile in $(find /usr/share/elasticsearch/logs -mindepth 1 -maxdepth 1 -not -name ".snapshot"); do
            chown -R elasticsearch:elasticsearch $logfile;
          done; chown elasticsearch:elasticsearch /usr/share/elasticsearch/backup; for backupdir in $(find /usr/share/elasticsearch/backup -mindepth 1 -maxdepth 1 -not -name ".snapshot"); do
            chown -R elasticsearch:elasticsearch $backupdir;
          done
        # ...
        volumeMounts:
        - mountPath: /usr/share/elasticsearch/data
          name: data
        # --------------------------
        #   Add backup Volume mount
        # --------------------------
        - mountPath: /usr/share/elasticsearch/backup
          name: backup
      # ...
      tolerations:
      - key: CriticalAddonsOnly
        operator: Exists
      - effect: NoSchedule
        key: dedicated
        value: log
      volumes:
      - configMap:
          defaultMode: 420
          name: elasticsearch-logging
        name: config
      # -----------------------
      #   Specify the PVC created in step 1
      # -----------------------
      - name: backup
        persistentVolumeClaim:
          claimName: elasticsearch-logging-backup
  volumeClaimTemplates:
  - metadata:
      name: data
    spec:
      accessModes:
      - ReadWriteOnce
      resources:
        requests:
          storage: 20Gi
      storageClassName: nfs-client
      volumeMode: Filesystem
# --------------------------------------
#   Comment or delete the status field
# --------------------------------------
#     status:
#       phase: Pending
# status:
#   ...
After modification, you can delete the elasticsearch statefullset and reapply the new yaml:
kubectl delete sts -n kubesphere-logging-system elasticsearch-logging-data
kubectl delete sts -n kubesphere-logging-system elasticsearch-logging-discovery

kubectl apply -f elasticsearch-logging-data.yml
kubectl apply -f elasticsearch-logging-discovery.yml
Finally, wait for all ElasticSearch nodes to start, call the Snapshot API to create a repository named KS log snapshots, and turn on the compression function:
curl -X PUT "elasticsearch-logging-data.kubesphere-logging-system.svc:9200/_snapshot/ks-log-snapshots?pretty" -H 'Content-Type: application/json' -d'
{
  "type": "fs",
  "settings": {
    "location": "/usr/share/elasticsearch/backup",
    "compress": true
  }
}
'
Return 'acknowledged': true for success. At this point, the preparations for the ElasticSearch cluster snapshot function are ready. Later, you only need to call the Snapshot API regularly to realize incremental backup. ElasticSearch automated incremental backups can be done with the help of the cursor.

2. Use the timer to take a snapshot
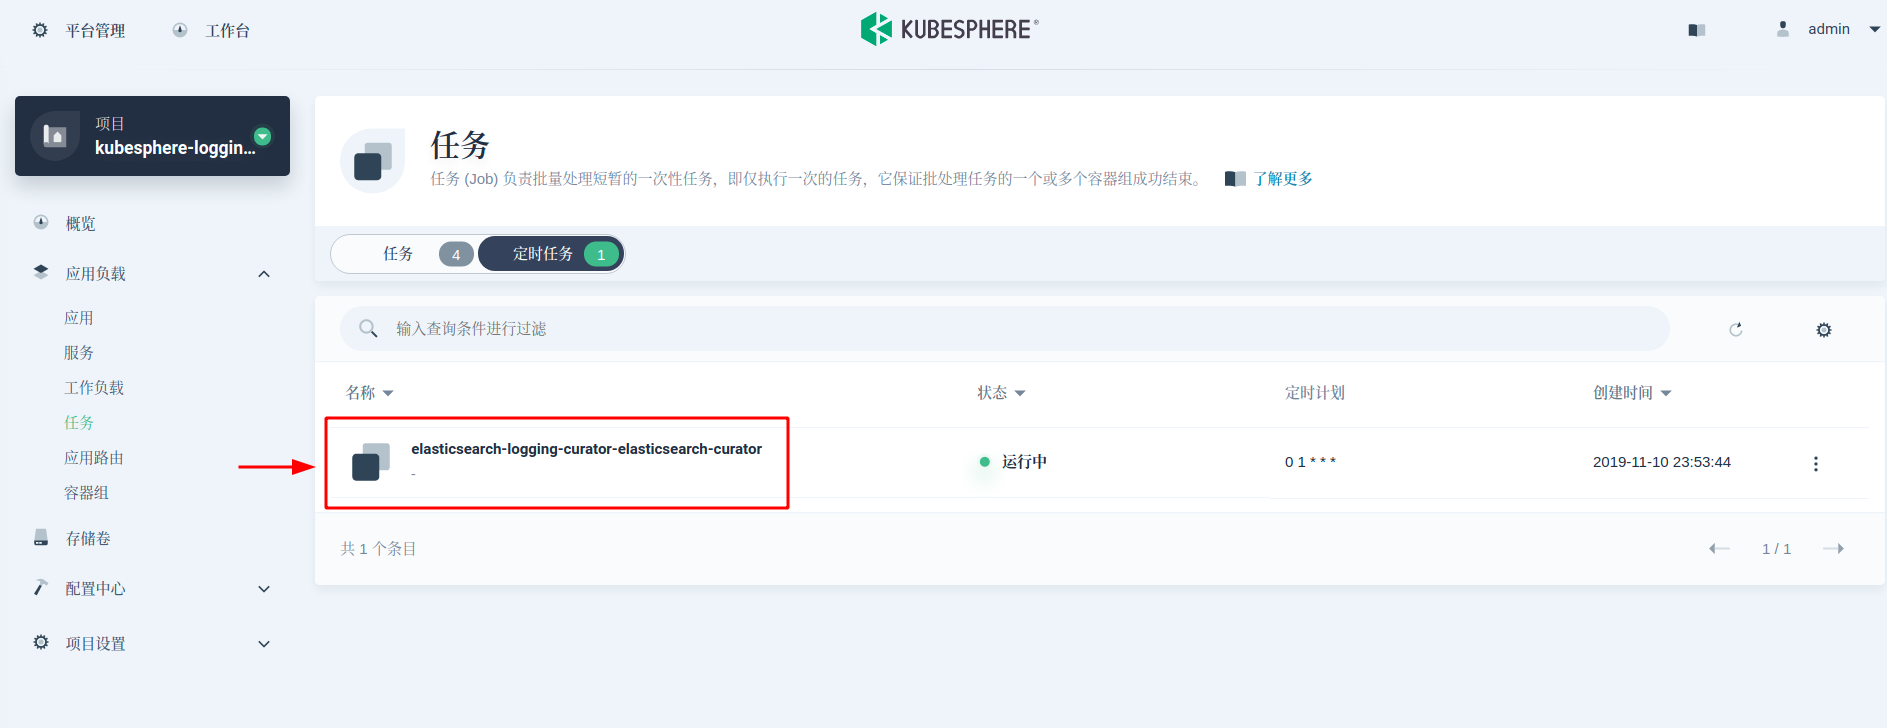
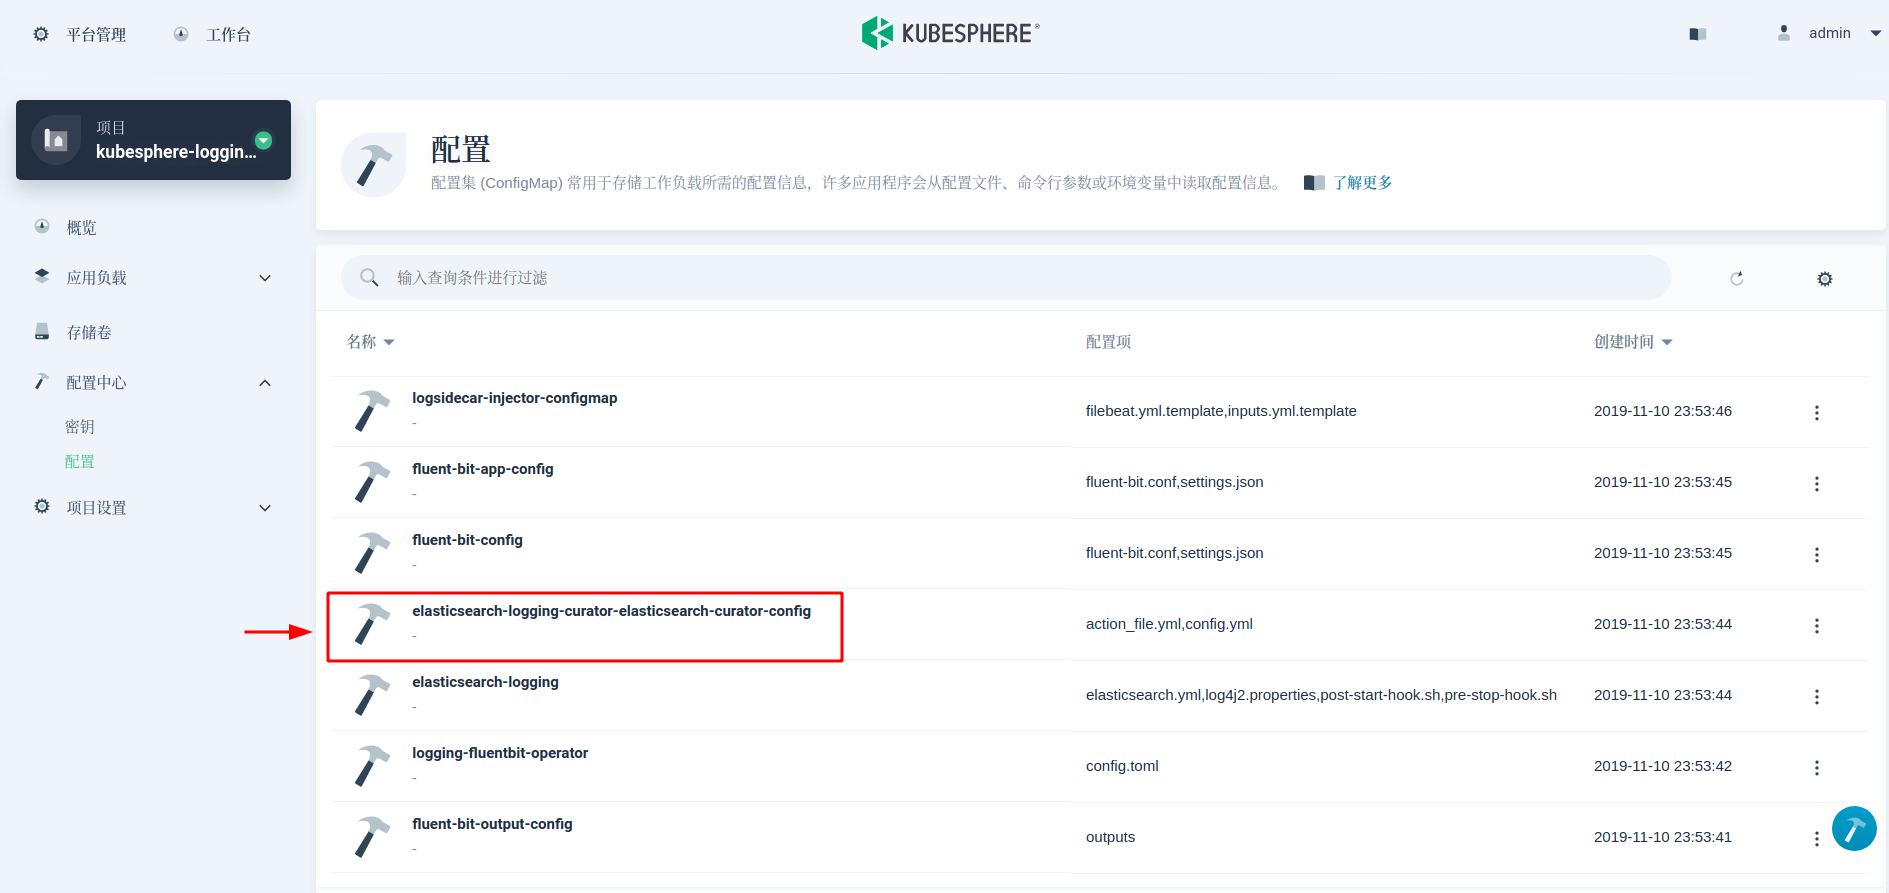
ElasticSearch Curator Can help manage ElasticSearch indexes and snapshots. Next, we use the cursor to automate scheduled log backups. By default, the KubeSphere log component contains a cursor (deployed as a CronJob, executed at 1:00 a.m. every day) to manage the index. We can use the same cursor. The execution rules of the cursor can be found in ConfigMap.
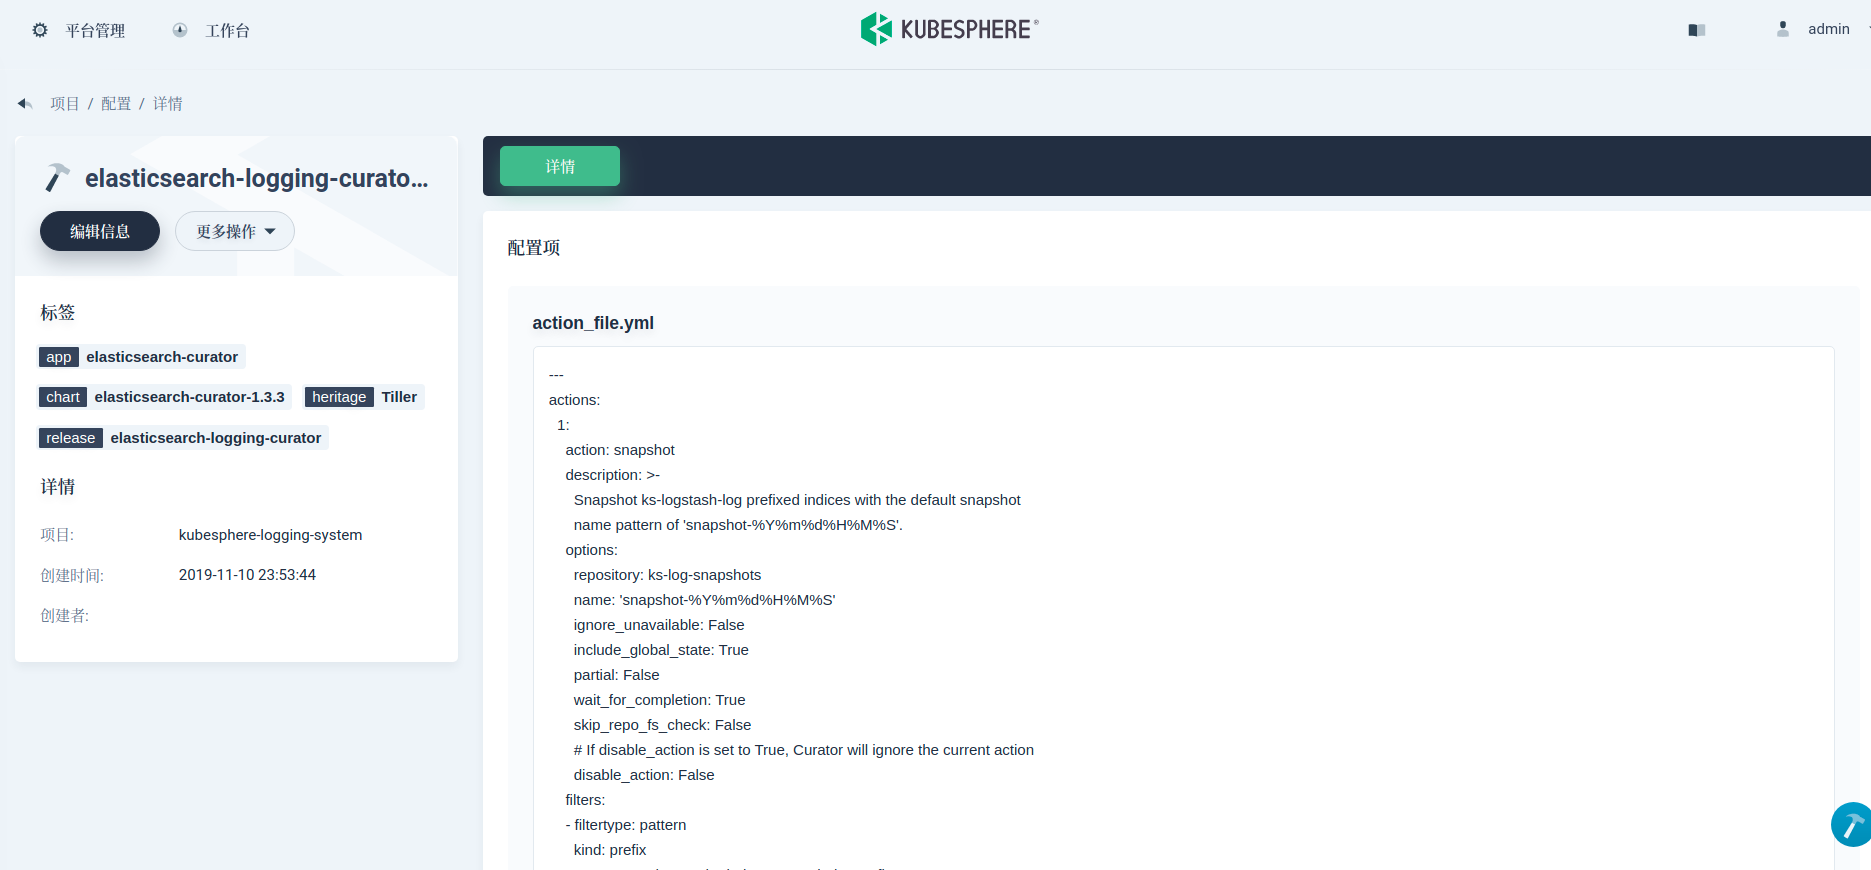
Here we need to add two actions to the action file.yml field values: snapshot and delete snapshot. And increase the priority of this rule to before delete "indexes". This configuration specifies that the snapshot creation and naming method is snapshot-%Y%m%d%H%M%S, and the snapshots are reserved for 45 days. Refer to the cursor reference for specific parameter meanings.
actions:
  1:
    action: snapshot
    description: >-
      Snapshot ks-logstash-log prefixed indices with the default snapshot
      name pattern of 'snapshot-%Y%m%d%H%M%S'.
    options:
      repository: ks-log-snapshots
      name: 'snapshot-%Y%m%d%H%M%S'
      ignore_unavailable: False
      include_global_state: True
      partial: False
      wait_for_completion: True
      skip_repo_fs_check: False
      # If disable_action is set to True, Curator will ignore the current action
      disable_action: False
    filters:
    - filtertype: pattern
      kind: prefix
      # You may change the index pattern below to fit your case
      value: ks-logstash-log-
  2:
    action: delete_snapshots
    description: >-
      Delete snapshots from the selected repository older than 45 days
      (based on creation_date), for 'snapshot' prefixed snapshots.
    options:
      repository: ks-log-snapshots
      ignore_empty_list: True
      # If disable_action is set to True, Curator will ignore the current action
      disable_action: False
    filters:
    - filtertype: pattern
      kind: prefix
      value: snapshot-
      exclude:
    - filtertype: age
      source: name
      direction: older
      timestring: '%Y%m%d%H%M%S'
      unit: days
      unit_count: 45
  3:
    action: delete_indices
    # Original content unchanged
    # ...
3. Log recovery and view
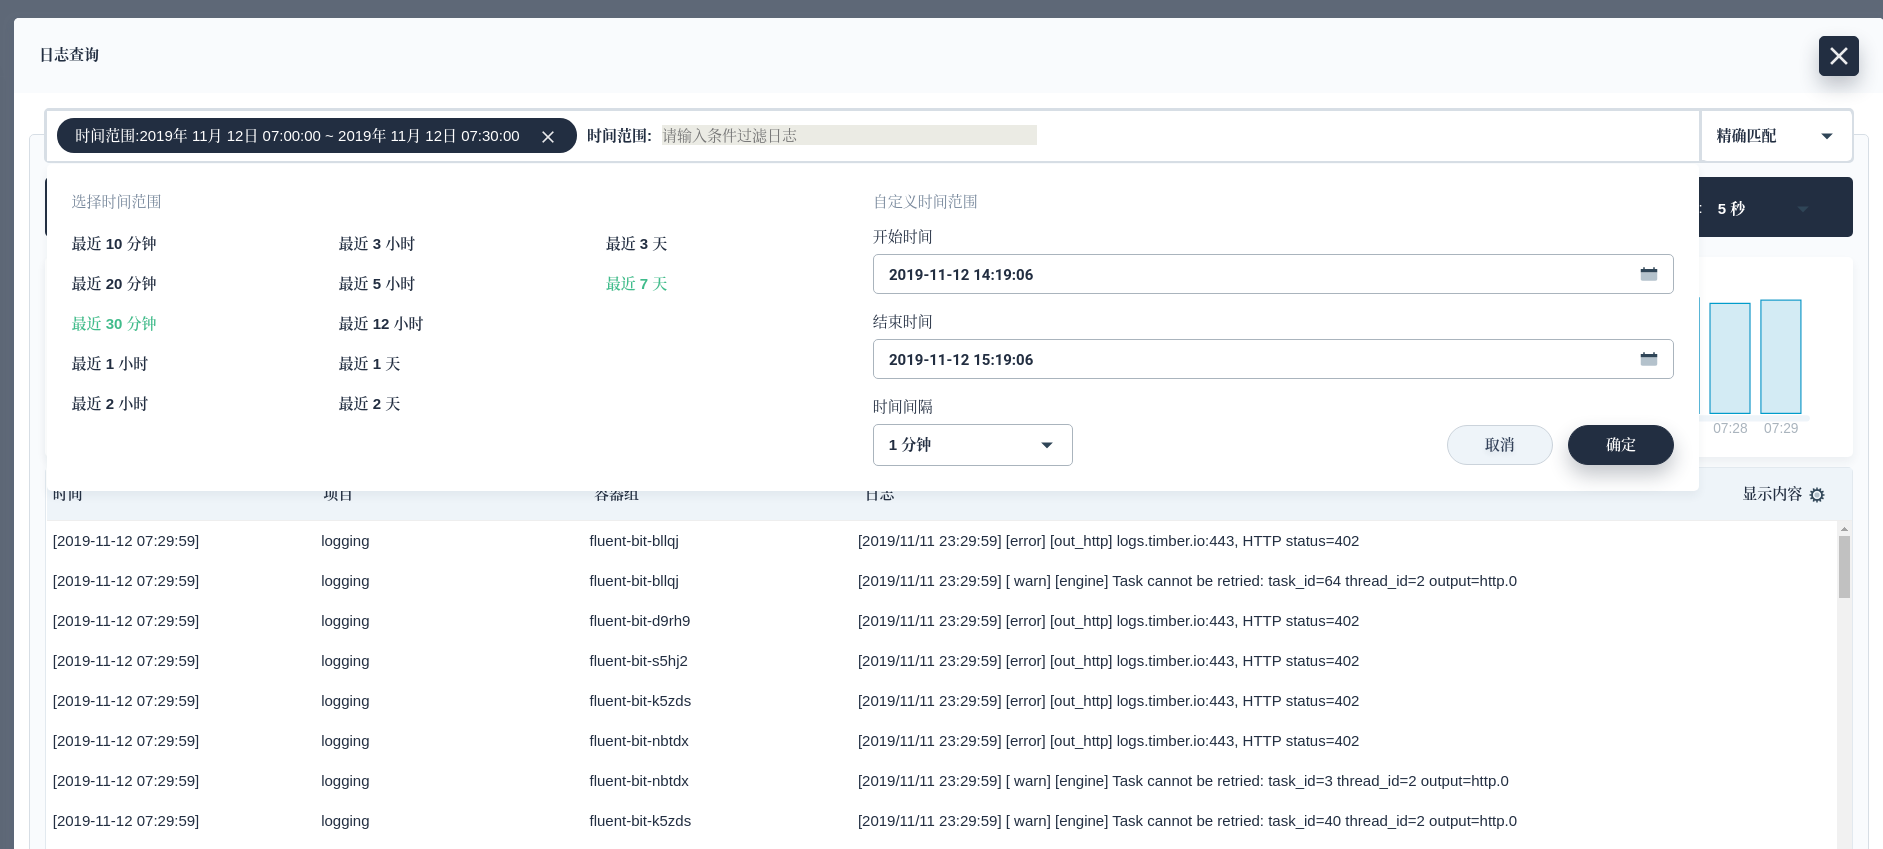
When we need to review the logs a few days ago, we can restore them through snapshots, such as the logs on November 12. First we need to check the latest Snapshot:
curl -X GET "elasticsearch-logging-data.kubesphere-logging-system.svc:9200/_snapshot/ks-log-snapshots/_all?pretty"
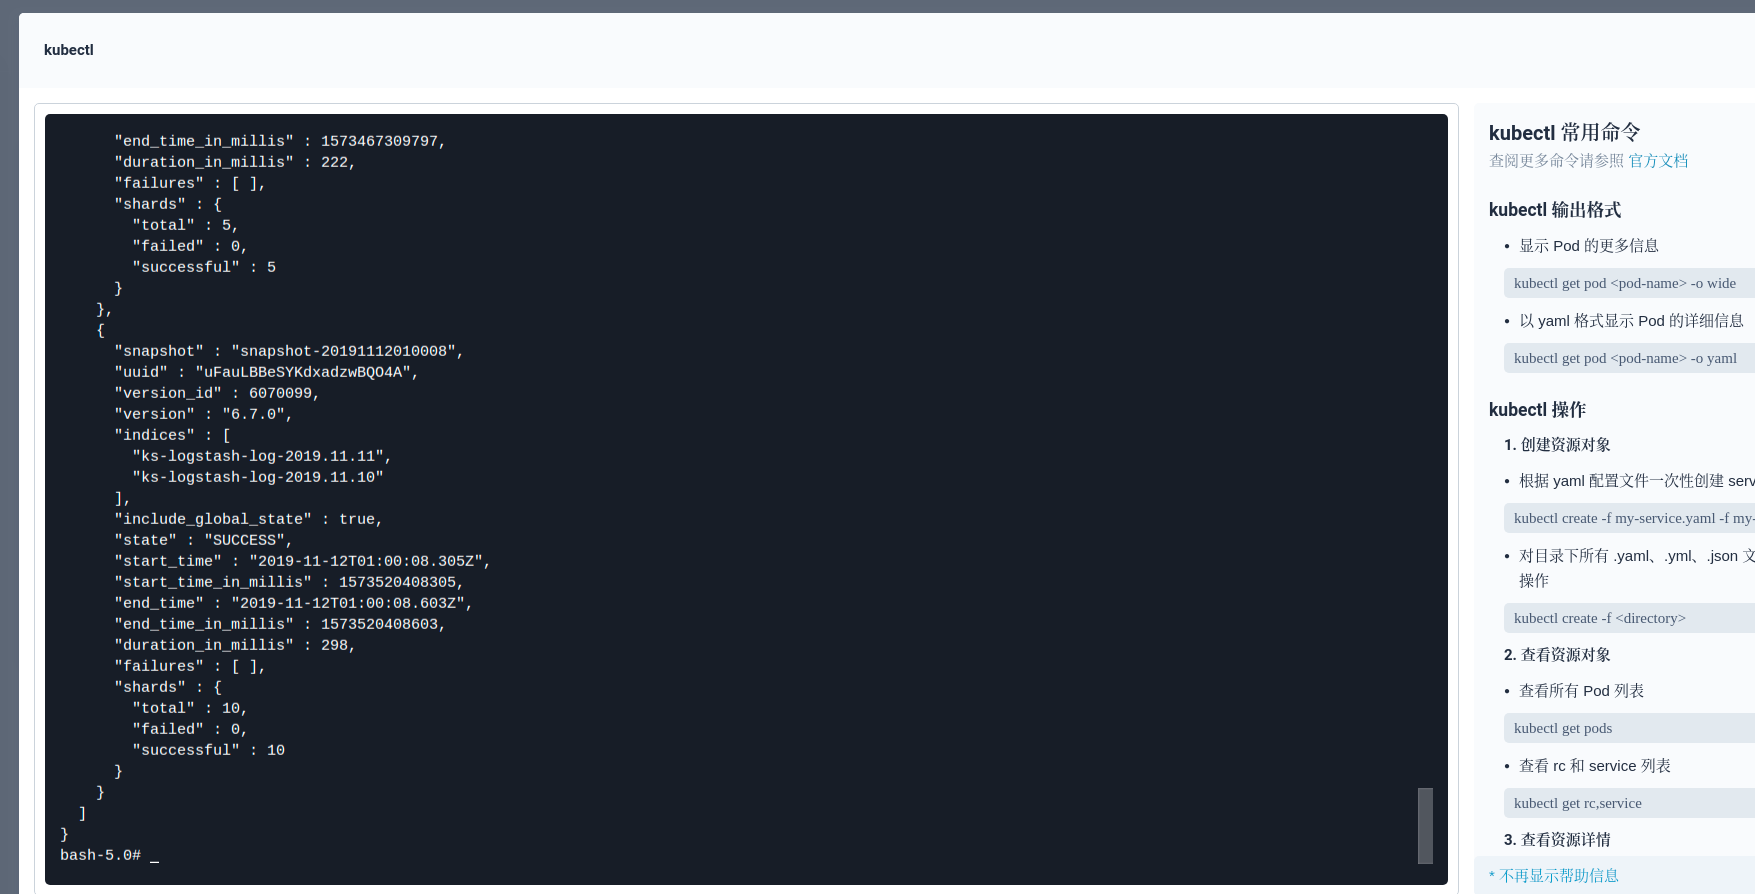
Then restore the index on the specified date through the latest Snapshot (or all). This API will recover the log index to the data disk, so please ensure that the storage space of the data disk is sufficient. In addition, you can directly back up the corresponding PV (the storage volume corresponding to the Snapshot warehouse can be directly used for backup), mount to other ElasticSearch clusters, and restore the logs to other ElasticSearch clusters for use.
curl -X POST "elasticsearch-logging-data.kubesphere-logging-system.svc:9200/_snapshot/ks-log-snapshots/snapshot-20191112010008/_restore?pretty" -H 'Content-Type: application/json' -d'
{
  "indices": "ks-logstash-log-2019.11.12",
  "ignore_unavailable": true,
  "include_global_state": true,
}
'
Depending on the size of the log volume, the waiting time varies from a few minutes. We can view the logs through the KubeSphere log Dashboard.

Reference document
ElasticSearch Reference: Snapshot And Restore
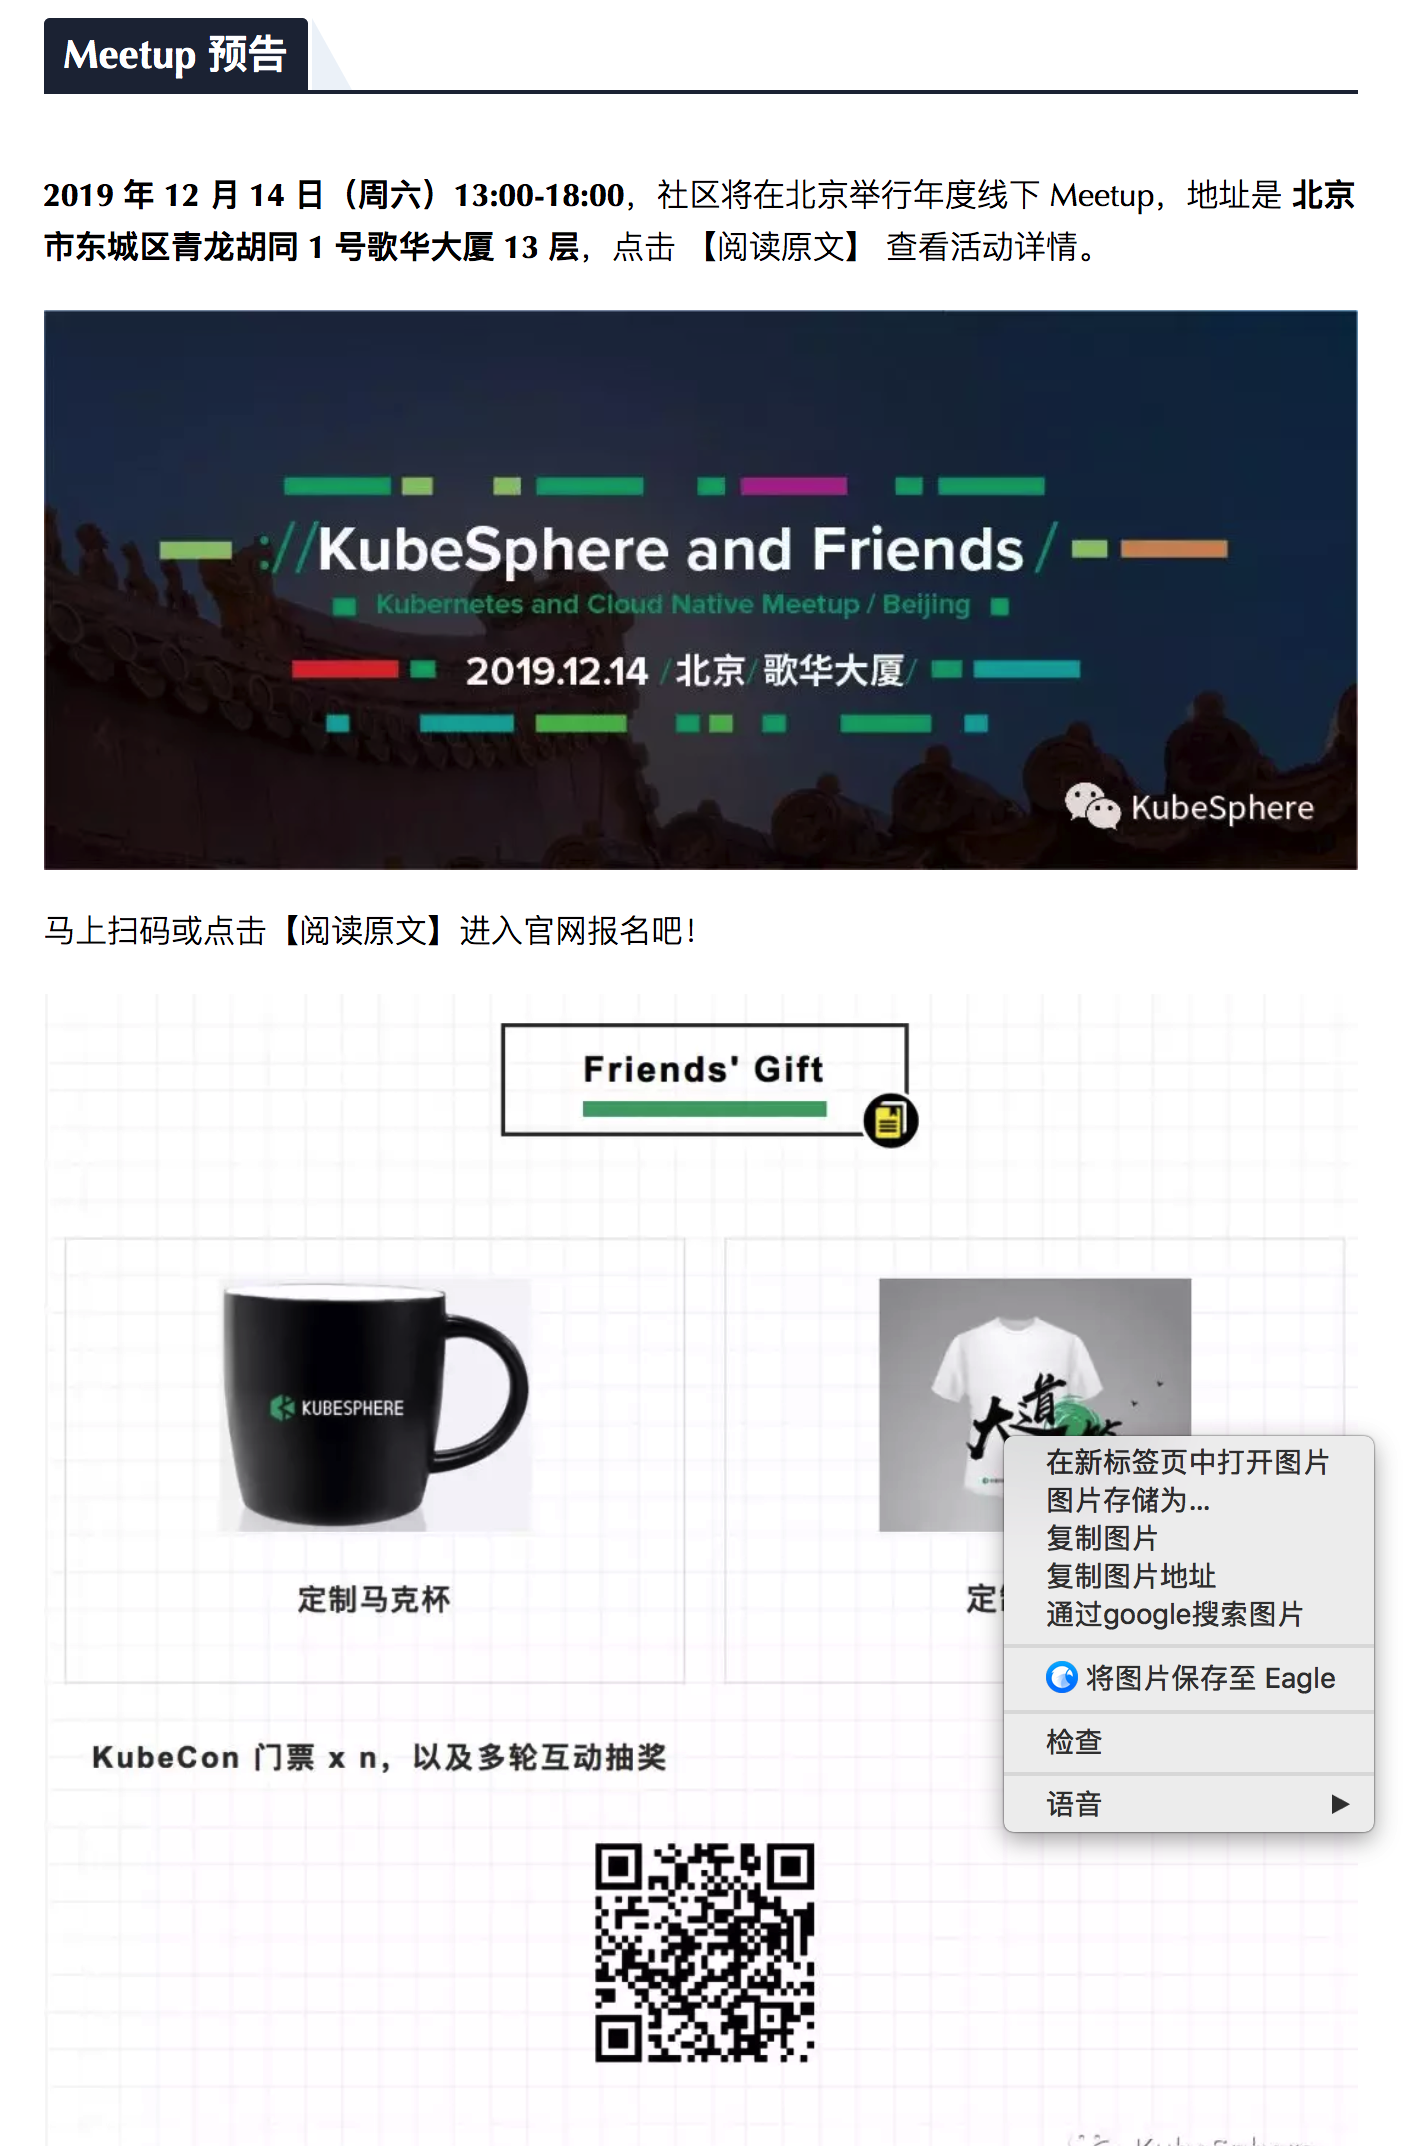
Meetup notice
 KubeSphere (https://github.com/kubesphere/kubesphere )It is an open-source application-oriented container management platform, which supports deployment on any infrastructure and provides a simple and easy-to-use UI, greatly reducing the complexity of daily development, testing and operation and maintenance. It aims to solve the storage, network, security and ease of use pain points of Kubernetes itself, and help enterprises easily cope with agile development, automatic monitoring, operation and maintenance, end-to-end End application delivery, micro service governance, multi tenant management, multi cluster management, service and network management, image warehouse, AI platform, edge computing and other business scenarios.