kubernetes deploying persistent jenkins
System environment:
System version: CentOS 8.1
k8s version: v1.21.3
Containerd version: ctr containerd.io 1.4.3
jenkins version: 2.172
1, Set storage directory
Persist Jenkins to storage. NFS network storage is used here to facilitate consistent escape data of application startup nodes in Kubernetes environment. Of course, you can also choose to store locally, but in order to ensure the consistency of application data, you need to set Jenkins to be fixed to a Kubernetes node.
1. Installing NFS server
For details, see building nfs server in CentOS 8.1, omitted.
2. Mount NFS and set storage folder
If you cannot directly operate the NFS server to create folders, you need to know the NFS server address, then hang it to the local directory and enter it to create the Jenkins directory space.
(1) , Mount NFS
mount -t nfs 192.168.43.152:/data/k8s /data/k8s
(2) Create a folder to store Jenkins data under the NFS shared storage folder
mkdir -p /data/k8s/jenkins
2, Create PV and PVC
Create a PV binding to the Jenkins directory created by NFS, then create a PVC binding to this PV, and use this PVC for the storage mounted when the Jenkins service is created later.
1. Prepare PV & PVC deployment files
vim jenkins-pv-pvc.yaml
apiVersion: v1
kind: PersistentVolume
metadata:
  name: jenkins
  namespace: kube-public
  labels:
    app: jenkins
spec:
  capacity:
    storage: 100Gi
  accessModes:
    - ReadWriteOnce
  persistentVolumeReclaimPolicy: Retain
  mountOptions:   #NFS hang option
    - hard
    - nfsvers=4.1
  nfs:            #NFS settings
    path: /data/k8s/jenkins
    server: 192.168.43.152
---
kind: PersistentVolumeClaim
apiVersion: v1
metadata:
  name: jenkins
  namespace: kube-public
spec:
  accessModes:
    - ReadWriteOnce
  resources:
    requests:
      storage: 90Gi			#The production environment space must be larger (the experience value is 200G, with capacity expansion capacity)
  selector:
    matchLabels:
      app: jenkins
2. Create PV and PVC
Note that the space of PV cannot be less than PVC, otherwise it cannot be associated
kubectl apply -f jenkins-pv-pvc.yaml
see
[root@ck8s1 jenkins]# kubectl get pv
NAME      CAPACITY   ACCESS MODES   RECLAIM POLICY   STATUS   CLAIM                 STORAGECLASS   REASON   AGE
jenkins   5Gi        RWO            Retain           Bound    kube-public/jenkins                           3m14s
[root@ck8s1 jenkins]# kubectl get pvc -n kube-public
NAME           STATUS    VOLUME    CAPACITY   ACCESS MODES   STORAGECLASS   AGE
data-mysql-0   Pending                                       nfs            31d
jenkins        Bound     jenkins   5Gi        RWO                           3m21s
3, Create serviceaccount & clusterrolebinding
The kubernetes cluster uses the RBAC security plug-in. You must create permissions to a ServiceAccount, and then bind the ServiceAccount to the Jenkins service, which gives the Jenkins service certain permissions to perform some operations. For convenience, bind the cluster admin to the ServiceAccount to ensure that Jenkins can have certain permissions.
(1),jenkins-rbac.yaml
apiVersion: v1
kind: ServiceAccount
metadata:
  name: jenkins-admin       #ServiceAccount name
  namespace: kube-public    #Specify a namespace. Be sure to change it to your own namespace
  labels:
    name: jenkins
---
kind: ClusterRoleBinding
apiVersion: rbac.authorization.k8s.io/v1beta1
metadata:
  name: jenkins-admin
  labels:
    name: jenkins
subjects:
  - kind: ServiceAccount
    name: jenkins-admin
    namespace: mydlqcloud
roleRef:
  kind: ClusterRole
  name: cluster-admin
  apiGroup: rbac.authorization.k8s.io
(2) , create RBAC command
kubectl create -f jenkins-rbac.yaml
4, Create service & Deployment
Deploy Jenkins Service and create Service and Deployment, where Service exposes two interfaces 8080 and 30008. In the Deployment, you should pay attention to setting the ServiceAccount created above, setting the container security policy to "runAsUser: 0", running the container with Root permission, and exposing ports 8080 and 30008.
1. Create a service & Deployment deployment file
jenkins-deployment.yaml
apiVersion: v1
kind: Service
metadata:
  name: jenkins
  namespace: kube-public
  labels:
    app: jenkins
spec:
  type: NodePort
  ports:
  - name: http
    port: 8080          #Service port
    targetPort: 8080
    nodePort: 30008   #Expose Jenkins port in NodePort mode
  - name: jnlp
    port: 8099         #Proxy port
    targetPort: jnlp
    nodePort: 30009
  selector:
    app: jenkins
---
apiVersion: apps/v1
kind: Deployment
metadata:
  name: jenkins
  namespace: kube-public
  labels:
    app: jenkins
spec:
  selector:
    matchLabels:
      app: jenkins
  replicas: 1
  template:
    metadata:
      labels:
        app: jenkins
    spec:
      serviceAccountName: jenkins-admin
      containers:
      - name: jenkins
        image: registry.cn-shanghai.aliyuncs.com/mydlq/jenkins:2.172
        securityContext:
          runAsUser: 0       #Set up the container to run with the ROOT user
          privileged: true   #Have privileges
        ports:
        - name: http
          containerPort: 8080
        - name: jnlp
          containerPort: 8099
        resources:
          limits:
            memory: 2Gi
            cpu: "1000m"
          requests:
            memory: 1Gi
            cpu: "500m"
        env:
        - name: LIMITS_MEMORY
          valueFrom:
            resourceFieldRef:
              resource: limits.memory
              divisor: 1Mi
        - name: "JAVA_TOOL_OPTIONS"
          value: "
                  -Dfile.encoding=UTF-8
                  -Dsun.jnu.encoding=UTF-8
                 "
        - name: "JAVA_OPTS"  #Set variables to specify the time zone and jenkins slave performer settings
          value: "
                  -Xmx$(LIMITS_MEMORY)m
                  -XshowSettings:vm
                  -Dhudson.slaves.NodeProvisioner.initialDelay=0
                  -Dhudson.slaves.NodeProvisioner.MARGIN=50
                  -Dhudson.slaves.NodeProvisioner.MARGIN0=0.85
                  -Duser.timezone=Asia/Shanghai
                 "
        - name: "JENKINS_OPTS"
          value: "--prefix=/jenkins"         #Set the path prefix plus Jenkins
        volumeMounts:                        #Set the directory to hang in
        - name: jenkins
          mountPath: /var/jenkins_home
      volumes:
      - name: jenkins
        persistentVolumeClaim:
          claimName: jenkins      #Set PVC
Parameter Description:
JAVA_OPTS: JVM parameter setting
JENKINS_OPTS: Jenkins parameter setting
Set no waiting during task execution:
By default, Jenkins generates agents that are conservative. For example, if there are two builds in the queue, it does not immediately generate two executors. It will generate an actuator, wait for a certain time to release the first actuator, and then decide to generate a second actuator. Jenkins ensures that every actuator it generates is maximized. If you want to override this behavior and generate an actuator for each build queue without waiting immediately, add these parameters when Jenkins starts:
-Dhudson.slaves.NodeProvisioner.initialDelay=0
-Dhudson.slaves.NodeProvisioner.MARGIN=50
-Dhudson.slaves.NodeProvisioner.MARGIN0=0.85
2. Deploy Jenkins
Execute the Kuberctl command to deploy Jenkins to the Kubernetes cluster.
Note: replace the namespace after "- n" with your own namespace
kubectl create -f jenkins-deployment.yaml
View running status
[root@ck8s1 jenkins]# kubectl get pod -n kube-public
NAME                       READY   STATUS    RESTARTS   AGE
jenkins-7f65b7ffb4-n7jnl   1/1     Running   0          3m6s
5, Get the Token generated by Jenkins
When Jenkins is installed, it generates a random string by default for installation verification. Here, access its installation log and get the Token string generated by it.
(1) . view Jenkins Pod startup log
Note: Here "- n" refers to the namespace, and the following namespace should be replaced by the namespace started by jenkins
kubectl logs -f $(kubectl get pods -n kube-public | awk '{print $1}' | grep jenkins) -n kube-public
(2) . view the Token string generated in the log
View the log. The default token is:
Sep 08, 2021 5:19:10 PM jenkins.install.SetupWizard init
INFO:

*************************************************************
*************************************************************
*************************************************************

Jenkins initial setup is required. An admin user has been created and a password generated.
Please use the following password to proceed to installation:

5b21658579c747a28ab4329ccb1f406e

This may also be found at: /var/jenkins_home/secrets/initialAdminPassword

*************************************************************
*************************************************************
*************************************************************
6, Start Jenkins for installation
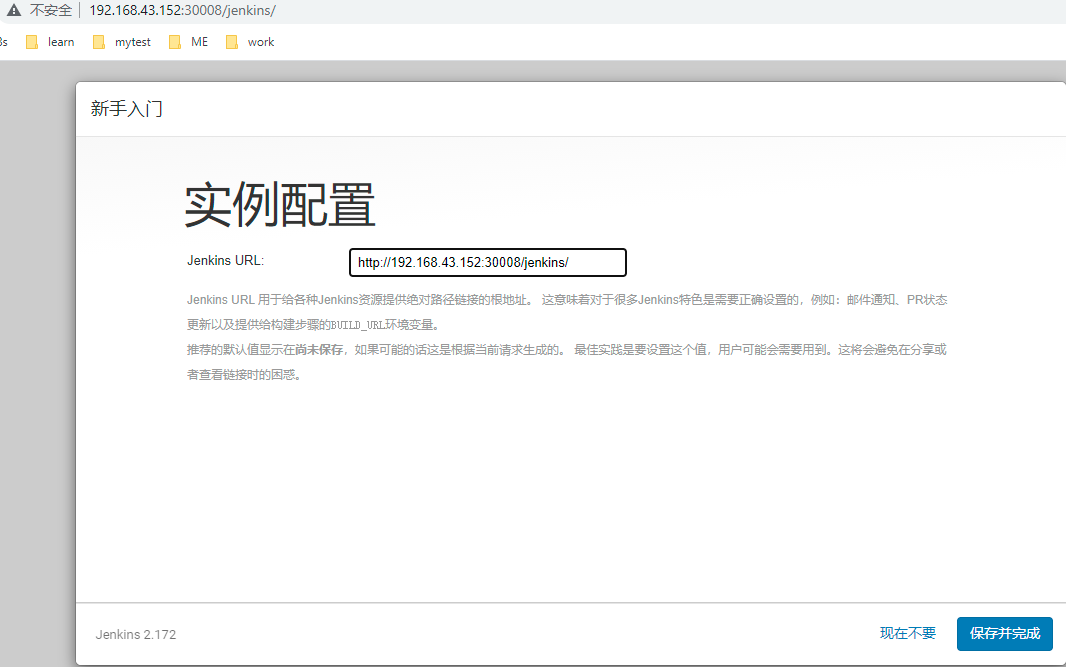
Enter the cluster address and the NodePort port provided by Jenkins Service to access Jenkins for installation steps. You can follow the steps below:
1. Enter Jenkins
Enter the cluster address and the port 30008 of the Nodeport mode set above, and then enter the Token string obtained above.
visit http://192.168.43.152:30008/jenkins

Install plug-ins

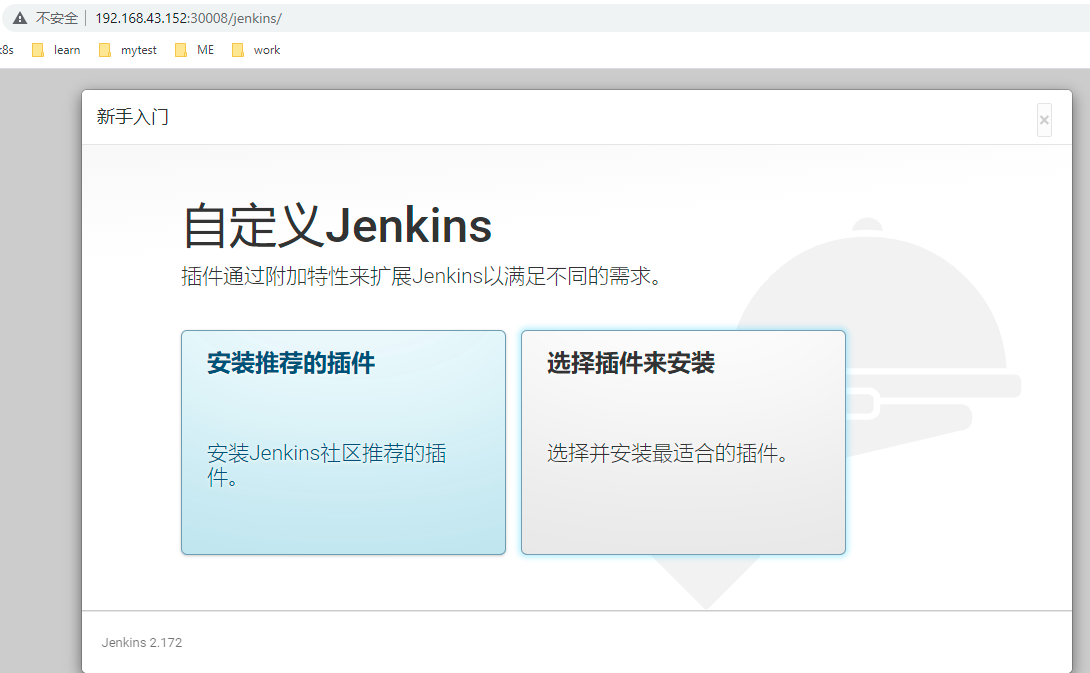
Install the plug-in. Skip....
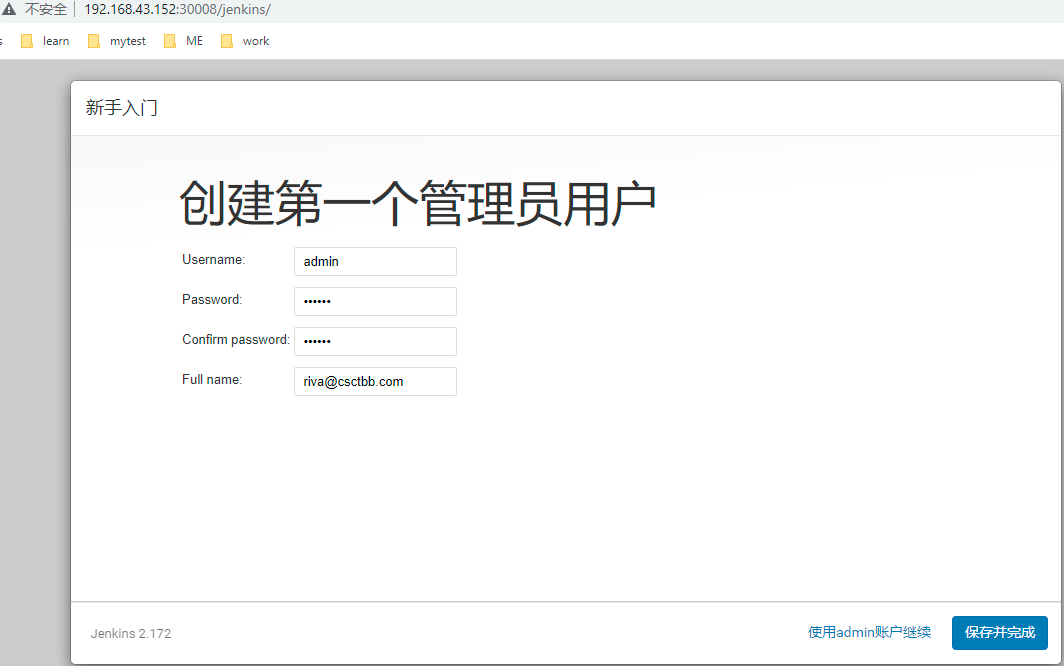
Set password
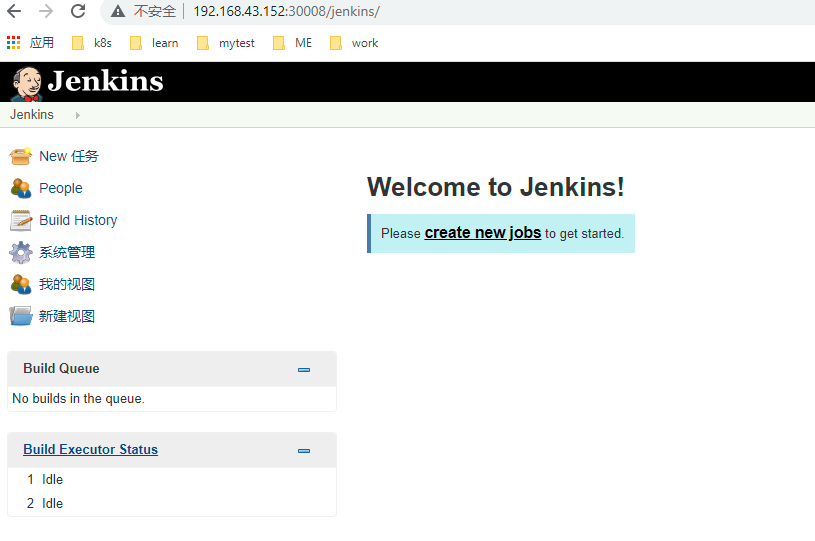
complete