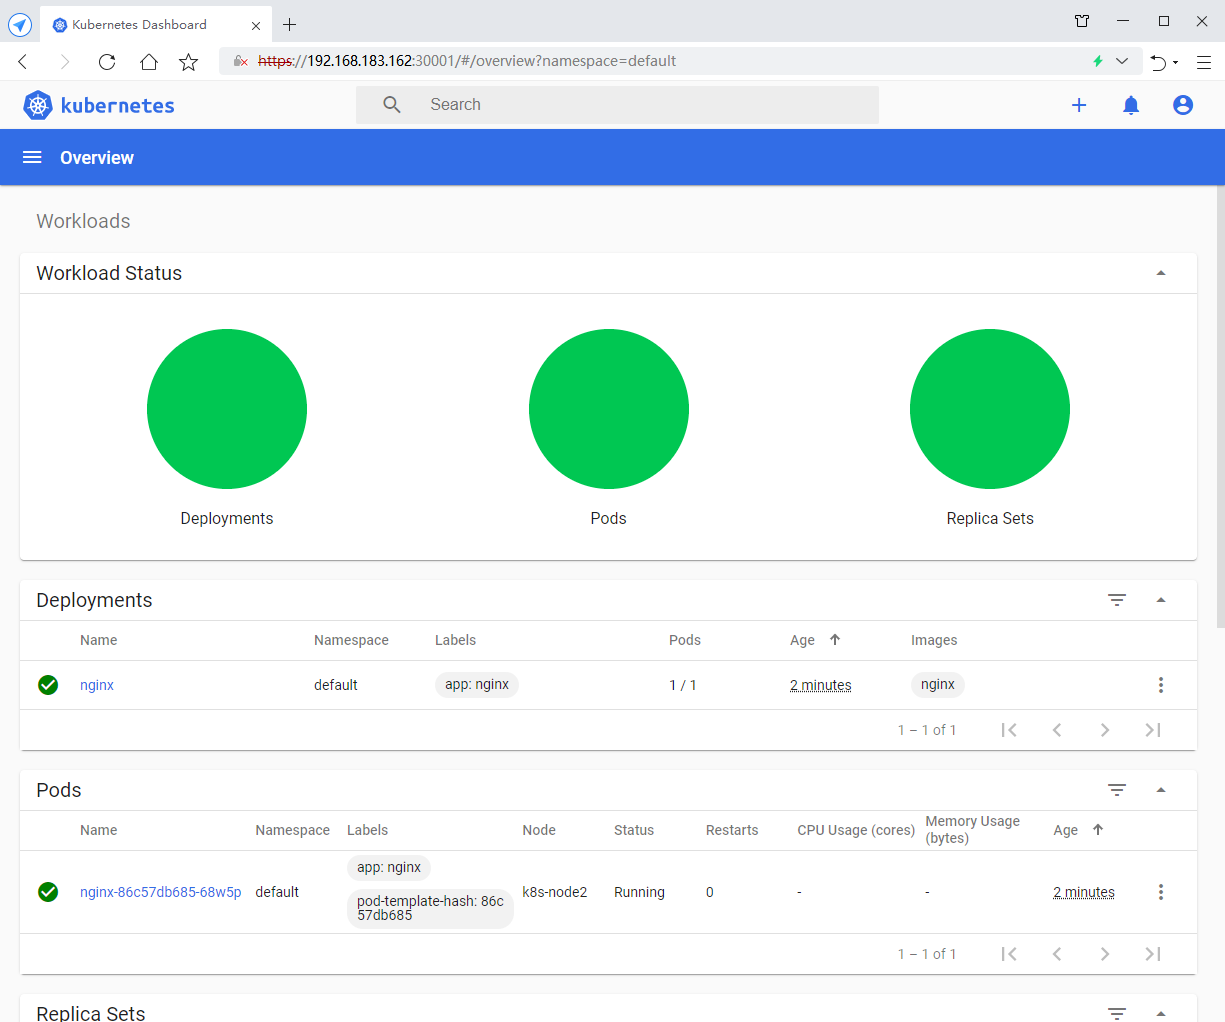
Experimental requirements: Kubernetes was successfully deployed to prepare for subsequent experiments
1. Environmental requirements
Server requirements:
• recommended minimum hardware configuration: 2-core CPU, 2G memory, 20G hard disk
• it is better for the server to access the external network. There will be a need to pull the image from the Internet. If the server cannot access the Internet, it is necessary to download the corresponding image in advance and import it into the node
Software environment:
| Software | edition |
|---|---|
| operating system | CentOS7.5_x64 |
| Docker | 18.06.1-ce |
| Kubernetes | 1.17 |
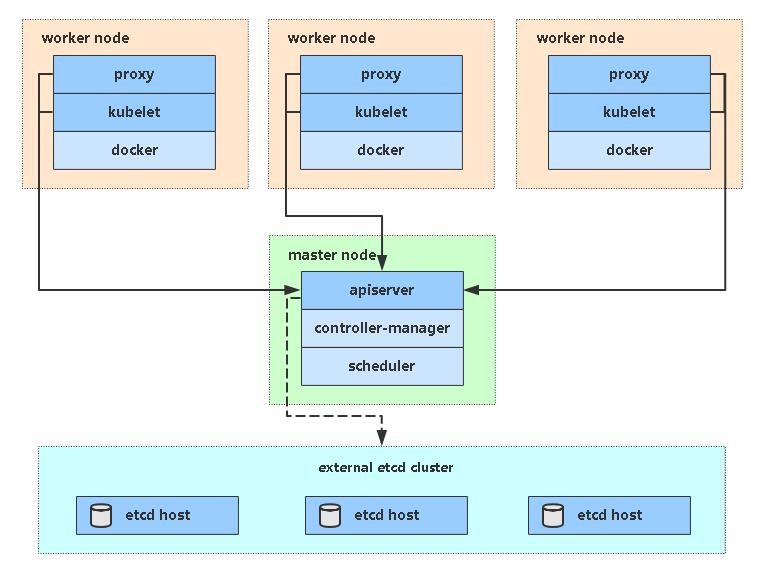
Server planning:
| role | IP |
|---|---|
| k8s-master | 192.168.183.160 |
| k8s-node1 | 192.168.183.162 |
| k8s-node2 | 192.168.183.163 |
| MySQL | 192.168.183.170 |
2. Basic environment (all nodes)
1) Configure network
[root@localhost ~]# nmcli connection modify "ens33" ipv4.method manual ipv4.addresses "192.168.183.160/24" ipv4.gateway "192.168.183.2" ipv4.dns "114.114.114.114" connection.autoconnect yes
[root@localhost ~]# nmcli con down ens33  && nmcli con up ens33
Connection 'ens33' successfully deactivated (D-Bus active path: /org/freedesktop/NetworkManager/ActiveConnection/1)
Connection successfully activated (D-Bus active path: /org/freedesktop/NetworkManager/ActiveConnection/4)
[root@localhost ~]# ping -c3 baidu.com
PING baidu.com (220.181.38.148) 56(84) bytes of data.
64 bytes from 220.181.38.148 (220.181.38.148): icmp_seq=1 ttl=128 time=39.6 ms
64 bytes from 220.181.38.148 (220.181.38.148): icmp_seq=2 ttl=128 time=39.7 ms
64 bytes from 220.181.38.148 (220.181.38.148): icmp_seq=3 ttl=128 time=39.6 ms

--- baidu.com ping statistics ---
3 packets transmitted, 3 received, 0% packet loss, time 2003ms
rtt min/avg/max/mdev = 39.616/39.677/39.742/0.235 ms
[root@localhost ~]#
2) Turn off firewall
[root@localhost ~]# systemctl stop firewalld && systemctl disable firewalld
Removed symlink /etc/systemd/system/multi-user.target.wants/firewalld.service.
Removed symlink /etc/systemd/system/dbus-org.fedoraproject.FirewallD1.service.
3) Permanent and temporary shutdown of SELinux, swap
[root@localhost ~]# sed -i "s/=enforcing/=disabled/g" /etc/selinux/config && setenforce 0

[root@localhost ~]# sed -ri 's/.*swap.*/#&/' /etc/fstab && swapoff -a
4) Add hosts in master
[root@localhost ~]# cat >> /etc/hosts << EOF
192.168.183.160 k8s-master
192.168.183.162 k8s-node1
192.168.183.163 k8s-node2
EOF
5) The chain that passes bridged IPv4 traffic to iptables
[root@k8s-master ~]# cat > /etc/sysctl.d/k8s.conf << EOF
net.bridge.bridge-nf-call-ip6tables = 1
net.bridge.bridge-nf-call-iptables = 1
EOF
# take effect
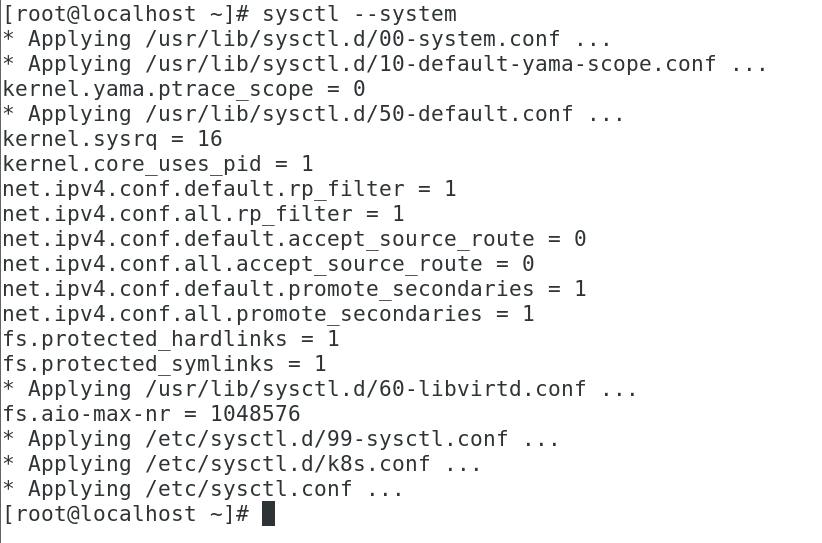
[root@k8s-master ~]# sysctl --system
6) Time synchronization
[root@k8s-master ~]# yum install ntpdate -y
[root@k8s-master ~]# ntpdate time.windows.com

3. Install docker / kubedm / kubelet (all nodes)
1) Install the specified version of Docker
#Replace with domestic image source
[root@k8s-master ~]# wget https://mirrors.aliyun.com/docker-ce/linux/centos/docker-ce.repo -O /etc/yum.repos.d/docker-ce.repo

#Install Docker and start and set startup and self startup
[root@k8s-master ~]# yum install -y docker-ce-18.06.1.ce-3.el7
Loaded plugins: fastestmirror, langpacks
Loading mirror speeds from cached hostfile
[root@k8s-master ~]# systemctl start docker.service && systemctl enable docker.service
Created symlink from /etc/systemd/system/multi-user.target.wants/docker.service to /usr/lib/systemd/system/docker.service.

#View version
[root@k8s-master ~]# docker --version
Docker version 18.06.1-ce, build e68fc7a
[root@k8s-master ~]#
2) Configure docker accelerator
[root@k8s-master ~]# cat > /etc/docker/daemon.json << EOF
{
"registry-mirrors": ["https://b9pmyelo.mirror.aliyuncs.com"]
}
EOF
#Restart verification successful
[root@k8s-master ~]# systemctl restart docker
3) Configure alicloud YUM software source
[root@k8s-master ~]# cat > /etc/yum.repos.d/kubernetes.repo << EOF
[kubernetes]
name=Kubernetes
baseurl=https://mirrors.aliyun.com/kubernetes/yum/repos/kubernetes-el7-x86_64/
enabled=1
gpgcheck=0
repo_gpgcheck=0
gpgkey=https://mirrors.aliyun.com/kubernetes/yum/doc/yum-key.gpg
https://mirrors.aliyun.com/kubernetes/yum/doc/rpm-package-key.gpg
EOF
[root@k8s-master ~]#
4) Install kubedm, kubelet, kubectl
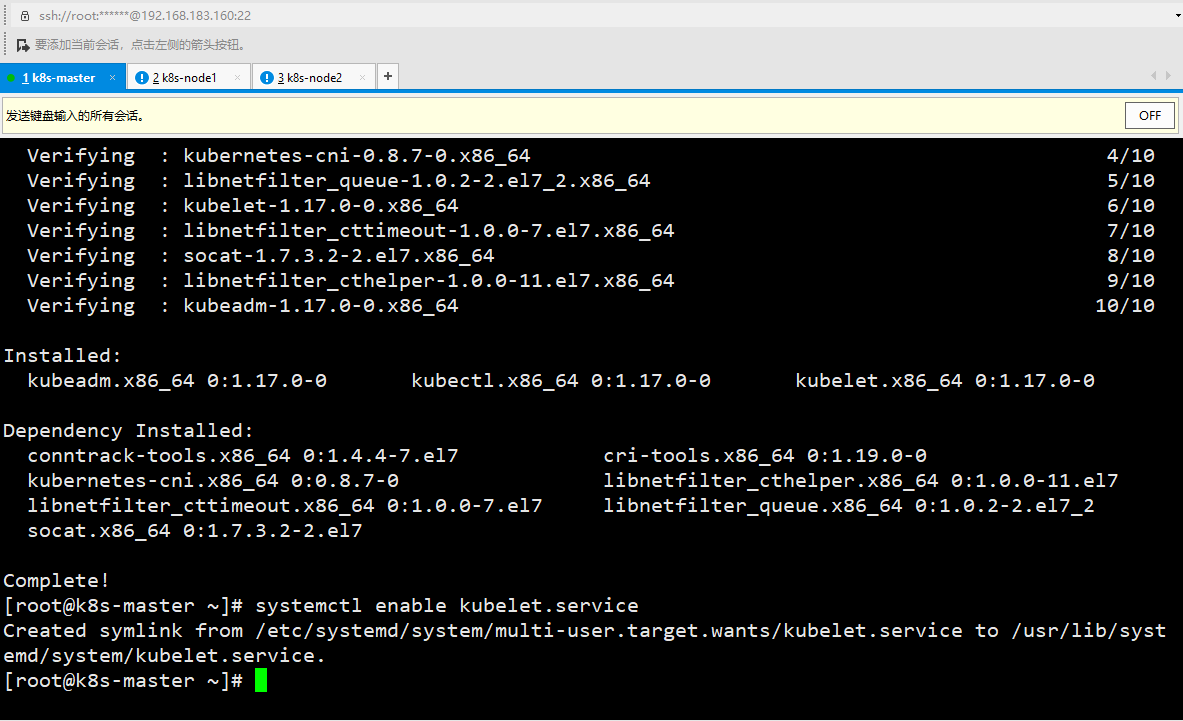
[root@k8s-master ~]# yum install -y kubelet-1.17.0 kubeadm-1.17.0 kubectl-1.17.0
[root@k8s-master ~]# systemctl enable kubelet.service
Created symlink from /etc/systemd/system/multi-user.target.wants/kubelet.service to /usr/lib/systemd/system/kubelet.service.
4. Deploy Kubernetes Master
[root@k8s-master ~]# kubeadm init \
--apiserver-advertise-address=192.168.183.160 \
--image-repository registry.aliyuncs.com/google_containers \
--kubernetes-version v1.17.0 \
--service-cidr=10.96.0.0/12 \
--pod-network-cidr=10.244.0.0/16
• -- apiserver advertisement address
• -- image repository is inaccessible in China because the default image address is k8s.gcr.io. Here, specify the address of Alibaba cloud image repository
• -- kubernetes version k8s version, consistent with the above installation
• -- service CIDR cluster internal virtual network, Pod unified access portal
• - - pod network CIDR pod network,
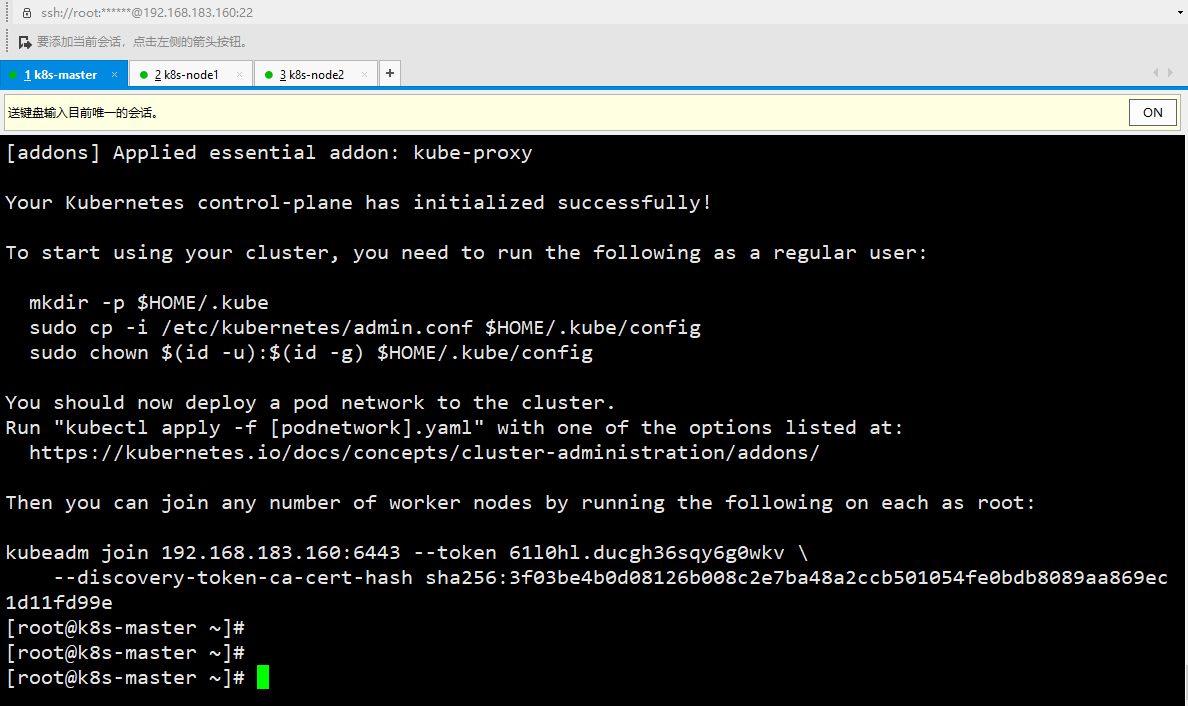
After initialization, a join command will be output. Remember first, use the following command.
Copy the connection k8s authentication file used by kubectl to the default path:
[root@k8s-master ~]# mkdir -p $HOME/.kube
[root@k8s-master ~]# sudo cp -i /etc/kubernetes/admin.conf $HOME/.kube/config
[root@k8s-master ~]# sudo chown $(id -u):$(id -g) $HOME/.kube/config
#View work nodes
[root@k8s-master ~]# kubectl get node
NAME         STATUS     ROLES    AGE     VERSION
k8s-master   NotReady   master   4m55s   v1.17.0
5. Deploy Pod network plug-in (CNI)
Method 1: direct use of official; If the Pod image download fails, use method 2
#The network access may fail. You can execute it several more times
[root@k8s-master ~]# kubectl apply -f https://raw.githubusercontent.com/coreos/flannel/master/Documentation/kube-flannel.yml
podsecuritypolicy.policy/psp.flannel.unprivileged created
clusterrole.rbac.authorization.k8s.io/flannel created
clusterrolebinding.rbac.authorization.k8s.io/flannel created
serviceaccount/flannel created
configmap/kube-flannel-cfg created
daemonset.apps/kube-flannel-ds created
[root@k8s-master ~]# kubectl get pods -n kube-system
NAME                                 READY   STATUS    RESTARTS   AGE
coredns-9d85f5447-5rbll              1/1     Running   0          26m
coredns-9d85f5447-bzz8z              1/1     Running   0          26m
etcd-k8s-master                      1/1     Running   0          26m
kube-apiserver-k8s-master            1/1     Running   0          26m
kube-controller-manager-k8s-master   1/1     Running   0          26m
kube-flannel-ds-x2x6t                1/1     Running   0          15m
kube-proxy-7p9st                     1/1     Running   0          26m
kube-scheduler-k8s-master            1/1     Running   0          26m
[root@k8s-master ~]#
[root@k8s-master ~]# kubectl get node
NAME         STATUS   ROLES    AGE   VERSION
k8s-master   Ready    master   29m   v1.17.0
Method 2: Download and modify the image website
[root@k8s-master]# wget https://raw.githubusercontent.com/coreos/flannel/master/Documentation/kube-flannel.yml
[root@k8s-master]# vim kube-flannel.yml
      - name: install-cni
        image: quay.io/coreos/flannel:v0.15.1

      - name: install-cni
        image: lizhenliang/flannel:v0.15.1

      - name: kube-flannel
        image: quay.io/coreos/flannel:v0.15.1
      - name: kube-flannel
        image: lizhenliang/flannel:v0.15.1
6. Join Kubernetes Node
Add a new Node to the cluster. Execute the kubedm join command output after executing kubedm init at 192.168.183.162/163 (Node):
[[root@k8s-node1 ~]# kubeadm join 192.168.183.160:6443 --token 61l0hl.ducgh36sqy6g0wkv \
>     --discovery-token-ca-cert-hash sha256:3f03be4b0d08126b008c2e7ba48a2ccb501054fe0bdb8089aa869ec1d11fd99e

[root@k8s-master ~]# kubectl get node
NAME         STATUS   ROLES    AGE   VERSION
k8s-master   Ready    master   30m   v1.17.0
k8s-node1    Ready    <none>   59s   v1.17.0
k8s-node2    Ready    <none>   59s   v1.17.0

The default token is valid for 24 hours. When it expires, the token will not be available. In this case, you need to re create the token, which can be generated directly using the command:
kubeadm token create --print-join-command
7. Deploy Dashboard
#The network access may fail. You can execute it several more times
[root@k8s-master ~]# kubectl apply -f https://raw.githubusercontent.com/kubernetes/dashboard/v2.0.0-beta8/aio/deploy/recommended.yaml
namespace/kubernetes-dashboard created
serviceaccount/kubernetes-dashboard created
service/kubernetes-dashboard created
secret/kubernetes-dashboard-certs created
secret/kubernetes-dashboard-csrf created
secret/kubernetes-dashboard-key-holder created
configmap/kubernetes-dashboard-settings created
role.rbac.authorization.k8s.io/kubernetes-dashboard created
clusterrole.rbac.authorization.k8s.io/kubernetes-dashboard created
rolebinding.rbac.authorization.k8s.io/kubernetes-dashboard created
clusterrolebinding.rbac.authorization.k8s.io/kubernetes-dashboard created
deployment.apps/kubernetes-dashboard created
service/dashboard-metrics-scraper created
deployment.apps/dashboard-metrics-scraper created
[root@k8s-master ~]#
#Check whether the mirror runs successfully
[root@k8s-master ~]# kubectl get pods -n kubernetes-dashboard
NAME                                         READY   STATUS    RESTARTS   AGE
dashboard-metrics-scraper-76585494d8-45xxk   1/1     Running   0          2m44s
kubernetes-dashboard-5996555fd8-z64kw        1/1     Running   0          2m44s
#Check whether the dashboard has been downloaded
[root@k8s-master ~]# kubectl describe pod kubernetes-dashboard-5996555fd8-z64kw -n kubernetes-dashboard
Exposed port
The default Dashboard can only access the inside of the cluster. Add type: NodePort and nodePort: 30001 in the Service to expose them to the outside. The range of effective ports is 30000-32767:
[root@k8s-master ~]# wget https://raw.githubusercontent.com/kubernetes/dashboard/v2.0.0-beta8/aio/deploy/recommended.yaml
[root@k8s-master ~]# vim recommended.yaml
kind: Service
apiVersion: v1
metadata:
  labels:
    k8s-app: kubernetes-dashboard
  name: kubernetes-dashboard
  namespace: kubernetes-dashboard
spec:
  type: NodePort
  ports:
    - port: 443
      targetPort: 8443
      nodePort: 30001

#Run to make its modification effective
[root@k8s-master ~]# kubectl apply -f recommended.yaml
namespace/kubernetes-dashboard unchanged
serviceaccount/kubernetes-dashboard unchanged
service/kubernetes-dashboard configured
secret/kubernetes-dashboard-certs unchanged
secret/kubernetes-dashboard-csrf configured
Warning: kubectl apply should be used on resource created by either kubectl create --save-config or kubectl apply
secret/kubernetes-dashboard-key-holder configured
configmap/kubernetes-dashboard-settings unchanged
role.rbac.authorization.k8s.io/kubernetes-dashboard unchanged
clusterrole.rbac.authorization.k8s.io/kubernetes-dashboard unchanged
rolebinding.rbac.authorization.k8s.io/kubernetes-dashboard unchanged
clusterrolebinding.rbac.authorization.k8s.io/kubernetes-dashboard unchanged
deployment.apps/kubernetes-dashboard unchanged
service/dashboard-metrics-scraper unchanged
deployment.apps/dashboard-metrics-scraper unchanged
[root@k8s-master ~]#
Access address using 360 browser: https://NodeIP:30001
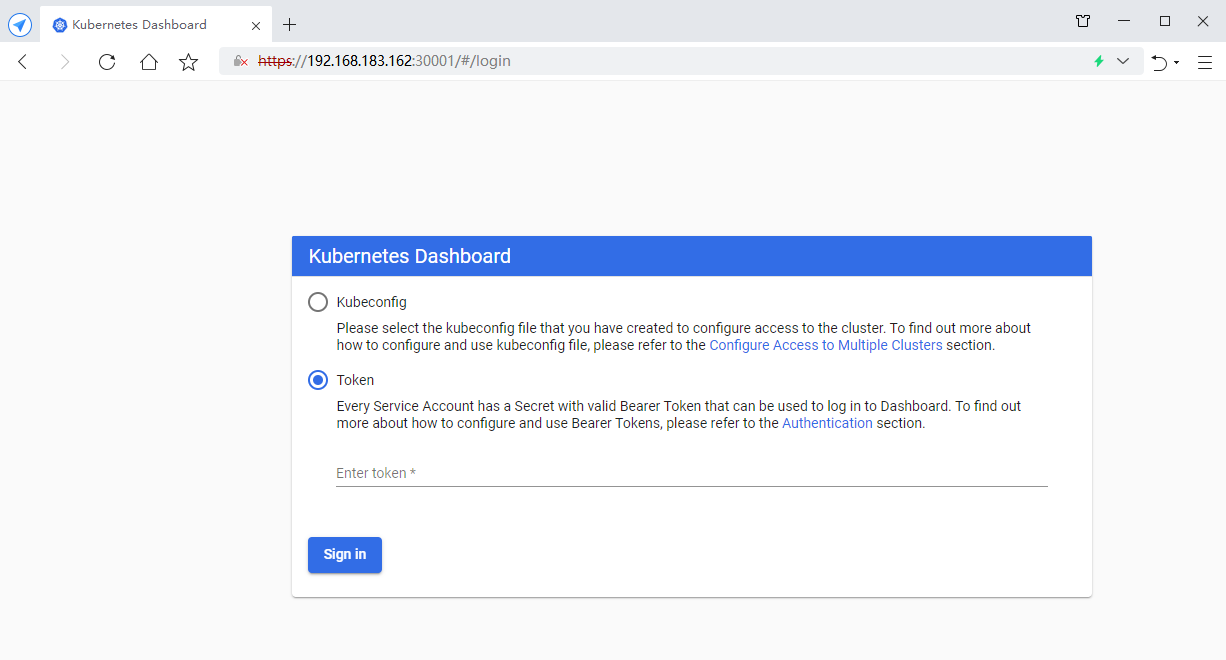
Create a service account and bind the default cluster admin administrator cluster role
# Create user
[root@k8s-master ~]# kubectl create serviceaccount dashboard-admin -n kube-system
serviceaccount/dashboard-admin created

# User authorization
[root@k8s-master ~]# kubectl create clusterrolebinding dashboard-admin --clusterrole=cluster-admin --serviceaccount=kube-system:dashboard-admin
clusterrolebinding.rbac.authorization.k8s.io/dashboard-admin created

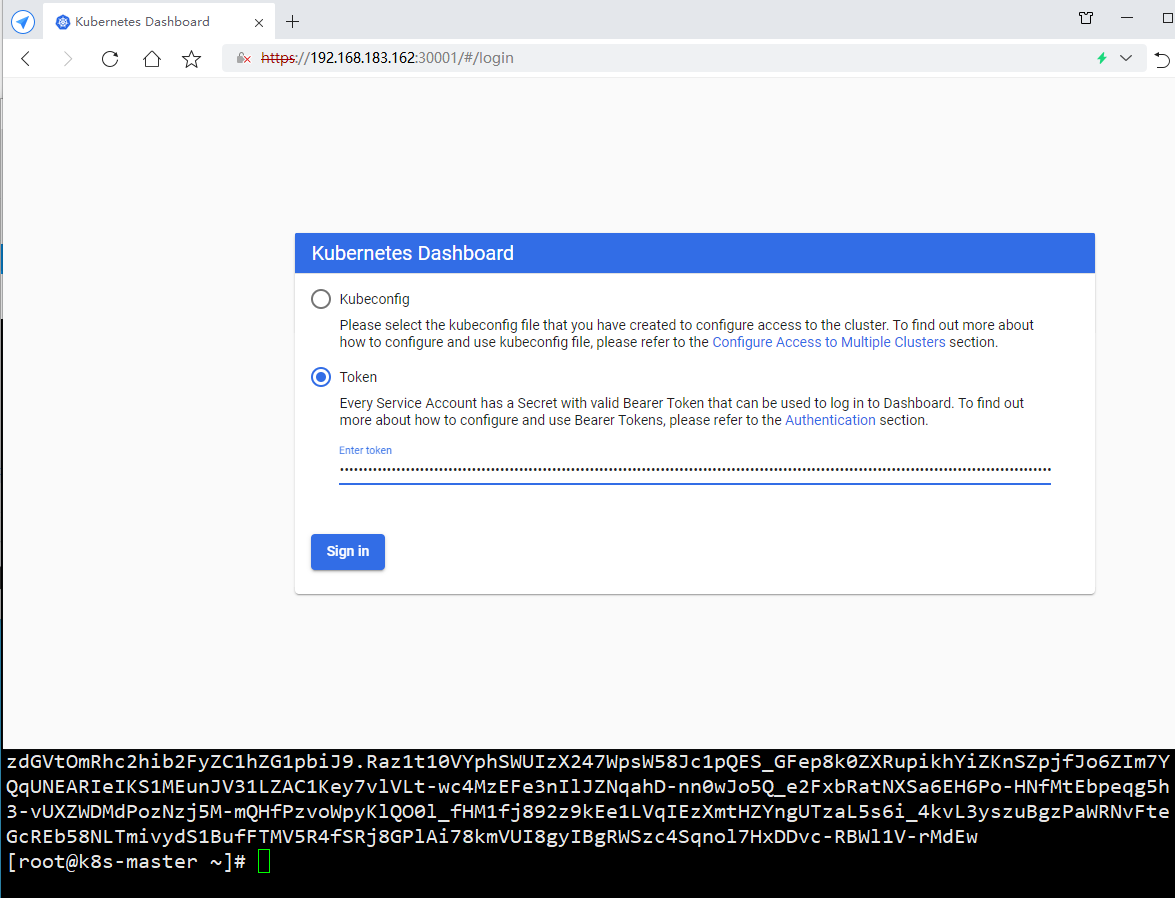
# Obtain the user Token and copy the obtained Token to the browser
[root@k8s-master ~]# kubectl describe secrets -n kube-system $(kubectl -n kube-system get secret | awk '/dashboard-admin/{print $1}')
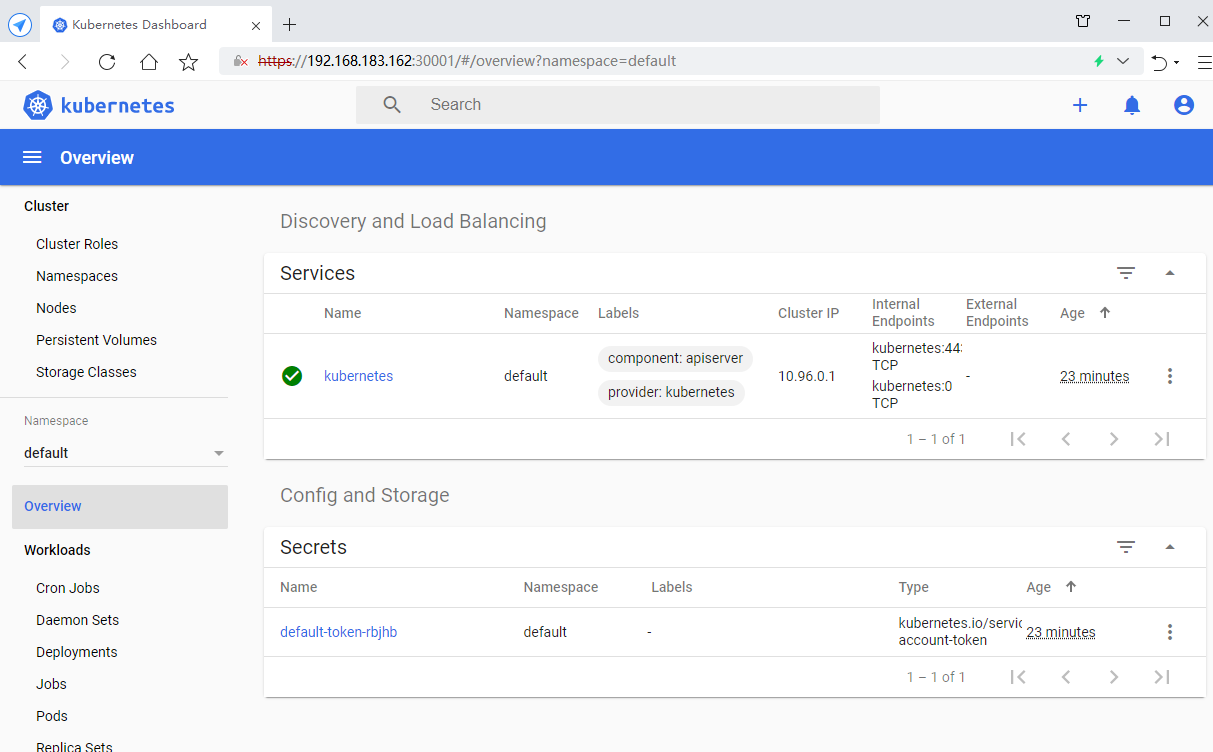
Log in to the Dashboard using the output token
8. Test k8s cluster
[root@k8s-master ~]# kubectl create deployment nginx --image=nginx
deployment.apps/nginx created
[root@k8s-master ~]# kubectl expose deployment nginx --port=80 --type=NodePort
service/nginx exposed
[root@k8s-master ~]# kubectl get pod,svc
NAME                         READY   STATUS    RESTARTS   AGE
pod/nginx-86c57db685-tw5mh   1/1     Running   0          41s

NAME                 TYPE        CLUSTER-IP     EXTERNAL-IP   PORT(S)        AGE
service/kubernetes   ClusterIP   10.96.0.1      <none>        443/TCP        32m
service/nginx        NodePort    10.96.29.124   <none>        80:31496/TCP   11s
[root@k8s-master ~]#
