Using Jquery to switch the tab key, the code is simple and easy to understand, and the implementation logic is clear. The specific summary is as follows:
Demand analysis:
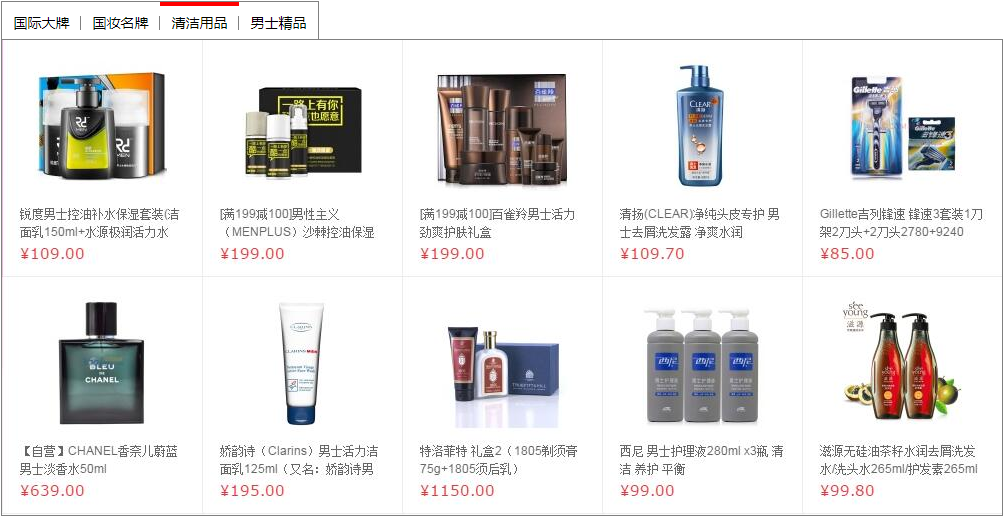
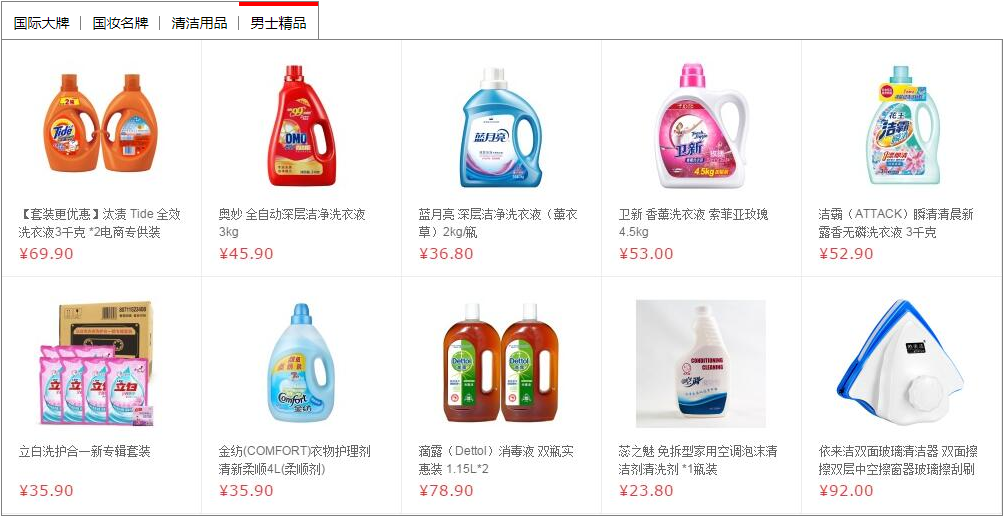
When the mouse enters the tab switch module, the upper border of the current module of the mouse changes to red, and the corresponding product name is displayed. After the mouse leaves, the top frame restores its original color and the picture changes.
The effect is as follows:
Page 1:

Page 2

Page 3

Page 4

Page structure analysis:
1. Use the big box wrapper to control the position of the whole content on the page
2. The big box is divided into ul (tab) and div (product)
3.ul (tab) uses four li tags to store four modules
4. Each li includes the plate name and the < span > < span > label. Through the attribute of the < span > < span > label, set the dividing line between the four plates, which is the knowledge point.
5.div (product) is used to store pictures. The initial display is hidden and only one picture is left.
The code is as follows:
  1 <!DOCTYPE html>
  2 <html>
  3     <head>
  4         <meta charset="utf-8">
  5         <title></title>
  6         <style type="text/css">
  7             *{
  8                 padding: 0px;
  9                 margin: 0px;
 10             }
 11             ul{
 12                 list-style: none;
 13             }
 14             .wrapper{
 15                 margin: 100px auto;
 16                 width: 1000px;
 17                 height: 512px;
 18             }
 19             .tab{
 20                 height: 37px;
 21                 width: 316px;
 22                 border: 1px solid gray;
 23                 border-bottom: 0;
 24             }
 25             .tab li{
 26                 float: left;
 27                 width: 79px;
 28                 text-align: center;
 29                 height: 33px;
 30                 line-height: 33px;
 31                 position: relative;
 32                 right: 0px;
 33                 border-top: 4px solid white;
 34                 font-size: 14px;
 35             }
 36             .tab span{
 37                 position: absolute;
 38                 right: 0px;
 39                 top: 10px;
 40                 width: 1px;
 41                 height: 14px;
 42                 background-color: gray;
 43                 display: inline-block;
 44             }
 45             .product{
 46                 border: 1px solid gray;
 47                 width: 1000px;
 48                 height: 475px;
 49             }
 50             .product div{
 51                 display: none;
 52             }
 53             .tab li.active{
 54                 border-color: red;
 55             }
 56             .product div.select{
 57                 display: block;
 58             }
 59
 60         </style>
 61
 62         <script src="js/jquery-1.12.2.js" type="text/javascript" charset="utf-8"></script>
 63         <!-- insert jQuery Code -->
 64         <script type="text/javascript">
 65             $(function(){
 66                 //Mouse into each li,Current li The top border of becomes red
 67                 $(".tab>li").mouseover(function(){
 68                     //Be-all li cancel active style
 69                     $(this).siblings("li").removeClass("active");
 70
 71                     //current li Add to active style
 72                     $(this).addClass("active");
 73
 74                 //Display corresponding current li Of div
 75                     var index=$(this).index();
 76                     //Be-all div cancel select style
 77                     $(".product>div").removeClass("select");
 78                     $(".product>div:eq("+index+")").addClass("select");
 79                 });
 80             });
 81         </script>
 82     </head>
 83     <body>
 84         <div class="wrapper">
 85             <ul class="tab">
 86                 <li class="active">Big international card<span></span></li>
 87                 <li>National makeup brand<span></span></li>
 88                 <li>Cleaning products<span></span></li>
 89                 <li>Men's Boutique</li>
 90             </ul>
 91
 92             <div class="product">
 93                 <div class="select">
 94                     <a href="#"><img src="images/guojidapai.jpg" ></a>
 95                 </div>
 96                 <div >
 97                     <a href="#"><img src="images/guozhuangmingpin.jpg" ></a>
 98                 </div>
 99                 <div>
100                     <a href="#"><img src="images/nanshijingpin.jpg" ></a>
101                 </div>
102                 <div>
103                     <a href="#"><img src="images/qingjieyongpin.jpg" ></a>
104                 </div>
105             </div>
106         </div>
107     </body>
108 </html>
Note: using Jquery to achieve the effect is very simple. The previous blog has a summary. The focus of this article is on the layout of the web page, especially the vertical line between the modules of the switch bar. You should understand how to do it.