1, Jmeter+ant
1. First, we have recorded the Jmeter script by default and passed the test. There is a (query module. jmx) script
2. Copy ant-JMeter-1.1.1.jar in the extras subdirectory of the JMeter directory to the lib subdirectory of the Ant directory, so that the Ant runtime can find the class "org.programmerplanet.ant.taskdefs.jmeter.JMeterTask", and successfully trigger the JMeter script
3. JMeter saves. csv files by default, so we need to set the contents of bin/jmeter.properties file to save
jmeter.save.saveservice.output_format=xml
4. Main logical idea: run the. jmx script under D:\jemeterTest\script to generate a. jtl file
D: In the \ jemetertest \ resultlog \ JTL file, ant converts the corresponding file into the corresponding html file and puts it into D:\jemeterTest\resultLog\html
The contents in the build.xml file are as follows:
<?xml version="1.0" encoding="utf-8"?>
<project name="JmeterTest" default="all" basedir=".">
    <tstamp>
        <format property="time" pattern="yyyyMMddhhmm" />
    </tstamp>
    <!-- Need to change to your own local Jmeter catalogue-->
    <property name="jmeter.home" value="D:\soft\apache-jmeter-2.9" />
    <!-- jmeter generate jtl Path to the result report in format-->
    <property name="jmeter.result.jtl.dir" value="D:\jemeterTest\resultLog\jtl" />
    <!-- jmeter generate html Path to the result report in format-->
    <property name="jmeter.result.html.dir" value="D:\jemeterTest\resultLog\html" />
    <!-- Prefix of the generated report -->
    <property name="ReportName" value="TestReport" />
    <property name="jmeter.result.jtlName" value="${jmeter.result.jtl.dir}/${ReportName}${time}.jtl" />
    <property name="jmeter.result.htmlName" value="${jmeter.result.html.dir}/${ReportName}${time}.html" />
    <!-- Mailbox to receive test report -->
    <property name="mail_to" value="LIUCHAO448@pingan.com.cn" />
    <!-- Computer address -->
    <property name="ComputerName" value="jkqsh-l0285" />
    <target name="all">
        <antcall target="test" />
        <antcall target="report" />
    </target>
    <target name="test">
        <taskdef name="jmeter" classname="org.programmerplanet.ant.taskdefs.jmeter.JMeterTask" />
        <jmeter jmeterhome="${jmeter.home}" resultlog="${jmeter.result.jtlName}">
            <!-- Declare the script to run."*.jmx"It refers to all the files in this directory jmeter script -->
            <testplans dir="D:\jemeterTest\script" includes="*.jmx" />
        </jmeter>
    </target>
    <target name="report">
        <xslt in="${jmeter.result.jtlName}" out="${jmeter.result.htmlName}" style="${jmeter.home}/extras/jmeter-results-detail-report_90Line.xsl" />
        <!-- When the above report is generated, the relevant pictures will not be copied to the target directory, so they need to be copied manually -->
        <copy todir="${jmeter.result.html.dir}">
            <fileset dir="${jmeter.home}/extras">
                <include name="collapse.png" />
                <include name="expand.png" />
            </fileset>
        </copy>
    </target>
    <!-- Send mail -->
</project>
Switch to D:\jemeterTest directory and enter ant to view the running results
Before operation
After operation
The browser opens the HTML file and displays it correctly

2, Jmeter+ant+Jenkins
1,download Jenkins installation
2. Switch the command line to the root directory of jenkins.war, and enter java -jar jenkins.war
3. Browser input address http://localhost:8080/ The interface is displayed and the installation is successful
4. Create a new task and configure it
5. Configuration parameters
The old build saves all your temporary files in a build. If it is not necessary to keep the build, check discard the old build, and set the two parameters of maintaining the build angel and maintaining the maximum number of builds.
Note: the three settings must be set at the same time, otherwise they are invalid
6. Set the regular running interval. Here, set the interval to run once every 15 minutes
7. Set invoke ant, and then click save
8. Click build now to call ant and execute the packaging process. Here, the step of generating the test report is executed
3, Tomcat configuring virtual directories
Create a new xml file in the tomcat folder under conf / catalina / localhost (for Tomcat6 and above, you need to create catalina and localhost folders yourself).
The content is:
<?xml version="1.0" encoding="UTF-8"?>
<Context
    docBase="Change your path"
    reloadable="true">
</Context>
Change the file name to your own http://localhost:8080/infces , the file name is infces.xml
Other configurations:
Open Tomcat/conf/web.xml file and find:
<init-param>
<param-name>listings</param-name>
<param-value>false</param-value>
</init-param>
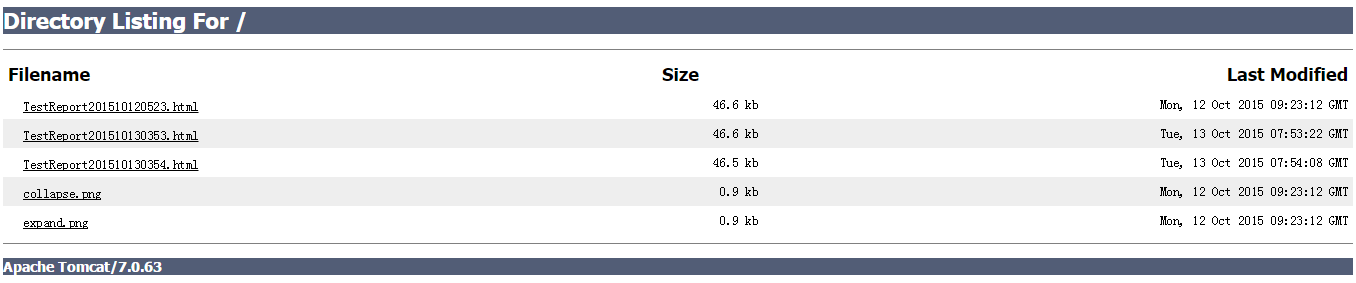
Set false to true to save, restart Tomcat and display the list of Tomcat supporting files
Enter address: http://localhost:8080/infces/
The display is as follows: