1, JDK installation
It is recommended to use manual installation instead of using yum to install openjdk;
The current installed directory is:
/home/jdk/jdk1.8.0_291/bin/java
/home/jdk/jdk1.8.0_291/jre/bin/java
2, nexus installation
1. Download nexus
Download the installation package official website: https://help.sonatype.com/repomanager3/download
Here is an installation package: nexus-3.9.0-01-unix.tar.gz
Nexus official website: https://www.sonatype.com/nexus-repository-oss
Download Nexus locally. You can put it in any specified location. I download it to / usr/soft / directory. The download command is:
//Download nexus compressed package to local
wget http://download.sonatype.com/nexus/3/nexus-3.7.1-02-unix.tar.gz
When the download is complete, unzip it
//Decompress
tar zxvf nexus-3.7.1-02-unix.tar.gz
After decompression, enter the folder and enter pwd command to view the path of this directory. You can see that the path of my nexus directory is / opt/software/nexus-3.7.1-02. To remember this path, let's configure environment variables.
2. Configure nexus environment variables
Open the profile file in the etc / directory with the following command
vim /etc/profile
Add the nuxus environment to the tail of the profile. The environment code is as follows:
export NEXUS_HOME=/usr/local/nexus/nexus-3.9.0-01
export PATH=$PATH:$NEXUS_HOME/bin
After adding, save and exit. Reload the configuration file for the configuration to take effect.
source /etc/profile
3. Start nexus
Change port
The default port of nexus is 8081. If our port is occupied, we need to re specify the port for nexus. The port configuration file is in the etc directory under the installation directory, as shown below
[root@izwz9id0dphnuy2q3l6rdoz nexus-3.7.1-02]# ls
bin  deploy  etc  lib  LICENSE.txt  NOTICE.txt  public  system
Go to the etc directory and find the nexus-default.properties file. As follows:
[root@izwz9id0dphnuy2q3l6rdoz nexus-3.7.1-02]# cd etc
[root@izwz9id0dphnuy2q3l6rdoz etc]# ls
fabric  jetty  karaf  logback  nexus-default.properties  ssl
Open the nexus-default.properties file with vim.
hold
# Jetty section
application-port=8081
application-host=0.0.0.0
...
Change to
# Jetty section
application-port=8085
application-host=0.0.0.0
...
In this way, we will change the nexus port from 8081 to 8085 and restart the nexus service
//Restart service
nexus restart
General enable command:
cd /usr/local/nexus/nexus-3.9.0-01/bin
./nexus start
./nexus status
Default account: admin
Default password: admin123
4. Access nexus
After startup, you can use http://ip:8081 open
The default user name / password is admin/admin123
Log in with the admin account and click configuration > repositories
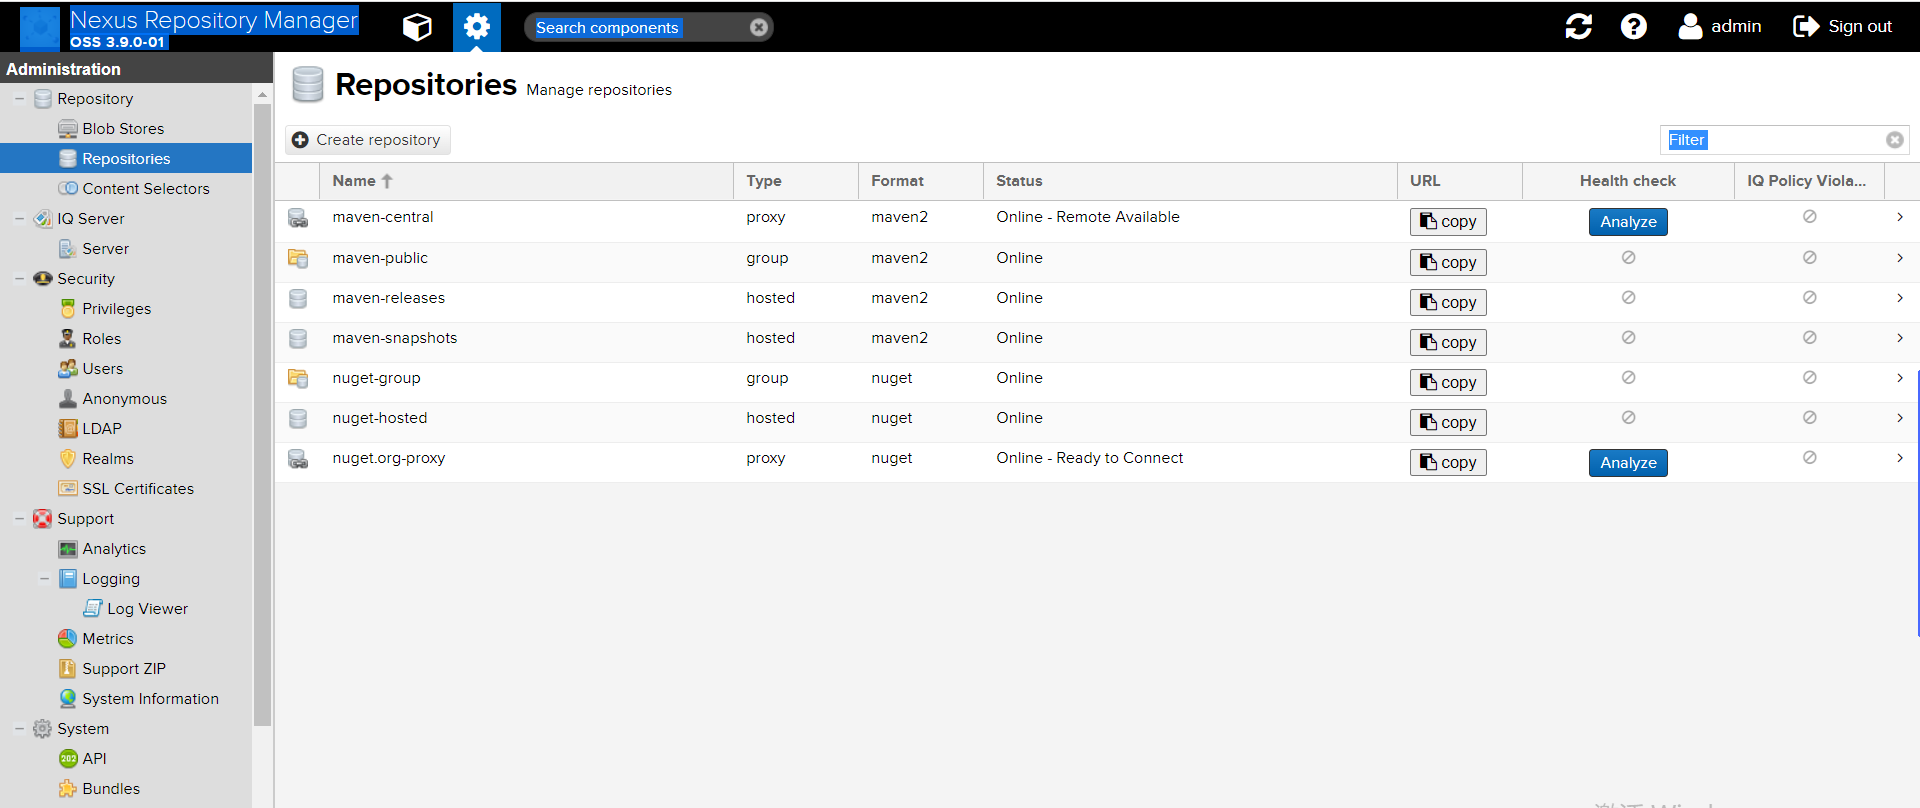
- Hosted, the hosted repository, deploys its own jar s to this type of repository, including releases and snapshot s, releases, the company's internal release repository
- Snapshots company internal test version warehouse
- Proxy, proxy warehouse, is used to proxy remote public warehouses, such as maven central warehouse. Users connect to private servers. Private servers automatically go to the central warehouse to download jar packages or plug-ins.
- Group, warehouse group, is used to merge multiple hosted/proxy warehouses. Usually, we configure our own maven connection warehouse group.
3, Maven installation configuration
1. Install maven and configure the environment variables. Add the following at the end of etc/profile:
MAVEN_HOME=/usr/local/maven/apache-maven-3.8.3
export PATH=${MAVEN_HOME}/bin:${PATH}
2. Modify the settings.xml file of maven, which is located in the conf directory of Maven installation directory:
$ vim conf/settings.xml
Configure the login user information of nexus server in the tag of servers. username and password are the login user name and password of nexus server
 <servers>
   <server>
      <id>releases</id>
      <username>admin</username>
      <password>****</password>
    </server>
    <server>
      <id>snapshots</id>
      <username>admin</username>
      <password>****</password>
    </server>
  </servers>
3. pom file configuration and project publishing in a project
Method 1: directly publish the local jar to the private server through the mvn command (provided that the private server configuration has been added to the setting in the local maven, that is, step 2 above)
mvn deploy:deploy-file -DgroupId=test.jar -DartifactId=jacob -Dversion=1.18 -Dpackaging=jar -Dfile=D:\demo-0.0.1.jar -Durl=http://***:8081/repository/maven-releases/ -DrepositoryId=releases
Method 2: execute clean deploy in idea
Modify the pom.xml file of the local project, add distribution management, and view the URL of the repository from the nexus server. Open the browser page of nexus
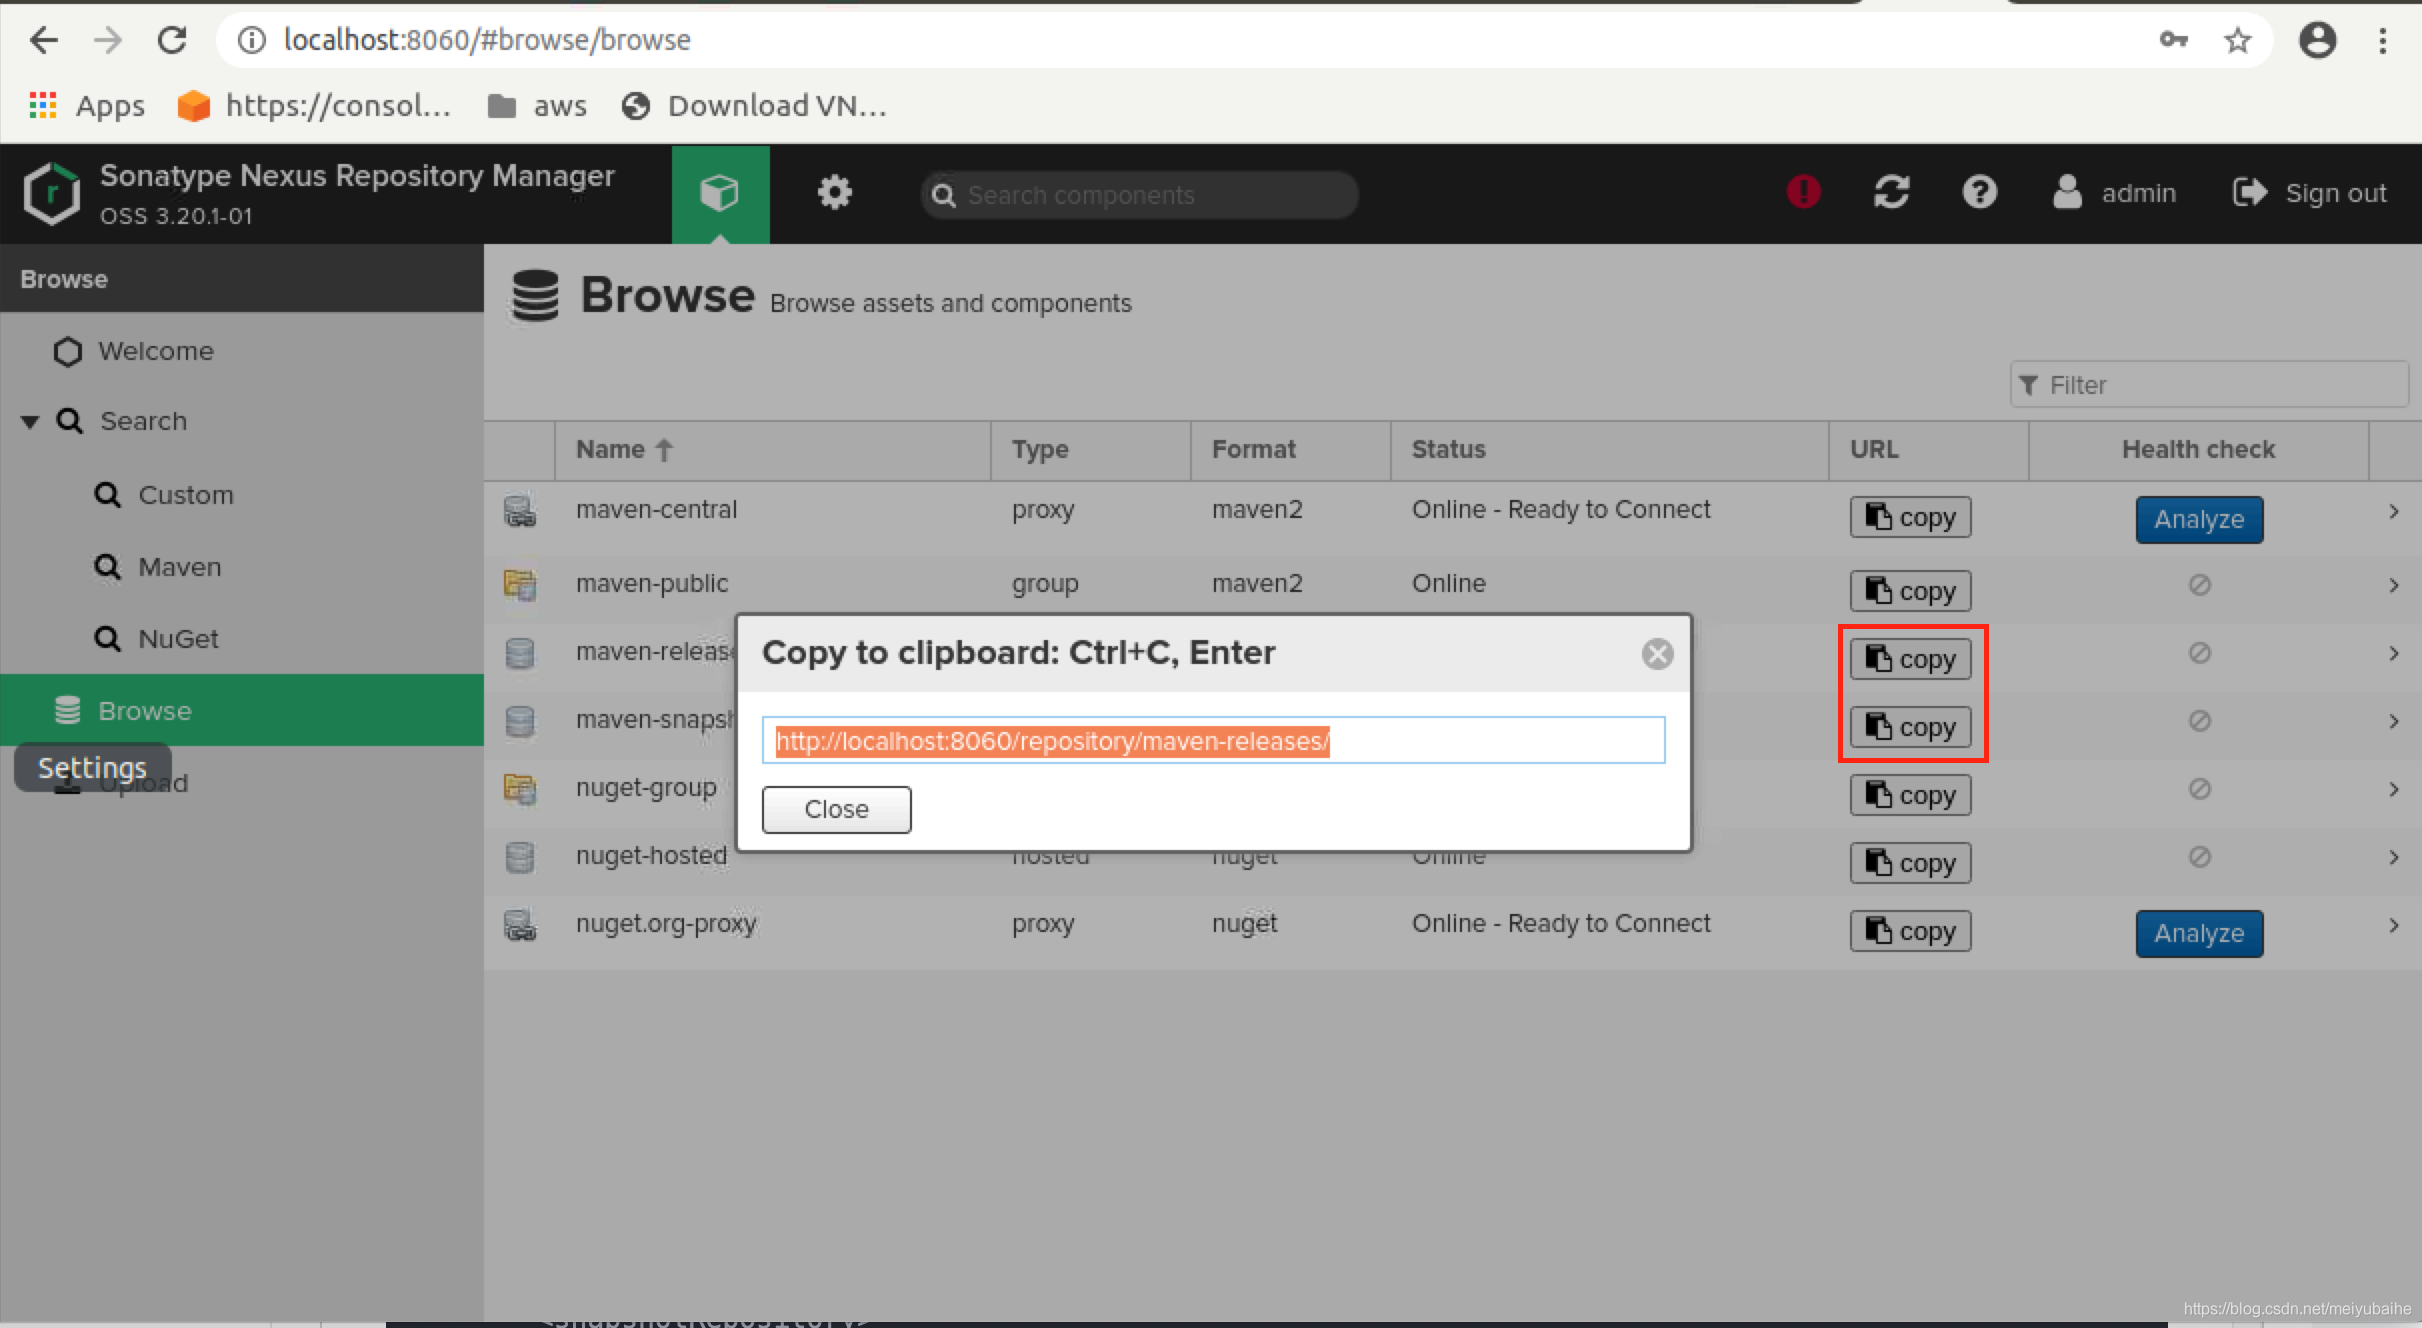
The url corresponds to the url of the release and snapshot repository on the nexus server:
   <distributionManagement>
        <repository>
            <id>releases</id>
            <name>User Project Release</name>
            <url>http://localhost:8060/repository/maven-releases/</url>
        </repository>

        <snapshotRepository>
            <id>snapshots</id>
            <name>User Project SNAPSHOTS</name>
            <url>http://localhost:8060/repository/maven-snapshots/</url>
        </snapshotRepository>
    </distributionManagement>
Execute the mvn deploy command under the root directory of the local project to package and publish the current project to nexus server: -Dmaven.test.skip=true parameter is to skip the test
4, Jinkens installation configuration
1. Installation
Mode 1: online installation
1) Execute
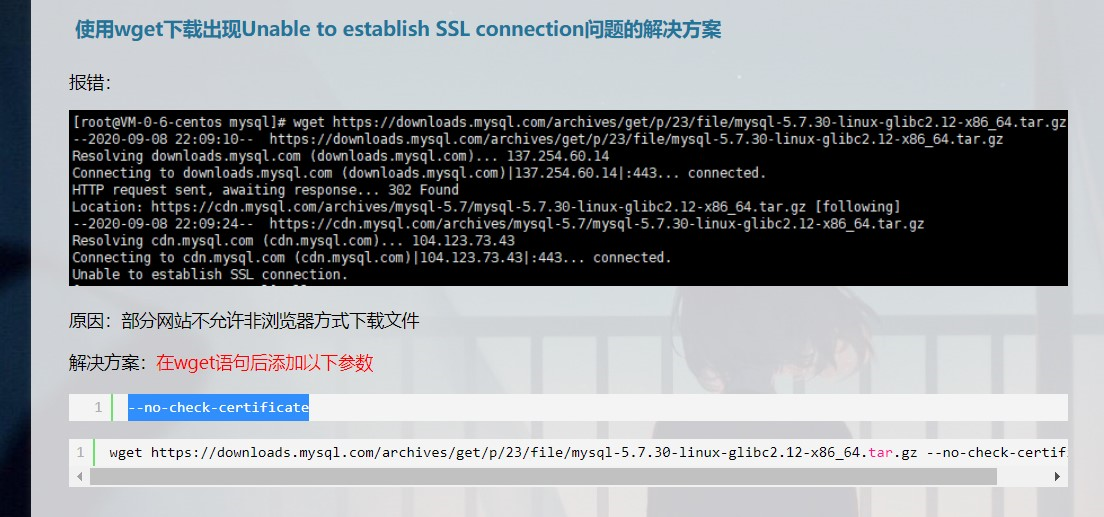
wget -O /etc/yum.repos.d/jenkins.repo http://pkg.jenkins.io/redhat-stable/jenkins.repo
report errors:
ERROR: cannot verify pkg.jenkins.io's certificate, issued by '/C=US/O=Let's Encrypt/CN=R3':
  Issued certificate has expired.
To connect to pkg.jenkins.io insecurely, use `--no-check-certificate'.
solve:
The publisher's permissions cannot be verified locally. To safely connect to GC.GNU.ORG, use "no check certificate". At this point, use the following command[ root@gaojingbo yum.repos.d]# yum install -y ca-certificates
Error reporting during execution:
solve:
Final execution order:
sudo wget -O /etc/yum.repos.d/jenkins.repo https://pkg.jenkins.io/redhat-stable/jenkins.repo–no-check-certificate
[root@VM-0-3-centos ~]#  wget -O /etc/yum.repos.d/jenkins.repo http://pkg.jenkins.io/redhat-stable/jenkins.repo --no-check-certificate
--2021-10-12 14:03:18--  http://pkg.jenkins.io/redhat-stable/jenkins.repo
Resolving pkg.jenkins.io (pkg.jenkins.io)... 151.101.110.133, 2a04:4e42:36::645
Connecting to pkg.jenkins.io (pkg.jenkins.io)|151.101.110.133|:80... connected.
HTTP request sent, awaiting response... 301 Moved Permanently
Location: https://pkg.jenkins.io/redhat-stable/jenkins.repo [following]
--2021-10-12 14:03:18--  https://pkg.jenkins.io/redhat-stable/jenkins.repo
Connecting to pkg.jenkins.io (pkg.jenkins.io)|151.101.110.133|:443... connected.
HTTP request sent, awaiting response... 200 OK
Length: 85
Saving to: '/etc/yum.repos.d/jenkins.repo'

100%[=====================================================================================>] 85          --.-K/s   in 0s

2021-10-12 14:03:19 (2.88 MB/s) - '/etc/yum.repos.d/jenkins.repo' saved [85/85]
In this way, the Jenkins file is successfully downloaded to the file we specified: / etc/yum.repos.d/jenkins.repo
2) Execution:
rpm --import https://pkg.jenkins.io/redhat-stable/jenkins.io.key
Import the key of the warehouse locally to verify the security of the warehouse;
3) Turn off the system firewall
systemctl stop firewalld
systemctl disable firewalld  :  Disable firewall startup
4) Close SELinux ("SELinux's main function is to minimize the resources accessible by the service process in the system (minimum permission principle)")
Edit file:
vi /etc/sysconfig/selinux
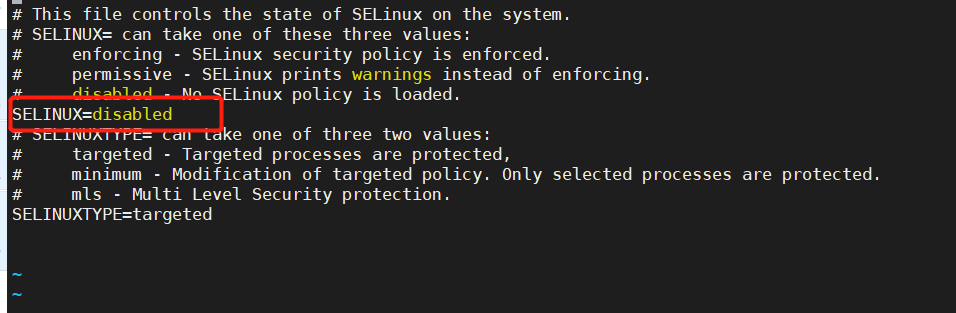
Set to disable, save and exit
reboot restart the server;
Check whether SELIUNX is disabled:

5) Execute the installation command:
[root@VM-0-3-centos ~]# yum install jenkins -y
6) After installation, modify the configuration, such as user name and port. If it is not necessary, you can skip this step
Under the path / etc/sysconfig/jenkins, find the configuration file and open the modification
Note: the jenkins file may not be found locally, so open it with vi (I've met it, see you)
cd /etc/sysconfig
vi jenkins
After opening, edit the information you need. Here, take modifying the user name and port as an example
JENKINS_USER="root"
JENKINS_PORT="8888"
Mode 2: (suitable for offline installation)
Because jinkens is written in java, it can be directly executed in tomcat:
1) Install tomcat
Download the tomcat compressed package from the tomcat official website. Version 8.5.55 is used here
https://tomcat.apache.org/download-80.cgi
https://mirror.bit.edu.cn/apache/tomcat/tomcat-8/v8.5.55/bin/apache-tomcat-8.5.55.tar.gz
$ tar -zxvf apache-tomcat-8.5.55.tar.gz -C ~/
Move the extracted apache-tomcat-8.5.55 directory to Jenkins Tomcat server:
$ mv ~/apache-tomcat-8.5.55/ ~/jenkins-tomcat-server/
Start tomcat server
$ cd ~/jenkins-tomcat-server/bin
$ ./startup.sh
Using CATALINA_BASE:   /Users/****/jenkins-tomcat-server
Using CATALINA_HOME:   /Users/****/jenkins-tomcat-server
Using CATALINA_TMPDIR: /Users/****/jenkins-tomcat-server/temp
Using JRE_HOME:        /Library/Java/JavaVirtualMachines/jdk-12.0.1.jdk/Contents/Home
Using CLASSPATH:       /Users/****/jenkins-tomcat-server/bin/bootstrap.jar:/Users/****/jenkins-tomcat-server/bin/tomcat-juli.jar
Tomcat started.
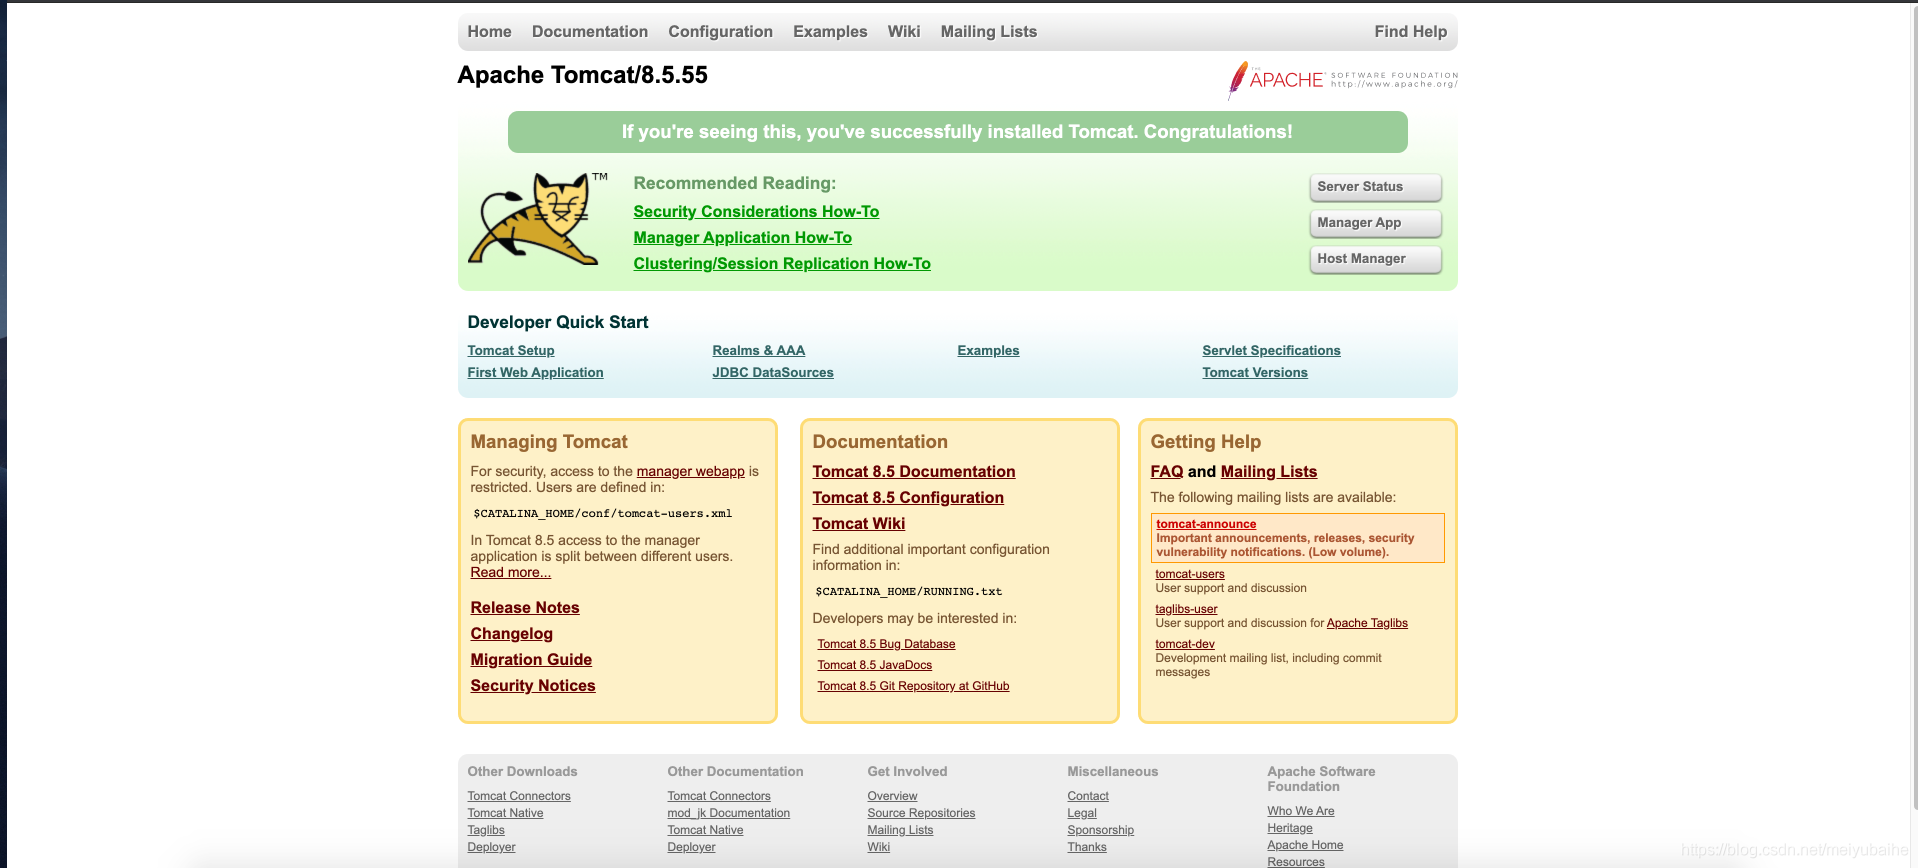
Open browser access http://127.0.0.1:8080/ , the following page appears, indicating that the server is started successfully
Execute. / shutdown.sh to shut down the tomcet server
2) Jenkins is installed in the way of war package. The download address of war package is:
http://mirrors.jenkins.io/war-stable/2.222.4/

Other versions of war packages can be downloaded from the following address:
http://mirrors.jenkins.io/war-stable/
After downloading, copy jenkins.war to ~ / Jenkins Tomcat server / webapps Directory:
$ cp ~/Downloads/jenkins.war ~/jenkins-tomcat-server/webapps/
Start tomcat server again
$ cd ~/jenkins-tomcat-server/bin
$ ./startup.sh
Using CATALINA_BASE:   /Users/****/jenkins-tomcat-server
Using CATALINA_HOME:   /Users/****/jenkins-tomcat-server
Using CATALINA_TMPDIR: /Users/****/jenkins-tomcat-server/temp
Using JRE_HOME:        /Library/Java/JavaVirtualMachines/jdk-12.0.1.jdk/Contents/Home
Using CLASSPATH:       /Users/****/jenkins-tomcat-server/bin/bootstrap.jar:/Users/****/jenkins-tomcat-server/bin/tomcat-juli.jar
Tomcat started.
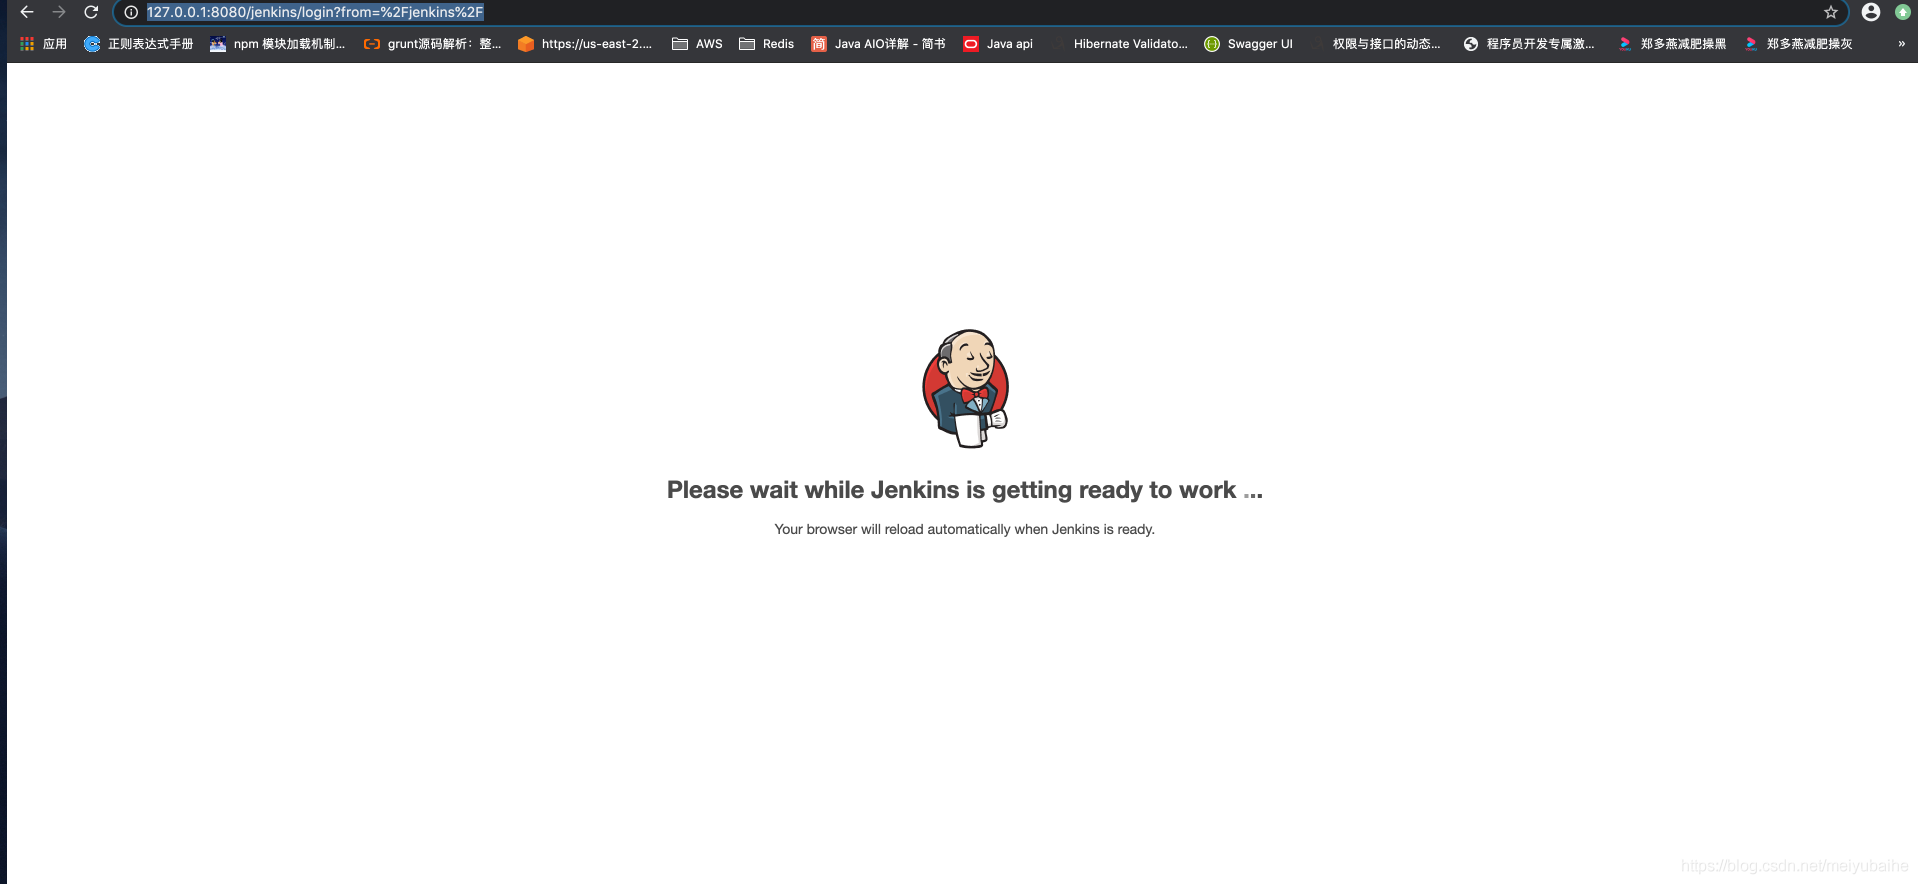
Open browser access http://127.0.0.1:8080/jenkins The following page appears, indicating that jenkins server is started successfully
3) Plug ins required for offline installation
jenkins plug-in installation
- jenkins needs to install some extensions to meet the work needs. However, due to the intranet installation, it can not be installed online, and the offline package installation has dependency problems, which is troublesome
- The quick installation method packages the installed
- Installation package path
Link: https://pan.baidu.com/s/1RXd_PThghwmfN8QK7vh14Q
Extraction code: b3my - After closing tomcat, unzip it and put it under / root
- Restart tomcat with the username and password admin/admin
- Installation package path
2. Start Jinkens
systemctl start jenkins
No response found: use sudo service jenkins start
lsof -i:8080

Input http://jenkins.example.com:8080/ Enter the installation wizard interface
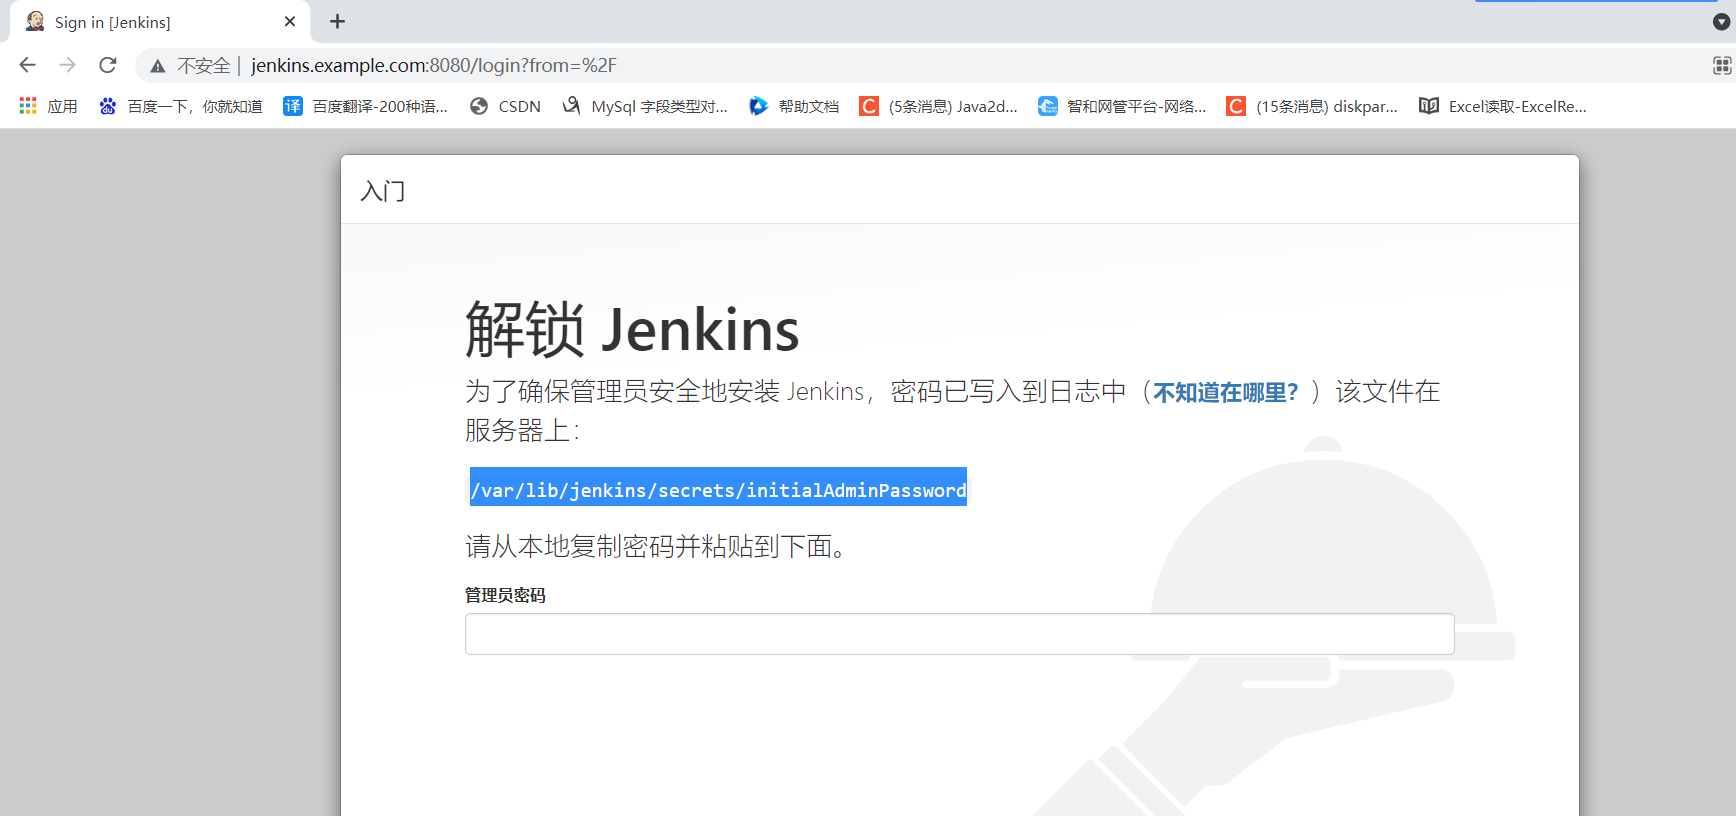
Copy path, view in xshell:

This is the initial password of the administrator;
Enter password to enter:
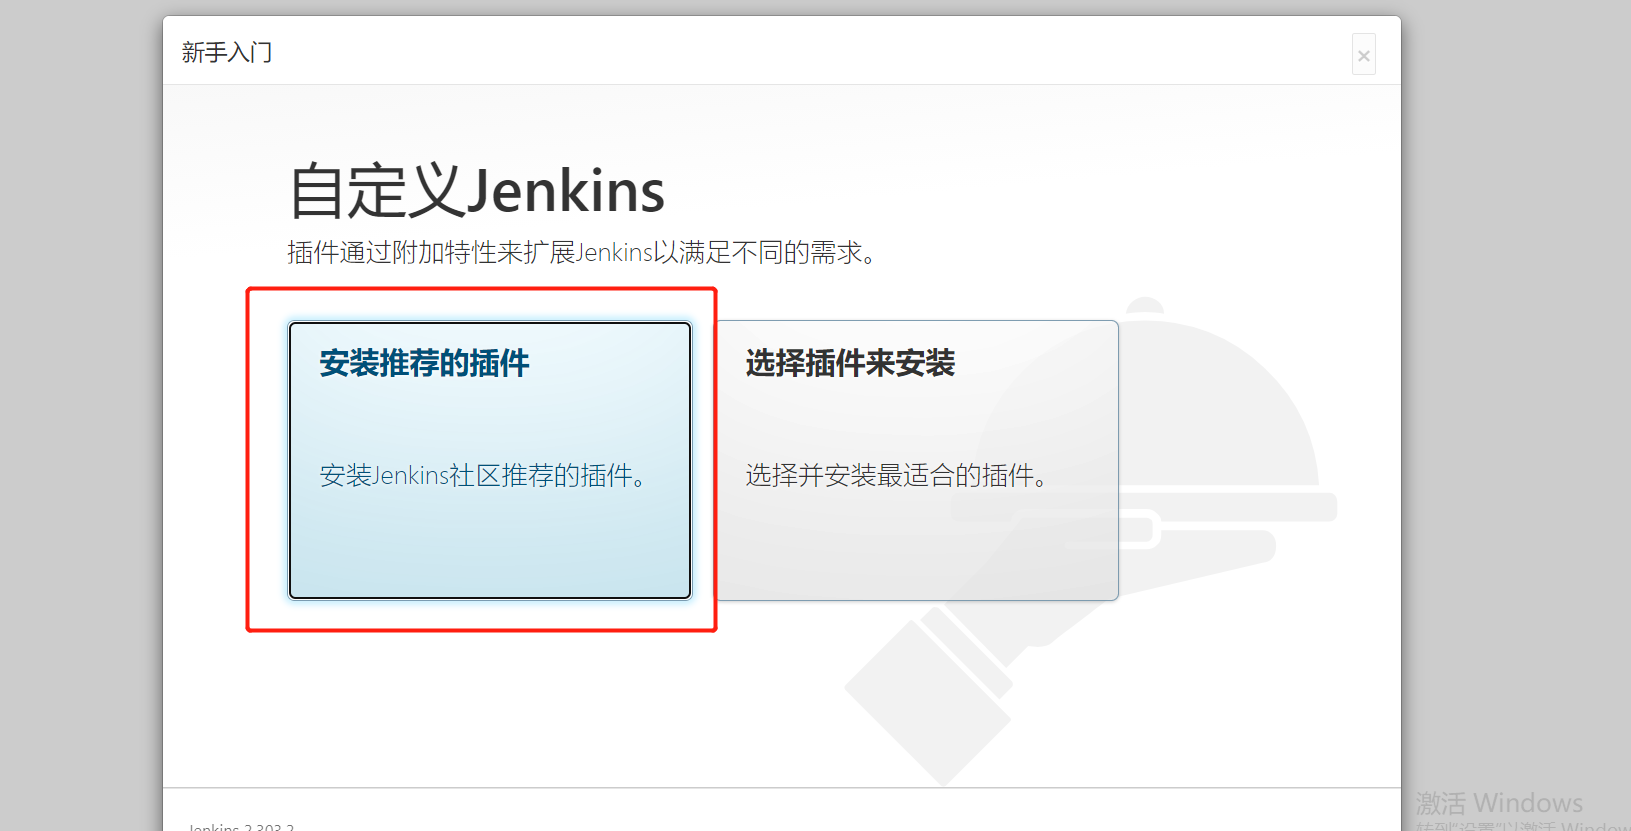
Select Install recommended plug-ins:
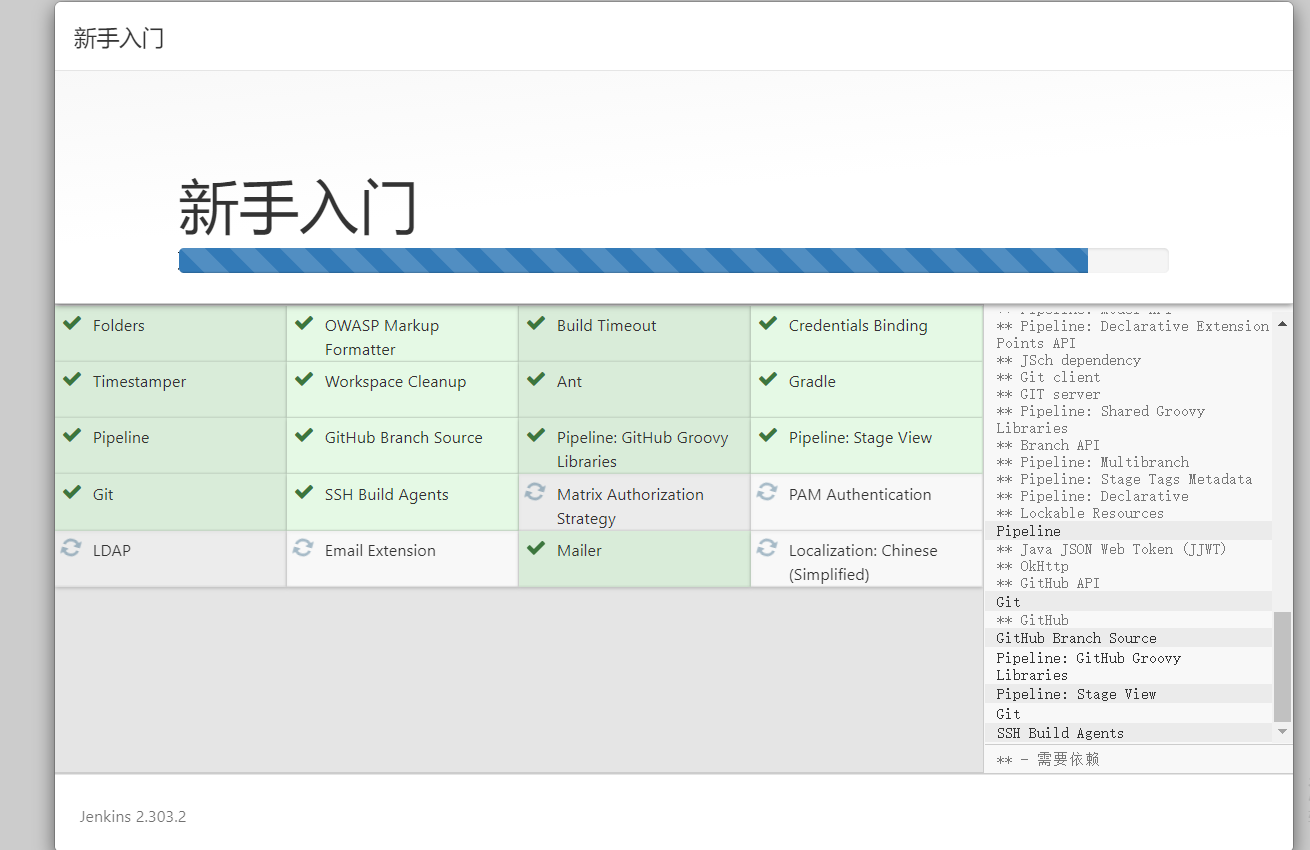
After the plug-in installation is completed, create an administrator user:
Currently set to: admin admin
As for how to use Jinkens to realize packaging and publishing, including deb packaging, please refer to your own private notes;
Reference article: https://blog.csdn.net/meiyubaihe/article/details/106506888