preface
Our last article introduced the Servlet request and response interface. In this article, I will introduce the simulation of the educational administration system based on the current knowledge. Its functions include user registration, user logout, user information modification and user query. It will use the knowledge of JDBC, DAO and entity class encapsulation, HTML forms and request and response objects.
1, Development steps
-
Create user information table t_users.frm. The fields in the table include user number (userId), user name (username), password (password), gender (sex) and native place (location)
-
Create a table under package Entity t_ Corresponding Entity class of users
-
Create a DBUtil tool class under the package Util to simplify database programming
-
Encapsulate DAO classes for table operations under package DAO
-
Create relevant web pages to complete the function of submitting data to the server
-
Write relevant Servlet classes under package Controller to complete the data interaction between the front end and the back end
2, Concrete implementation
1. Establish t_users table
-
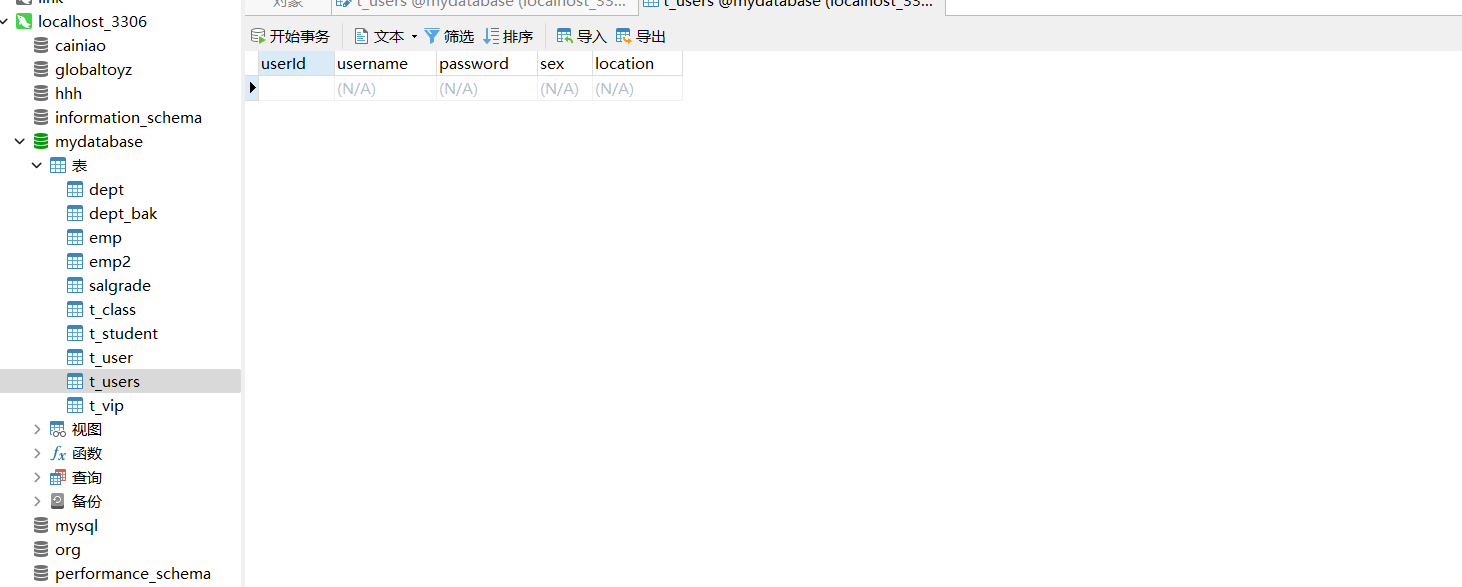
Open Navicat and create a new table under the database MyDataBase
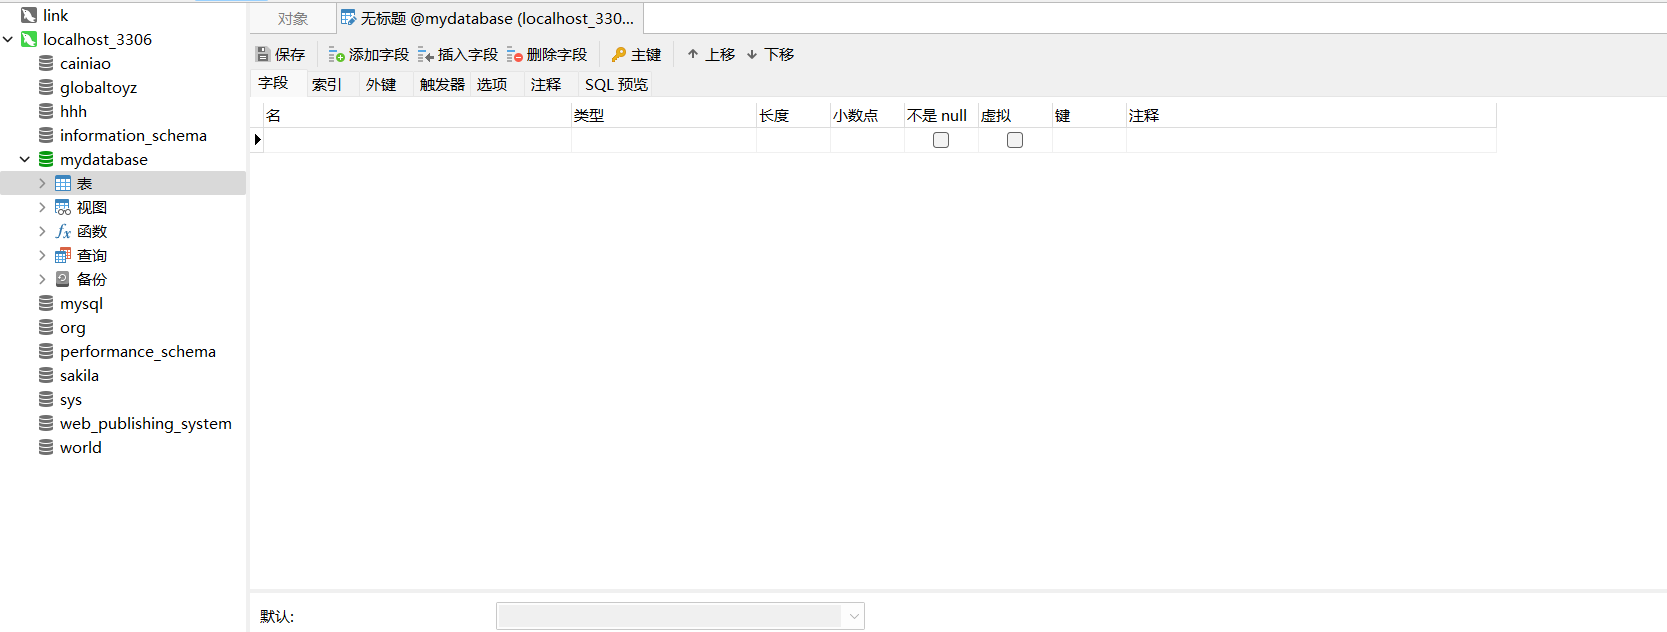
-
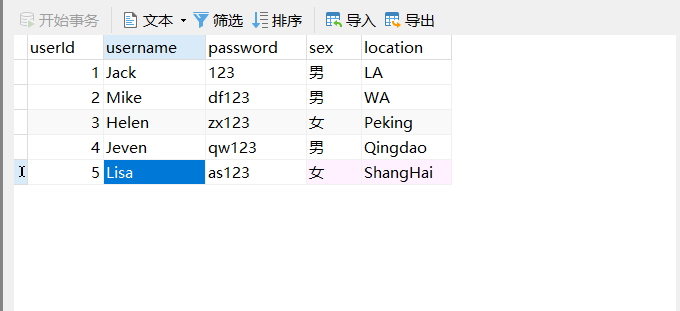
Add five fields: userId, username, password, sex and location to the new table. Set the userId field as the primary key
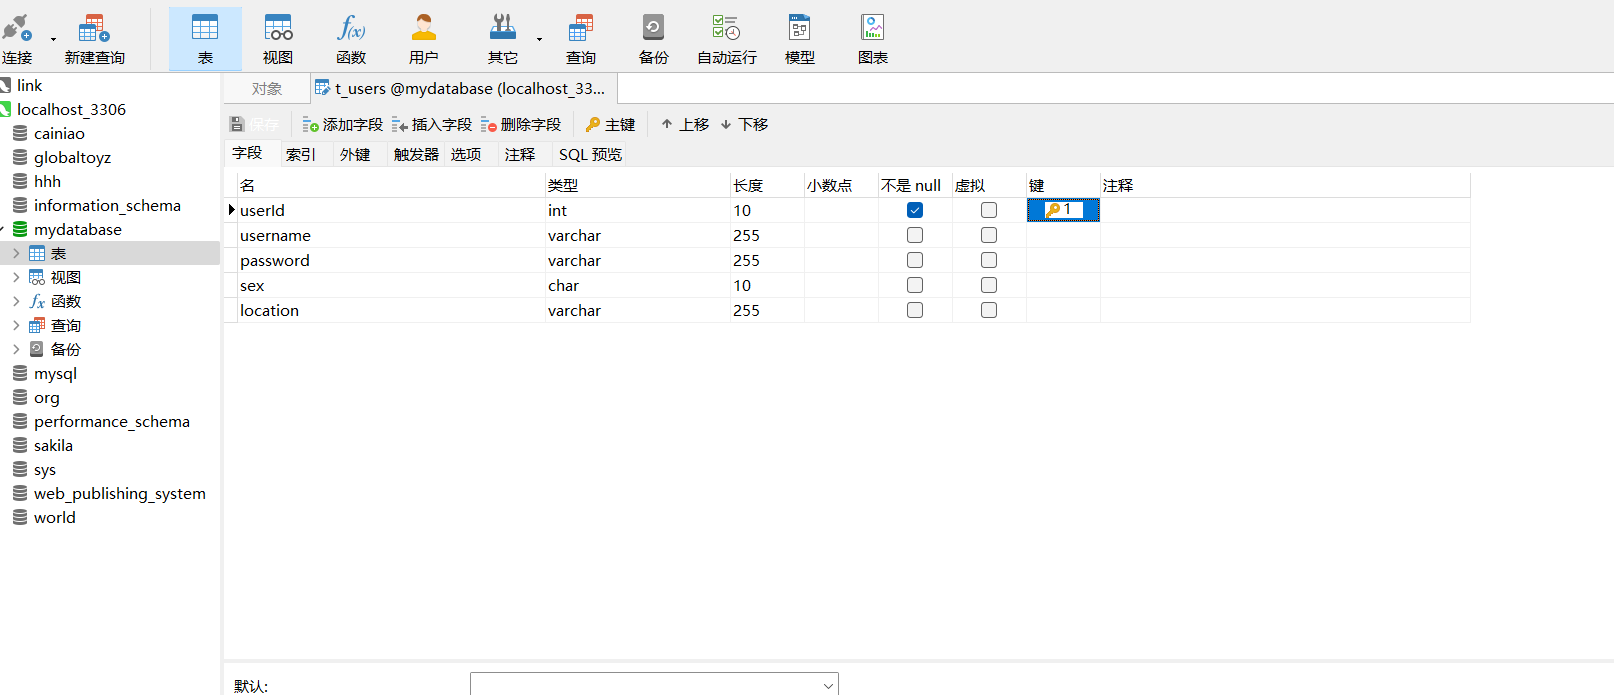
-
Name this one t_users, note that you need to add a primary key to complete the creation of the table
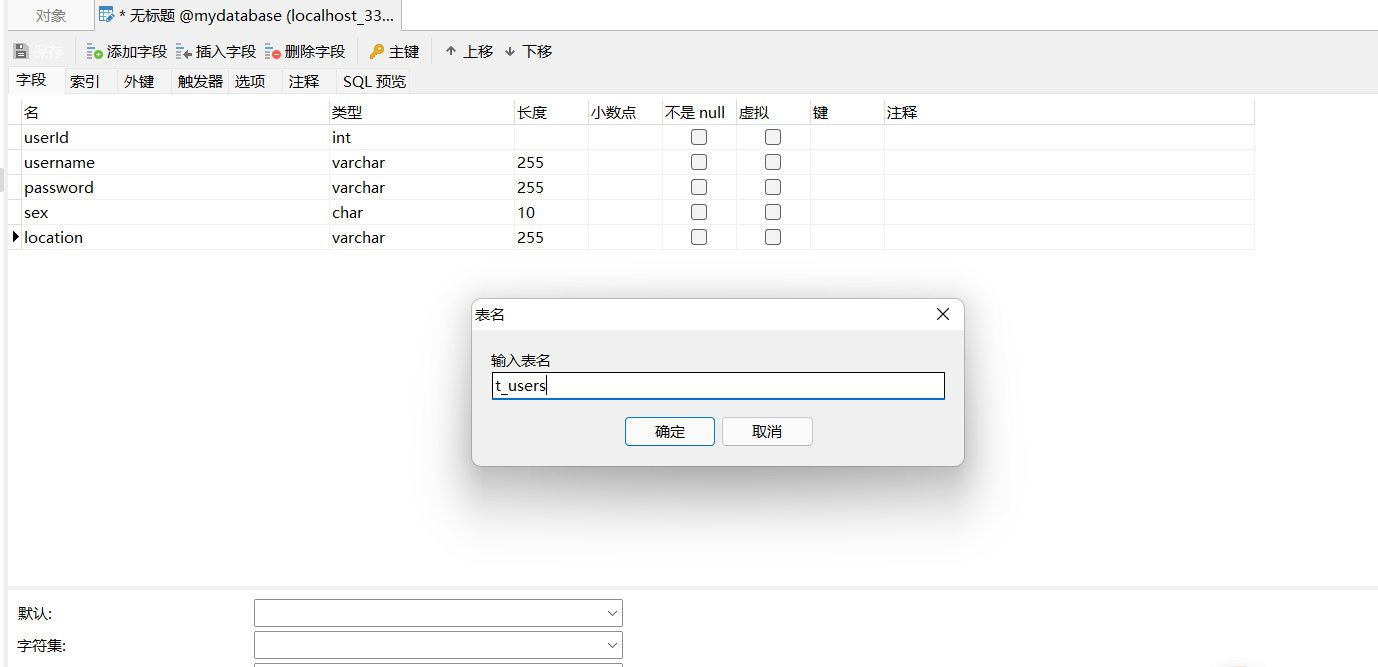
-
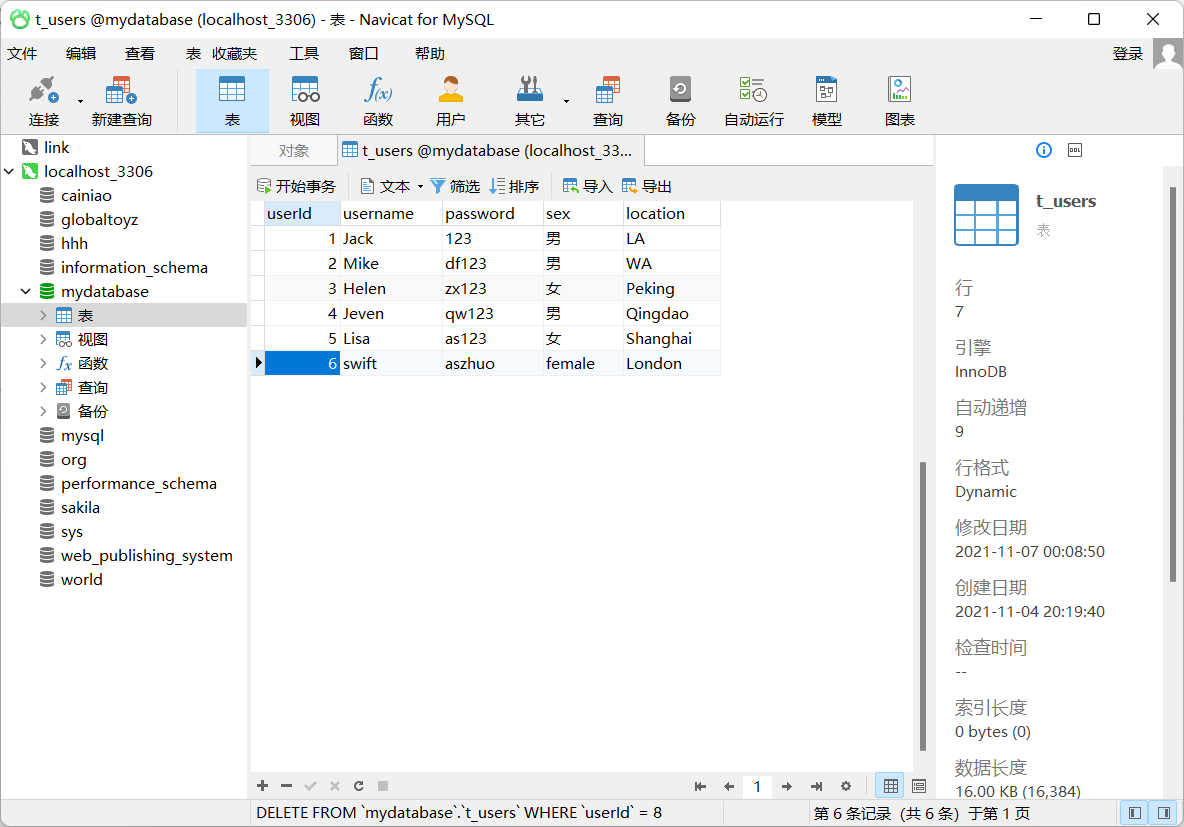
After creating this table, double-click the table in the sidebar to open it, as shown in the figure below. We can add data to the table on this page
-
Add the following five data to the table. Remember to click the check mark below after adding a row of data. Save the data added to this row before adding the next row of data
2. Create t_ Entity class of users table
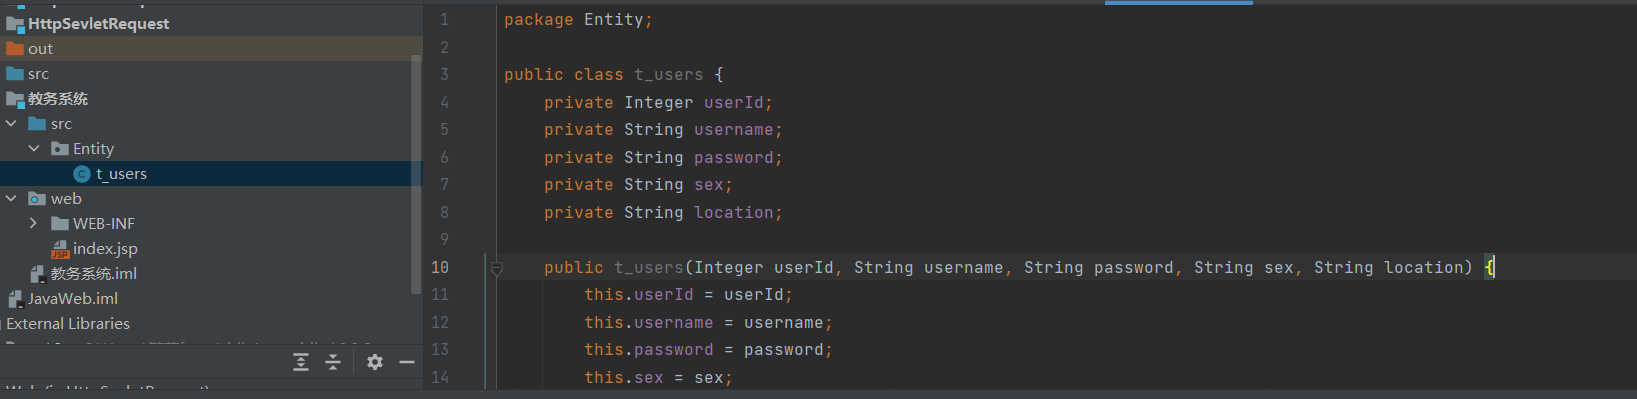
t_ The users Entity class is equivalent to t_ The users.frm table file corresponds to the mapping in Java code. We're at t_ The attribute in the users Entity class corresponds to t_ Fields in the users table, and provide getter s and setter s and construction methods externally. Remember, t_ The users Entity class should be placed under the Entity package.
package Entity;

public class t_users {
    private Integer userId;
    private String username;
    private String password;
    private String sex;
    private String location;

    public t_users(Integer userId, String username, String password, String sex, String location) {
        this.userId = userId;
        this.username = username;
        this.password = password;
        this.sex = sex;
        this.location = location;
    }

    public Integer getUserId() {
        return userId;
    }

    public String getUsername() {
        return username;
    }

    public String getPassword() {
        return password;
    }

    public String getSex() {
        return sex;
    }

    public void setUserId(Integer userId) {
        this.userId = userId;
    }

    public void setUsername(String username) {
        this.username = username;
    }

    public void setPassword(String password) {
        this.password = password;
    }

    public void setSex(String sex) {
        this.sex = sex;
    }

    public void setLocation(String location) {
        this.location = location;
    }

    public String getLocation() {
        return location;
    }
}
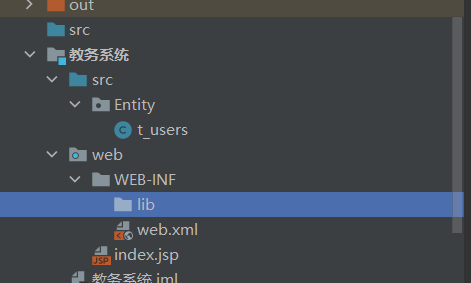
3. Create lib directory under WEB-INF and introduce JDBC jar package
- Under WEB-INF, create a new lib directory
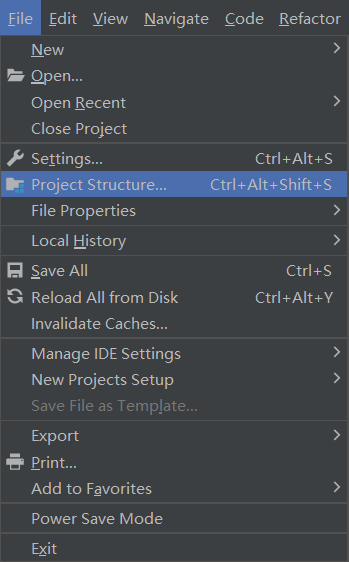
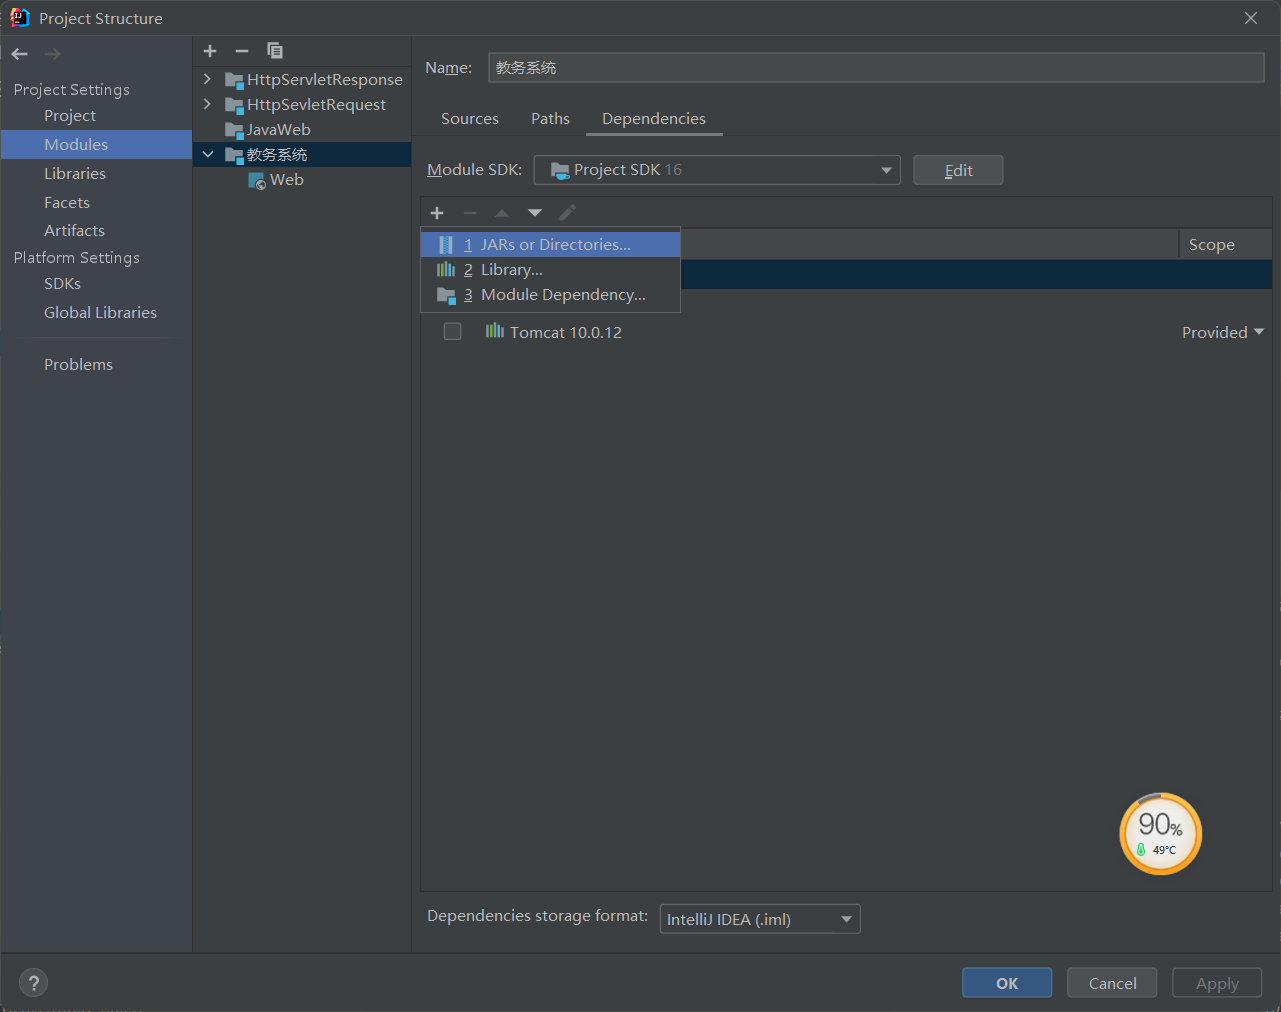
- Click File - > project structure - > modules - > dependencies
- Click the + sign below, and then click 1 JARS or Directions
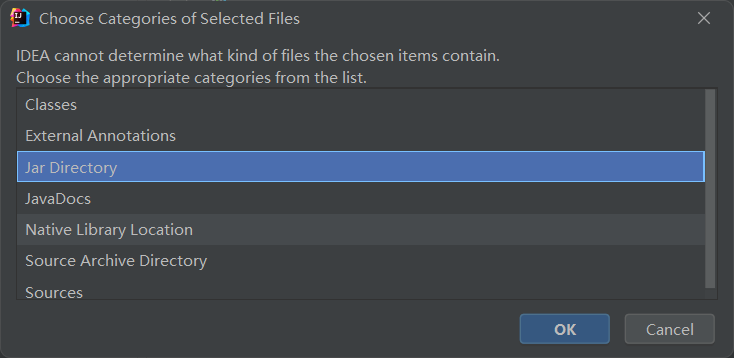
- Then find the lib folder we just created

- Then select Jar Directory and click OK
- After configuration, we can find the jar package of JBDC, copy it, and then paste it in the lib directory
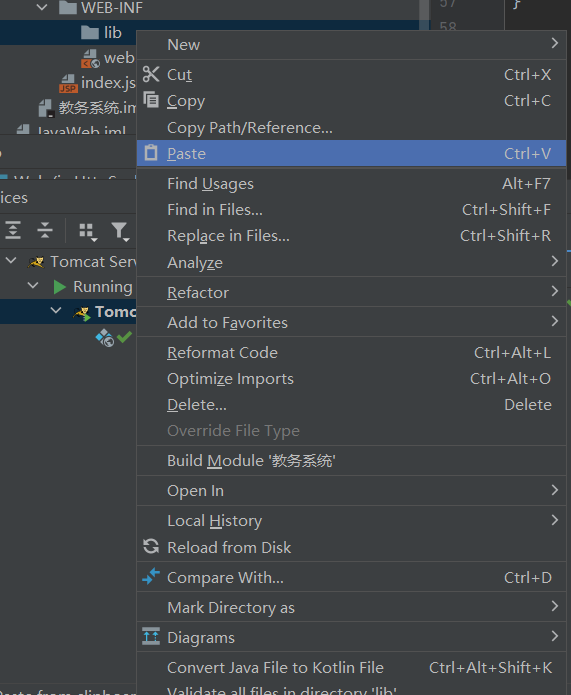
- Click Paste and the following words will appear
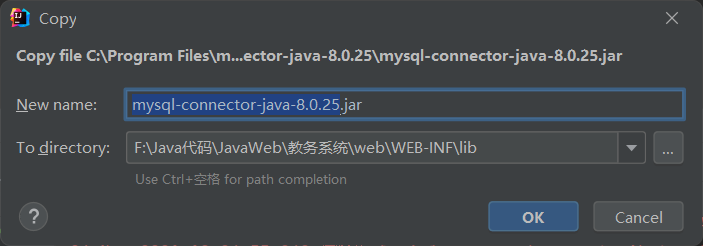
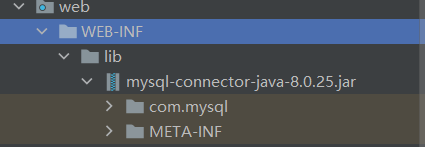
- After importing the jar package, the structure under lib is as shown in the figure
4. Encapsulate Java DBUtil tool class
As we have said before, operations that require three or more steps in the development step should be encapsulated to simplify the complexity of the operation. We know that JDBC connecting to the database requires six steps, which is cumbersome, so we need to package the DBUtil tool class under the Utility package to simplify the development of JDBC.
package Utility;

import java.io.IOException;
import java.sql.*;
import java.util.Properties;
import java.util.ResourceBundle;


public class DBUtil {

    private static String driver;
    private static String url;
    private static String username;
    private static String password;
    private static Connection conn = null;
    private static PreparedStatement ps = null;
    static {
        try {
            ResourceBundle rb = ResourceBundle.getBundle("db");
            driver = rb.getString("driver");
            url = rb.getString("url");
            username = rb.getString("username");
            password = rb.getString("password");
            Class.forName(driver);
        } catch (ClassNotFoundException e) {
            e.printStackTrace();
        }
    }
    public static Connection getConnection() {
        try {
            conn = DriverManager.getConnection(url, username, password);
        } catch (SQLException e) {
            e.printStackTrace();
        }
        return conn;
    }
    public static void close(Connection conn, PreparedStatement ps, ResultSet rs)  {
        if (ps != null) {
            try {
                ps.close();
            } catch (SQLException e) {
                e.printStackTrace();
            }
        }
        if (conn != null) {
            try {
                conn.close();
            } catch (SQLException e) {
                e.printStackTrace();
            }
        }
        if (rs != null) {
            try {
                rs.close();
            } catch (SQLException e) {
                e.printStackTrace();
            }
        }
    }

}
The database configuration file db.properties can be directly placed in the src directory, as shown in the following figure
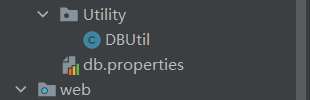
The diagram of DBUtil tool class is as follows

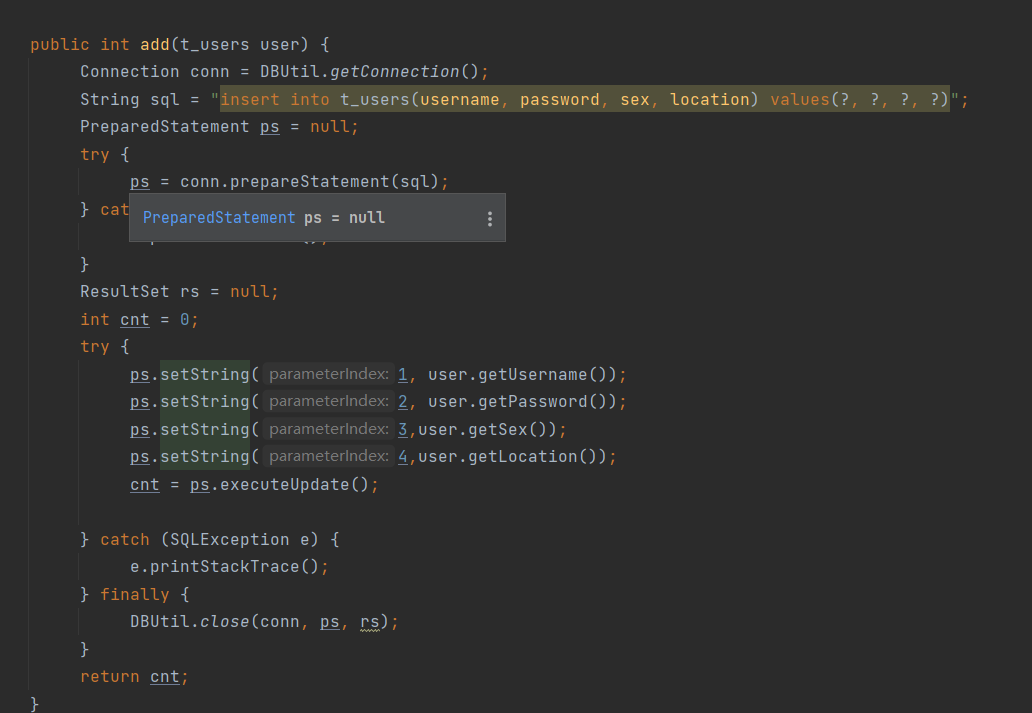
5. Create t_ DAO class for users
t_users' DAO class encapsulates the database table t through JDBC_ Users' addition, deletion, modification and other operations are also equivalent to simplifying the code and simplifying the operation steps, which is convenient to call in the Servlet class.
- Adding data to a table
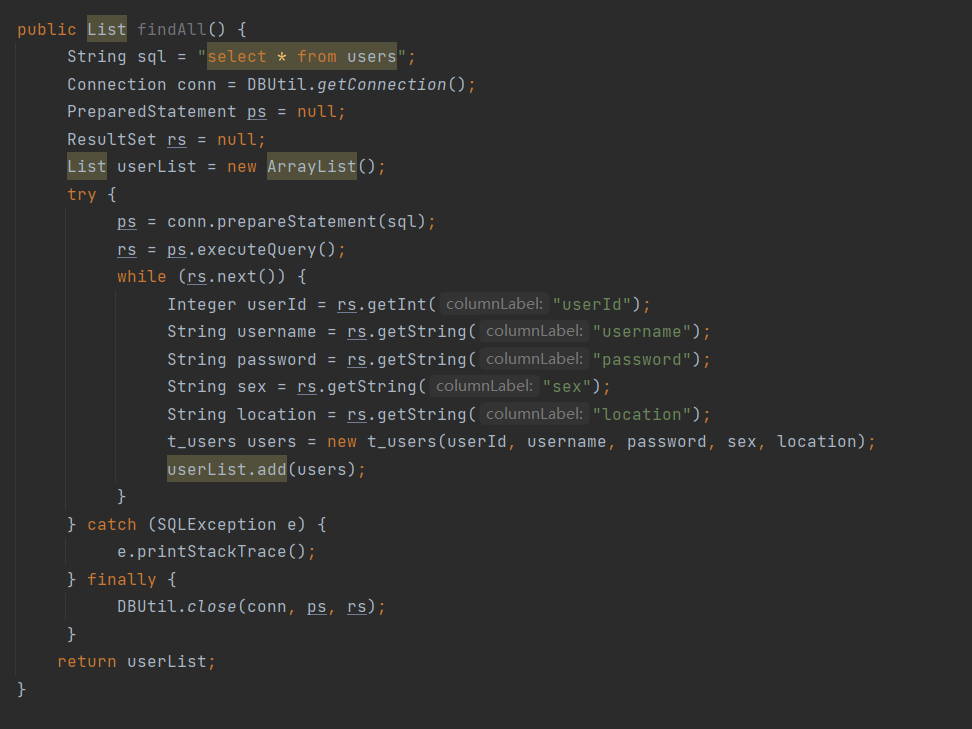
- Query all data in the table and store the data in the LIst set
- Delete data in table
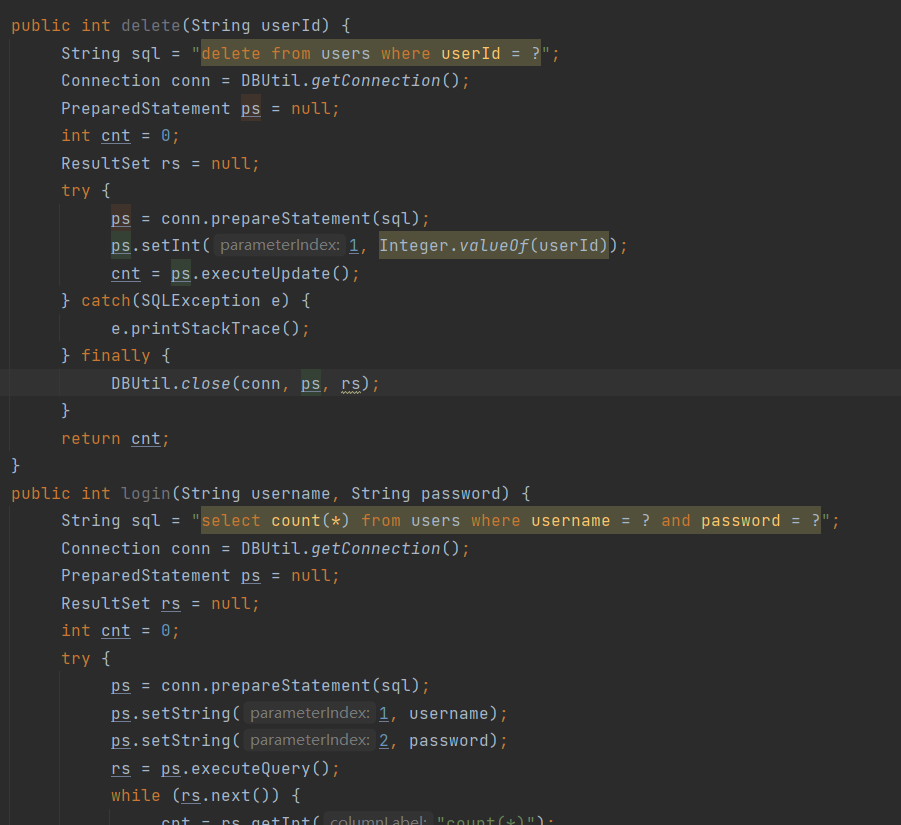
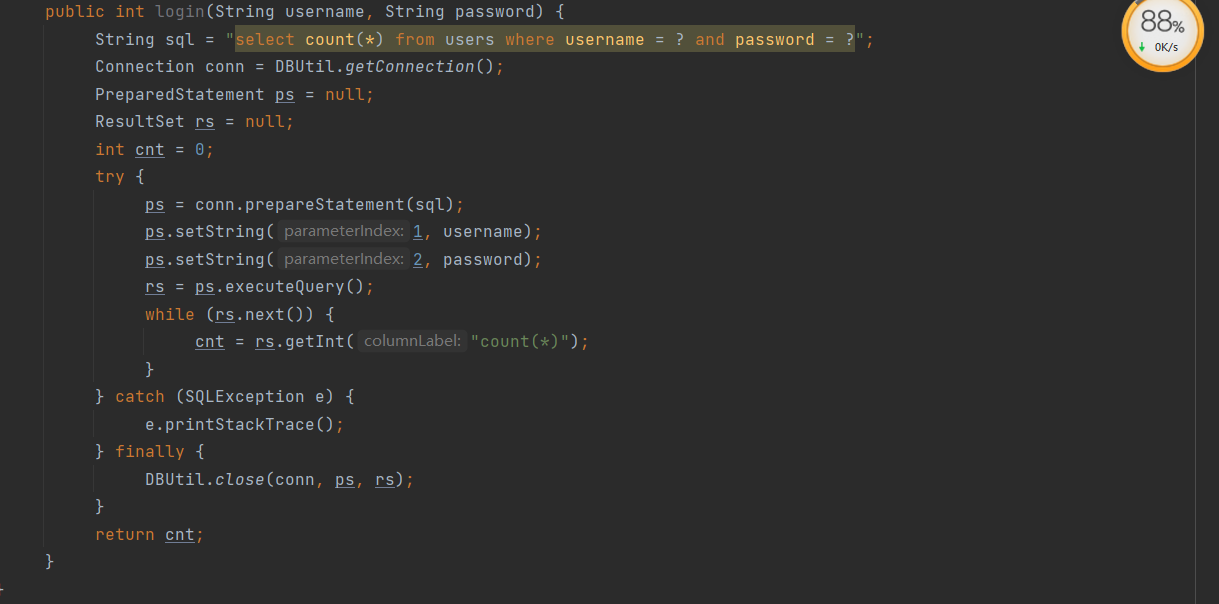
- validate logon
6. Create web pages
The essential task we need to complete for the educational administration system is the database interaction from the front end to the back end. We have completed the part of manipulating the database with Java code. The next thing we need to complete is the client sending the request and the server processing the request. Sending the request is the operation corresponding to the HTML web page. Let's see how to operate.
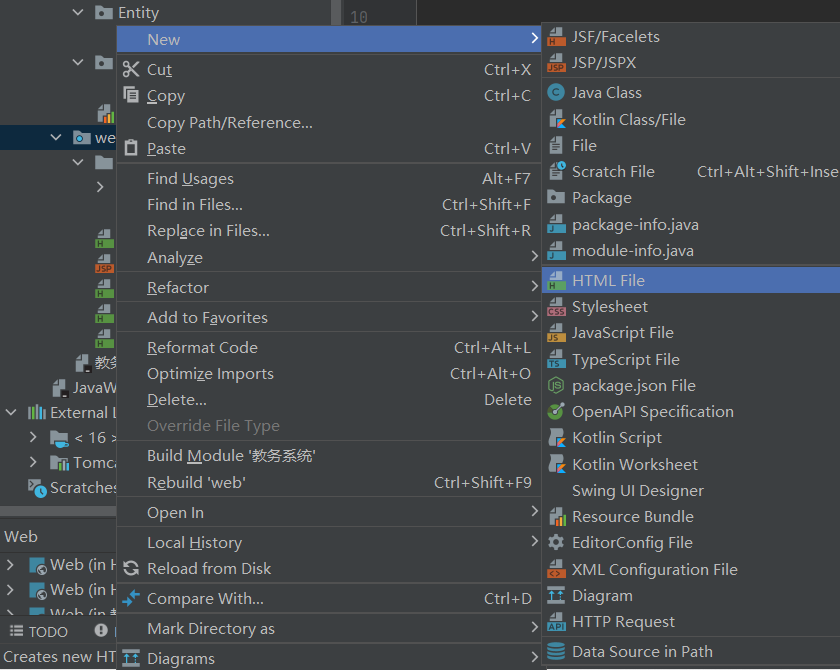
- In the web directory, create a new HTML File. Note that it is created under the web instead of under the WEB-INF directory
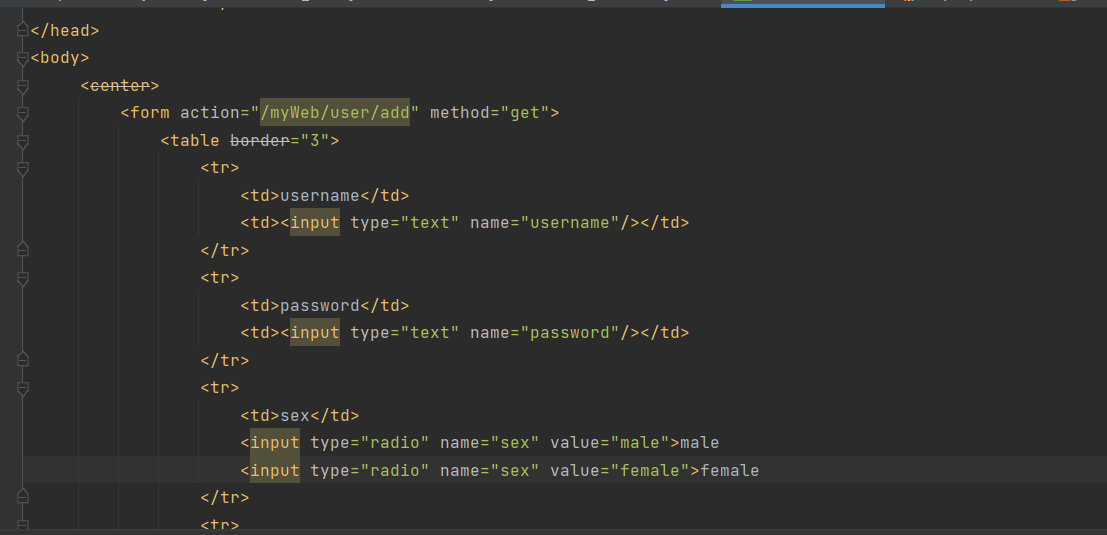
- Create a userAdd page to provide the database with the data to be added
<!DOCTYPE html>
<html lang="en">
<head>
    <meta charset="UTF-8">
    <title>userAdd</title>
</head>
<body>
     <center>
         <form action="/myWeb/user/add" method="get">
             <table border="3">
                 <tr>
                     <td>username</td>
                     <td><input type="text" name="username"/></td>
                 </tr>
                 <tr>
                     <td>password</td>
                     <td><input type="text" name="password"/></td>
                 </tr>
                 <tr>
                     <td>sex</td>
                     <td>
                         <input type="radio" name="sex" value="male">male
                         <input type="radio" name="sex" value="female">female
                     </td>
                 </tr>
                 <tr>
                     <td>location</td>
                     <td><input type="text" name="location"/></td>
                 </tr>
                 <tr>
                     <td><input type="submit" value="submit"></td>
                     <td><input type="reset" value="reset"></td>
                 </tr>
             </table>

         </form>
     </center>
</body>
</html>
The path in action is written as / myWeb/user/add. Later, we will modify it when we create the Servlet class
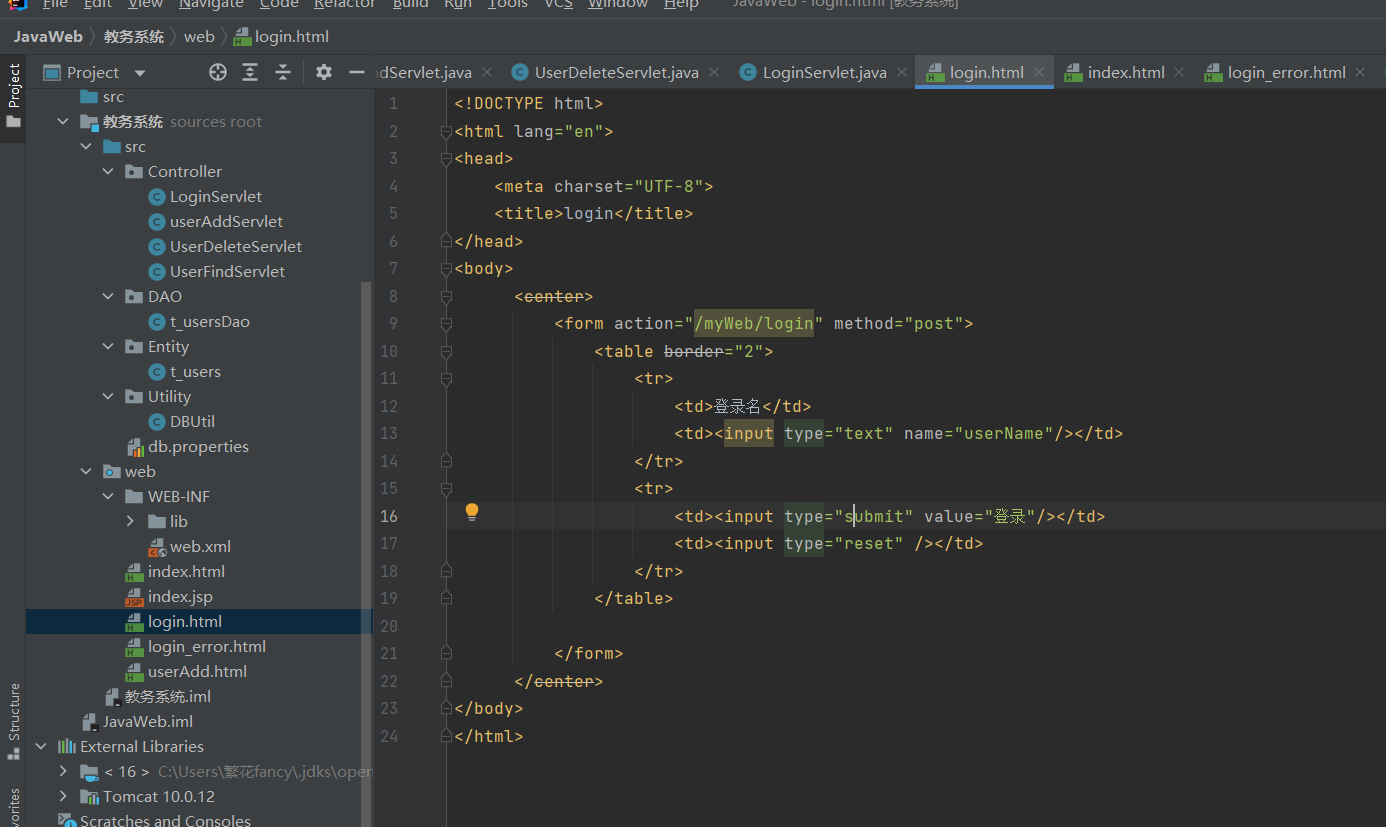
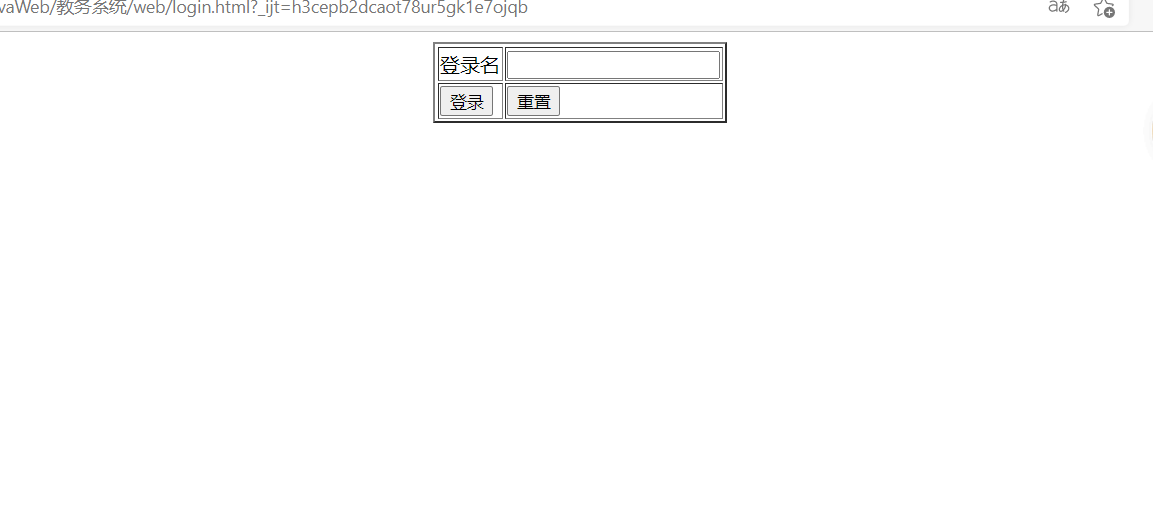
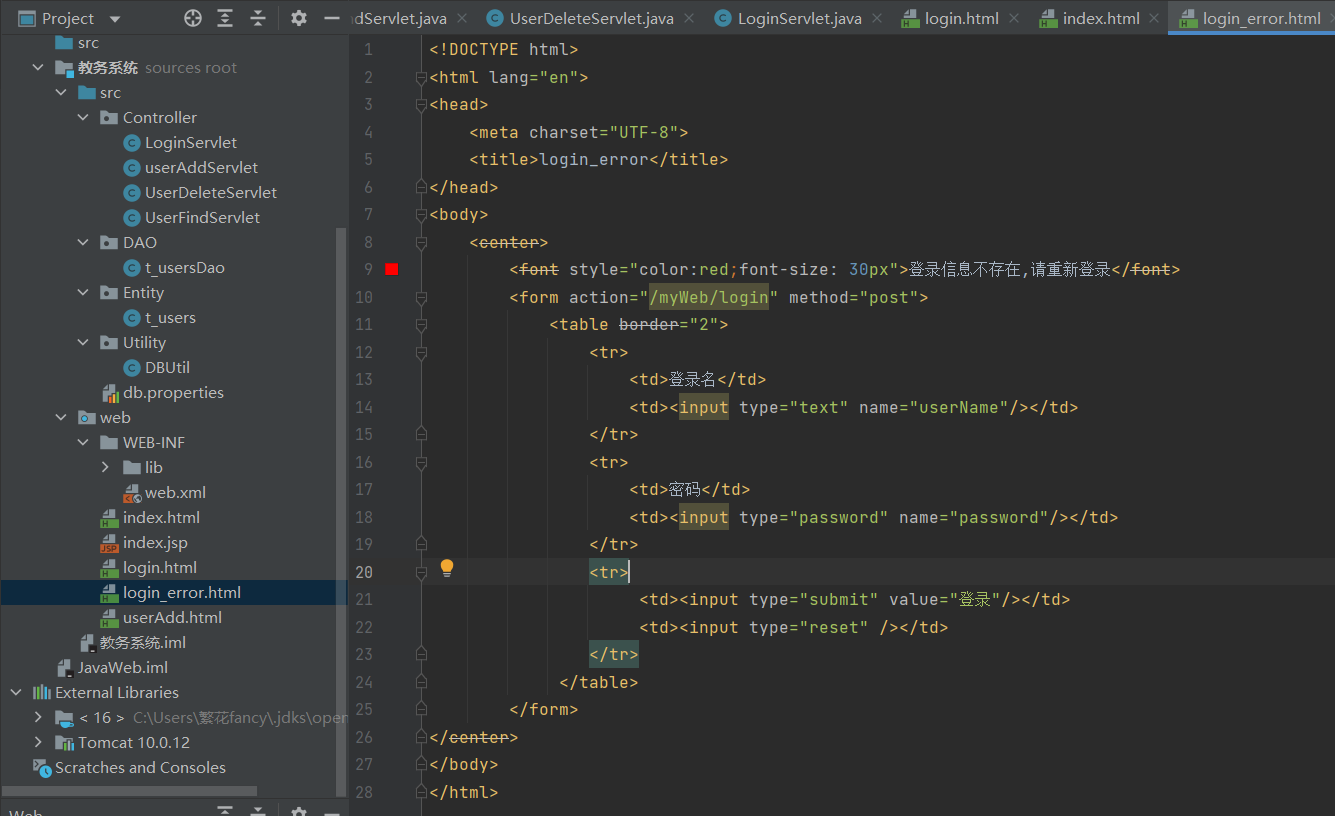
3. Create login.html and login_error.html represents the login interface and the interface to which login fails to complete login verification
<!DOCTYPE html>
<html lang="en">
<head>
    <meta charset="UTF-8">
    <title>login</title>
</head>
<body>
      <center>
          <form action="/myWeb/login" method="post">
              <table border="2">
                  <tr>
                      <td>Login name</td>
                      <td><input type="text" name="userName"/></td>
                  </tr>
                  <tr>
                      <td><input type="submit" value="Sign in"/></td>
                      <td><input type="reset" /></td>
                  </tr>
              </table>

          </form>
      </center>
</body>
</html>
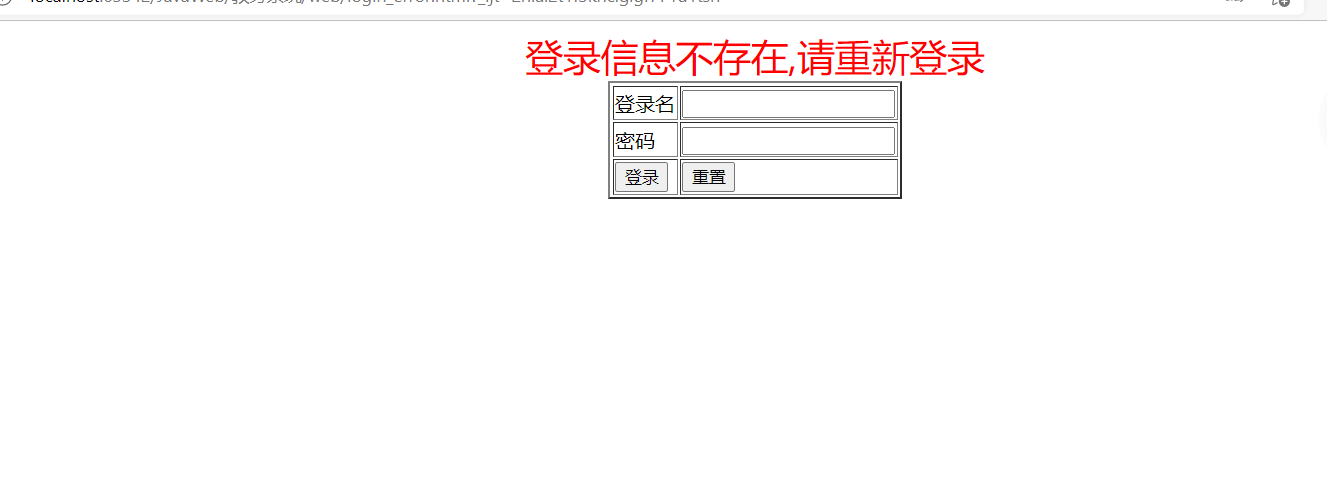
<!DOCTYPE html>
<html lang="en">
<head>
    <meta charset="UTF-8">
    <title>login_error</title>
</head>
<body>
    <center>
        <font style="color:red;font-size: 30px">Login information does not exist,Please log in again</font>
        <form action="/myWeb/login" method="post">
            <table border="2">
                <tr>
                    <td>Login name</td>
                    <td><input type="text" name="userName"/></td>
                </tr>
                <tr>
                    <td>password</td>
                    <td><input type="password" name="password"/></td>
                </tr>
                <tr>
                     <td><input type="submit" value="Sign in"/></td>
                     <td><input type="reset" /></td>
                </tr>
             </table>
        </form>
</center>
</body>
</html>
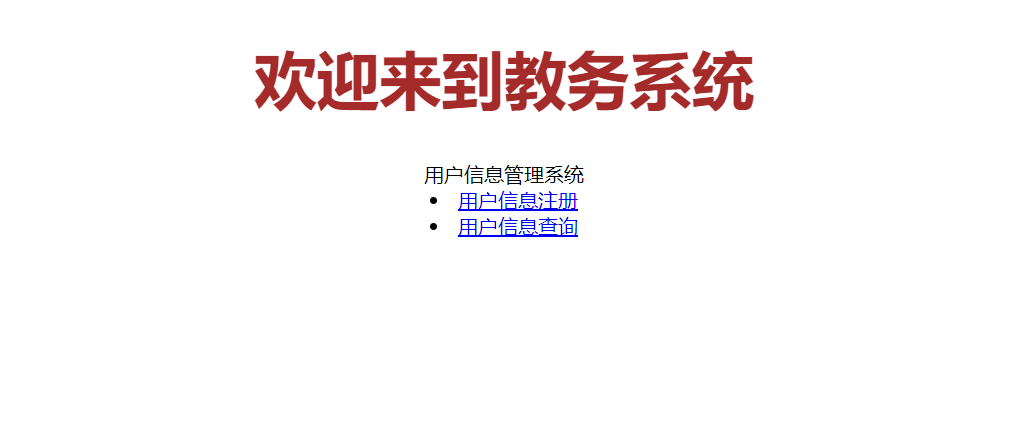
- Create index.html as the home page of the website, which has two links - user query and user registration. We click the relevant links to jump to the corresponding operation interface, in which the user query includes the operation of deleting user data
<!DOCTYPE html>
<html lang="en">
<head>
    <meta charset="UTF-8">
    <title>index</title>
    <style>
        h1 {
            font-size : 50px;
            color: brown;
        }
    </style>
</head>
<body>
    <center>
        <h1>Welcome to the educational administration system</h1>

        <div>User information management system</div>
        <div> <li><a href="/myWeb/userAdd.html" target="_self">User information registration</a></li></div>
        <div> <li><a href="/myWeb/user/find" target="_self">User information query</a></li></div>

    </center>
</body>
</html>
7. Write relevant Servlet classes under package Controller
We provide data to the server through HTML pages. We need the corresponding Servlet class to obtain the value of the submitted data through the request request object and return the data through the response response object
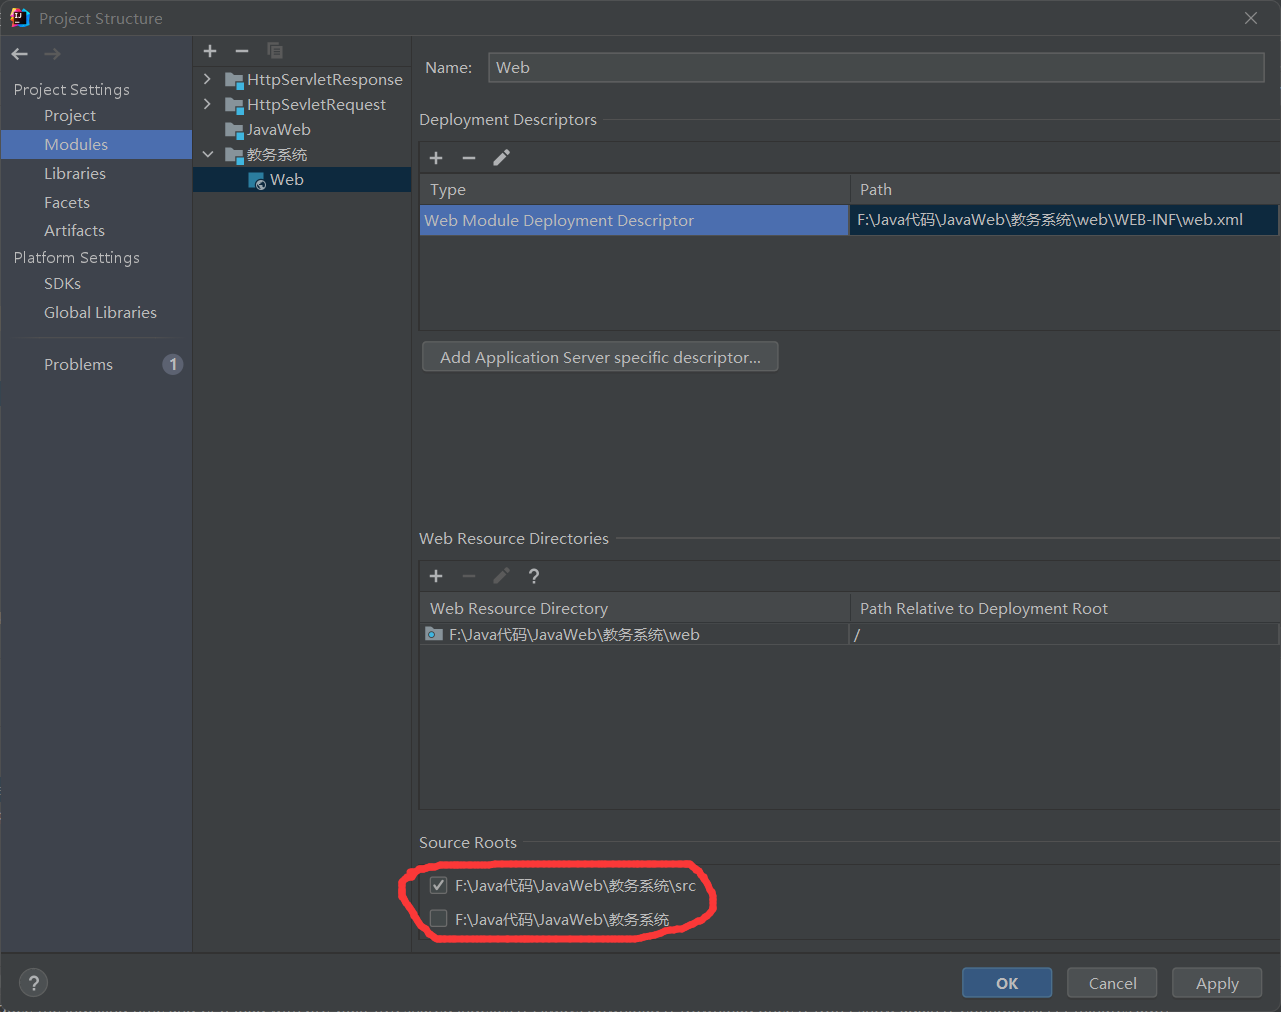
1. If the Servlet cannot be created under src, we can find File - > project structure to set src as Source Roots
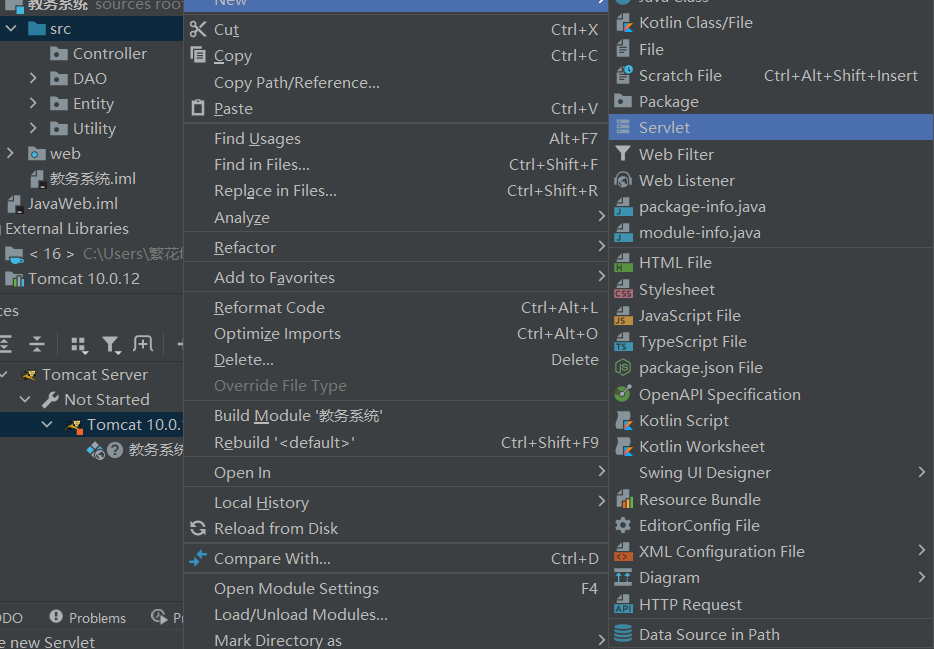
In this way, there is a Servlet in new
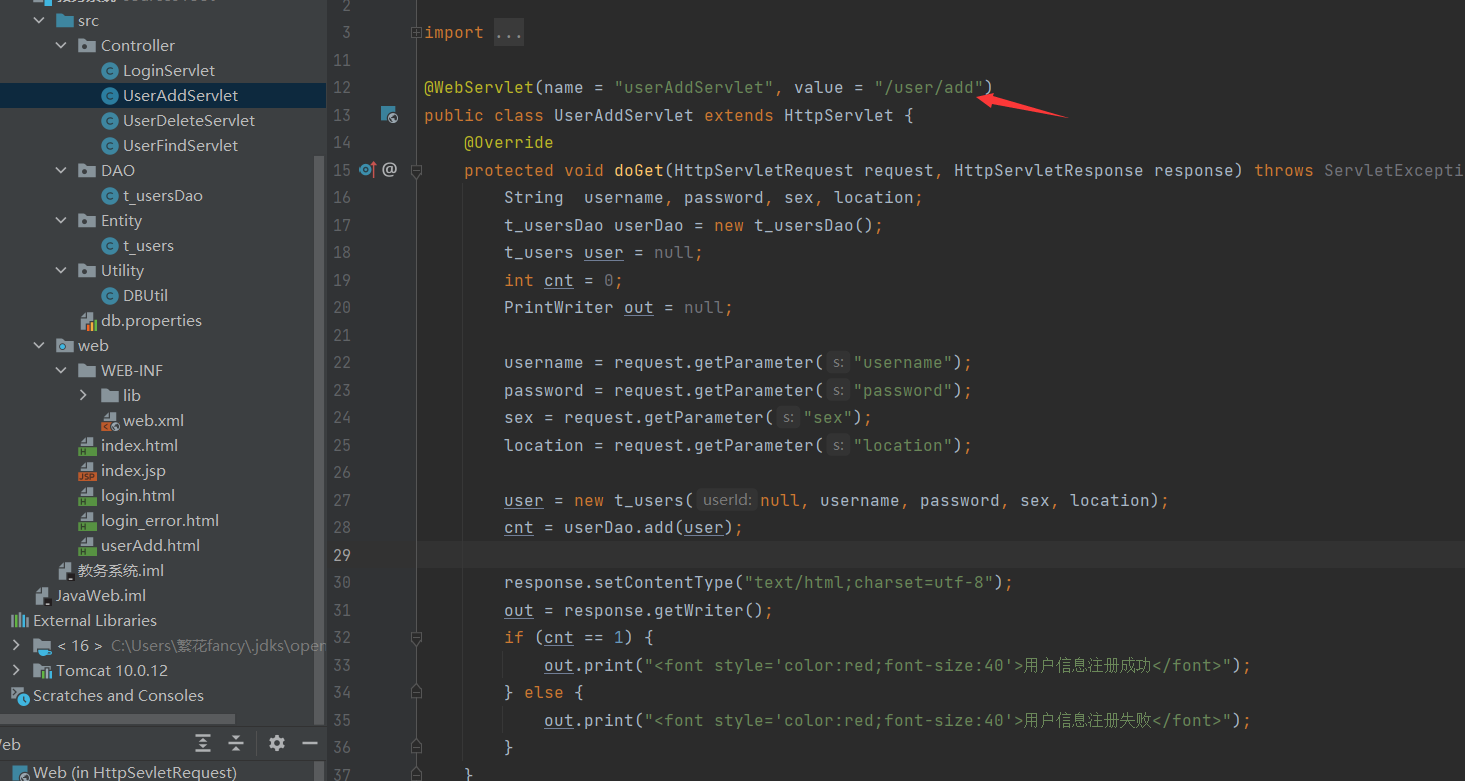
2. Write the UserAddServlet class to complete the user registration operation, that is, obtain the request data from the front end, and then add relevant data to the back-end database
package Controller;

import DAO.t_usersDao;
import Entity.t_users;
import jakarta.servlet.*;
import jakarta.servlet.http.*;
import jakarta.servlet.annotation.*;

import java.io.IOException;
import java.io.PrintWriter;

@WebServlet(name = "userAddServlet", value = "/user/add")
public class UserAddServlet extends HttpServlet {
    @Override
    protected void doGet(HttpServletRequest request, HttpServletResponse response) throws ServletException, IOException {
        String  username, password, sex, location;
        t_usersDao userDao = new t_usersDao();
        t_users user = null;
        int cnt = 0;
        PrintWriter out = null;

        username = request.getParameter("username");
        password = request.getParameter("password");
        sex = request.getParameter("sex");
        location = request.getParameter("location");

        user = new t_users(null, username, password, sex, location);
        cnt = userDao.add(user);

        response.setContentType("text/html;charset=utf-8");
        out = response.getWriter();
        if (cnt == 1) {
            out.print("<font style='color:red;font-size:40'>User information registration succeeded</font>");
        } else {
            out.print("<font style='color:red;font-size:40'>User information registration failed</font>");
        }
    }

    @Override
    protected void doPost(HttpServletRequest request, HttpServletResponse response) throws ServletException, IOException {

    }
}
The path should be rewritten to match the path in HTML
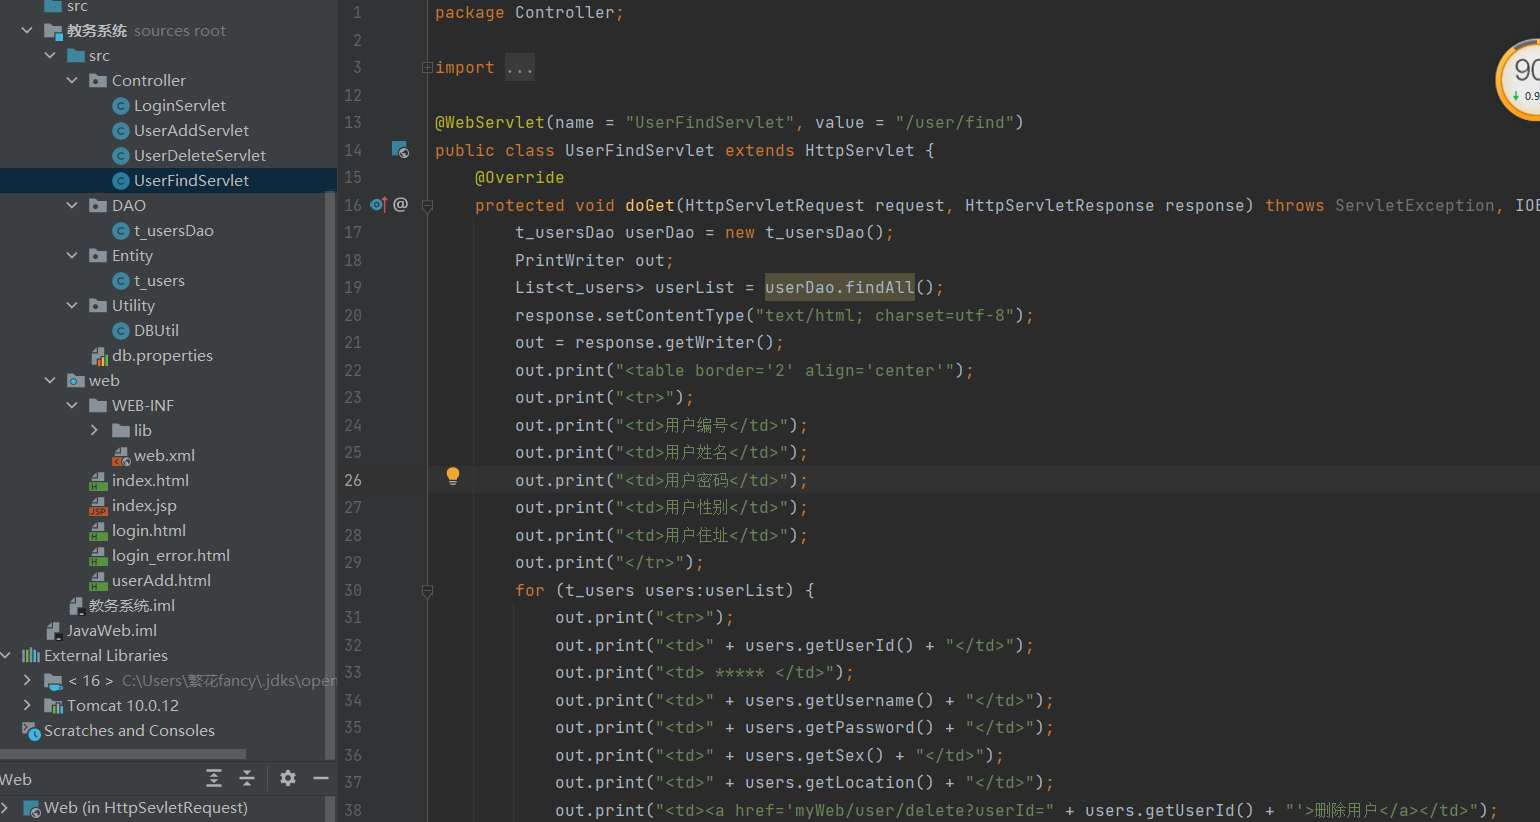
3. Write the userfindservlet class, look up the data in the table and display it to the front end
package Controller;

import DAO.t_usersDao;
import Entity.t_users;
import jakarta.servlet.*;
import jakarta.servlet.http.*;
import jakarta.servlet.annotation.*;

import java.io.IOException;
import java.io.PrintWriter;
import java.util.List;

@WebServlet(name = "UserFindServlet", value = "/user/find")
public class UserFindServlet extends HttpServlet {
    @Override
    protected void doGet(HttpServletRequest request, HttpServletResponse response) throws ServletException, IOException {
        t_usersDao userDao = new t_usersDao();
        PrintWriter out;
        List<t_users> userList = userDao.findAll();
        response.setContentType("text/html; charset=utf-8");
        out = response.getWriter();
        out.print("<table border='2' align='center'");
        out.print("<tr>");
        out.print("<td>User number</td>");
        out.print("<td>User name</td>");
        out.print("<td>User password</td>");
        out.print("<td>User gender</td>");
        out.print("<td>User address</td>");
        out.print("</tr>");
        for (t_users users:userList) {
            out.print("<tr>");
            out.print("<td>" + users.getUserId() + "</td>");
            out.print("<td> ***** </td>");
            out.print("<td>" + users.getUsername() + "</td>");
            out.print("<td>" + users.getPassword() + "</td>");
            out.print("<td>" + users.getSex() + "</td>");
            out.print("<td>" + users.getLocation() + "</td>");
            out.print("<td><a href='myWeb/user/delete?userId=" + users.getUserId() + "'>delete user</a></td>");
        }
        out.print("</table>");
    }

    @Override
    protected void doPost(HttpServletRequest request, HttpServletResponse response) throws ServletException, IOException {

    }
}
The content output to the front end through the response includes a hyperlink to delete data. Here, it is associated with the UserDeleteServlet class to complete the operation
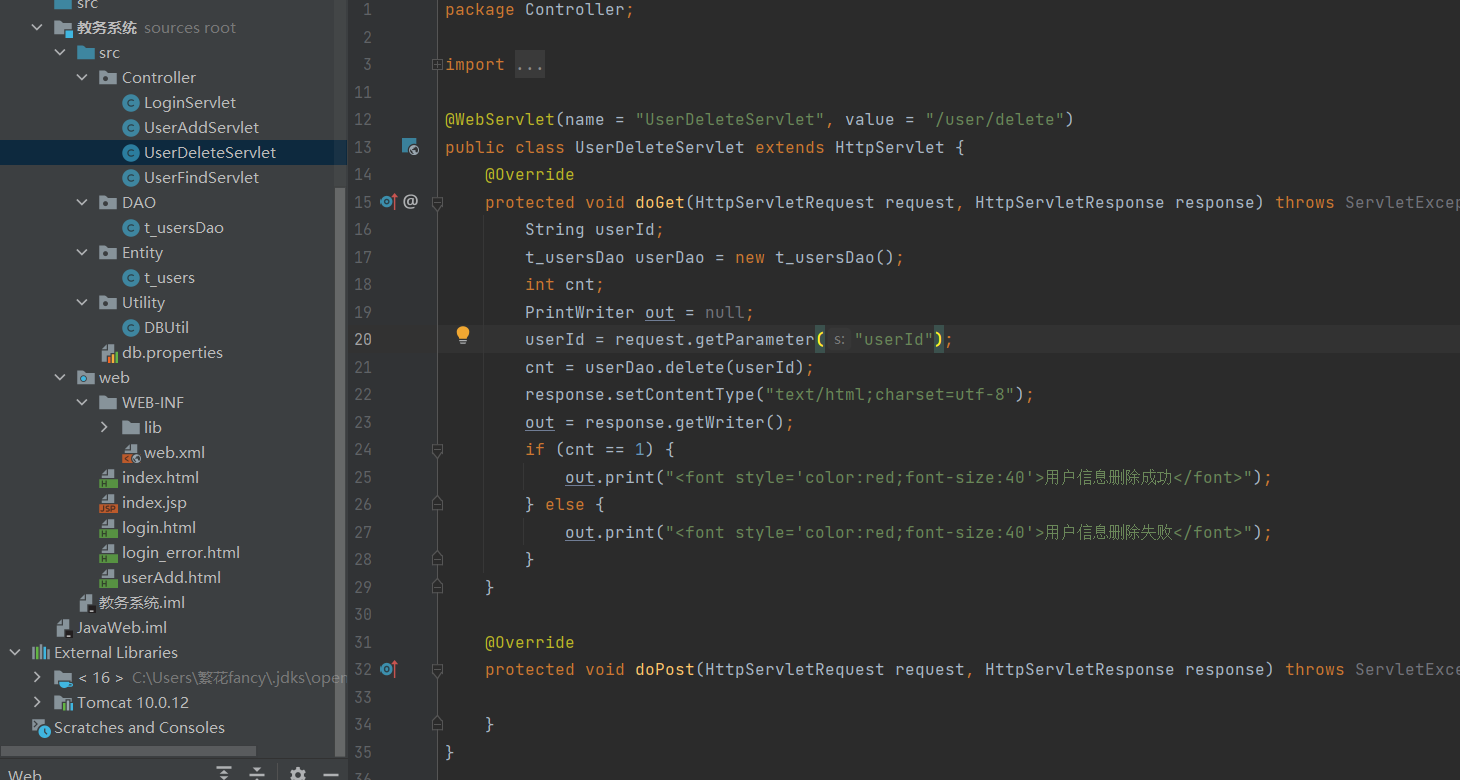
4. The userdeleteservlet class completes the data deletion operation
package Controller;

import DAO.t_usersDao;
import Entity.t_users;
import jakarta.servlet.*;
import jakarta.servlet.http.*;
import jakarta.servlet.annotation.*;

import java.io.IOException;
import java.io.PrintWriter;

@WebServlet(name = "UserDeleteServlet", value = "/user/delete")
public class UserDeleteServlet extends HttpServlet {
    @Override
    protected void doGet(HttpServletRequest request, HttpServletResponse response) throws ServletException, IOException {
        String userId;
        t_usersDao userDao = new t_usersDao();
        int cnt;
        PrintWriter out = null;
        userId = request.getParameter("userId");
        cnt = userDao.delete(userId);
        response.setContentType("text/html;charset=utf-8");
        out = response.getWriter();
        if (cnt == 1) {
            out.print("<font style='color:red;font-size:40'>User information deleted successfully</font>");
        } else {
            out.print("<font style='color:red;font-size:40'>Failed to delete user information</font>");
        }
    }

    @Override
    protected void doPost(HttpServletRequest request, HttpServletResponse response) throws ServletException, IOException {

    }
}
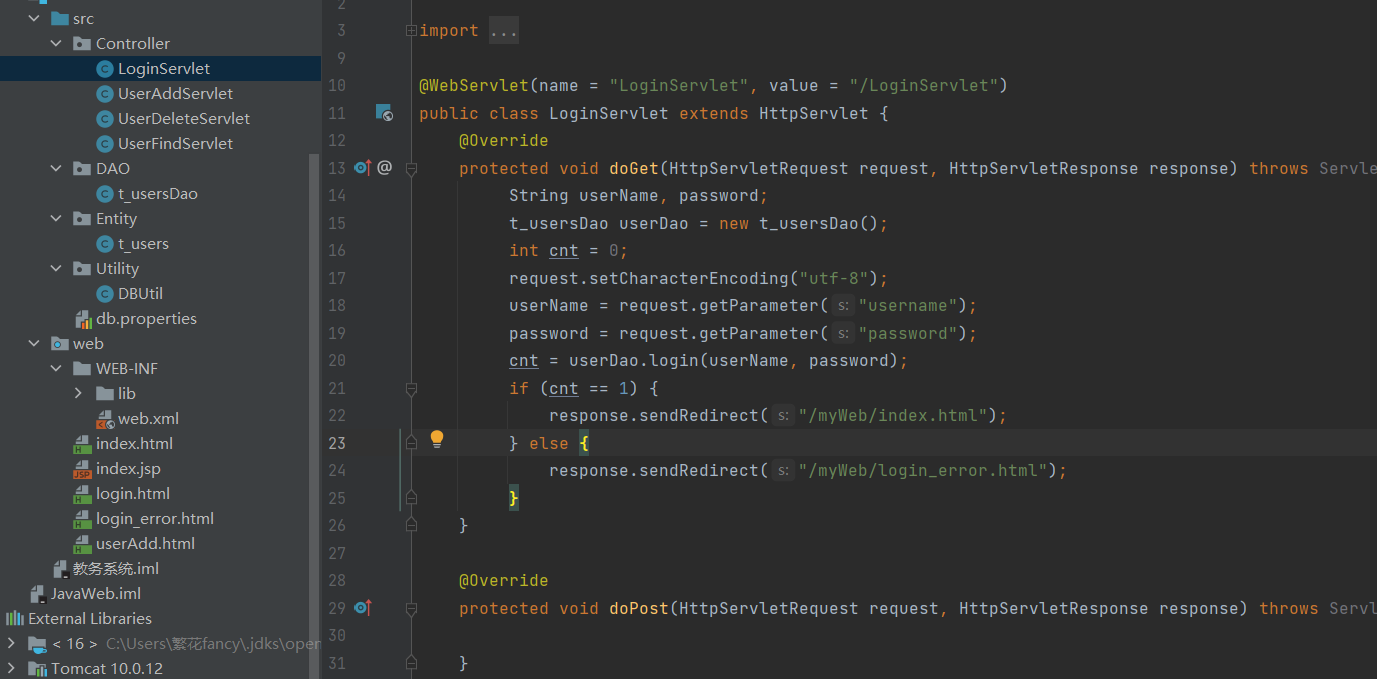
5. The loginservlet class completes the login verification of the front-end input data
package Controller;

import DAO.t_usersDao;
import jakarta.servlet.*;
import jakarta.servlet.http.*;
import jakarta.servlet.annotation.*;

import java.io.IOException;

@WebServlet(name = "LoginServlet", value = "/LoginServlet")
public class LoginServlet extends HttpServlet {
    @Override
    protected void doGet(HttpServletRequest request, HttpServletResponse response) throws ServletException, IOException {
         String userName, password;
         t_usersDao userDao = new t_usersDao();
         int cnt = 0;
         request.setCharacterEncoding("utf-8");
         userName = request.getParameter("username");
         password = request.getParameter("password");
         cnt = userDao.login(userName, password);
         if (cnt == 1) {
             response.sendRedirect("/myWeb/index.html");
         } else {
             response.sendRedirect("/myWeb/login_error.html");
         }
    }

    @Override
    protected void doPost(HttpServletRequest request, HttpServletResponse response) throws ServletException, IOException {

    }
}
3, Demonstration
Here we only demonstrate the registration operation
- Register the Tomcat button to start the Tomcat server

- Jump to index.html, because index.html is the default resource file in our Tomcat web.xml configuration file, that is, the home page

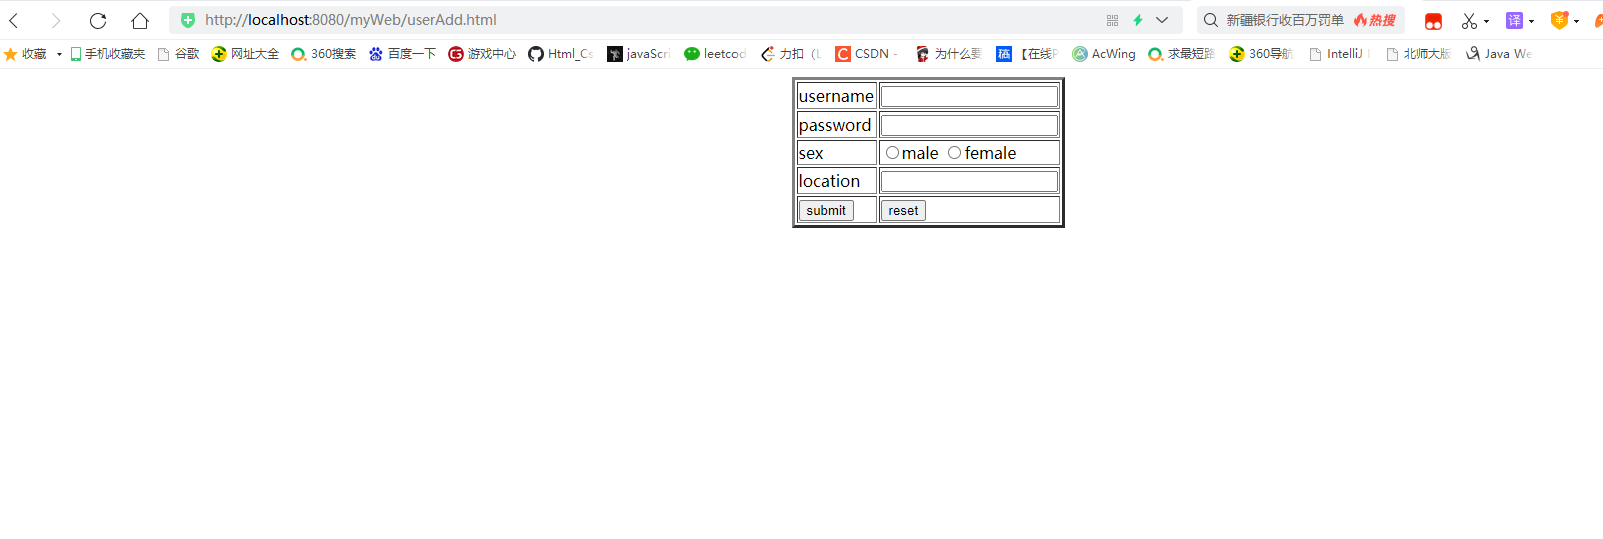
- Open the userAdd.html page under it, as shown in the following figure
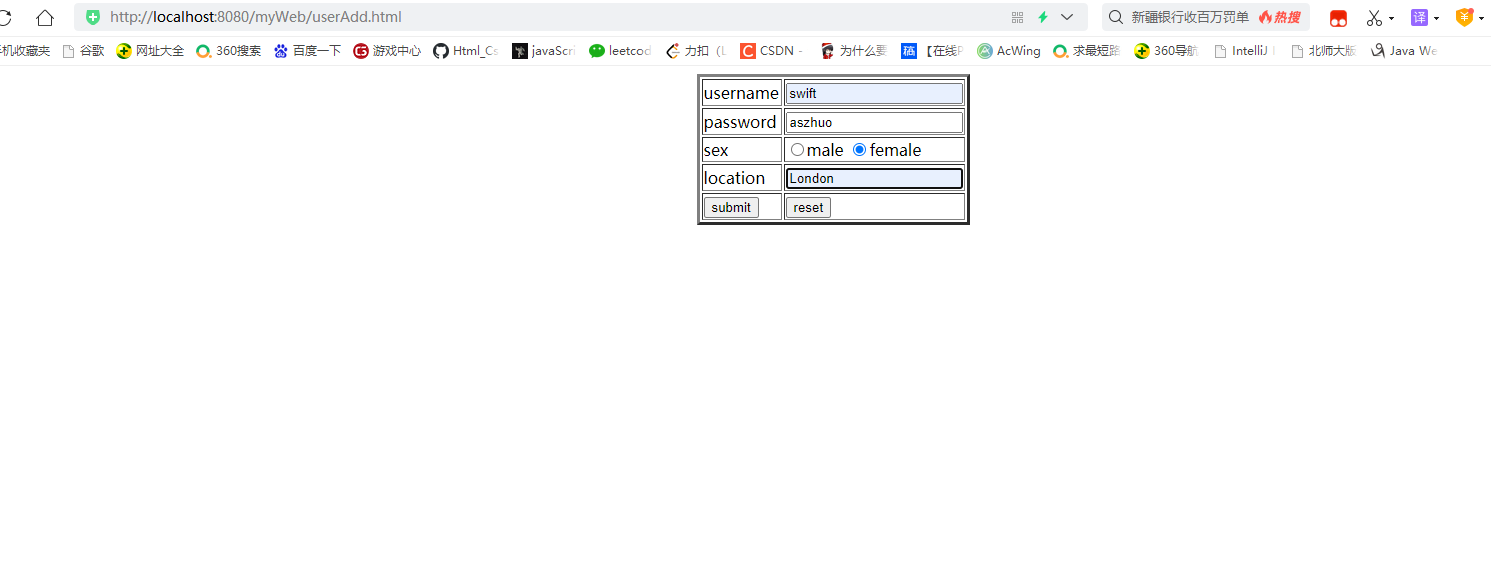
- Fill in the form with the following data
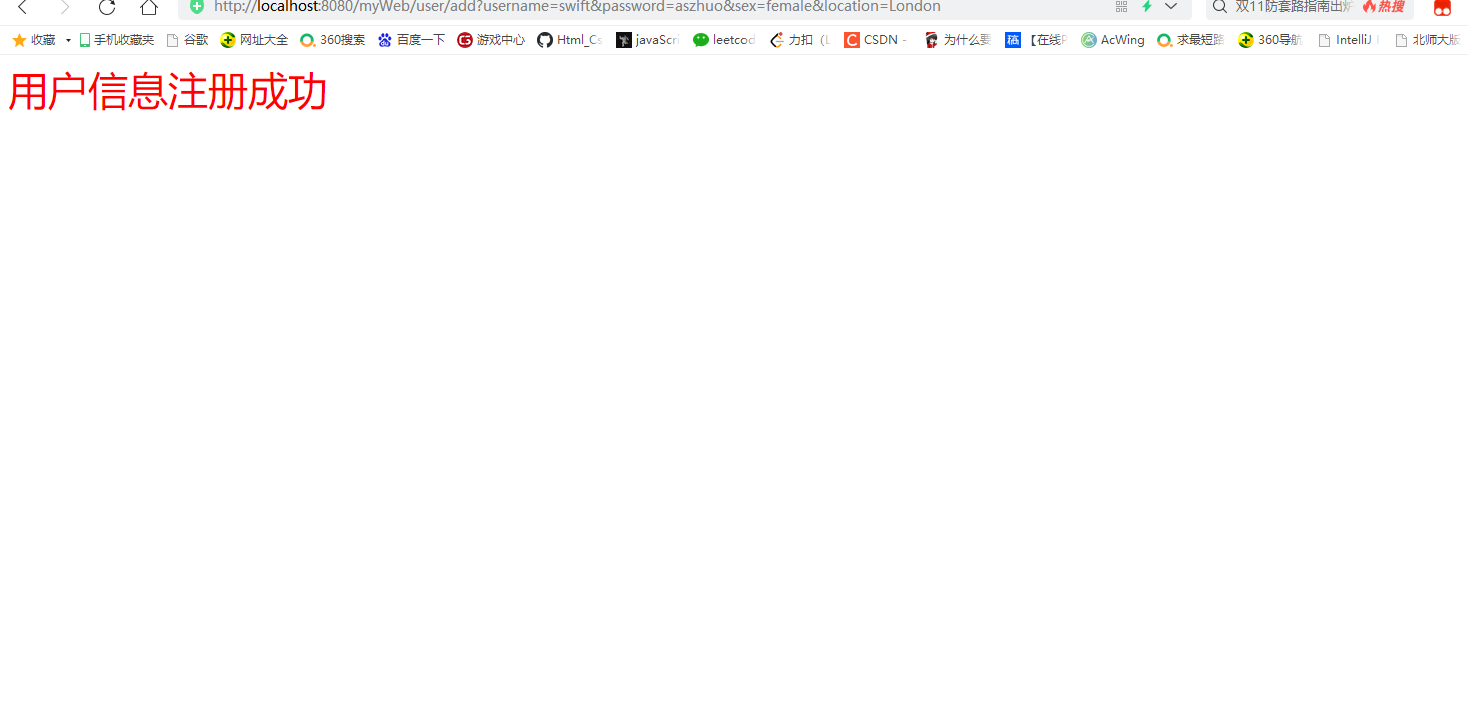
- Click submit to submit. After successful submission, the following interface will pop up
- We are looking at the database table, and there is more data