Overview of TakeVideo
The iOS system itself has a UI Image Picker Controller for taking photos and videos, but now major applications like to customize the interface for taking videos, and you must be heartened. Take Wechat for example, the mini-video is 9 seconds long and takes up 1.5 MB. So we want to do the same effect. What should we do?
This article will reveal the secret of shooting videos for you.
I wrote a Demo called TakeVideo, which covers these functions. You can go there. Github Download - TakeVideo
After downloading, it can run directly on the iPhone.
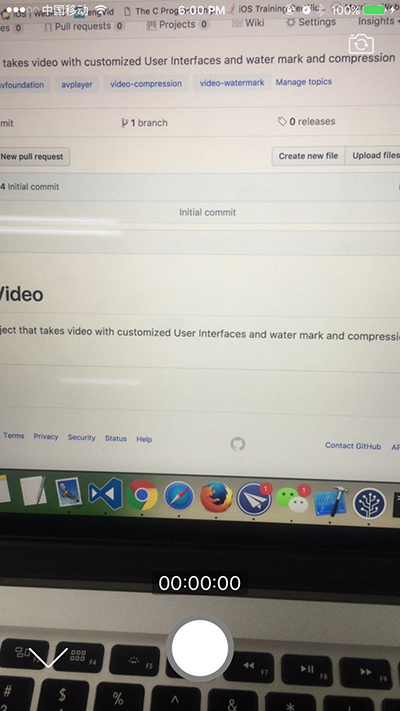
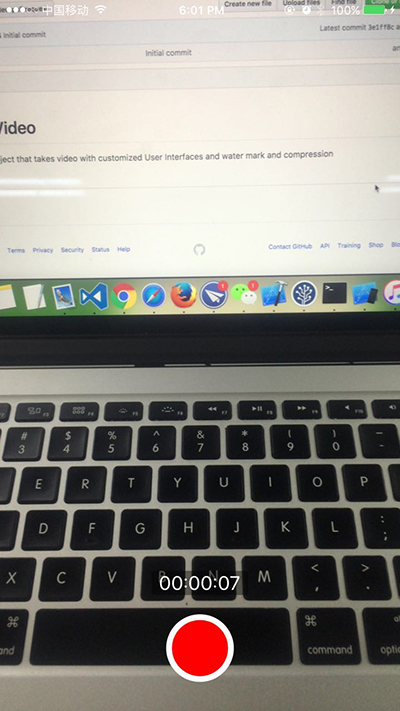
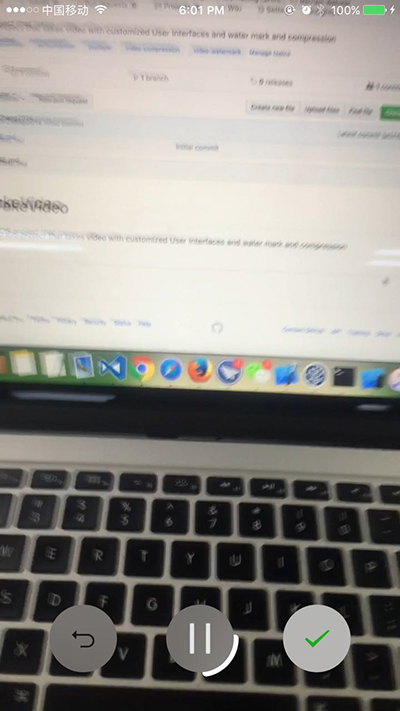
First look at the effect.


There is also a gif animation, csdn can not upload, the reader will go here Github Look - TakeVideo
Let's get started.
Basically divided into four ways to call, the following will be shown one by one, how to use?
The first way
Import header file
#import "ZRMediaCaptureController.h"The following code uses the UI defined by the system. After the video is shot, it depends on you whether or not compression is needed. The compression method is described later in this article.
    ZRMediaCaptureController *manager = [[ZRMediaCaptureController alloc] init];
    [manager setVideoCaptureType:ZRMediaCaptureTypeDefault completion:^(int statusCode, NSString *errorMessage, NSURL *videoURL, NSTimeInterval videoInterval) {
        NSLog(@"Video address:%@", videoURL.absoluteString);

        if (errorMessage.length) {
            NSLog(@"Failure to shoot video %@", errorMessage);
        } else {
            //to do so
            //[self previewVideo:videoURL interval:videoInterval useFirstCompression:YES];
        }
    }];
    [self presentViewController:manager animated:YES completion:nil];
The second way
Import header file
#import "ZRMediaCaptureController.h"The following code uses a custom UI, and the only difference between calls is CaptureType.
User-defined UI like this is popular in many applications. It's up to you to compress videos after shooting. The compression method is described later in this article.
    ZRMediaCaptureController *manager = [[ZRMediaCaptureController alloc] init];
    [manager setVideoCaptureType:ZRMediaCaptureTypeCustomizedUI completion:^(int statusCode, NSString *errorMessage, NSURL *videoURL, NSTimeInterval videoInterval) {
        NSLog(@"Video address:%@", videoURL.absoluteString);

        if (errorMessage.length) {
            NSLog(@"Failure to shoot video %@", errorMessage);
        } else {
            //to do so
            //[self previewVideo:videoURL interval:videoInterval useFirstCompression:YES];
        }
    }];
    [self presentViewController:manager animated:YES completion:nil];
The third way
Import header file
#import "ZRVideoCaptureViewController.h"The following code uses a custom UI. I've seen that Weixin, Facebook and Snapchat are similar ways. It's realized by AVCaptureSession. It's up to you to compress the video after shooting. The compression method is mentioned later in this article.
    ZRVideoCaptureViewController * videoCapture = [[ZRVideoCaptureViewController alloc] init];
    [videoCapture setCaptureCompletion:^(int statusCode, NSString *errorMessage, NSURL *videoURL, NSTimeInterval videoInterval) {
        NSLog(@"Video address:%@", videoURL.absoluteString);

        if (errorMessage.length) {
            NSLog(@"Failure to shoot video %@", errorMessage);
        } else {
            //to do so
            //[self previewVideo:videoURL interval:videoInterval useFirstCompression:YES];
        }
    }];
    [self presentViewController:videoCapture animated:YES completion:nil];
The fourth way
Import header file
#import "ZRTakeVideoViewController.h"The following code is using a custom UI, similar to the third one, but through AVCaptureSession and AVAssetWriter. The video captured by this method does not need to be compressed because the video is captured while being compressed. The definition of the video can be determined according to the parameter average BitRate, which is generally 2.5, if ultra-high definition is required. Yes, you can go up the parameter value, 6 is generally the highest, of course, if your video size is larger, you can also go up the large value.
    ZRTakeVideoViewController *takeVideo = [[ZRTakeVideoViewController alloc] init];
    takeVideo.averageBitRate = 4.0;
    [takeVideo setCaptureCompletion:^(int statusCode, NSString *errorMessage, NSURL *videoURL, NSTimeInterval videoInterval) {
        NSLog(@"Video address:%@", videoURL.absoluteString);

        if (errorMessage.length) {
            NSLog(@"Failure to shoot video %@", errorMessage);
        } else {
            //[self previewVideo:videoURL interval:videoInterval useFirstCompression:NO];
            //to do so
        }
    }];
    [self presentViewController:takeVideo animated:YES completion:nil];
Compressed video
There are two ways to compress videos. The first one is more common. The second one is to set parameters by myself. Here I have set the default parameters. Of course, you can also set the parameters you want.
[ZRMediaCaptureController videoCompressWithSourceURL:videoURL completion:^(int statusCode, NSString *outputVideoURL) {

}];
perhaps
    NSURL *outputFileURL = [NSURL fileURLWithPath:[ZRAssetExportSession generateAVAssetTmpPath]];
    ZRAssetExportSession *encoder = [ZRAssetExportSession.alloc initWithAsset:[AVAsset assetWithURL:self.originalURL]];
    encoder.outputFileType = AVFileTypeMPEG4;
    encoder.outputURL = outputFileURL;
    [encoder exportAsynchronouslyWithCompletionHandler:^
     {
         if (encoder.status == AVAssetExportSessionStatusCompleted)
         {

         }
         else if (encoder.status == AVAssetExportSessionStatusCancelled)
         {
         }
         else
         {
         }
     }];
Adding Watermarking to Video
Import header file
#import "ZRWaterPrintComposition.h"Call the following code
[[ZRWaterPrintComposition new] addVideoWaterprintAtURL:self.playURL WithWaterprintImage:[UIImage imageNamed:@"Icon"] withTitleText:@"Victor" iconSize:CGSizeMake(120, 120) completionHandler:^(int status, NSString *errorMsg, NSURL *finishedVideoURL) {
    if (status == 0) {
        self.playURL = finishedVideoURL;
    } else {
        NSLog(@"%@", errorMsg);
    }
}];
If you encounter problems, please ask questions below, or go. Github issue - TakeVideo Submit an issue and the blogger will answer it as soon as possible. Inside