I. Preface of the article
egg.js is a web background framework of node.js, which brings us too much convenience in developing web background. There are many other frameworks like express and koa. This article will focus on egg. js, because it is a very strict MVC development model.
eggJS "Agreement over Configuration"
II. Preparations
1. First we need to find the official website of egg.js: [egg.js](https://eggjs.org/zh-cn/)
2. Development tools, here I use vsc (visual studio code).
Quick Start Tutorial

At this point, we need to create a simple example according to the code in fast initialization.
1. Create a new project in the workspace and open the command line under the project
2.
$ npm i egg-init -g  //Install egg
$ egg-init egg-example --type=simple  //Initialization of an egg template example followed by a template type, which is simple here
$ cd egg-example//Enter the example
$ npm i //Installation dependency
Open the installed example with vsc 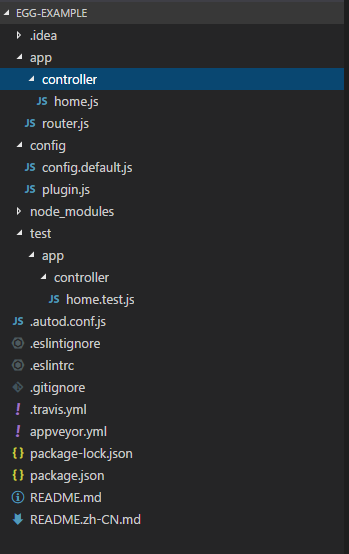
Explain what these documents mean (in the structure of the official tutorial catalogue)

Three, content
This article mainly discusses the parameters of Controller, Service, helper, get, post request acquisition (ordinary MVC)
1.Controller
   When everything is ready, we begin our first Controller. The example directory structure of the simple type we downloaded has a directory like controller. Note that I mentioned at the beginning of this article that egg.js is better than configuration by convention. What these directories mean can be seen in the directory structure of the official tutorial. This controller directory structure means that this directory is a Controller, and everything related to Controller is placed under this directory.
   In the example we downloaded, there is a template code for the controller. Now let's run it and see how it works.
npm run dev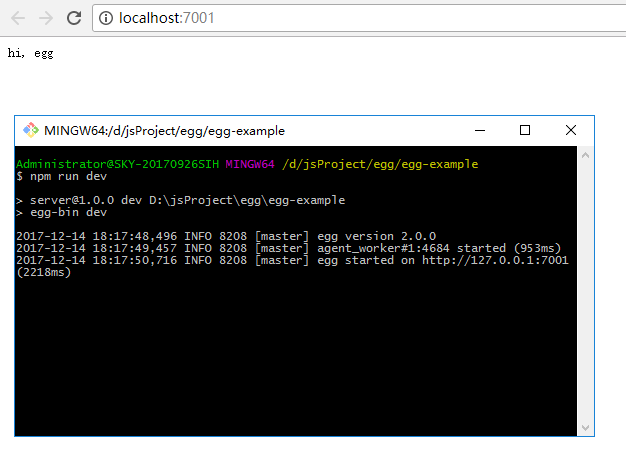
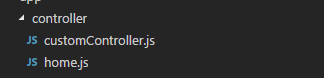
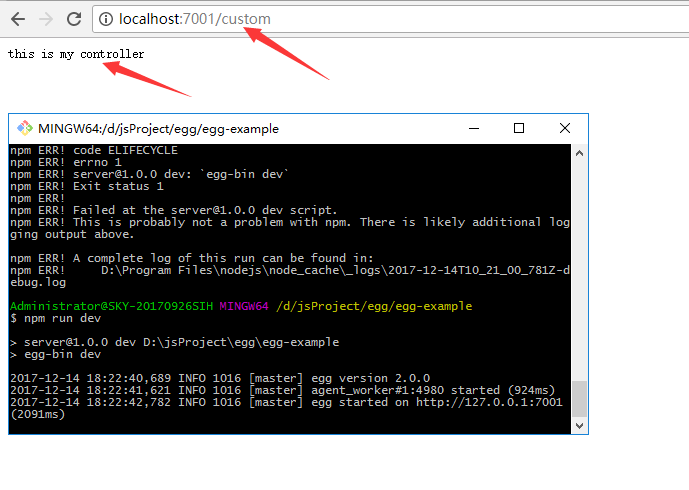
Let's customize a controller to see the effect
 Create a new js file under the controller folder
'use strict';

const Controller = require('egg').Controller;

class CustomController extends Controller {
  async custonIndex() { //Note that this is defined as an asynchronous method to prevent requests from being blocked
    this.ctx.body = 'this is my controller';
  }
}

module.exports = CustomController;
After writing the controller's code, we need to configure the routing in router.js (the path requested at the time of access)
'use strict';

/**
 * @param {Egg.Application} app - egg application
 */
module.exports = app => {
  const { router, controller } = app; //Get the router object and controller in app
  //Note that conventions are larger than configurations (which is equivalent to getting router s and controller s under the app folder)
  router.get('/', controller.home.index); //The index method in home.js under the controller template (access path under get request is localhost:7001/)
  router.get('/custom',controller.customController.custonIndex); //Custom controller Routing
};
For more information on controller, see the official tutorial controller module
2.Service
Let's talk about Service
 Service is the business logic layer in our own download example is not such an item, but in the directory structure of the official tutorial is there, but is marked optional.
First we need to create a service folder under app to store the service file (note that the agreement is greater than the configuration), and then we need to create a js file under the service folder to write the service code.
'use strict';
const Service = require('egg').Service;
class UserService extends Service {
    async show(zc, hh) { //Asynchronous anti-blocking
        return zc + " and " + hh;
    }
}
module.exports = UserService;

//controller code
'use strict';

const Controller = require('egg').Controller;

class CustomController extends Controller {
  async custonIndex() {
    let str = await this.ctx.service.customService.show('zc','hh');
    //Here use await to get the return value of the asynchronous method. Please use Baidu or Google to get the details of the return value of the asynchronous method.
    //Previously, callback functions were used.
    this.ctx.body = 'this is my controller'+str;
  }
}

module.exports = CustomController;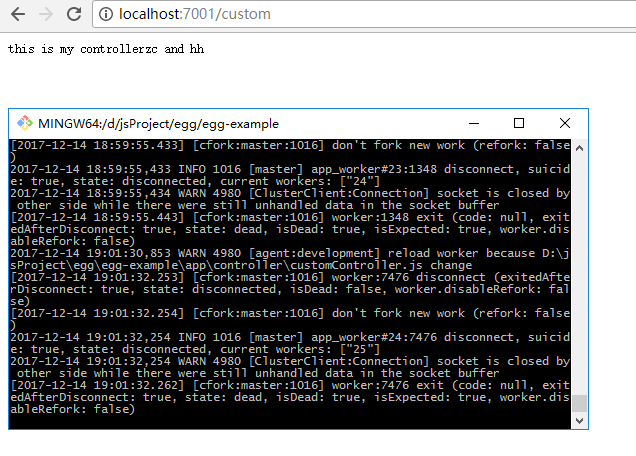
See the official tutorial service module for more information about service.
3.Helper
1. What is a helper?
    Helper is a built-in object of egg.js
    My understanding is where the tool classes are stored (something like util in java)
    To use helper, you first need to create an extension folder under app and then create a helper.js file inside.
    Create the Tool Class you need to use under extend. Here we create a string folder and create a new file under this folder.
    The addOrSub.js file is used to add or decrease strings. Then the method is referenced by helper.js.
2. An example of a helper
  1). Code for the addOrSub.js file
'use strict';
module.exports = {
    removeOne(str) {
        var rstr = "";
        for (let i = 0; i < str.length; i++) {
            if (str[i] != '1')
                rstr += str[i];
        }
        return rstr;
    }
}
2).helper.js code
'use strict';
const addOrsub = require('./string/addOrsub');
module.exports = {
    show() {
        return addOrsub.removeOne("123");
    }
};
3. Referring to helper in cotroller
'use strict';

const Controller = require('egg').Controller;

class CustomController extends Controller {
  async custonIndex() {
    this.ctx.body = this.ctx.helper.show();//this.ctx.helper gets the helper built-in object, which is to enter the helper.js file.
  }
}

module.exports = CustomController;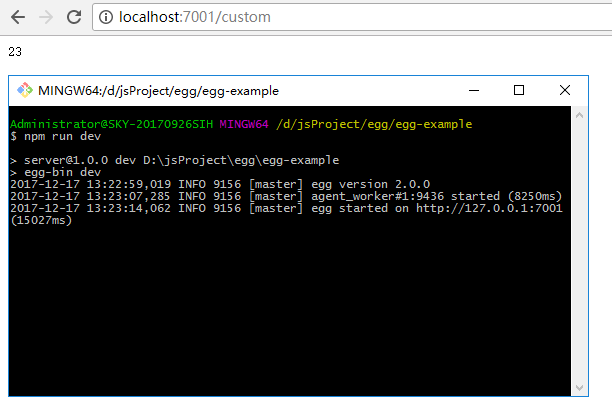
4. Page Rendering
  How does a front-end framework render a page? Everyone wants to know how to render a page. Let's talk about page rendering.
  Eg.js uses nunjucks page template, and I use ejs page template, because it is closer to html, so in this article we mainly discuss ejs template.
  To use the ejs template, you first need to install the plug-in.
npm install egg-view-ejs --saveThen you need to configure egg in config.default.js and plugin
//config.default.js file

'use strict';
const path = require('path');
module.exports = appInfo => {
  const config = exports = {};

  // use for cookie sign key, should change to your own and keep security
  config.keys = appInfo.name + '_1513149018654_4517';

  // add your config here
  config.middleware = [];

  config.view = {
    defaultViewEngine: 'ejs',
    defaultExtension: '.ejs'
  };
  return config;
};
//plugin.js file
'use strict';
// had enabled by egg
// exports.static = true;
module.exports = {
ejs: {
enable: true,
package: 'egg-view-ejs'
}
}Then let's use ejs page rendering First, we need to create a new folder view under app to store pages that need to be rendered (see Official Tutorial Template Rendering for details).
//controller code
'use strict';

const Controller = require('egg').Controller;

class HomeController extends Controller {
  async index() {
    await ctx.render('/index', {
      name: "egg"
    });//index is the page that needs to be rendered under the view folder, followed by the parameters that the background needs to pass to the front section.
  }
}

module.exports = HomeController;
//ejs template code
<html lang="en">
<head>
<meta charset="UTF-8">
<meta name="viewport" content="width=device-width, initial-scale=1.0">
<meta http-equiv="X-UA-Compatible" content="ie=edge">
<title>Document</title>
</head>
<body>
<h1>Hello ejs <%= name%></h1>//Use<%= Parameter name%>To get parameters
</body>
</html>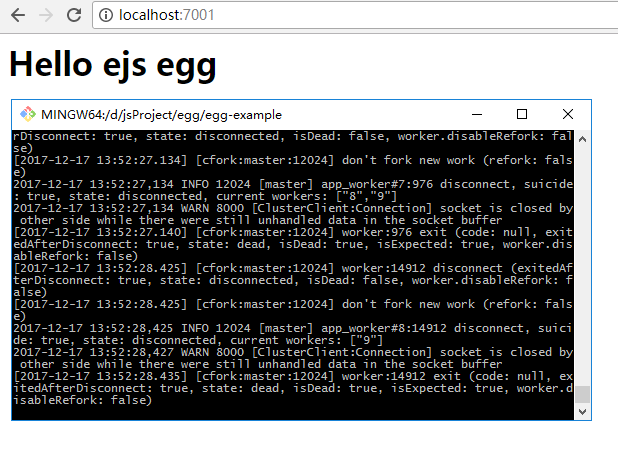
5.get and post request pass parameters
First create an ejs page that sends requests
<html lang="en">

<head>
    <meta charset="UTF-8">
    <meta name="viewport" content="width=device-width, initial-scale=1.0">
    <meta http-equiv="X-UA-Compatible" content="ie=edge">
    <title>Document</title>
</head>

<body>
    <form action="/home/param" method="get">
        <input type="text" name="id">
        <input type="submit" value="Submission">
    </form>
    <form action="/home/paramPost" method="post">
        <input type="text" name="id">
        <input type="submit" value="Submission">
    </form>
</body>
</html>
First we need to configure routing Because we will use a lot of routing in actual development, we will change the routing to hierarchical one. Create a router folder under app to store the routing file home.js Rewrite router.js file code
'use strict';
const RouteHome = require('./router/home');
/**
 * @param {Egg.Application} app - egg application
 */
module.exports = app => {
  const { router, controller } = app;
  RouteHome(app);
};
/*router home.js file under folder*/
module.exports = app => {
'use strict';
const {
home //The name must be the same as the js file under controller
} = app.controller; //Get home.js under controller
let root = '/home'
app.get('/',home.index);
app.get(root + '/param', home.getParam);
}//controller that accepts get requests
'use strict';
const Controller = require('egg').Controller;
class HomeController extends Controller {
async index() {
await this.ctx.render('/index', {
name: "egg"
})
}
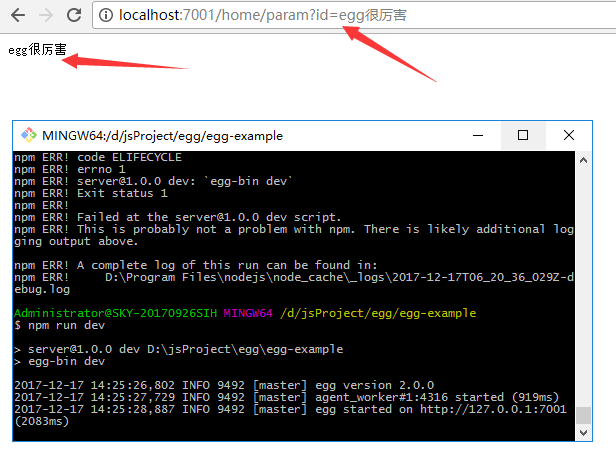
async getParam(){
let id = await this.ctx.query.id;
this.ctx.body = id;
}
}
module.exports = HomeController;
Use the post request below
 In the ejs template, we have written the form of the post request just by modifying the routing and controller
//Add a route to the home.js file under the router folder
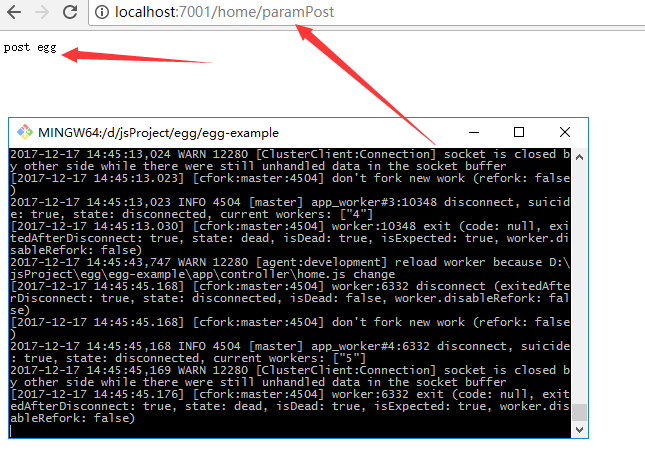
app.post(root + '/paramPost', home.postParam);//Add a method postParam() to the above controller.
async postParam(){
let id = await this.ctx.request.body.id; //Get the post parameter
this.ctx.body = id;
}At this time, we thought we could succeed, but there were 403 errors. Looking up the documents, we can see that egg.js did form checking to prevent CSRF attacks.
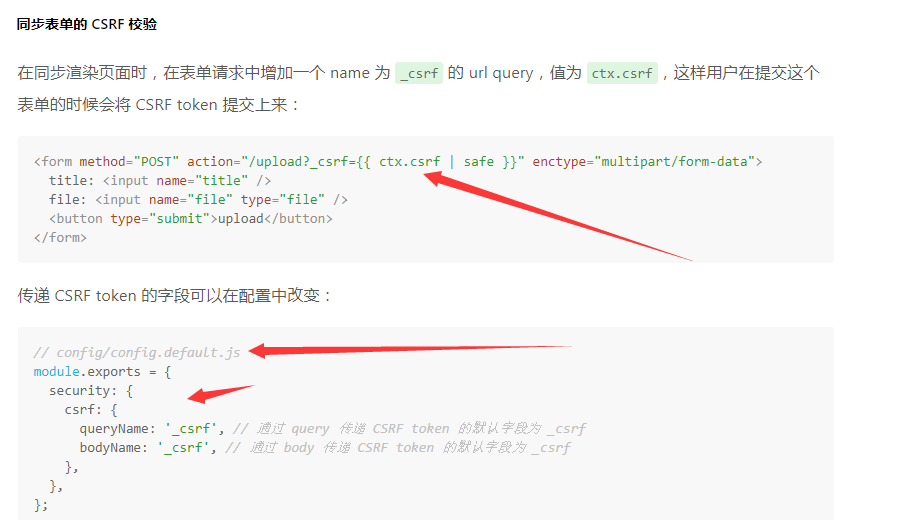
In accordance with the above process, I have not succeeded, the specific reasons to be checked.
Of course, we can also turn off the safety engine, which is not recommended.
/*config.default.js*/
config.security = {
    xframe: {
      enable: false,
    }
  };
/*plugin.js*/
security: false,
Four, summary
Above is my summary of the egg.js tutorial. An MVC structure should be able to be put up. If you have any additional comments, I will add them in my study.