Vue like rendering and database of wechat applet
Front row idea: the content of this article includes:
Class Vue rendering → wxss.js.wxml → cloud development → cloud development usage (storage and database) → database initialization → insert → json file import → query → life cycle
Front row tips:
- The back-end services I use are JavaScript
- Vue like rendering means that it is written in a similar syntax of Vue, and the rendering effect is the same as that of Vue.js
- The database of small programs needs to be billed by volume in cloud development (it's very cheap, isn't it open yet?)
text
- Class Vue rendering
In Vue.js, we render a navigation bar using V-for, V-show,: class (), @ click "", where V-for is used to repeatedly render several identical labels, V-show is used to display and hide labels,: class () is used to bind attribute values to change patterns, and @ click is used to bind events
Logic: first write out a navigation bar style (div with ul with li), then render li with V-for, bind the class name with: class, set the bound attribute value, then write the click event, and transfer the clicked value to the attribute value. The corresponding pop-up related pages are rendered with V-for first, and then set the attribute value with V-show. The corresponding code is as follows:
<style>
			*{
				margin:0px;
				padding: 0px;
			}
			ul{
				overflow: hidden;
			}
			ul>li{
				width:20%;
				border:1px solid black;
				box-sizing: border-box;
				float: left;
				list-style: none;
				padding:10px 20px;
			}
			.red{
				background:red;
			}
			#box>div{
				width:100%;
				height:200px;
				border:1px solid black;
				box-sizing: border-box;
			}
		</style>
<div id="box">
			<ul>
				<li :class="{red:num==i}" @click="change(i)" v-for="(v,i) in arr">{{v}}
            </li>

			</ul>
			<div v-show="num==i" v-for="(v,i) in arr">{{v}}</div>

</div>
<script>
			new Vue({
				el:"#box",
				data:{
					num:0,
					arr:[111,222,333,444,555],

				},
				methods:{
					change:function(t){
						this.num = t;
					}
				}
			})
		</script>
The implementation method of applet is the same as Vue's logic, but the code is different. The code is as follows:
- Corresponding wxml Code:
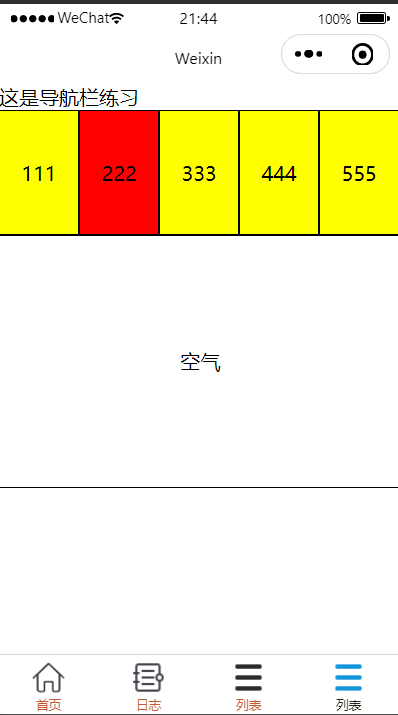
<text>This is a navigation bar exercise</text>
<view class="head">
    <view wx:for="{{list1}}" class="{{num==index?'red':''}}" bindtap="go" data-e="{{index}}"
    >{{item}}</view>
</view>
<view class="body" wx:for="{{list2}}" wx:if="{{num==index}}">{{item}}</view>
In the applet, wx: for is equal to V-for in Vue, and the rendering format is also different. The rendering format of the applet is wx: for = "{list1}" and Vue's rendering format is V-for = "(V, i) in list1", where V is the content of the array, i is the subscript value of the array, and the complete rendering method is < Li V-for = "(V, i) in list1" > {V} {i}} < / Li > the applet is < view wx: for = "{ilst1}" > {item}} {index}} < / View >, and the corresponding relationship is v corresponding to item and i corresponding to index. The corresponding {double braces are interpolation expressions
The corresponding class binding is also different. The binding of applet is class = "{{num=index?'red ':'}}" Vue's binding method is : Class = "{red:num==i}" if we use double quotation marks to enclose the expression in the interpolation expression, the contents inside the expression need to use single quotation marks.
The corresponding click binding is also different. The binding of applet is bindtap = "go", the binding of value is data-e = "{index}", and the binding of Vue is much simpler @ Click = "go (i)" , The value of click can be bound with only one (i)
The corresponding display and hiding is also different. The display and hiding of the applet is wx: if = "{num = = index}}", while the display and hiding of Vue is V-show = "num==i", (those who have learned Vue know that the best display and hiding is V-show, but there is no wx: show in the applet)
- Corresponding wxss Code:
.head{
  width: 100%;
  height: 100px;
  background-color: yellow;
  box-sizing: border-box;

}
.head>view{
  width: 20%;
  height: 100px;
  box-sizing: border-box;
  line-height: 100px;
  text-align: center;
  float: left;
  border: 1px solid black;
}
.red{
  background-color: red;
}
.body{
  width: 100%;
  height: 200px;
  border: 1px solid black;
  text-align: center;
  line-height: 200px;
}- Corresponding js code:
Page({


  /**
   * Initial data of the page
   */
  data: {
    num:0,
    list1:['111','222','333','444','555'],
    list2:["Wild road","air","prohibit","existence","Sadness"]

  },
  go(ee){
    this.setData({"num":ee.target.dataset.e})
  },
In this js code, go (ee) {} ee is a transaction object, which stores a lot of data. We need to find the subscript value we need in this transaction object, so we use this.setData ({"num": ee.target.dataset.e}) to obtain it. The last e is the e of the data-e suffix we bind.
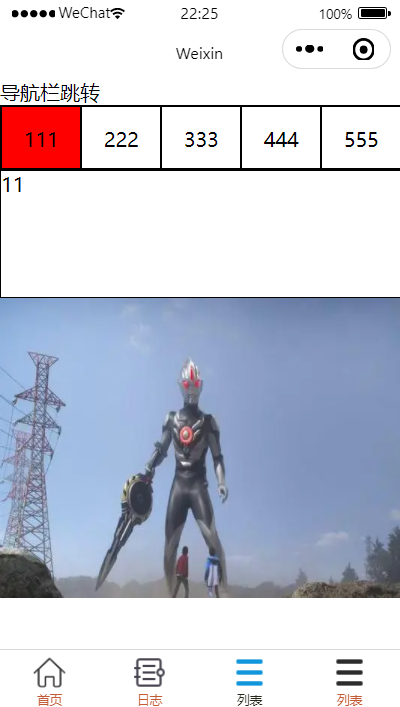
The effect of the applet page is shown in the figure below:
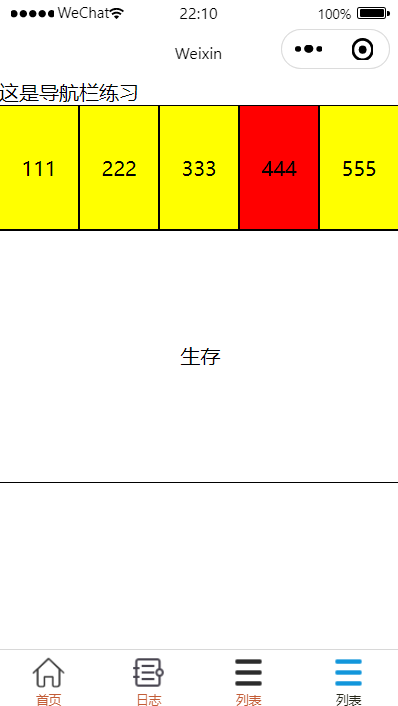
Vue page effect is shown in the figure below:

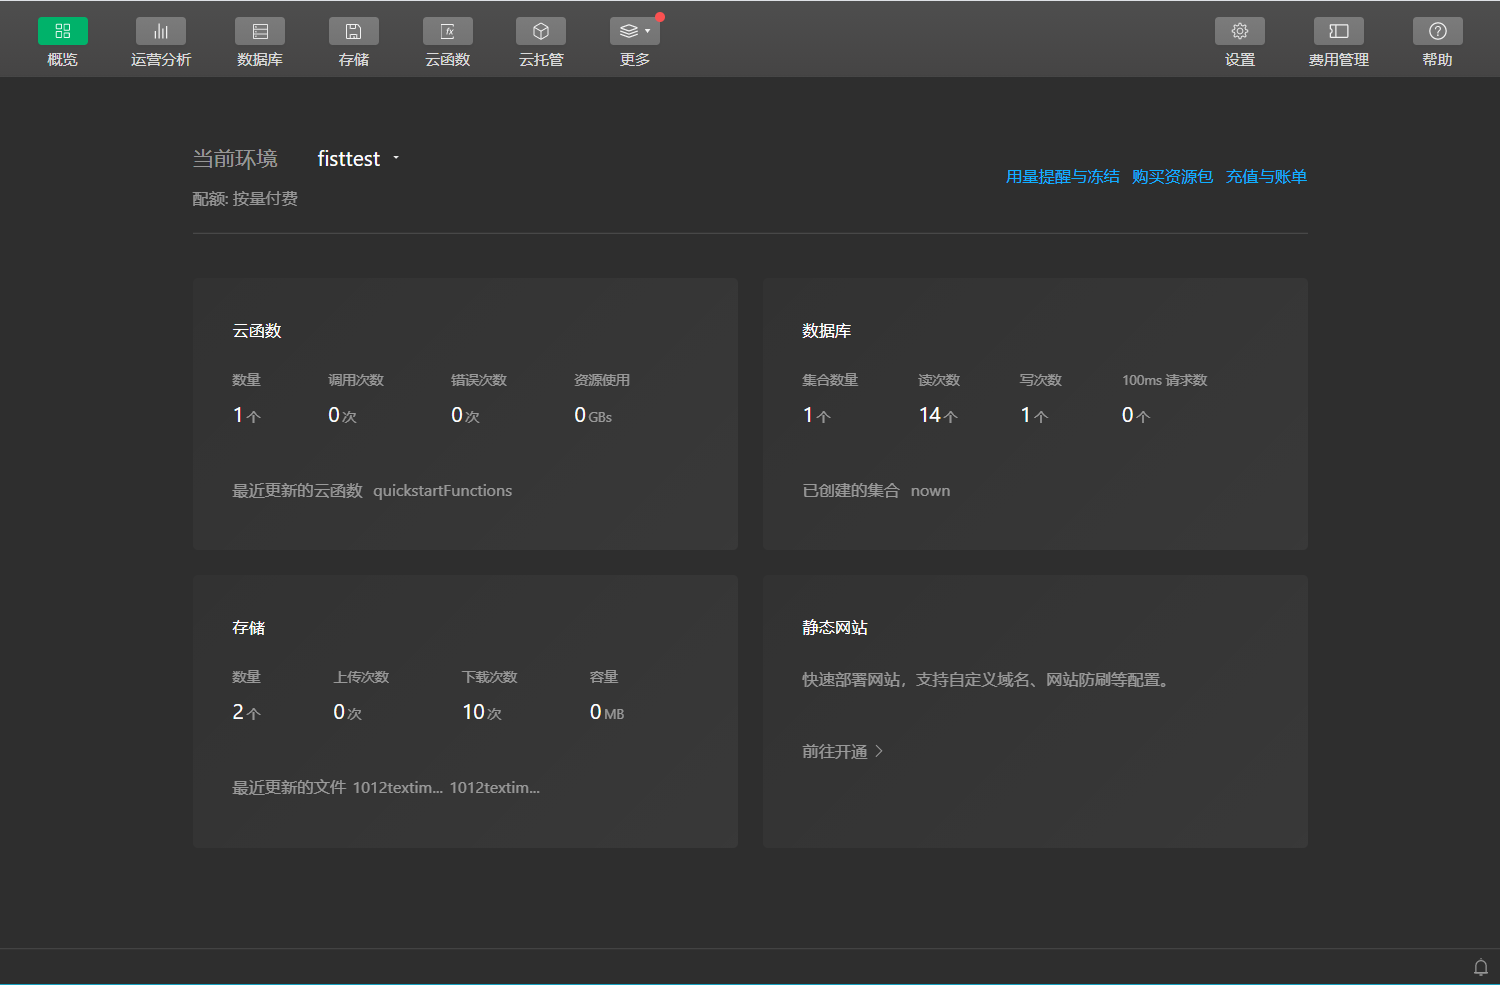
- Cloud development
Cloud development is a built-in database storage function of the applet, Everyone needs to register when doing the project. Although it says "pay by volume", it is actually free (as long as you don't type too many codes)
Cloud development interface
- Cloud development usage (storage and database)
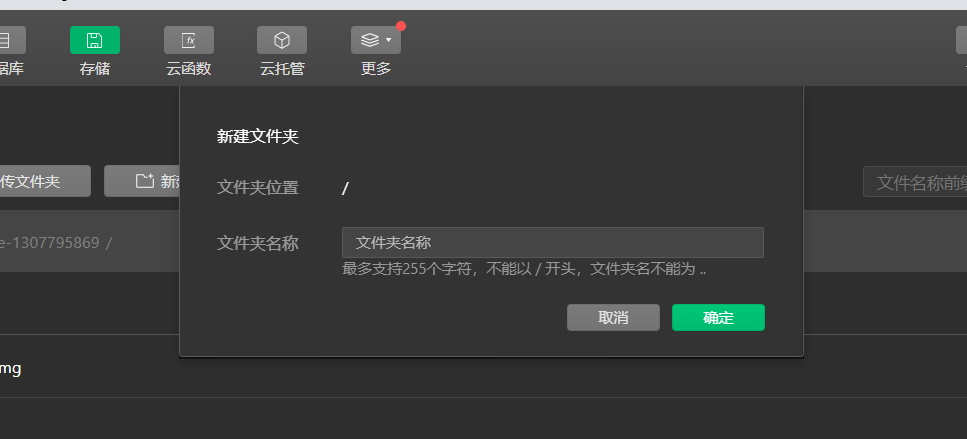
If we often need to send pictures for display, we need to store the pictures in cloud development. Only taBber pictures can be stored in the image file of the applet. The storage method is as follows:
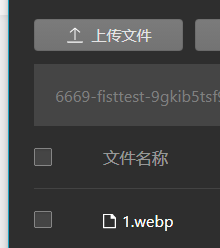
Click save. Click new folder to create your own folder
This is the storage file I created

Double click the file and then click upload file
After uploading successfully, we will get a File ID. if we want to use this photo, we need this ID
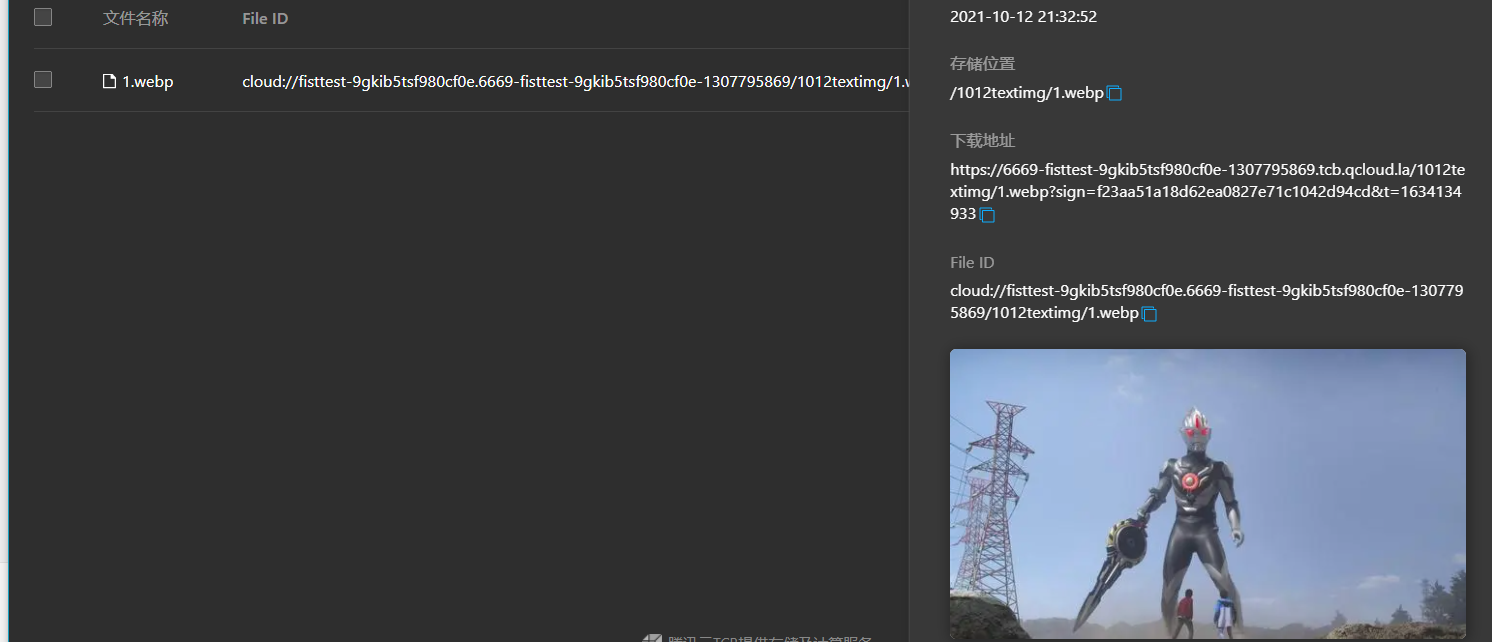
Then comes the implementation use code. src fills in the File ID code successfully stored, as shown in the figure:
<image src="cloud://fisttest-9gkib5tsf980cf0e.6669-fisttest-9gkib5tsf980cf0e-1307795869/1012textimg/1.webp"></image>
The implementation effect is shown in the figure:
The creation of database is also very simple. Just remember your collection name

- database initialized
For database initialization, we need to find the corresponding document so that we can get the initialization code

The initialization code is as follows:
wx.cloud.init()
const db = wx.cloud.database()
We need this code before initialization. Its function is to obtain the application instance
const app = getApp()
- insert
The inserted code is also found in the document (see the document first if you want to be strong!)
Note: the inserted code and query code are placed in the life cycle on load, and you must put the page you want to make in the first execution position, so that it is easy to get openid when the life cycle is loaded, and onload is in the js file
Insert the following code:
db.collection('todos').add({
// The data field represents the JSON data to be added
data: {
// _ID: 'todo identifier aleatoire', / / optional user-defined _id, which can be automatically allocated by the database in this scenario
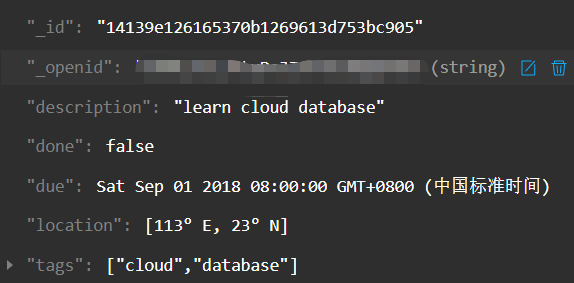
description: "learn cloud database",
due: new Date("2018-09-01"),
tags: [
"cloud",
"database"
],
// Add a geographic location (113 ° E, 23 ° N) for the to-do item
location: new db.Geo.Point(113, 23),
done: false
},
success: function(res) {
// res is an object in which the _idfield marks the id of the record just created
console.log(res)
}
})The function of this code is to generate a to-do in the database and get your openid (the openid of each micro signal is the same, so the function of general insertion in initialization is to get oppenid)
Note: in this code, todos in db.collection("todos").add is the name of the database collection you created. For example, my database collection name is nown, so my code is db.collection("nown").add

If the insertion is successful, we will see the following code in the debugger:
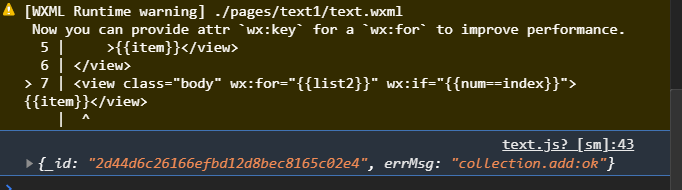
Then we can see what we want in the database! openID!
When we get our own openid, we can import the data we want in the database at will
- Import json
What is json? Repeat, json is a data exchange format file. We first create a txt text on the desktop, and then rename and change its suffix. It becomes like this

Then we pull this file into the operation box of the applet
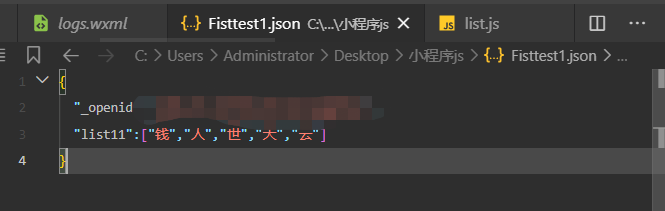
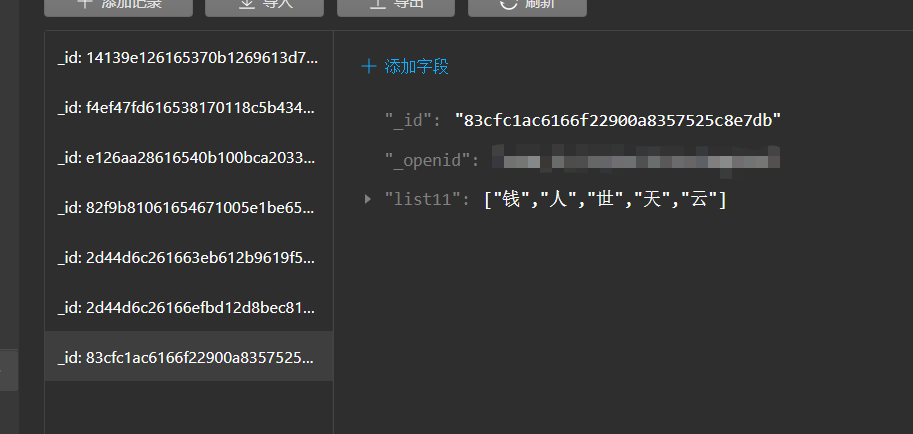
list11 is the data we want to render, and openid is the data we must get. Without openid, we can't import json into the database
Next, we go back to the database and import json into our collection file
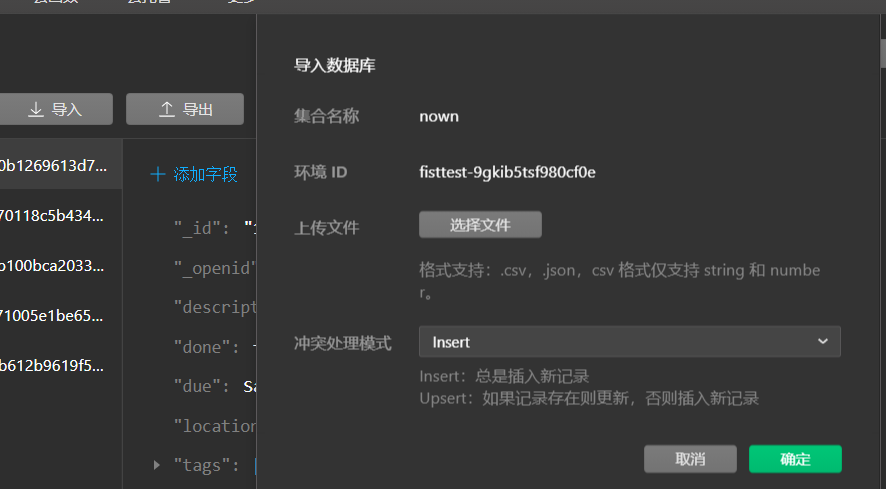
This is the import completion
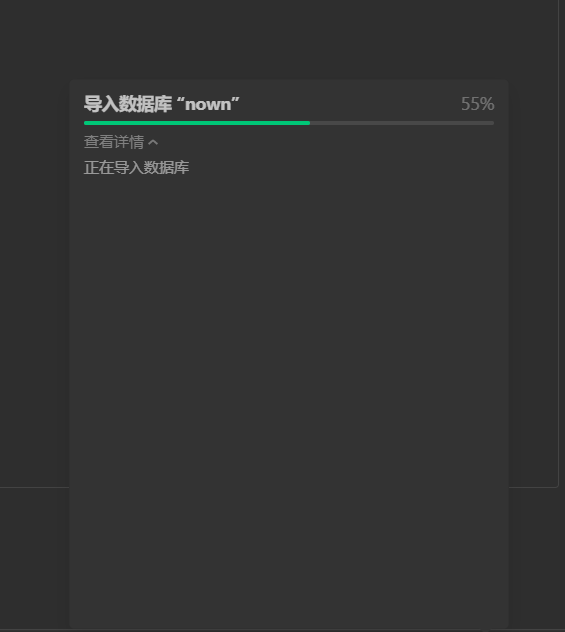
This is the file imported successfully

Then we copy the id and go to our next step
- query
The query code is also found in the document

I made some changes to the query code (taught by the teacher)
var _this = this;
    db.collection('nown').doc('e126aa28616540b100bca2033822311a').get({
      success: function(res) {
        // res.data contains the data of this record
        console.log(res.data.list11)
        _this.setData({"list1":res.data.list11})

      }
    })
In this code, we need to save this value in db. Before db_ In this, then_ this.setData({"list1":res.data.list11}) is used to put the values obtained from the database in list 11, and then our list1 is not empty, as shown in the figure

Only when the code is executed (when the life cycle onload is executed) will our list11 have a value, because the query code will put the value obtained from the database in LIST1 when the program is loaded.
Execution results:

json content
- life cycle
Life cycle is actually a cycle of code execution. What code needs to be executed in each cycle can be controlled by us
* Life cycle function--Listening page loading
   */
  onLoad: function (options) {

  },

  /**
   * Life cycle function -- monitor the completion of the first rendering of the page
   */
  onReady: function () {

  },

  /**
   * Life cycle function -- monitor page display
   */
  onShow: function () {

  },

  /**
   * Life cycle function -- listening for page hiding
   */
  onHide: function () {

  },

  /**
   * Life cycle function -- listen for page unloading
   */
  onUnload: function () {

  },
Summary from the back row: Vue and documents are indispensable for small programs to learn well. The functions of small programs can be realized with reference to documents, which is the advantage of small programs.
If there are any mistakes in this article, please don't hesitate to give guidance (I'm Xiaobai, so I only write some basic contents)
Thanks for reading
All I do is summarize what I have learned, strengthen memory and help learners of the same level