This article continues to share some interesting points in css and common interview questions: floating and commonly used layout (alignment)
Float
- The concept of floating
float is a positioning property in the css style. It is used to set the floating layout of label objects. Floating is what we call floating left and right of label objects. - The Role of Floating
Locate elements by floating - The impact of floating
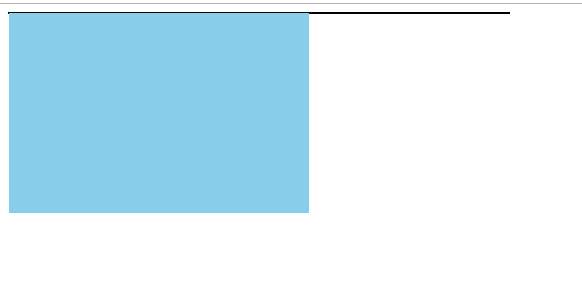
- De-labeling: Floating elements are detached from the standard document stream and do not occupy space.
<html lang="en">
<head>
	<meta charset="UTF-8">
	<title>Document</title>
	<style>
		div{
			width: 100px;
			height: 100px;
			background-color: #ccc;
			margin:20px;
		}
		#left{
			width: 50px;
			height: 50px;
			background: skyblue;
			float:left;

		}

	</style>
</head>
<body>
     <div id="left"> </div>
     <div></div>
     <div></div>
</body>
</html>


- Word Circumference: Words surround floating elements
<!DOCTYPE html>
<html lang="en">
<head>
	<meta charset="UTF-8">
	<title>Document</title>
	<style>

		#left{
			width: 50px;
			height: 50px;
			background: skyblue;
			float:left;
		}

	</style>
</head>
<body>
     <div id="left"> </div>
      <p> 1. Someone went to the store to buy a money counting machine and picked out two of the most expensive ones. At the same time, he asked the boss why this model was more expensive. The boss told him that it was all intelligent voice type.
When he paid, he asked his boss to count money with these two counting machines. Both counting machines gave accurate figures. He thought the voice function was good, but he didn't see much intelligence.
The boss said you'll know when you use it. After paying the bill, he put the money counting machine in the back seat of the car and drove back to the company.
On the way, he suddenly heard one counting machine talking to another: "Hey, is it our buddies who were sold and counted money for others in the legend?"
</p>
</body>
</html>
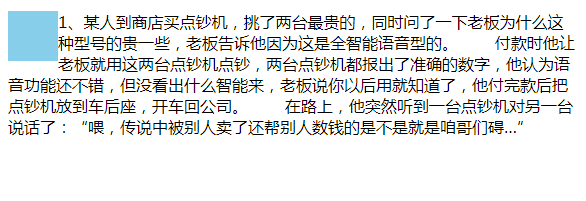
- The effect of floating parent box without fixed height is that the parent box is not opened.
- Background Style Invalidation of Parent Box
- The border of the parent box cannot be opened
- margin padding does not display properly
<!DOCTYPE html>
<html lang="en">
<head>
	<meta charset="UTF-8">
	<title>Document</title>
	 <style>
		#father{
			width:500px;
			background-color:#ccc;
		}
		#son{
			width: 300px;
			height: 200px;
			background-color: skyblue;
			float: left;
		}
	 </style>
</head>
<body>
	<div id="father">
		<div id="son"></div>
	</div>
</body>
</html>
No float added
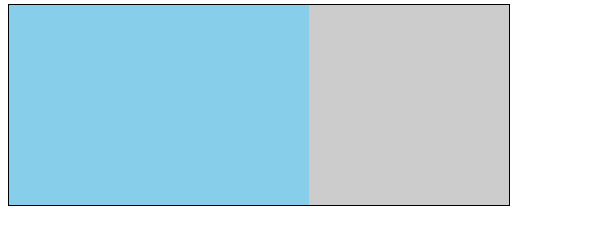
After adding float
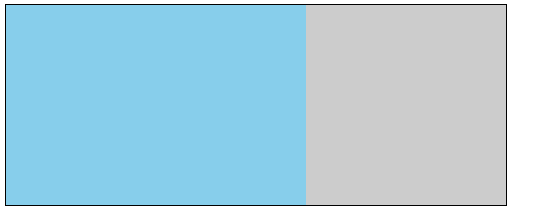
- Method of Clearing Floating
- Method 1: Set a fixed height to the parent box of the floating element so that the floating element will not affect the parent element.
Disadvantage: Unscalable - Method 2: If we don't want to set a fixed height for the floating element, we can set the overflow property for the parent box.
overflow: hidden;_zoom:1;
Principle: When the parent element defines overflow: hidden, the browser automatically checks the height of the floating area
Advantages: No additional tags need to be added
Disadvantage: Can't work with position, because excess size will be hidden.
<!DOCTYPE html>
<html lang="en">
<head>
	<meta charset="UTF-8">
	<title>Document</title>
	 <style>
		#father{
			width:500px;
			border:1px solid #000;
			background-color:#ccc;
			overflow: hidden;
			-zoom:1; /*zoom: 1; It's dealing with compatibility issues. */

		}
		#son{
			width: 300px;
			height: 200px;
			background-color: skyblue;
			float: left;
			}
	 </style>
</head>
<body>
	<div id="father">
		<div id="son"></div>
	</div>
</body>
</html>
- Method 3: Add additional label clear:both
Principle: Add an empty label under the floating element. This empty label sets clear: both;
Advantages: Good browser compatibility
Disadvantage: Increase page label, resulting in page confusion
<!DOCTYPE html>
<html lang="en">
<head>
	<meta charset="UTF-8">
	<title>Document</title>
	 <style>
		#father{
			width:500px;
			border:1px solid #000;
			background-color:#ccc;
		}
		#son{
			width: 300px;
			height: 200px;
			background-color: skyblue;
			float: left;
			}
		.clear{clear: both}
	 </style>
</head>
<body>
	<div id="father">
		<div id="son"></div>
		<div class="clear"></div>
	</div>
</body>
</html>
- Method 4: Use Pseudo Element: after Clear Floating
Principle: Add a pseudo element after or before to the parent box to clear the float by empty content
Advantages: No need to add new labels and good compatibility is currently the most widely used one.
<!DOCTYPE html>
<html lang="en">
<head>
	<meta charset="UTF-8">
	<title>Document</title>
	 <style>
		#father{
			width:500px;
			border:1px solid #000;
			background-color:#ccc;
		}
		#son{
			width: 300px;
			height: 200px;
			background-color: skyblue;
			float: left;
			}
		#father:after{
			content: '';
			display: block;
			clear:both;
		}
	 </style>
</head>
<body>
	<div id="father">
		<div id="son"></div>
		<div class="clear"></div>
	</div>
</body>
</html>
- Method 5: Define overflow: auto for the parent box.
Disadvantage: When the internal height is higher than the parent box height, scrollbars will appear.
Not recommended - Method 6: Define the parent box as display:table
- Principle: Set the attributes of the parent box to tables. The characteristics of tables determine that they are not affected by floating elements.
- The disadvantage is that unknown new problems will arise.
- Not recommended
#father{
			width:500px;
			border:1px solid #000;
			background-color:#ccc;
		    display:table;
		}
- Double Margin Problem of IE6
There's a famous margin double bug under E6
When the floating direction and margin are in the same direction, IE6 will produce double margins on the first element in this direction.
The solutions are as follows- Change the direction of margin, for example: floating to the left, margin to the right
- Define a class for the first element separately and then set its margin to the original general
- Add display:inline to the floating element
Alignment of Layout
- Text Alignment
Horizontal text-align
| value | describe |
|---|---|
| left | Arrange the text to the left |
| right | Arrange the text to the right |
| center | Arrange the questionnaires in the middle |
| justify | Implementing text alignment at both ends |
<!DOCTYPE html>
<html lang="en">
<head>
	<meta charset="UTF-8">
	<title></title>
	<style>
		h3{text-align: center; }
		span{text-align: center; }
		div{width:500px; background: skyblue; }
		p{text-align:left;}
		h4{text-align:right;}
	</style>
</head>
<body>
	<div>
		<h3>West Bessinson</h3>
		<h4>you are my sunshine</h4>
		<p>The moonlight in front of the bed raises its head and invites the moonlight in front of the bed to invite the moonlight in front of the bed. When will life be proud, it is necessary to make every effort not to make Jin Yukong confront the fame and dust of the moon30, the clouds and the moon 8,000 miles away?</p>
	</div>
</body>
</html>

Vertical direction: vertical-align defaults to baseline alignment
- Picture alignment
Middle level: margin:0 auto:
In the case of a parent box, the parent box sets text-align:center image margin: 0 Auto
In the case of no parent box, the picture is converted to block element display:block, and then margin:0 auto is used.
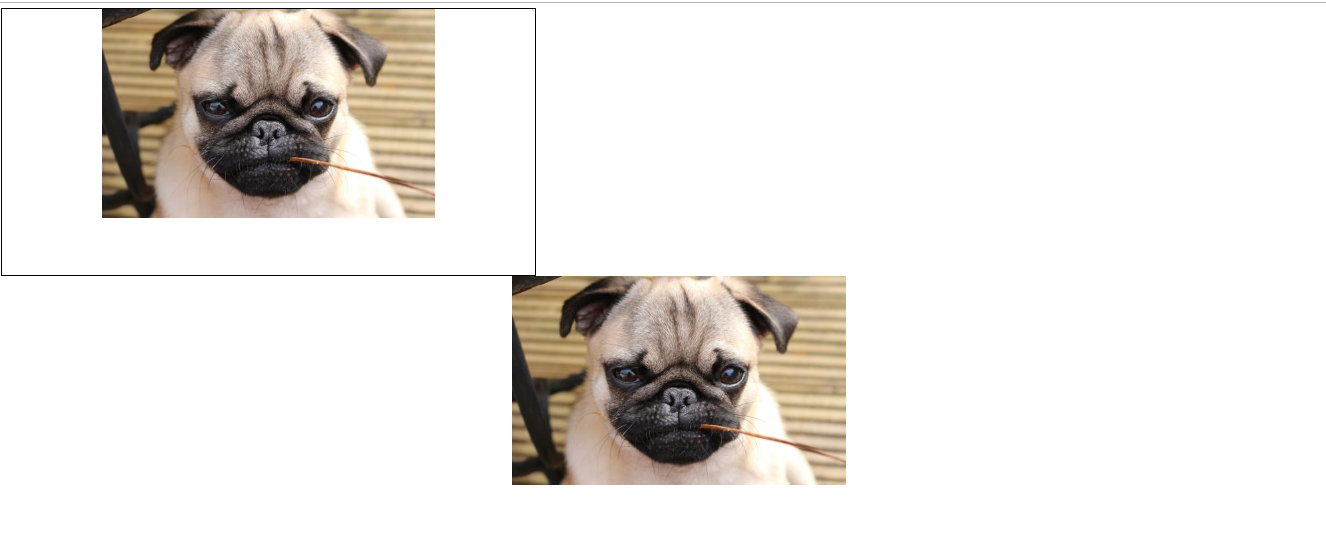
<!DOCTYPE html>
<html lang="en">
<head>
	<meta charset="UTF-8">
	<title>Picture Centralization</title>
	<style>
	    div{text-align:center; width: 800px; height: 400px; border:1px solid #000;}
		img{margin:0 auto;}
		.haha{margin:0 auto; display: block}
	</style>
</head>
<body>
	<div><img src="cool.jpg" alt=""></div>
	<img src="cool.jpg" alt="" class="ha">
</body>
</html>
Vertical alignment:
Father box line-height + child box vertical-align:middle
Parent box display:table-cell +vertical-align:middle
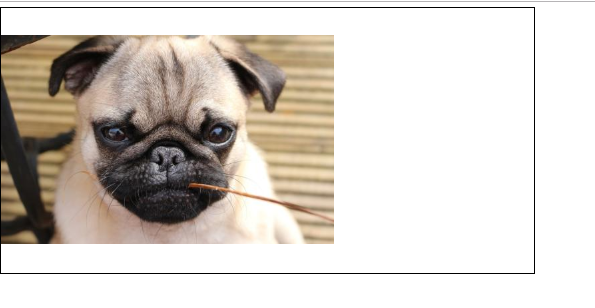
<!DOCTYPE html>
<html lang="en">
<head>
	<meta charset="UTF-8">
	<title>Document</title>
	<style>
	    div{width: 800px; height: 400px; line-height:400px; border:1px solid #000;  }
	    img{vertical-align: middle;}
	</style>
</head>
<body>
	<div><img src="cool.jpg" alt=""></div>
</body>
</html>
<!DOCTYPE html>
<html lang="en">
<head>
	<meta charset="UTF-8">
	<title>Document</title>
	<style>
	    div{width: 800px; height: 400px; display: table-cell; border:1px solid #000;vertical-align: middle;}
	</style>
</head>
<body>
	<div><img src="cool.jpg" alt=""></div>
</body>
</html>
Horizontal and Vertical Centralization
Parent element: text-align: center; line-height: +child image: vertical-align: middle
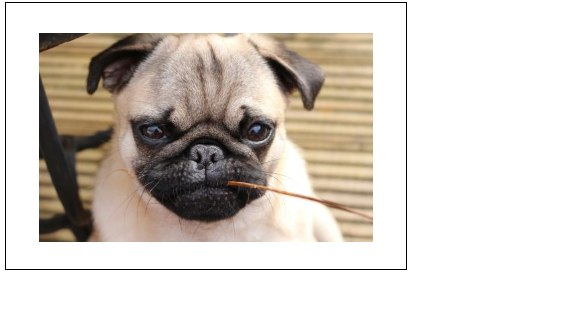
<!DOCTYPE html>
<html lang="en">
<head>
	<meta charset="UTF-8">
	<title>Document</title>
	<style>
		div{height: 400px;width:600px ;border:1px solid #000; text-align: center ;line-height: 400px; }
		img{vertical-align: middle;}
	</style>
</head>
<body>
	<div><img src="cool.jpg" alt=""></div>
</body>
</html>
The next piece of content will continue to share the centrality of floating elements and the flex layout of css