1, Foreword
- You can install it according to the instructions on the Zen official website: Zen - installation instructions using the source package (common to all systems)
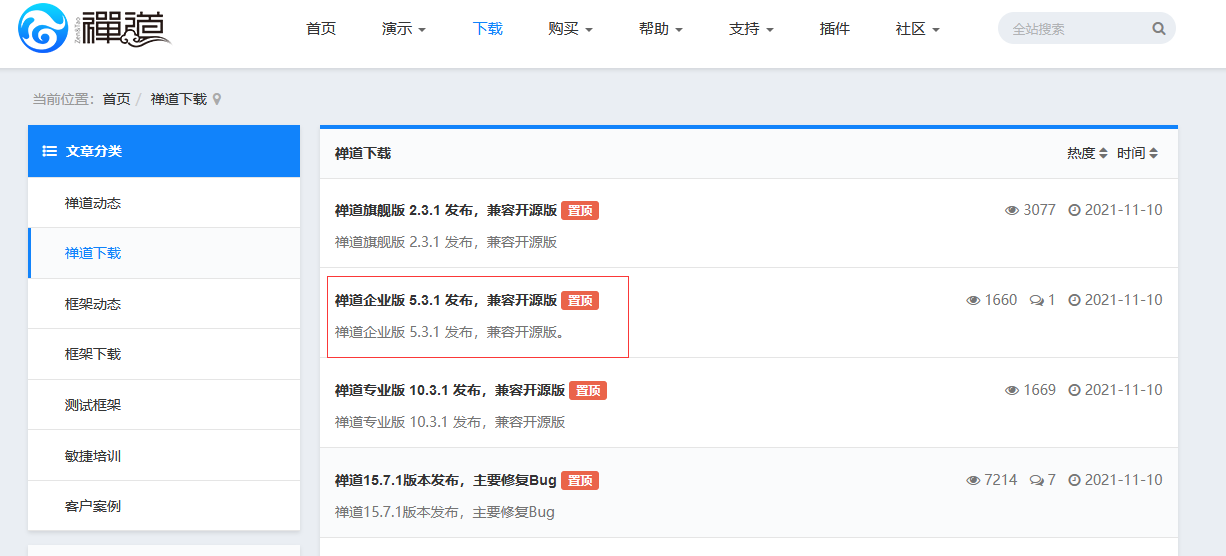
2, Download
Go directly to the Zen official website to find the installation package to download. I use the installation package here instead of the Linux one click installation package
-
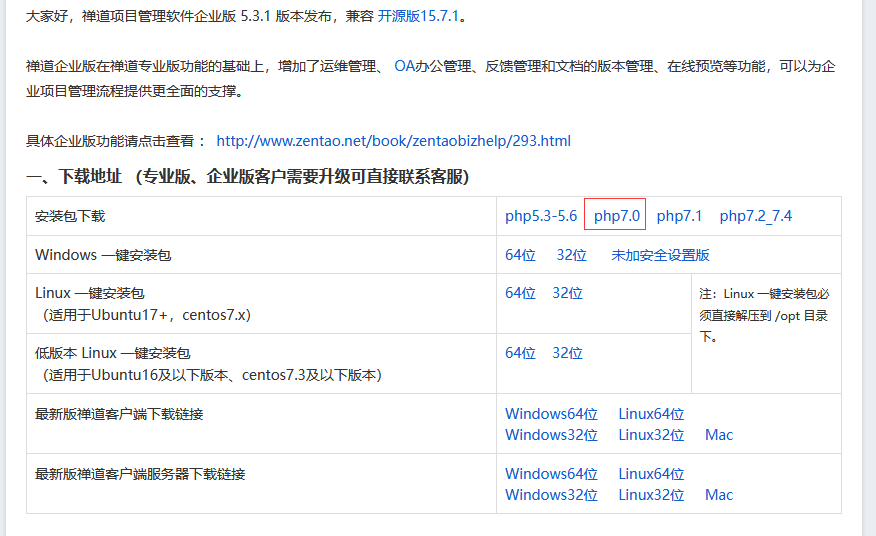
Zen official website download source package , select a version, such as 5.3.1
-
I am php7.0, so download the version of php7.0
3, Installation
1. Put the file on the Linux server and unzip it
- Put ZenTaoPMS.biz5.3.1.php7.0.zip under / var/www/web /
- 2. Unzip ZenTaoPMS.biz5.3.1.php7.0.zip. The command is as follows
cd /var/www/web/
unzip ZenTaoPMS.biz5.3.1.php7.0.zip
- 3. After decompression, a folder named zentaopms is added under / var/www/web /
2. Configure the project zentaopms in the nginx.conf file
user  nginx;
worker_processes  2;

error_log  /var/log/nginx/error.log warn;
pid        /var/run/nginx.pid;


events {
    worker_connections  1024;
}


http {
    include       /etc/nginx/mime.types;
    default_type  application/octet-stream;

    log_format  main  '$remote_addr - $remote_user [$time_local] "$request" '
                      '$status $body_bytes_sent "$http_referer" '
                      '"$http_user_agent" "$http_x_forwarded_for"';

    access_log  /var/log/nginx/access.log  main;

    sendfile        on;
    tcp_nopush     on;

    keepalive_timeout  65;

    gzip  on;

    include /etc/nginx/conf.d/*.conf;

	server {
		listen       8083;
		server_name  localhost;

		#charset koi8-r;
		#access_log  logs/host.access.log  main;

		fastcgi_buffer_size 1M;
		fastcgi_buffers 32 512k;
		fastcgi_busy_buffers_size 1M;

		root   /var/www/web/zentaopms/www;

		location / {
			index  index.php index.html index.htm;
			if (!-e $request_filename) {
			rewrite ^/(.*)  /index.php?$1 last;
			}
		}

		#error_page  404              /404.html;

		# redirect server error pages to the static page /50x.html
		#
		error_page   500 502 503 504  /50x.html;
		location = /50x.html {
			root   html;
		}
		location ~ \.php$ {
			fastcgi_pass   127.0.0.1:9000;
			fastcgi_index  index.php;
			fastcgi_param  SCRIPT_FILENAME  $document_root$fastcgi_script_name;
			include        fastcgi_params;

		}
	}
}
3. Restart nginx
- systemctl restart nginx. If the startup fails, please move to next step >>>How to verify whether nginx.conf is configured correctly
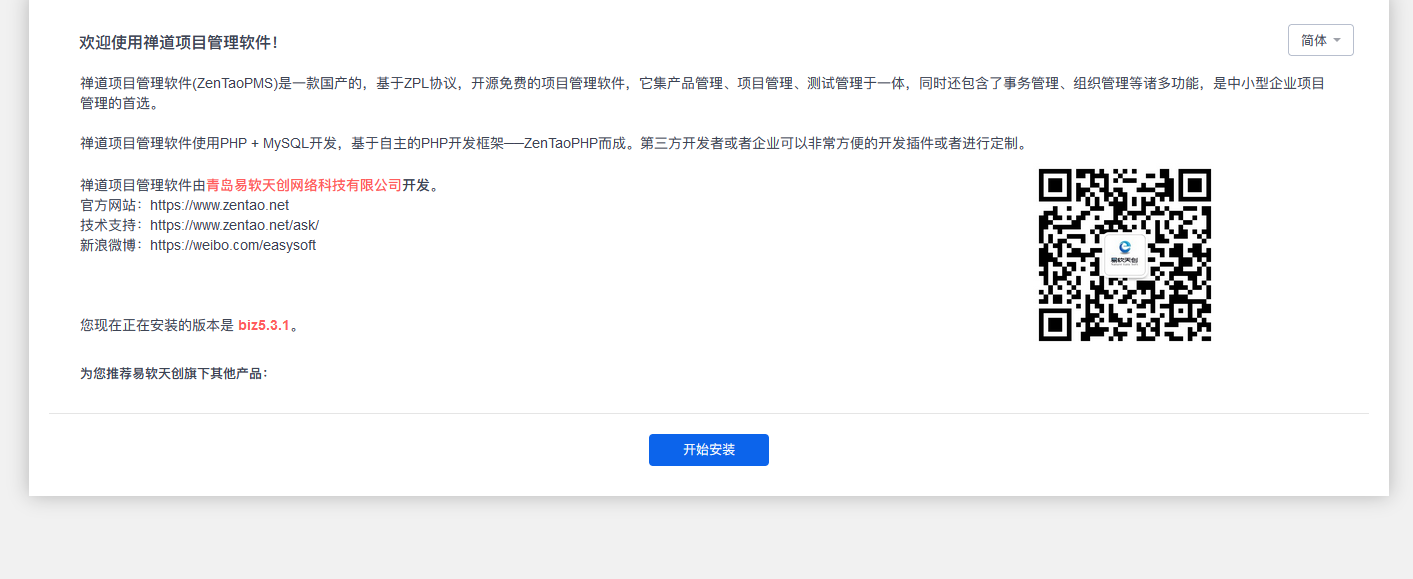
4, Project start
After the third step is completed, run the Zen project according to your configured port / domain name. My running is as follows:
-
1. Select the language to start the installation
-
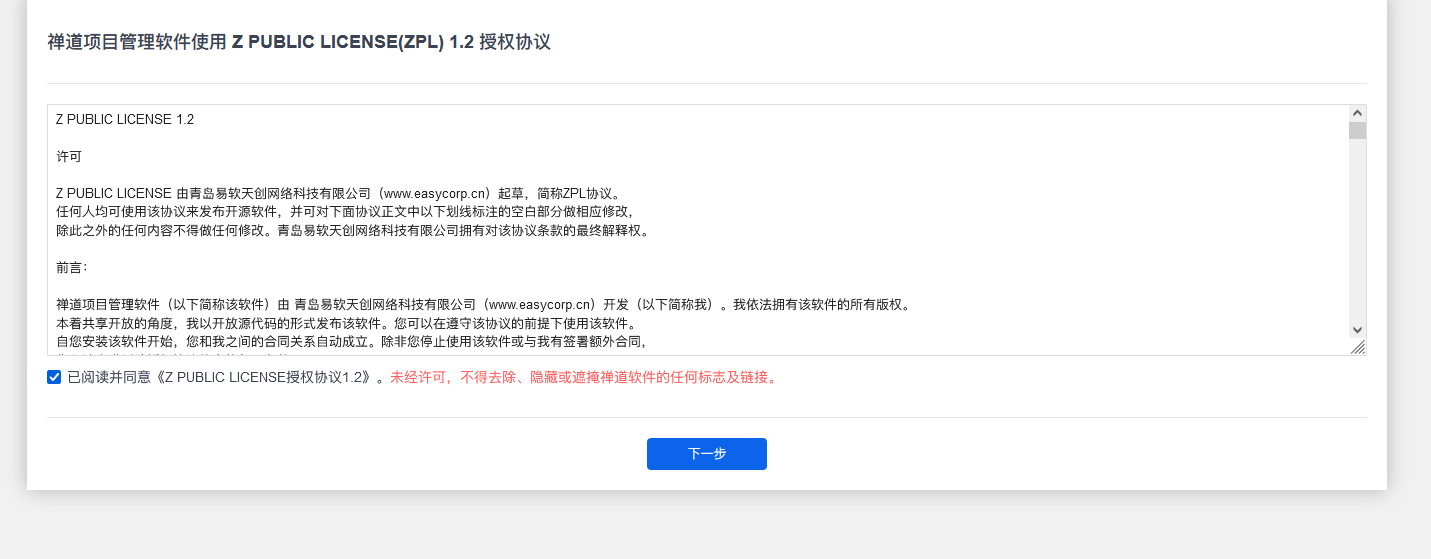
2. Agree to the agreement, next step
-
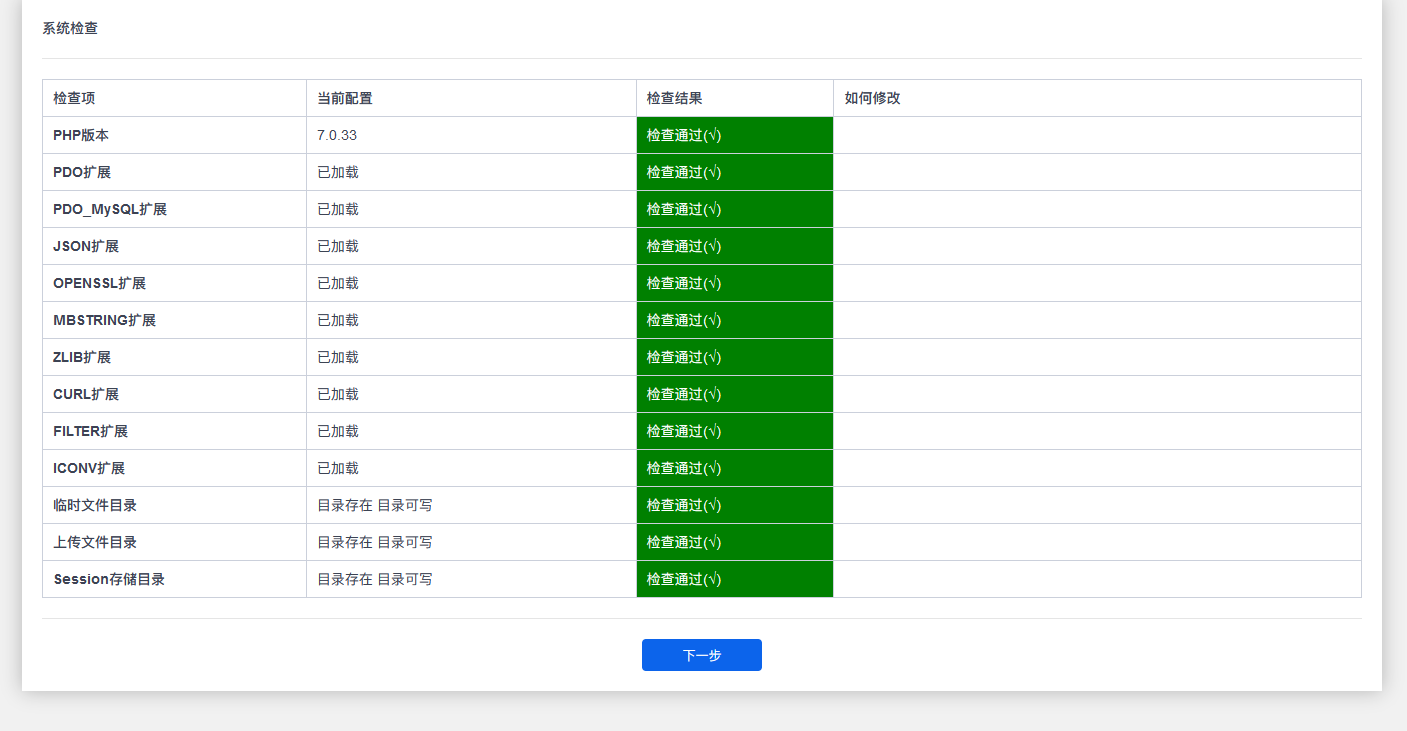
3. System test passed, next step
-
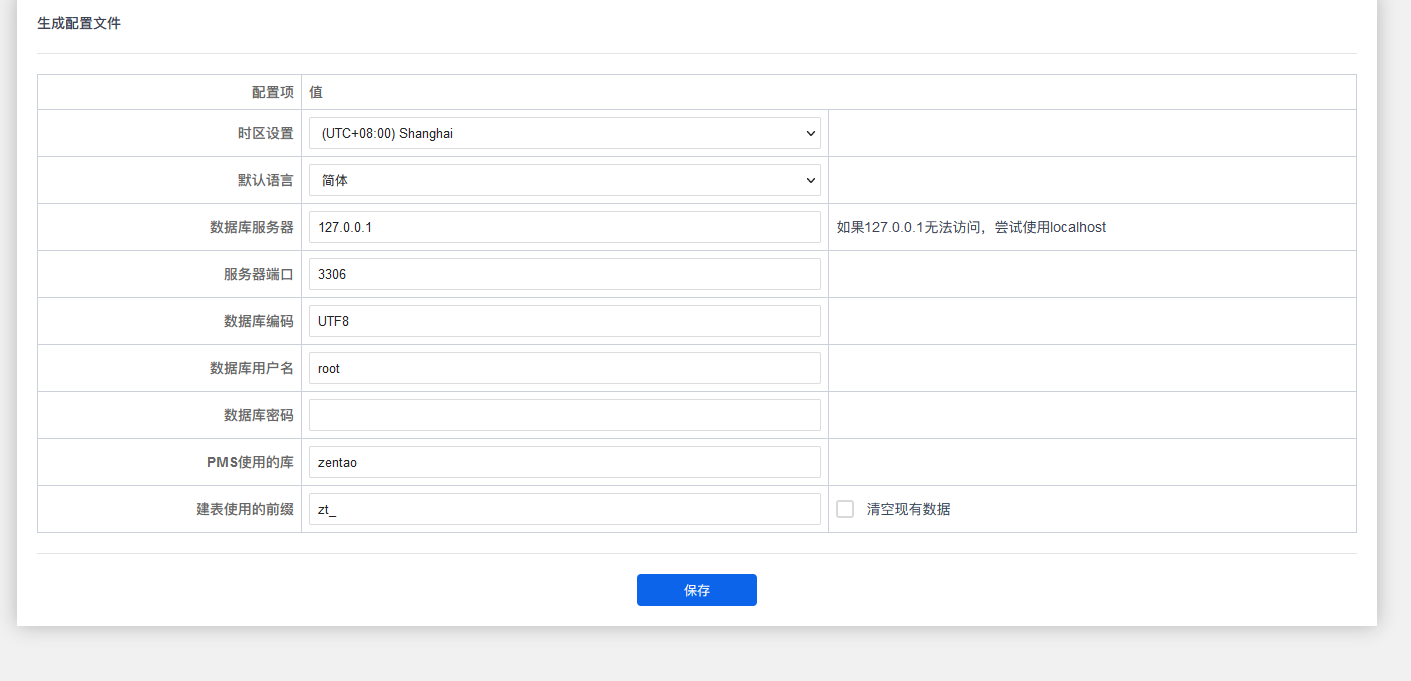
4. Fill in the database configuration information and save it
-
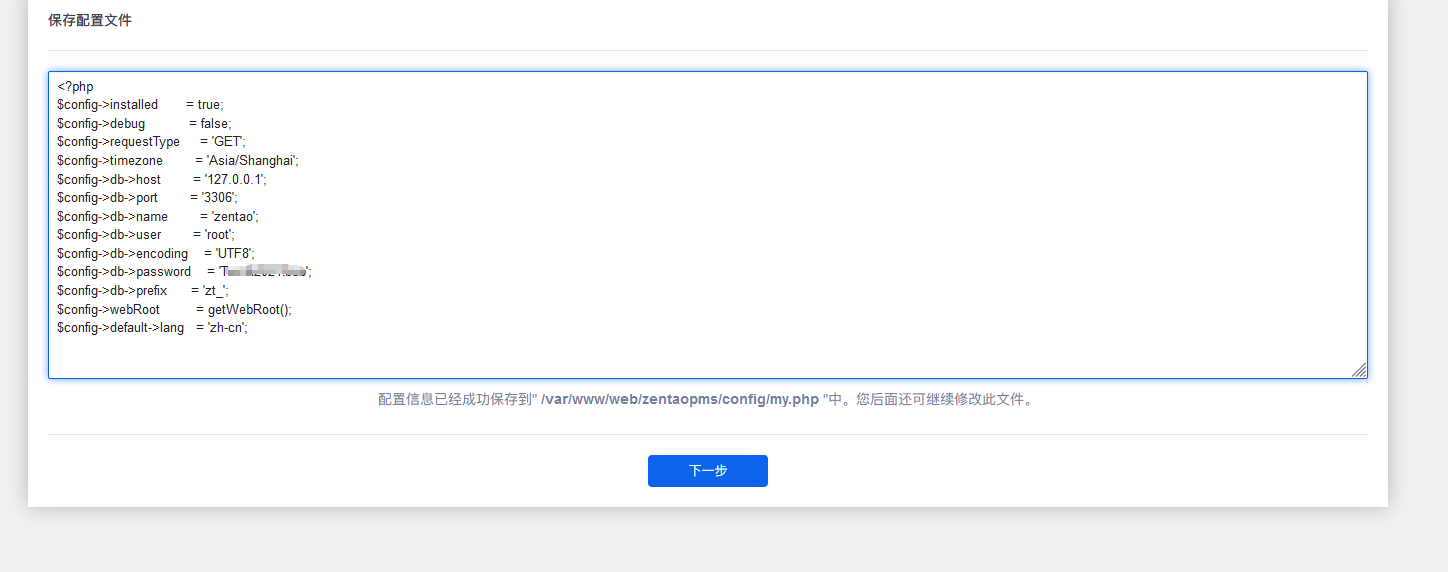
5. Configuration file generation (configuration information has been successfully saved in / var/www/web/zentaopms/config/my.php. You can continue to modify this file later.) next
-
6. Zen function introduction (select version mode: 1-Classic management mode; 2-new project set management mode), next step

-
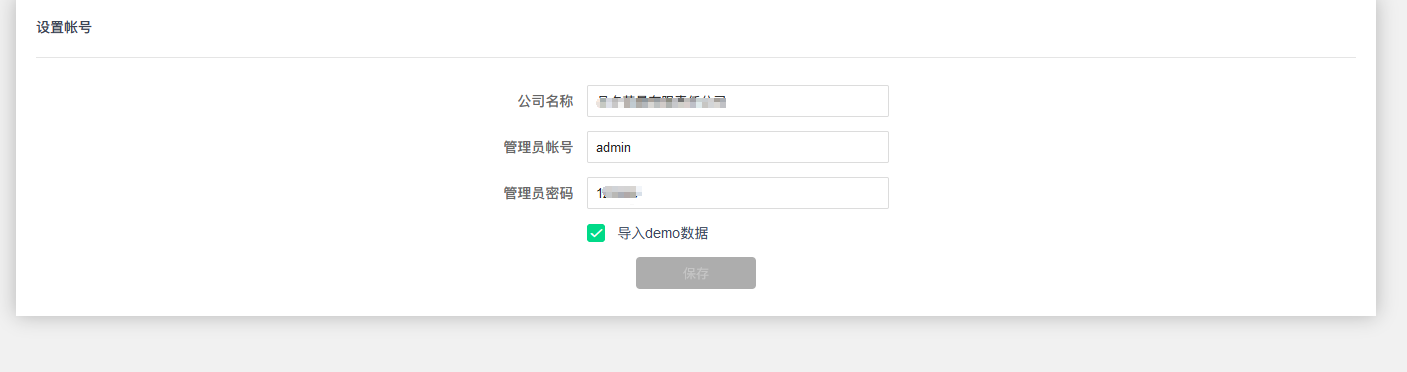
7. Set the account information (import Demo data) and save it

-
8. Wait, no response
-
9. F12 check the reason why ioncube loader is not installed. Solution: Please move to > > > install ioncube extension for PHP under Linux
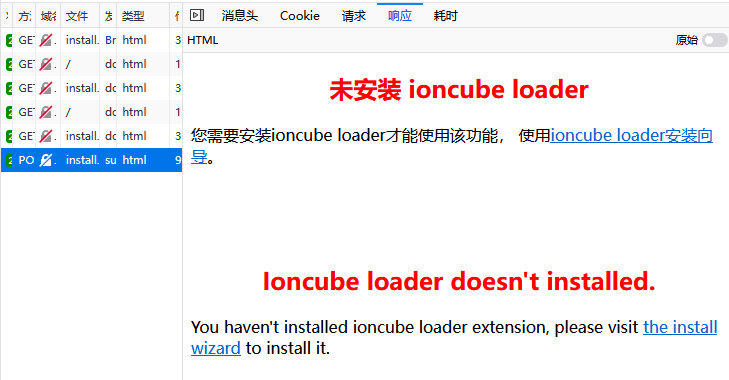
-
10. After installing ioncube, click to log in to the Zen management system
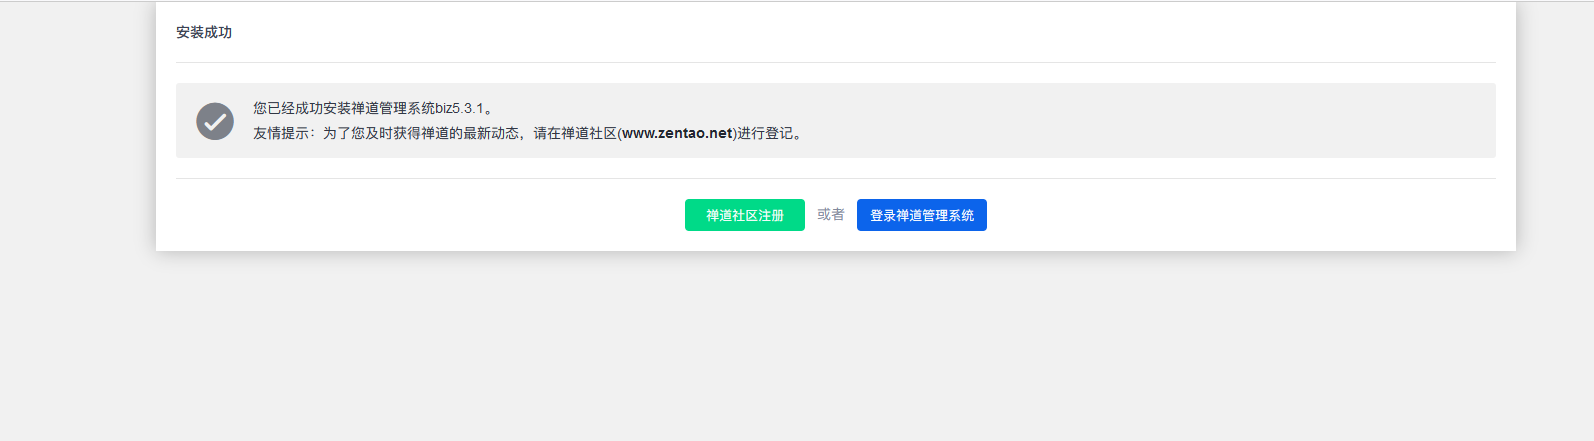
-
11. Error: Linx has no permission. Solution: Please move to > > > record: the Linux settings folder 0777 permission is invalid
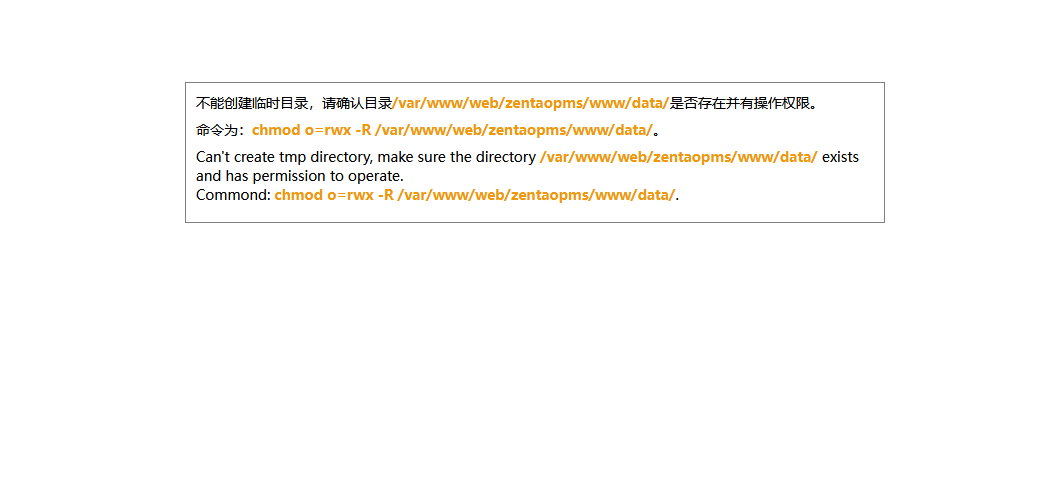
-
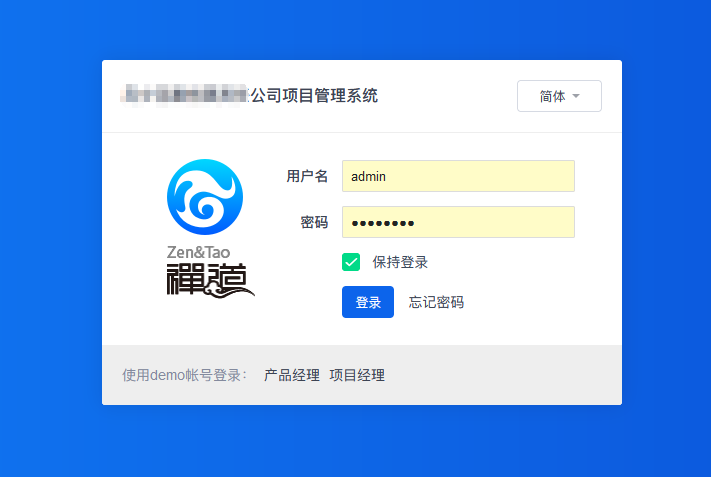
12. Login page, successful.
5, Summary
- 1. Project download, installation, configuration and restart will be completed soon
- 2. After installing the ioncube expansion card, there is no problem installing it according to the documentation
- 3. / var/www/web/zentaopms/www/data / does it exist and have operation permissions? The card has been for a long time, but it has been solved in the end~
- 4. If you want to try another installation method, move to Zen official website / home page / help / open source manual / choose the installation method suitable for you