introduction
One of Alibaba's core distributed technologies is RocketMq. As a distributed message middleware, it has been baptized by Taobao's double 11 and far exceeds activeMq in function and performance
1. You should know that RocketMQ native supports distributed, while ActiveMQ native has a single point.
2.RocketMQ can guarantee strict message order, but ActiveMQ cannot!
3.RocketMQ provides the ability to accumulate 100 million messages. This is not the focus. The focus is to keep the write latency low after accumulating 100 million messages!
4. Rich message pull mode (Push or Pull)
Push is easy to understand, such as setting the Listener callback on the consumer side; In Pull, the control power lies in the application, that is, the application needs to actively call the Pull message method to obtain messages from the Broker. There is a problem of consumption location recording (if it is not recorded, it will lead to repeated consumption of messages)
5. In Metaq1.x/2.x, Zookeeper is used for distributed coordination, while RocketMQ implements a NameServer, which is more lightweight and has better performance!
6. Message failure retry mechanism, efficient subscriber horizontal expansion capability, powerful API, transaction mechanism, etc. (described in detail later)
Quoted from: https://www.jianshu.com/p/3afd610a8f7d
Installation steps
1. Install JAVA
2. Install RocketMQ
- Get RocketMQ
Find the corresponding version on github and get the download link, https://github.com/apache/rocketmq/releases Click the corresponding version and right-click to get the copy link address to get the https://github.com/apache/rocketmq/archive/refs/tags/rocketmq-all-4.9.1.tar.gz
- Execute Linux commands
# Enter the download directory
> cd /usr/local
# Download the rocketmq source package through the wget command
> wget https://github.com/apache/rocketmq/archive/rocketmq-all-4.7.1.tar.gz
# Unzip the source package
> tar -zxvf rocketmq-all-4.7.1.tar.gz
3. Install Maven
Since the downloaded RocketMQ is the source code, we need to compile the source code. We choose maven to compile it
- Get Maven
Via Maven's official website https://maven.apache.org/download.cgi , find the Maven version to download. Here we choose Maven-3.8.3 https://dlcdn.apache.org/maven/maven-3/3.8.3/binaries/apache-maven-3.8.3-bin.tar.gz - Install Maven
# Enter the download directory
> cd /usr/local
# Download maven package through wget command
> wget https://dlcdn.apache.org/maven/maven-3/3.8.3/binaries/apache-maven-3.8.3-bin.tar.gz
# Unzip Maven
> tar -zxvf apache-maven-3.8.3-bin.tar.gz
# Modify Maven configuration file and configure Maven image library
> vim /usr/local/apache-maven-3.8.3/conf/setting.xml
Find the "mirrors" tag pair in Maven configuration file and add the following configuration
<mirror>
	<id>alimaven</id>
	<name>aliyun maven</name>
	<url>http://maven.aliyun.com/nexus/content/groups/public/</url>
	<mirrorOf>central</mirrorOf>
</mirror>
Next, we configure the Linux environment variables
# View linux configuration file
> vim /etc/profile
# Add the following at the bottom of the file
# Configuration variable MAVEN_HOME
MAVEN_HOME=/usr/local/apache-maven-3.8.3
export MAVEN_HOME
# Configure the PATH. The purpose of adding ${PATH} is to reference the previously configured PATH
export PATH=${PATH}:${MAVEN_HOME}/bin
# Save changes
> [Esc]:wq!
# Manual refresh profile takes effect
> source /etc/profile
We can verify whether maven is installed successfully through mvn -v
# Execute the maven command to -v view the maven version
> mvn -v
# If the following information appears, the installation is successful
Maven home: /usr/local/apache-maven-3.8.3
Java version: 1.8.0_162, vendor: Oracle Corporation, runtime: /usr/local/java/jdk1.8.0_162/jre
Default locale: en_US, platform encoding: UTF-8
OS name: "linux", version: "3.10.0-1160.11.1.el7.x86_64", arch: "amd64", family: "unix"
Reference documents: Linux environment variable configuration introduction
4. Compile RocketMQ
When the relevant software is configured, we can compile the RoekctMQ source code
# Enter the RokcetMQ directory
> cd /usr/local/rocket-rocketmq-all-4.7.1
# Execute maven compile command
> mvn -Prelease-all -DskipTests clean install -U
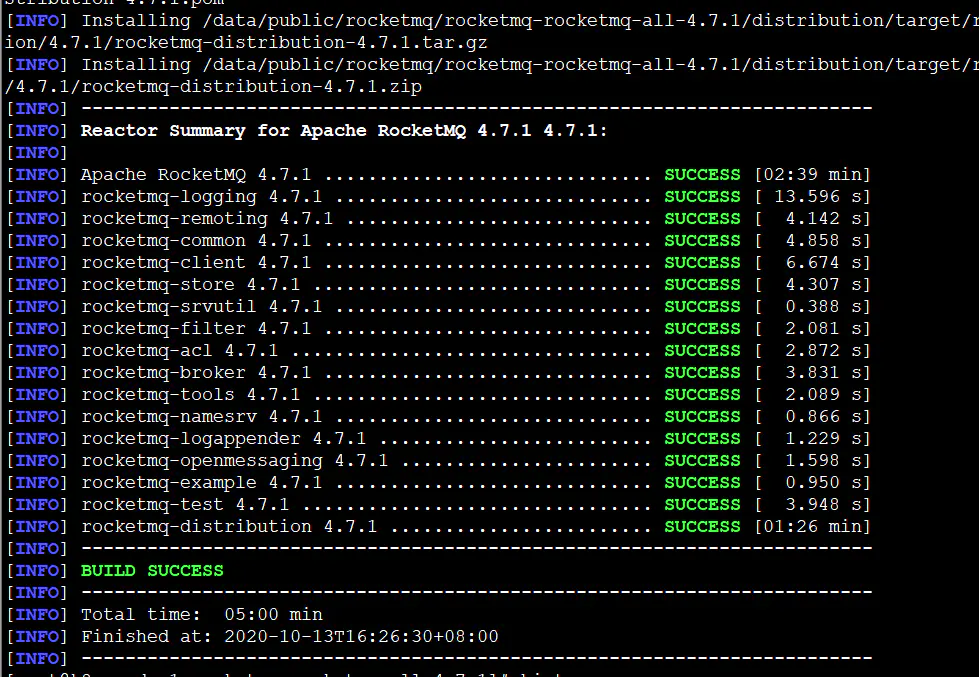
The execution result is shown in the figure. If "BUILD SUCCESS" appears, the compilation is successful:
After successful compilation, a new directory will be generated
/usr/local/rocketmq-rocketmq-all-4.7.1/distribution/target/rocketmq-4.7.1 is the compiled RocketMQ
We can choose to move it to another directory for easy operation
# Here I choose to move it to / usr/local
> mv /usr/local/rocketmq-rocketmq-all-4.7.1/distribution/target/rocketmq-4.7.1 /usr/local/rocketmq-4.7.1
5. Start RocketMQ
So far, most of our RocketMQ installation has been completed. At this time, we only need to start normally
# Enter the rocketmq directory
> cd /usr/local/rocket-4.7.1
# Here, we choose to put the log file into / data/mq/krocketmq/nameserver.log, and create the log directory first
> mkdir /data/mq/rocketmq
# Start namesrv
> nohup sh bin/mqnamesrv > /data/mq/rocketmq/nameserver.log 2>&1 &
# Start broker
> nohup sh bin/mqbroker -n 127.0.0.1:9876 -c conf/broker.conf autoCreateTopicEnable=true > /data/mq/rocketmq/broker.log 2>&1 &
# View startup information
> jps -lm
Through jps, we can see the following information, which indicates that rocketmq has been started successfully

There is a small pit here. When you start the broker, you will be prompted with an error, but when you carefully check the error log, you will find that there is not enough memory
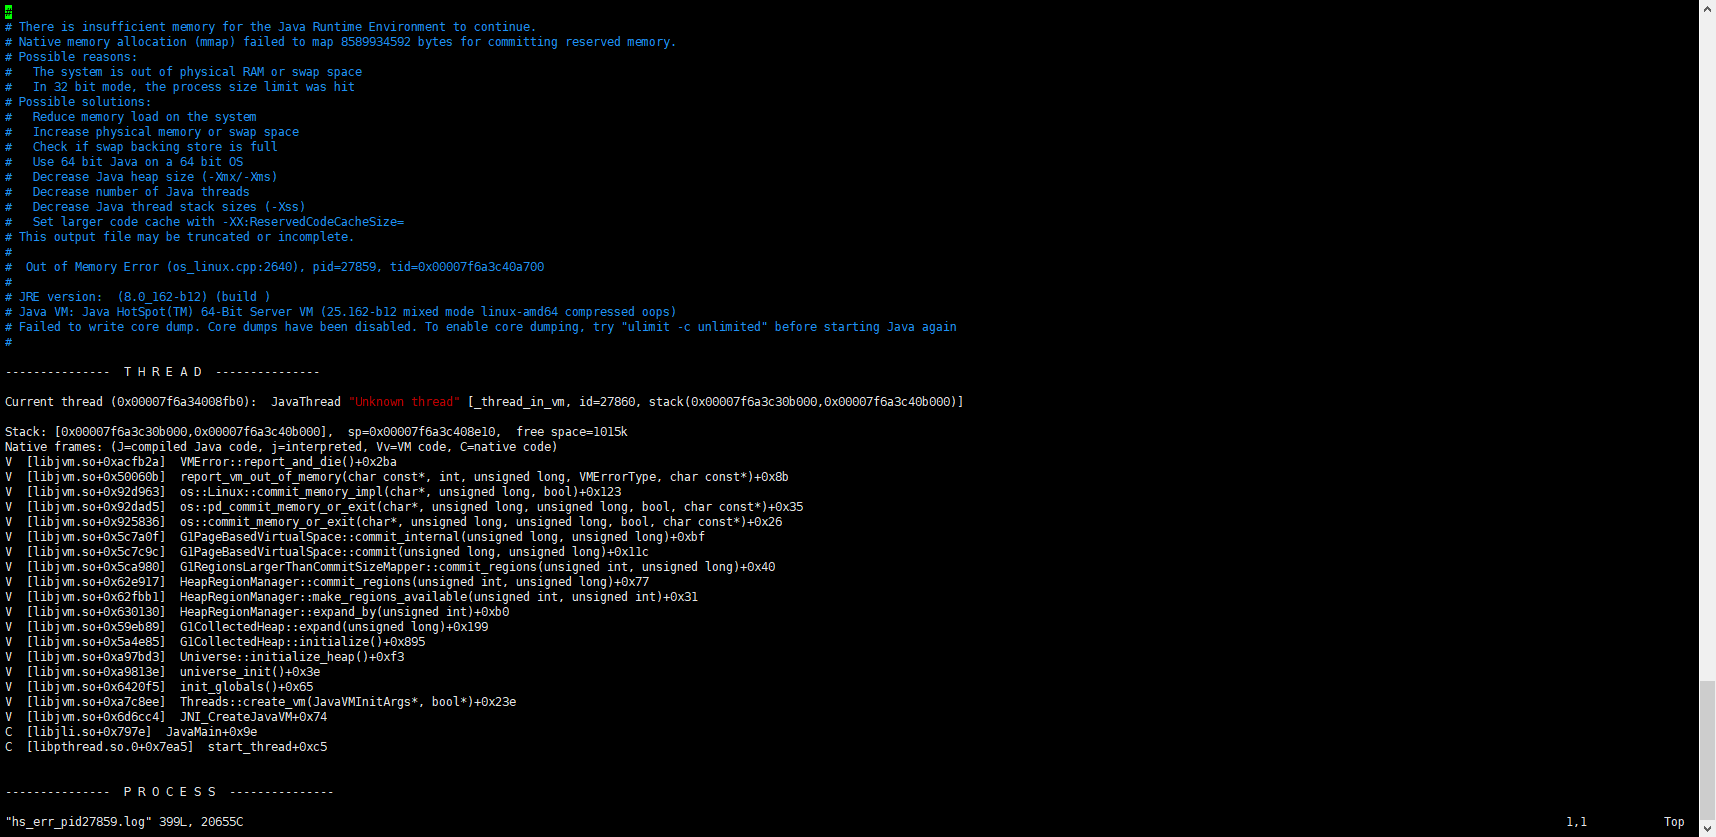
This is because the memory allocated by default when rocketmq is started is too large, and the actual memory of the system is not enough to provide such a large memory
Open the runbroker.sh file, and we will see the following configuration

We only need to modify the memory allocated at startup
-server -Xms128m -Xmx256m -Xmn256m
Restart the broker after saving the configuration
Reference documents: RocketMQ stepping on the pit
6. Test RocketMQ
Now we need to test whether RocketMQ is working properly
# Configure service address
> export NAMESRV_ADDR=127.0.0.1:9876
# Enter the rocketmq directory
> cd /usr/local/rocketmq-4.7.1
# Send sample template
> sh bin/tools.sh org.apache.rocketmq.example.quickstart.Producer
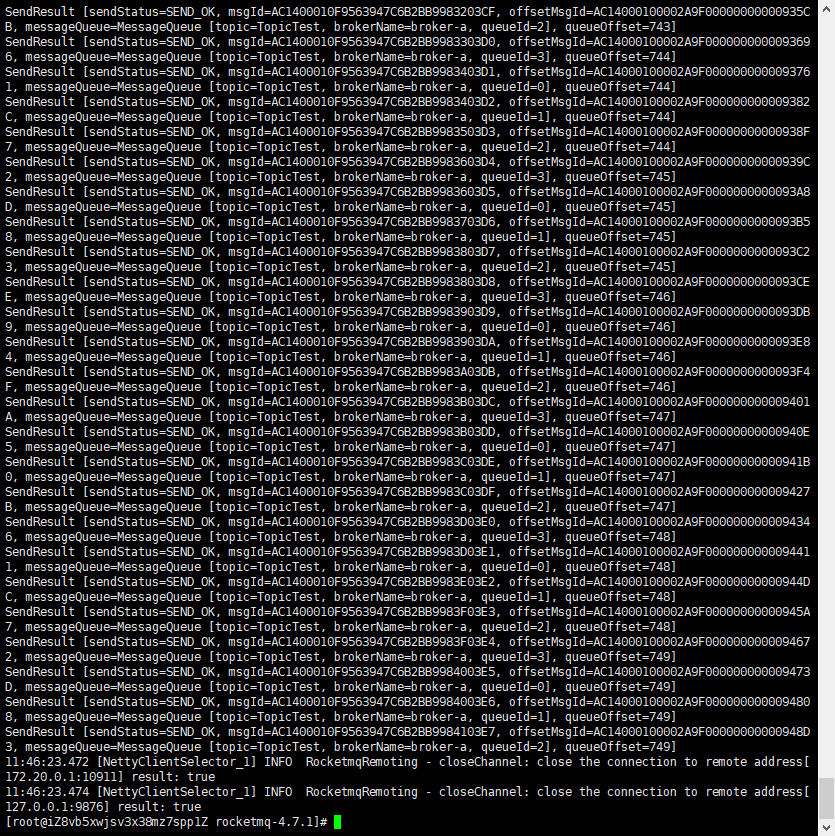
# Receive sample messages
> sh bin/tools.sh org.apache.rocketmq.example.quickstart.Consumer
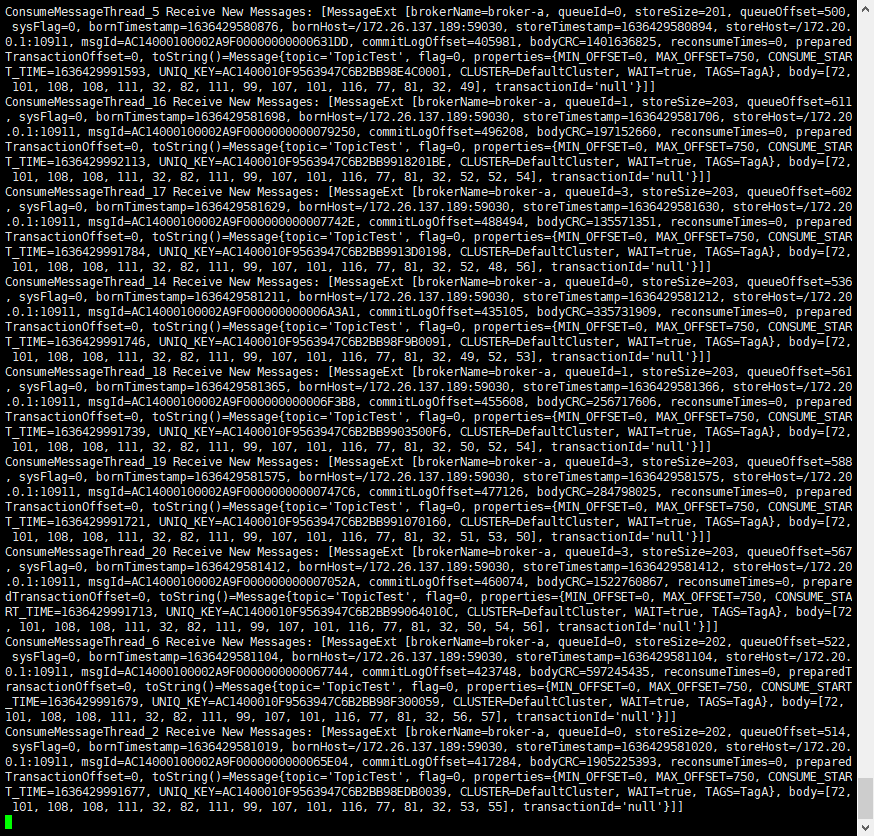
Queue message consumption to success
7. Close RocketMQ
# Enter the rocketmq directory
> cd /usr/local/rocketmq-4.7.1
# Stop broker
> sh bin/mqshutdown broker
# Stop nameserver
> sh bin/mqshutdown namesrv
Self starting RocketMQ
// TODO
Reference documents:
Installing and deploying rocketmq for Linux
Installing rocketmq for linux