Introduction to web server:
The main function of web server is to provide online information browsing service. At present, the information we browse on the Internet is provided by different web servers. Enterprises usually have their own portal, so it is also crucial to master the web server. Now we can get familiar with the common web servers.
1. Common web servers:
common web Server examples (not limited to these): nginx,tengine,httpd,tomcat,IIS,lighttpd

# Web server distribution: (which enterprises like to use what web server)
httpd|IIS		Most of them are used by government organs and banks
nginx|tomcat|tengine		Community, e-commerce use more

nginx		Jingdong, Tencent, Sina it Ape network
httpd		Website of the people's Government of China, China Construction Bank..
IIS			China Merchants Bank, Bank of China, industrial and Commercial Bank of China, Agricultural Bank of China...
tengine     Jian Shu csdn,TaoBao...
2. Development of nginx:
- The first public version 0.1.0 was released on October 4, 2004.
- The 1.4.0 stable version of Nginx was released on April 24, 2013.
- The latest stable version of Nginx is 1.20.2, which will be released on November 16, 2021.
3. Installation method of nginx:
- YUM installation deployment
- Source code installation and deployment
3.1 yum installation:
3.1.1 configure the yum source of nginx:
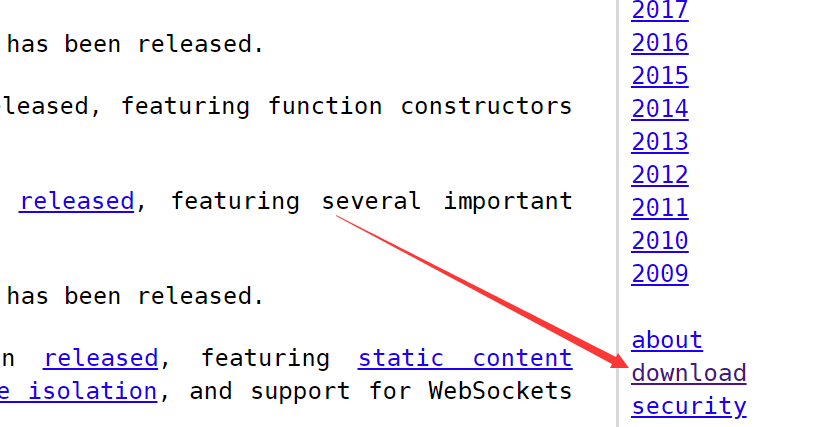
- Log in to nginx's official website and click download on the right:
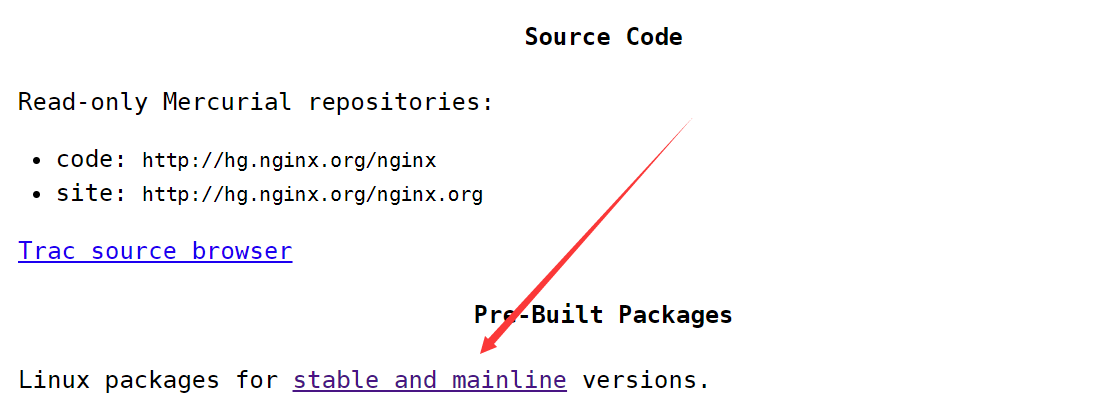
- Click stable and mainline at the bottom of the current page:
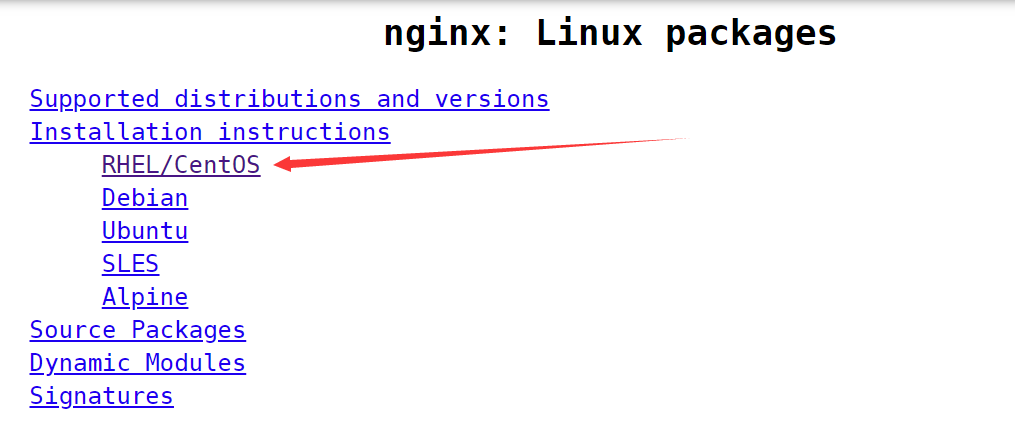
- Then select RHEL/CentOS:
- Copy the configuration file and create nginx.repo file in / etc/yum.repos.d /
[root@www.lutixia.cn ~]# vim /etc/yum.repos.d/nginx.repo

[nginx-stable]
name=nginx stable repo
baseurl=http://nginx.org/packages/centos/$releasever/$basearch/
gpgcheck=1
enabled=1
gpgkey=https://nginx.org/keys/nginx_signing.key

[nginx-mainline]
name=nginx mainline repo
baseurl=http://nginx.org/packages/mainline/centos/$releasever/$basearch/
gpgcheck=1
enabled=0
gpgkey=https://nginx.org/keys/nginx_signing.key
- You can install it directly now. The stable version is installed by default:
3.1.1 install stable version:
[root@www.lutixia.cn ~]# yum install nginx -y
[root@www.lutixia.cn ~]# nginx -v
nginx version: nginx/1.20.2
3.1.2 installation mainline version:
# First install the yum expansion pack and open the mainline version warehouse of nginx:
[root@www.lutixia.cn ~]# yum  install yum-utils -y
[root@www.lutixia.cn ~]# yum-config-manager --enable nginx-mainline
[root@www.lutixia.cn ~]# yum install nginx -y
At this time, nginx version 1.20.2 will be upgraded directly.
[root@www.lutixia.cn ~]# nginx -v
nginx version: nginx/1.21.4
3.2 source code installation:
Log in to nginx's official website and click download on the right:
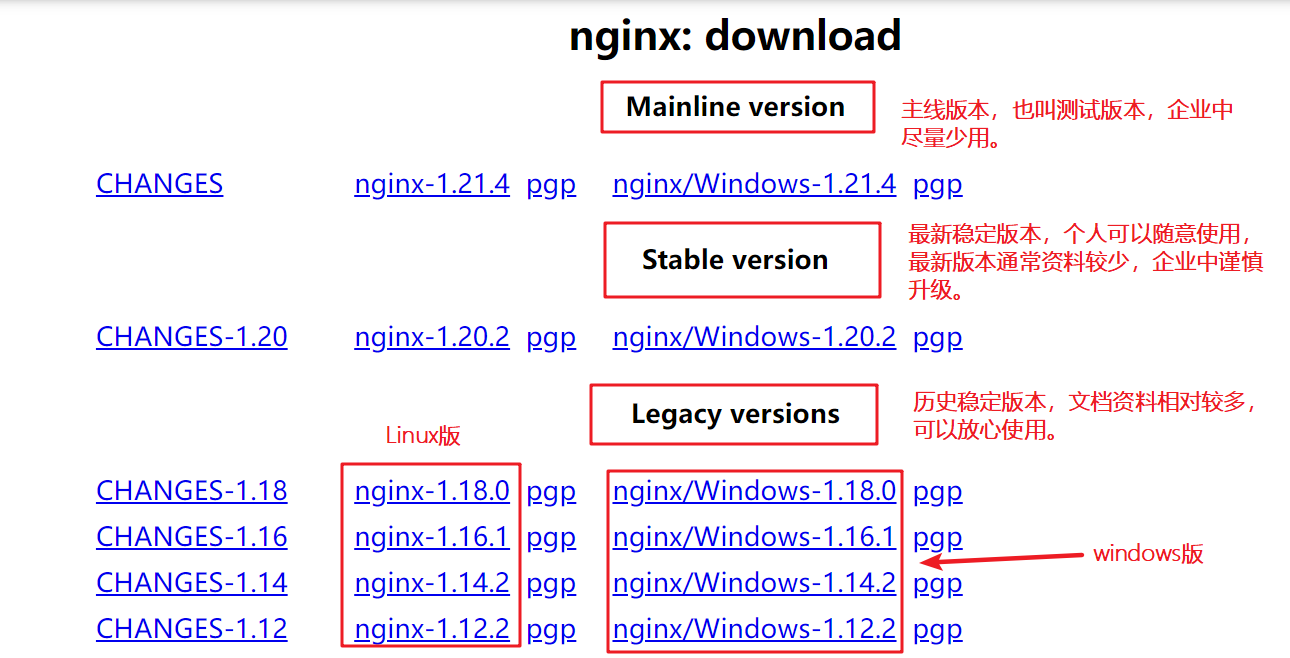
- Mainline version: also called development version. It is the latest version but has not been tested in a large number.
- Stable version: the stable version is usually a relatively stable version after a lot of testing. We will also use the stable version in the enterprise.
- Historical version: usually a stable version of previous periods.
3.2.1 download package:
# Select the version you want to download and right-click the copy address to download:
[root@www.lutixia.cn ~]# wget http://nginx.org/download/nginx-1.20.2.tar.gz
3.2.2 installation dependency:
[root@www.lutixia.cn ~]# yum install gcc gcc-c++ pcre-devel zlib-devel openssl-devel -y
3.2.3 decompression package:
[root@www.lutixia.cn ~]# tar xf nginx-1.20.2.tar.gz
[root@www.lutixia.cn ~]# cd nginx-1.20.2
3.2.4 precompiling:
Precompiling is mainly used to check whether the system environment meets the conditions for installing software packages,
And generate Makefile File, which is compiled, installed and upgraded nginx The corresponding parameters are indicated.

./configure --help You can view precompiled parameters
--prefix       appoint nginx Directory of compilation and installation;
--user=***     appoint nginx Owner of
--group=***    appoint nginx Owners and groups of genera
--with-***     Specifies to compile a module
--without-**   Specifies not to compile a module
--add-module   Compiling third-party modules
Start precompiling:
[root@www.lutixia.cn nginx-1.20.2]# ./configure --prefix=/usr/local/nginx
[root@www.lutixia.cn nginx-1.20.2]# cat Makefile

default:	build

clean:
	rm -rf Makefile objs

build:
	$(MAKE) -f objs/Makefile

install:
	$(MAKE) -f objs/Makefile install

modules:
	$(MAKE) -f objs/Makefile modules

upgrade:
        /usr/local/nginx/sbin/nginx -t
	kill -USR2 `cat /usr/local/nginx/logs/nginx.pid`
	sleep 1
	test -f /usr/local/nginx/logs/nginx.pid.oldbin

	kill -QUIT `cat /usr/local/nginx/logs/nginx.pid.oldbin`

make clean : When recompiling, this command is usually executed to delete the last compiled file
make build : Compilation, default parameter, can be omitted build parameter
make install : install
make modules : Compilation module
make  upgrade : Online upgrade
3.2.5 compile and install
[root@www.lutixia.cn nginx-1.20.2]# make && make install
3.2.6 view version
[root@www.lutixia.cn nginx-1.20.2]# /usr/local/nginx/sbin/nginx -v
nginx version: nginx/1.20.2
3.2.7 start nginx:
[root@www.lutixia.cn nginx-1.20.2]# /usr/local/nginx/sbin/nginx
3.2.8 check process and port:
# View process:
[root@www.lutixia.cn nginx-1.20.2]# ps -ef|grep nginx
root      6853     1  0 20:27 ?        00:00:00 nginx: master process /usr/local/nginx/sbin/nginx
nobody    7839  6853  0 21:35 ?        00:00:00 nginx: worker process
# View port
[root@www.lutixia.cn nginx-1.20.2]# netstat -ntlp|grep 80
tcp        0      0 0.0.0.0:80              0.0.0.0:*               LISTEN      6853/nginx: master
You can see the port and process, indicating that the nginx WEB service has been built successfully! At this time, you can access the server ip where the nginx service is deployed, and you can see the welcome message.
4. Common commands of nginx:
Use the / usr / local / nginx / SBIN / nginx - H command to view the available parameters:
[root@www.lutixia.cn nginx-1.20.2]# /usr/local/nginx/sbin/nginx  -h
nginx version: nginx/1.20.2
Usage: nginx [-?hvVtTq] [-s signal] [-c filename] [-p prefix] [-g directives]

Options:
  -?,-h         : this help
  -v            : show version and exit
  -V            : show version and configure options then exit
  -t            : test configuration and exit
  -T            : test configuration, dump it and exit
  -q            : suppress non-error messages during configuration testing
  -s signal     : send signal to a master process: stop, quit, reopen, reload
  -p prefix     : set prefix path (default: /usr/local/nginx/)
  -e filename   : set error log file (default: /var/log/nginx/error.log)
  -c filename   : set configuration file (default: conf/nginx.conf)
  -g directives : set global directives out of configuration file
4.1 command interpretation:
-v      Viewable nginx Version of.
-V      Viewable nginx Details, including compiled parameters.
-t      Can be used to test nginx Syntax error in configuration file for.
-T      Can be used to test nginx The syntax of the configuration file is incorrect. You can also redirect the backup nginx Configuration file for.
-q      If there is no error message in the configuration file, there will be no prompt. If there is an error, an error message will be prompted, and-t Use together.
-s      Send signal to master handle:
        stop    Stop now nginx Service, regardless of whether the request is processed or not
        quit    Exit the service gracefully and exit after processing the current request
        reopen  Re open the log file. The original log file should be backed up and renamed in advance.
        reload  Reload profile
-p      set up nginx Home directory path. The default is the installation path at compile time
-e 		Specify the error log path
-c      set up nginx The default is the configuration file in the home directory
-g      set up nginx Global variable that overrides the variables in the configuration file.
4.2 command demonstration:
If you find it troublesome to enter an absolute path to execute commands every time, you can directly use nginx commands through the following methods.
1,Make soft connection:
[root@www.lutixia.cn ~]# ln  -s /usr/local/nginx/sbin/* /usr/local/sbin
 Then read the configuration file again
[root@www.lutixia.cn ~]# . /etc/profile

ps:Soft connection in PATH The path is first because yum Installed in/usr/sbin/Under the directory,
which according to PATH If you find the first one in the order of, you won't find it.

2,Configure environment variables:
[root@www.lutixia.cn ~]# echo "export PATH=/usr/local/nginx/sbin:$PATH" > /etc/profile.d/nginx.sh

Then read the configuration file again
[root@www.lutixia.cn ~]# source /etc/profile

ps:It's best to write in $PATH Front, otherwise, if installed yum Edition nginx,
Direct execution nginx Will start yum Edition nginx,because which nginx,We'll find it first/usr/sbin/nginx file

3,Set alias:

[root@www.lutixia.cn ~]# alias  nginx='/usr/local/nginx/sbin/nginx'

ps:which Find alias first
4.2.1 start nginx:
[root@www.lutixia.cn ~]# nginx
4.2.2 stop nginx immediately:
[root@www.lutixia.cn ~]# nginx -s stop
4.2.3 graceful stop nginx:
[root@www.lutixia.cn ~]# nginx -s quit
4.2.4 reopen the log file
This command can be used for log cutting and executed regularly.
[root@www.lutixia.cn logs]# ls
access.log  error.log  nginx.pid
[root@www.lutixia.cn logs]# mv access.log{,.bak}
[root@www.lutixia.cn logs]# ls
access.log.bak  error.log  nginx.pid
[root@www.lutixia.cn logs]# /usr/local/nginx/sbin/nginx -s reopen
[root@www.lutixia.cn logs]# ls
access.log  access.log.bak  error.log  nginx.pid
4.2.5 reload configuration file:
Modify the number of work processes, restart the service, and compare the number of processes before and after
[root@www.lutixia.cn logs]# ps -ef|grep nginx
root      2685     1  0 23:56 ?        00:00:00 nginx: master process /usr/local/nginx/sbin/nginx
nginx     2686  2685  0 23:56 ?        00:00:00 nginx: worker process
root      2691  2532  0 23:57 pts/1    00:00:00 grep --color=auto nginx
[root@www.lutixia.cn logs]# vim /usr/local/nginx/conf/nginx.conf
[root@www.lutixia.cn logs]# /usr/local/nginx/sbin/nginx -s reload
[root@www.lutixia.cn logs]# ps -ef|grep nginx
root      2685     1  0 23:56 ?        00:00:00 nginx: master process /usr/local/nginx/sbin/nginx
nginx     2694  2685  0 23:58 ?        00:00:00 nginx: worker process
nginx     2695  2685  0 23:58 ?        00:00:00 nginx: worker process
nginx     2696  2685  0 23:58 ?        00:00:00 nginx: worker process
root      2698  2532  0 23:58 pts/1    00:00:00 grep --color=auto nginx
4.2.6 start the specified configuration file:
Copy a nginx configuration file in the / data / directory, and then change the user name to www.
==Note = =: other configuration file paths referenced in the configuration file should also be modified.
[root@www.lutixia.cn logs]# cp /usr/local/nginx/conf/nginx.conf /data/
[root@www.lutixia.cn logs]# vim /data/nginx.conf
[root@www.lutixia.cn logs]# /usr/local/nginx/sbin/nginx  -c /data/nginx.conf
[root@www.lutixia.cn logs]# ps -ef|grep nginx
root      2736     1  0 00:05 ?        00:00:00 nginx: master process /usr/local/nginx/sbin/nginx -c /data/nginx.conf
www       2737  2736  0 00:05 ?        00:00:00 nginx: worker process
www       2738  2736  0 00:05 ?        00:00:00 nginx: worker process
www       2739  2736  0 00:05 ?        00:00:00 nginx: worker process
root      2741  2532  0 00:05 pts/1    00:00:00 grep --color=auto nginx
4.2.7 setting global variables
Let nginx run on the front end by setting global variables.
[root@www.lutixia.cn logs]# /usr/local/nginx/sbin/nginx  -g "daemon off;"

Now current nginx Running on the front end,
input ctrl +c,be nginx He quit.
4.2.8 syntax highlighting of configuration file:
[root@www.lutixia.cn ~]# cp -r /usr/src/nginx-1.20.2/contrib/vim/* /usr/share/vim/vimfiles/
This is the end of nginx installation deployment initialization.