Anaconda + pychar package is recommended.
This article describes how to install the pytorch and tensorflow frameworks
First of all, you should know which version of your graphics card driver is (take 1660S as an example)
1. Open the NVIDIA control panel, which can be opened by right clicking on the desktop or hiding the icon bar in the lower right corner
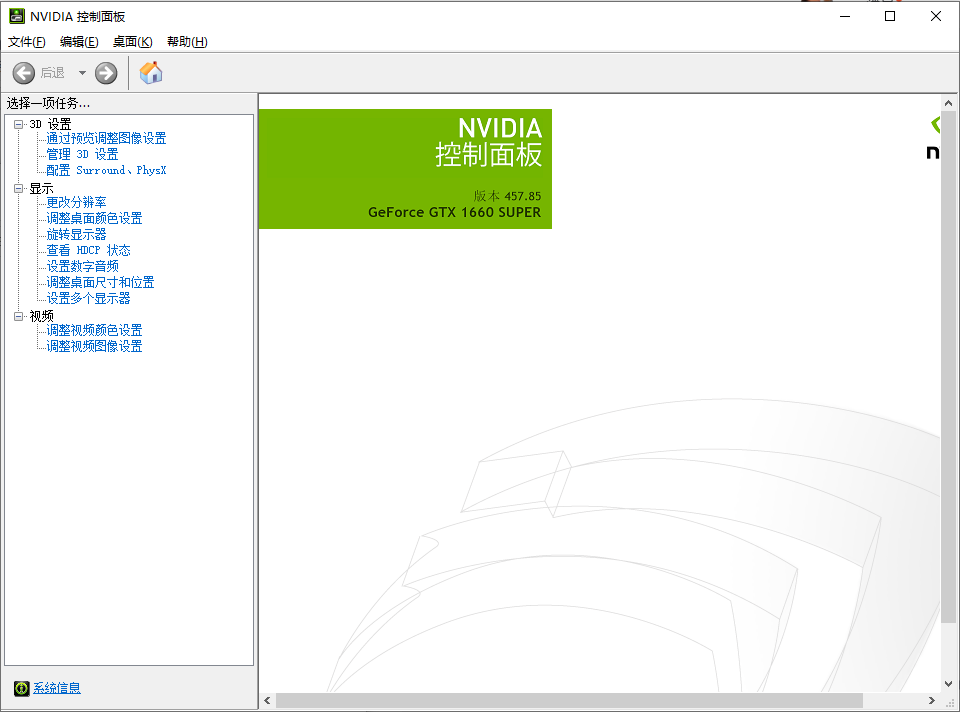
Open help → system information
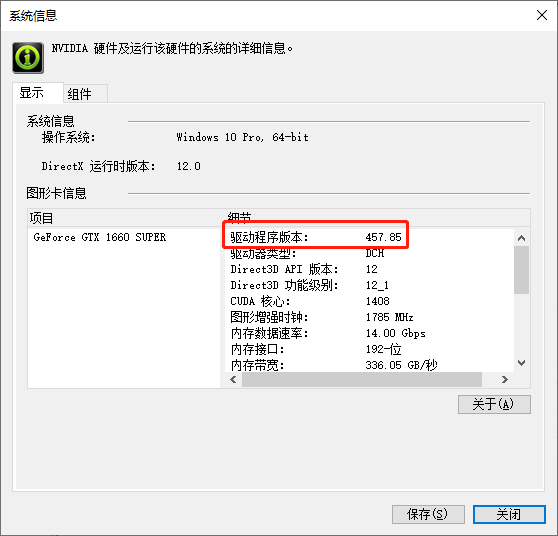
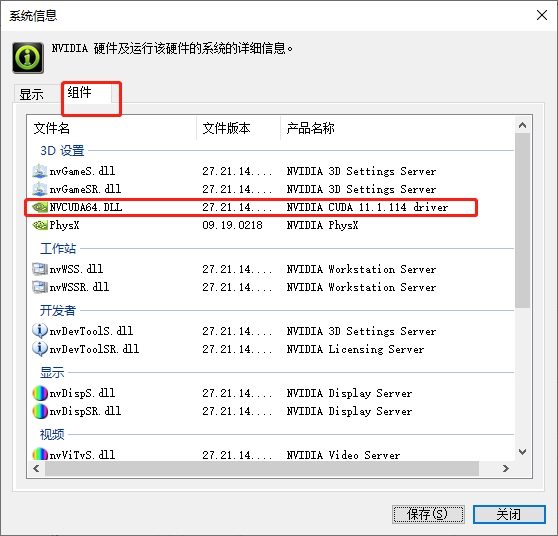
From here, we can see the version of the driver. Some components will display the CUDA version and the graphics card driver version
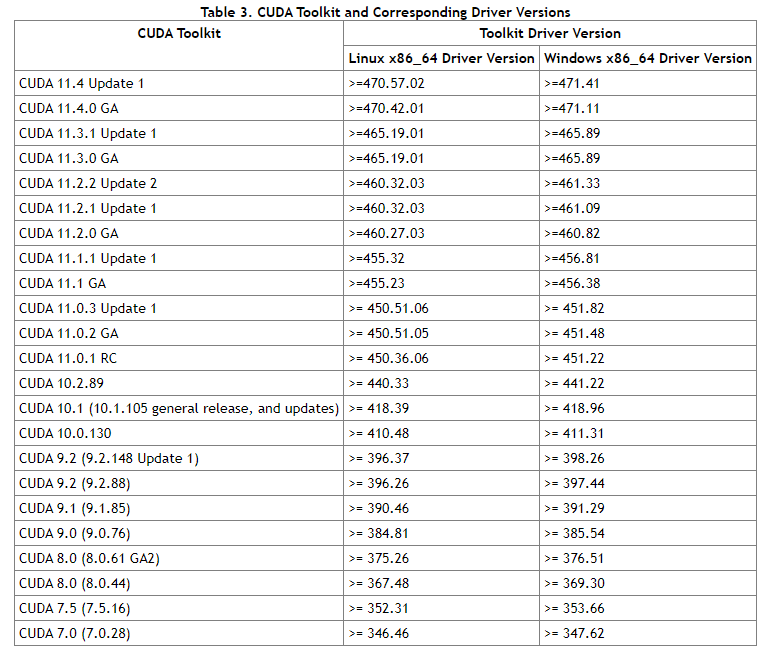
We select the appropriate CUDA version according to the official recommendation according to the driver download page of NVIDIA's official website
My graphics card driver version is 457.86. Compared with the above table, we can see that windows x86 is in the rightmost column_ 64 driver version we can select 456.81 at most, that is, CUDA11.1.1 Update 1
So we choose CUDA11.1 for installation
CUDA installation
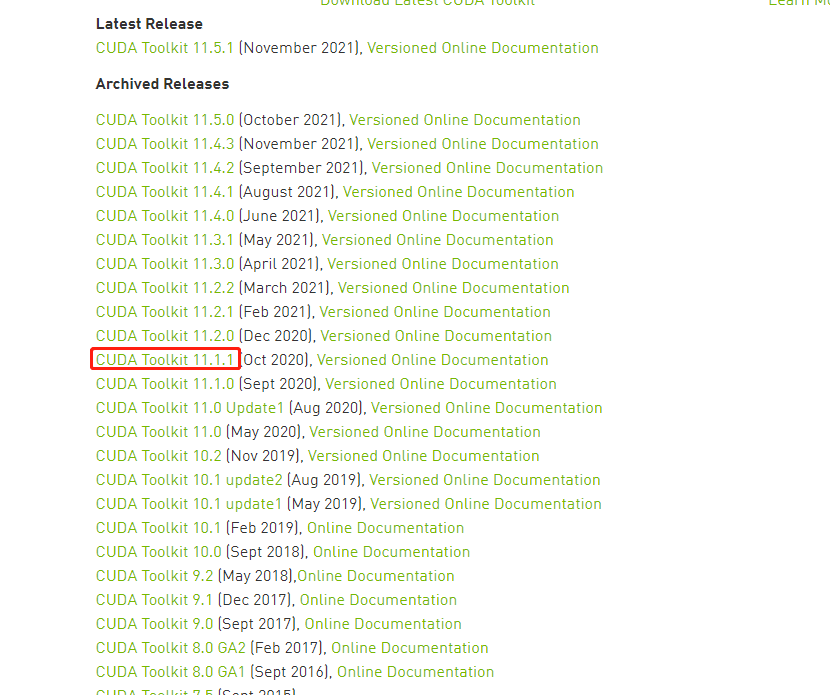
CUDA Toolkit Archive | NVIDIA Developer
Click the above link to enter here. Click download according to CUDA11.1 just selected. The download method is local version
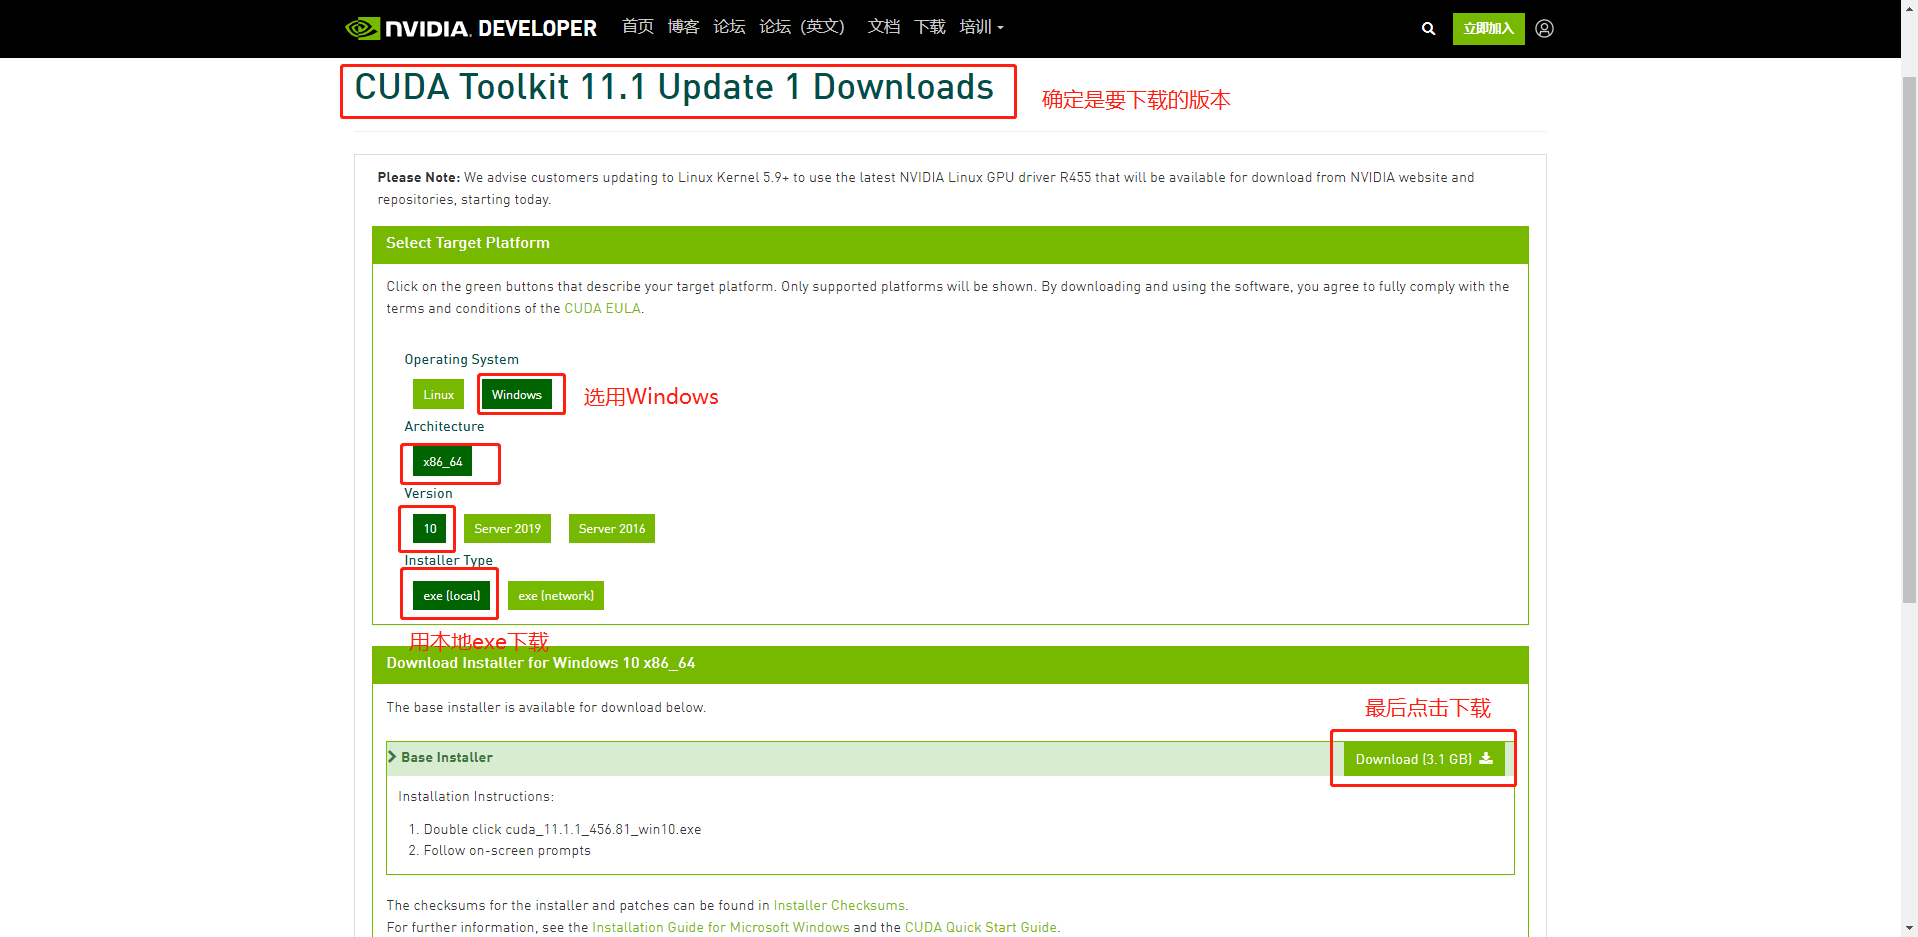
After the download is completed, the recommended installation location is default, and all installation programs can be installed smoothly according to the recommended
C:\ProgramData\NVIDIA GPU Computing Toolkit(Default location is this)
Some ProgramData files are hidden, so we need to show the hidden projects.

After CUDA is completed, we start downloading CUDNN
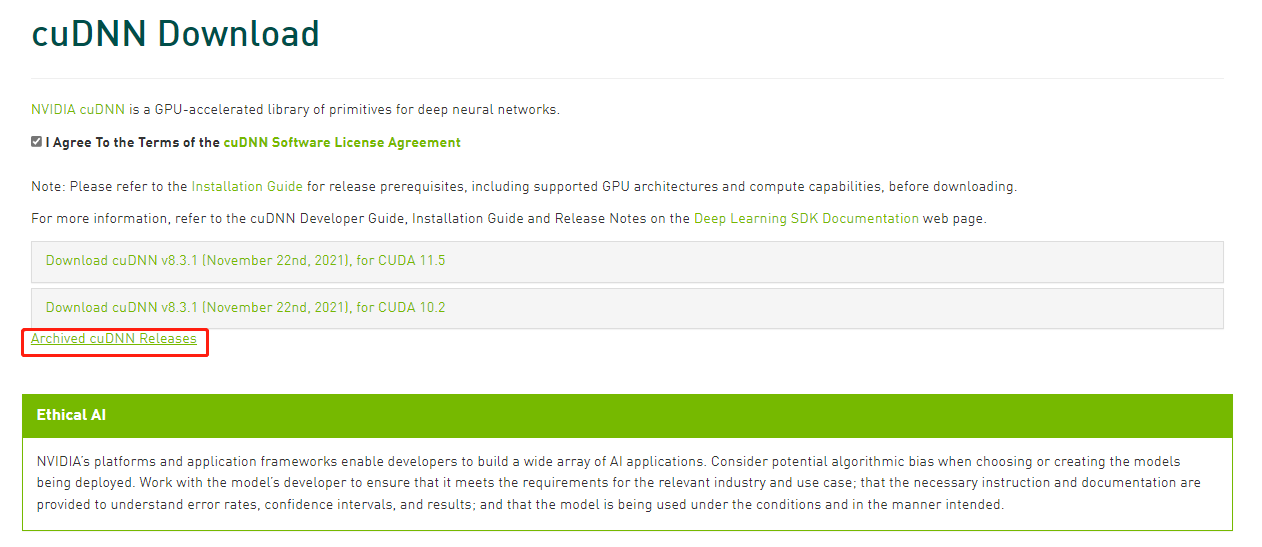
CUDNN needs a login account to download
After logging in, we will see that click to view the previous CUDNN version
After clicking, we can see that there are multiple choices. We can select the appropriate CUDA according to our own CUDA version

We can see the adaptation of multiple CUDNN versions. Generally, we choose the special one. I chose CUDNN v8.0.5 (of course, other versions are also OK)
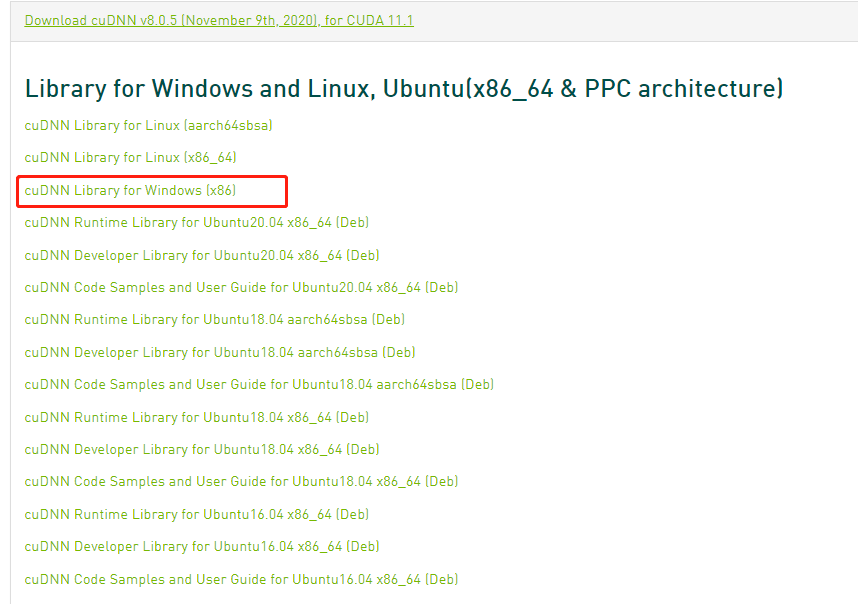
Select the Windows version to download
After downloading, copy and paste the three folders in the compressed package to the location where CUDA was just installed
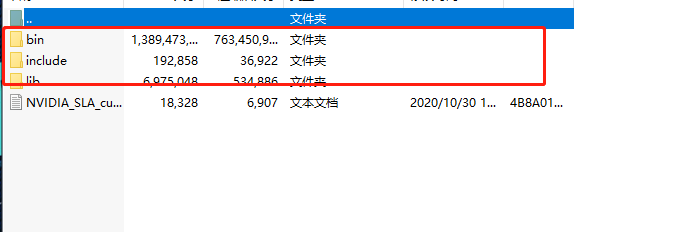
Put in this folder
C:\ProgramData\NVIDIA GPU Computing Toolkit\v11.1
Now that CUDA and CUDNN have been installed, we can go to the last step, environment configuration
Environment configuration
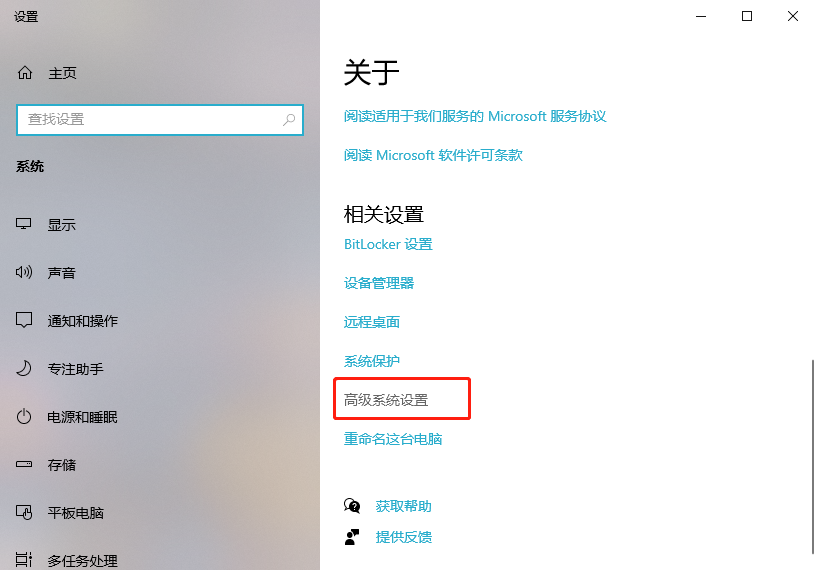
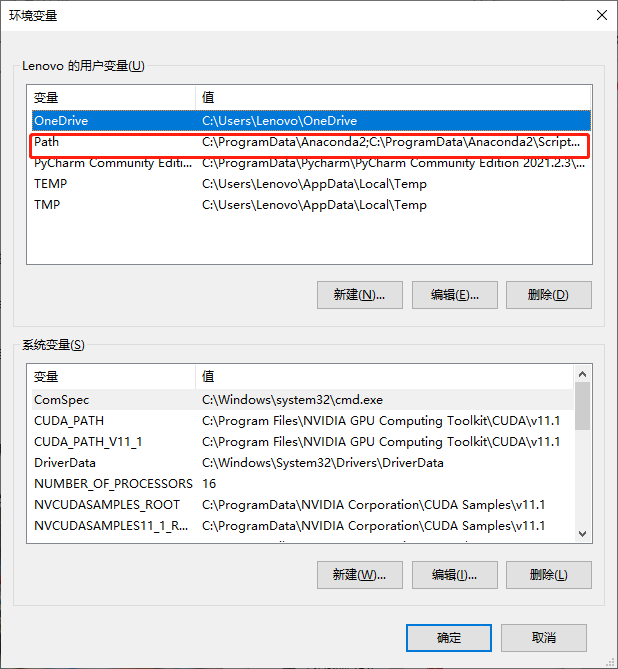
Right click computer properties → advanced system settings → environment variables → user variables → Path → edit environment variables

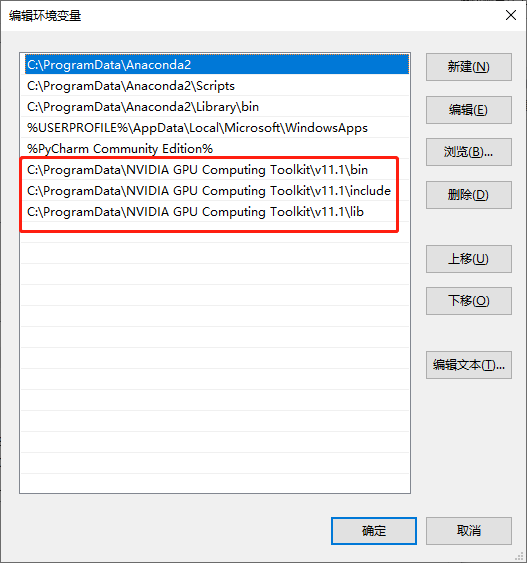
Finally, add these three file paths
C:\ProgramData\NVIDIA GPU Computing Toolkit\v11.1\bin
C:\ProgramData\NVIDIA GPU Computing Toolkit\v11.1\include
C:\ProgramData\NVIDIA GPU Computing Toolkit\v11.1\lib
Finally, the installation of CUDA and CUDNN and the setting of environment variables are completed
Finally, test
pytorch
Enter the post pytorch installation test in pychar
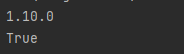
import torch
print(torch.__version__)
print(torch.cuda.is_available())
After completion, display True to start entering
Tensorflow
import tensorflow as tf
#View tensorflow version
print(tf.__version__)
print('GPU', tf.test.is_gpu_available())

a = tf.constant(2.0)
b = tf.constant(4.0)
print(a + b)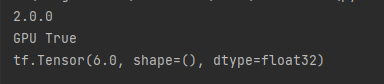
At this point, both pytorch and Tensoflow can operate with GPU
remarks:
During my test, I found that using conda for installation in pycharm can directly install CUDA and CUDNN in the virtual environment, which makes it easier to configure the environment and install different CUDA versions corresponding to different versions of frameworks.
You can directly find the corresponding download code on the pytoch official website, which can be queried on the official website.
Previous PyTorch Versions | PyTorch
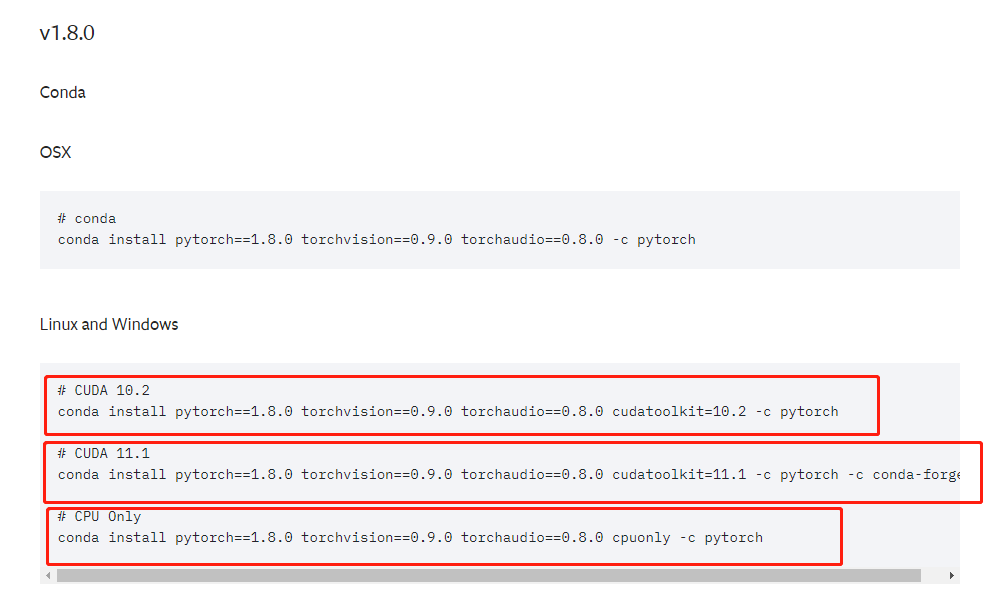
Select one line of code and enter it in pycharm's terminal, which is very convenient.
For Tensoflow, enter the following in terminal to install. Take version 2.0.0 as an example
conda install tensorflow-gpu==2.0.0
When installing with conda, you can change the source
Locate the. condarc file in C:\Users \ user name and the following code
channels:
  - defaults
show_channel_urls: true
channel_alias: https://mirrors.tuna.tsinghua.edu.cn/anaconda
default_channels:
  - http://mirrors.tuna.tsinghua.edu.cn/anaconda/pkgs/main
  - http://mirrors.tuna.tsinghua.edu.cn/anaconda/pkgs/free
  - http://mirrors.tuna.tsinghua.edu.cn/anaconda/pkgs/r
  - http://mirrors.tuna.tsinghua.edu.cn/anaconda/pkgs/pro
  - http://mirrors.tuna.tsinghua.edu.cn/anaconda/pkgs/msys2
custom_channels:
  conda-forge: https://mirrors.tuna.tsinghua.edu.cn/anaconda/cloud
  msys2: http://mirrors.tuna.tsinghua.edu.cn/anaconda/cloud
  bioconda: http://mirrors.tuna.tsinghua.edu.cn/anaconda/cloud
  menpo: http://mirrors.tuna.tsinghua.edu.cn/anaconda/cloud
  pytorch: http://mirrors.tuna.tsinghua.edu.cn/anaconda/cloud
  simpleitk: http://mirrors.tuna.tsinghua.edu.cn/anaconda/cloud
All done