This article explains how to install jump server. Simply speaking, you can basically build it according to the official documents. It's very simple.
Official documents
http://docs.jumpserver.org/zh/
Basic services
The version of MySQL 5.6 MariaDB is greater than or equal to 5.5.6
redis
nginx
1 Machine Configuration
1.1 Close Firewall
#Stop firewall
systemctl stop firewalld.service

#Turn off and start up
systemctl disable firewalld.service
1.2 Setting Characters
# Modify the character set or you may report input/output error problems because Chinese is printed in the log
localedef -c -f UTF-8 -i zh_CN zh_CN.UTF-8
export LC_ALL=zh_CN.UTF-8
echo 'LANG="zh_CN.UTF-8"' > /etc/locale.conf
1.3 Close setenforce
setenforce 0
sed -i "s/enforcing/disabled/g" /etc/selinux/config
1.4 Installation of Basic Software
#Add Ali Yunde Mirror
wget -O /etc/yum.repos.d/epel.repo http://mirrors.aliyun.com/repo/epel-7.repo

#Installation of basic services
yum -y install wget gcc epel-release git
yum -y install python36 python36-devel
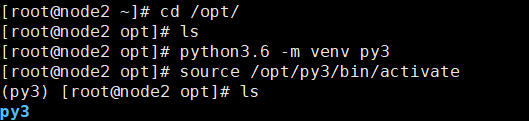
1.4 Setting up python virtual environment
All of the following commands run in the virtual environment
cd /opt
python3.6 -m venv py3
source /opt/py3/bin/activate
2 Install jumpserver
2.1 Download git code
# Download code
git clone https://github.com/jumpserver/jumpserver.git

# Installing rpm dependencies
yum -y install  $(cat jumpserver/requirements/rpm_requirements.txt  )

Installation dependency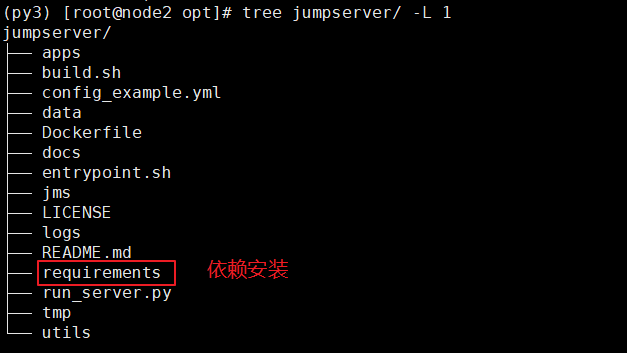
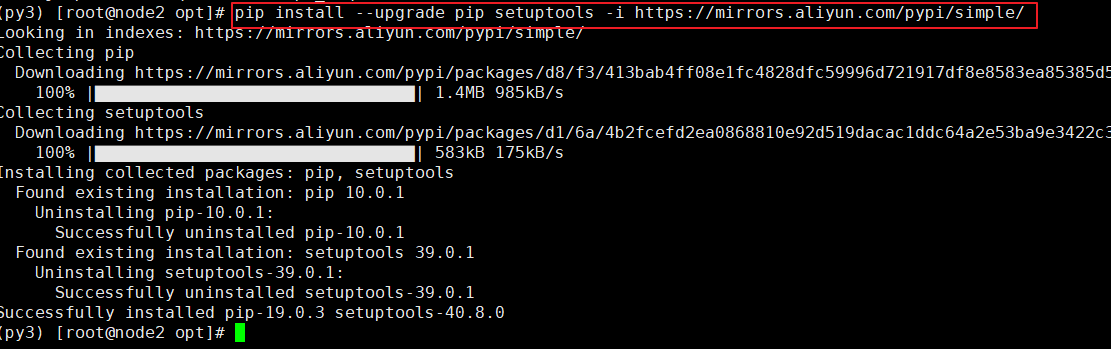
2.2 Installing python dependencies
#Upgrade pip
pip install --upgrade pip setuptools -i https://mirrors.aliyun.com/pypi/simple/

#Installing python depends on package files
pip install -r requirements.txt -i https://mirrors.aliyun.com/pypi/simple/

2.3 Create jumpserver Library
# Create jumpserver database and authorize
create database jumpserver default charset 'utf8';
grant all on jumpserver.* to 'jumpserver'@'127.0.0.1' identified by 'jumpserver';
flush privileges;
2.4 Configure config.yml files
#Copy configuration files
cd /opt/jumpserver
cp config_example.yml config.yml
 # Generating Random SECRET_KEY
SECRET_KEY=`cat /dev/urandom | tr -dc A-Za-z0-9 | head -c 50`
# Generating random BOOTSTRAP_TOKEN
BOOTSTRAP_TOKEN=`cat /dev/urandom | tr -dc A-Za-z0-9 | head -c 16`

#Configuration key
sed -i "s/SECRET_KEY:/SECRET_KEY: $SECRET_KEY/g" /opt/jumpserver/config.yml
#Configure token information
sed -i "s/BOOTSTRAP_TOKEN:/BOOTSTRAP_TOKEN: $BOOTSTRAP_TOKEN/g" /opt/jumpserver/config.yml
#Close debug
sed -i "s/# DEBUG: true/DEBUG: false/g" /opt/jumpserver/config.yml
#Modify the log field to error
sed -i "s/# LOG_LEVEL: DEBUG/LOG_LEVEL: ERROR/g" /opt/jumpserver/config.yml
#Set session to clear when browser is closed
sed -i "s/# SESSION_EXPIRE_AT_BROWSER_CLOSE: false/SESSION_EXPIRE_AT_BROWSER_CLOSE: true/g" /opt/jumpserver/config.yml

#Password configuration for replacement database
sed -i "s/DB_PASSWORD: /DB_PASSWORD: $DB_PASSWORD/g" /opt/jumpserver/config.yml
2.5 Start jumpserver
cd /opt/jumpserver

#Startup service
./jms start all -d
After configuring the service, you can see that after the last successful start, the gunicon, celery, beat service has been reported to be started.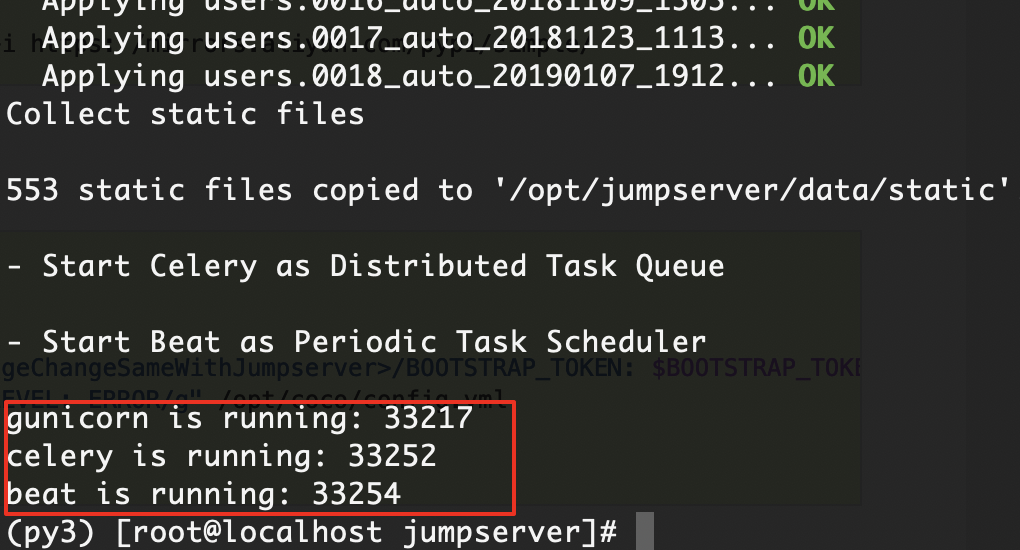
3 install coco
3.1 Download Project
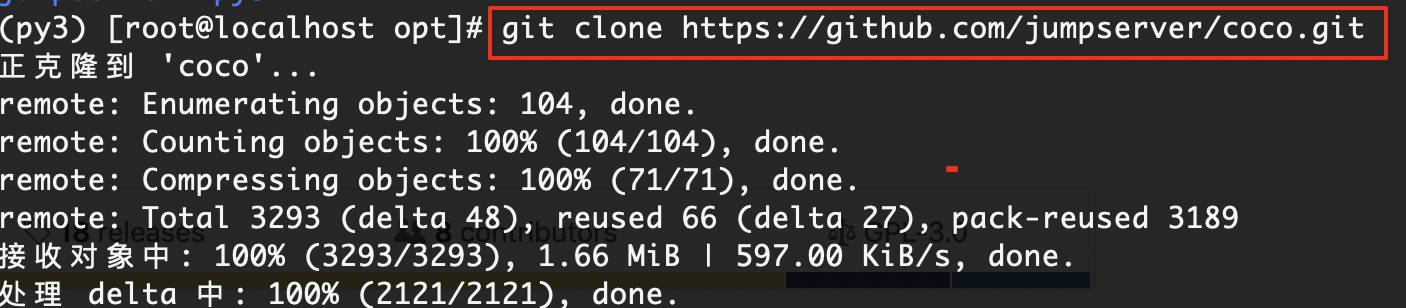
#Using Python 3
cd /opt
source /opt/py3/bin/activate

#Download items
git clone https://github.com/jumpserver/coco.git
3.2 Installation Dependence
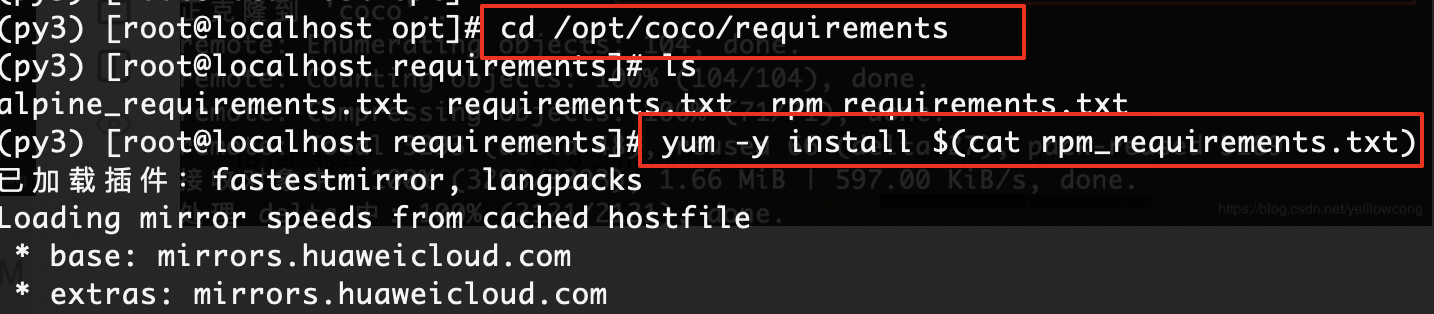
cd /opt/coco/requirements
yum -y install $(cat rpm_requirements.txt)

# If the download speed is very slow, you can change the domestic source.
pip install -r requirements.txt -i https://mirrors.aliyun.com/pypi/simple/
3.3 Configuration config.yml
In coco, only token information and log level configuration are configured.
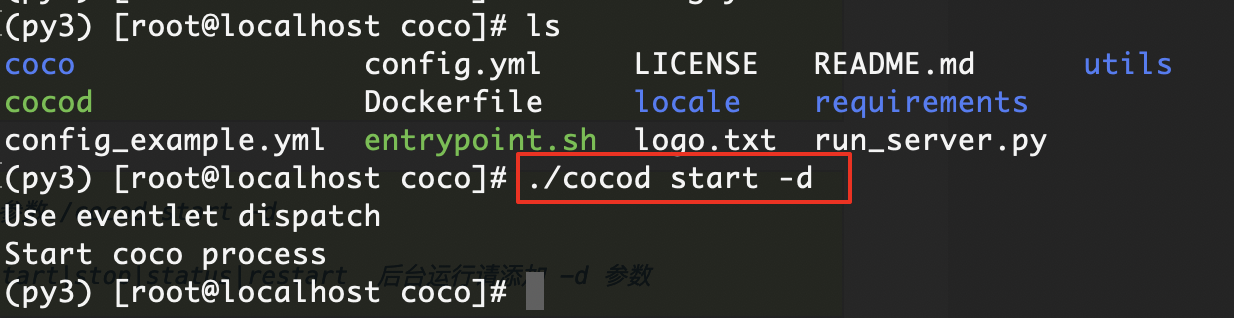
#Copy configuration files
cd /opt/coco
cp config_example.yml config.yml

#Modify token information
sed -i "s/BOOTSTRAP_TOKEN: <PleasgeChangeSameWithJumpserver>/BOOTSTRAP_TOKEN: $BOOTSTRAP_TOKEN/g" /opt/coco/config.yml

#Modify Log Level
sed -i "s/# LOG_LEVEL: INFO/LOG_LEVEL: ERROR/g" /opt/coco/config.yml


#Background start cocod
./cocod start -d
4. Install Windows Assets (not required)
4 install web
4.1 Download luna front-end
#Enter the opt directory
cd /opt

#download
wget https://github.com/jumpserver/luna/releases/download/1.4.8/luna.tar.gz

#Unzip and set permission to root
tar xf luna.tar.gz
chown -R root:root luna
The resource files exist in the luna decompression package.
4.2 Configure nginx
vi /etc/nginx/conf.d/vhost/jump.yellowcong.com.conf

server {
    listen 80;  # The proxy port, which will be accessed later, will no longer be accessed through port 8080
    # server_name demo.jumpserver.org;  # Change to your domain name or comment it out

    client_max_body_size 100m;  # Video and File Upload Size Limitation

    location /luna/ {
        try_files $uri / /index.html;
        alias /opt/luna/;  # luna path, if you modify the installation directory, you need to modify it here
    }

    location /media/ {
        add_header Content-Encoding gzip;
        root /opt/jumpserver/data/;  # Video location, if you modify the installation directory, you need to modify it here
    }

    location /static/ {
        root /opt/jumpserver/data/;  # Static resources, if you modify the installation directory, you need to modify it here
    }

    location /socket.io/ {
        proxy_pass       http://localhost:5000/socket.io/;#If coco is installed on another server, please fill in its ip
        proxy_buffering off;
        proxy_http_version 1.1;
        proxy_set_header Upgrade $http_upgrade;
        proxy_set_header Connection "upgrade";
        proxy_set_header X-Real-IP $remote_addr;
        proxy_set_header Host $host;
        proxy_set_header X-Forwarded-For $proxy_add_x_forwarded_for;
        access_log off;
    }

    location /coco/ {
        proxy_pass       http://localhost:5000/coco/;#If coco is installed on another server, please fill in its ip
        proxy_set_header X-Real-IP $remote_addr;
        proxy_set_header Host $host;
        proxy_set_header X-Forwarded-For $proxy_add_x_forwarded_for;
        access_log off;
    }

    location /guacamole/ {
        proxy_pass       http://localhost:8081/; # If guacamole is installed on another server, please fill in its ip
        proxy_buffering off;
        proxy_http_version 1.1;
        proxy_set_header Upgrade $http_upgrade;
        proxy_set_header Connection $http_connection;
        proxy_set_header X-Real-IP $remote_addr;
        proxy_set_header Host $host;
        proxy_set_header X-Forwarded-For $proxy_add_x_forwarded_for;
        access_log off;
    }

    location / {
        proxy_pass http://localhost:8080; # If jumpserver is installed on another server, please fill in its ip
        proxy_set_header X-Real-IP $remote_addr;
        proxy_set_header Host $host;
        proxy_set_header X-Forwarded-For $proxy_add_x_forwarded_for;
    }
}
In fact, the guacamole service is not installed in the formal service quota configuration.
server {
    listen 80;  # The proxy port, which will be accessed later, will no longer be accessed through port 8080
    # server_name demo.jumpserver.org;  # Change to your domain name or comment it out
    server_name jump.yellowcong.com;  # Change to your domain name or comment it out

    client_max_body_size 100m;  # Video and File Upload Size Limitation

    location /luna/ {
        try_files $uri / /index.html;
        alias /opt/luna/;  # luna path, if you modify the installation directory, you need to modify it here
    }

    location /media/ {
        add_header Content-Encoding gzip;
        root /opt/jumpserver/data/;  # Video location, if you modify the installation directory, you need to modify it here
    }

    location /static/ {
        root /opt/jumpserver/data/;  # Static resources, if you modify the installation directory, you need to modify it here
    }

    location /socket.io/ {
        proxy_pass       http://localhost:5000/socket.io/;#If coco is installed on another server, please fill in its ip
        proxy_buffering off;
        proxy_http_version 1.1;
        proxy_set_header Upgrade $http_upgrade;
        proxy_set_header Connection "upgrade";
        proxy_set_header X-Real-IP $remote_addr;
        proxy_set_header Host $host;
        proxy_set_header X-Forwarded-For $proxy_add_x_forwarded_for;
        access_log off;
    }

    location /coco/ {
        proxy_pass       http://localhost:5000/coco/;#If coco is installed on another server, please fill in its ip
        proxy_set_header X-Real-IP $remote_addr;
        proxy_set_header Host $host;
        proxy_set_header X-Forwarded-For $proxy_add_x_forwarded_for;
        access_log off;
    }

    #location /guacamole/ {
    #    proxy_pass       http://localhost:8081/; # If guacamole is installed on another server, please fill in its ip
    #    proxy_buffering off;
    #    proxy_http_version 1.1;
    #    proxy_set_header Upgrade $http_upgrade;
    #    proxy_set_header Connection $http_connection;
    #    proxy_set_header X-Real-IP $remote_addr;
    #    proxy_set_header Host $host;
    #    proxy_set_header X-Forwarded-For $proxy_add_x_forwarded_for;
    #    access_log off;
    #}

    location / {
        proxy_pass http://localhost:8080; # If jumpserver is installed on another server, please fill in its ip
        proxy_set_header X-Real-IP $remote_addr;
        proxy_set_header Host $host;
        proxy_set_header X-Forwarded-For $proxy_add_x_forwarded_for;
    }
}
Access to services, you can find normal access to services.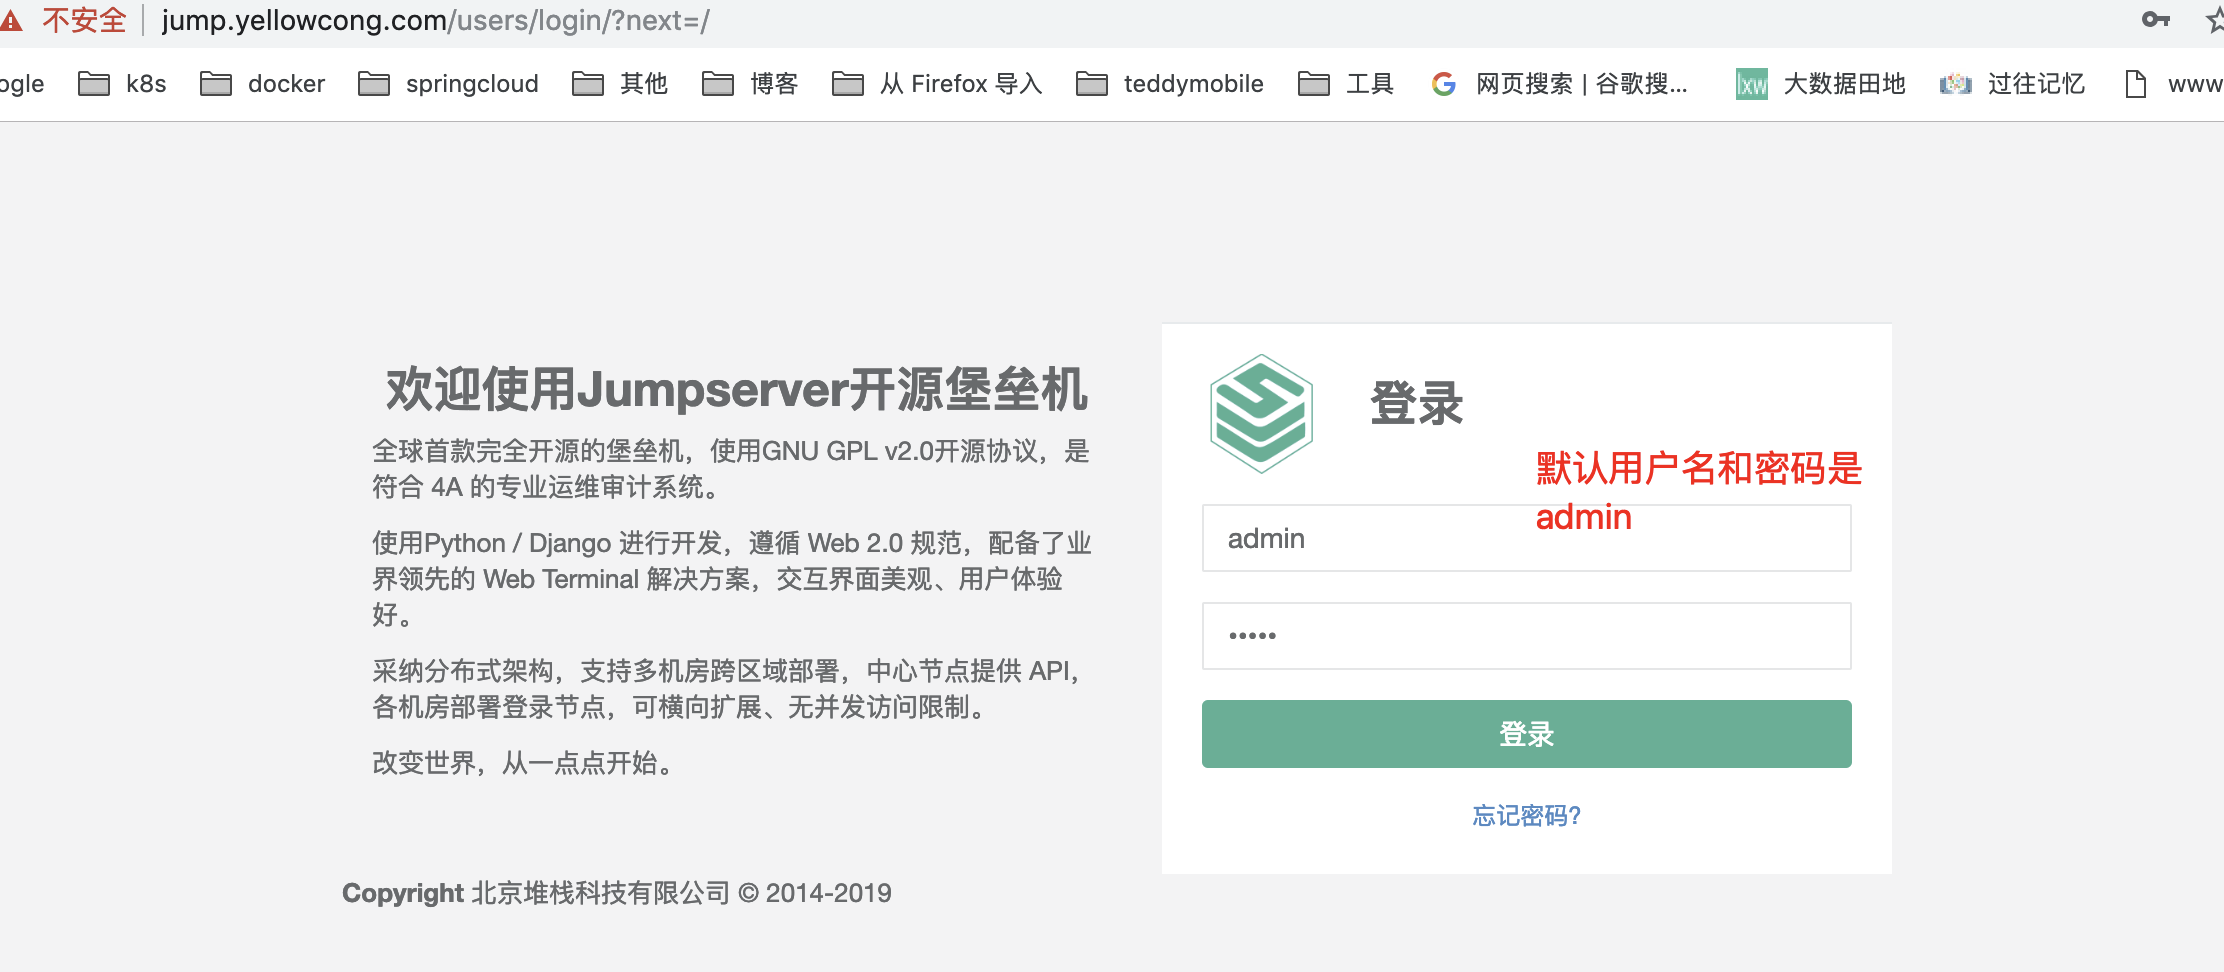
Interface after landing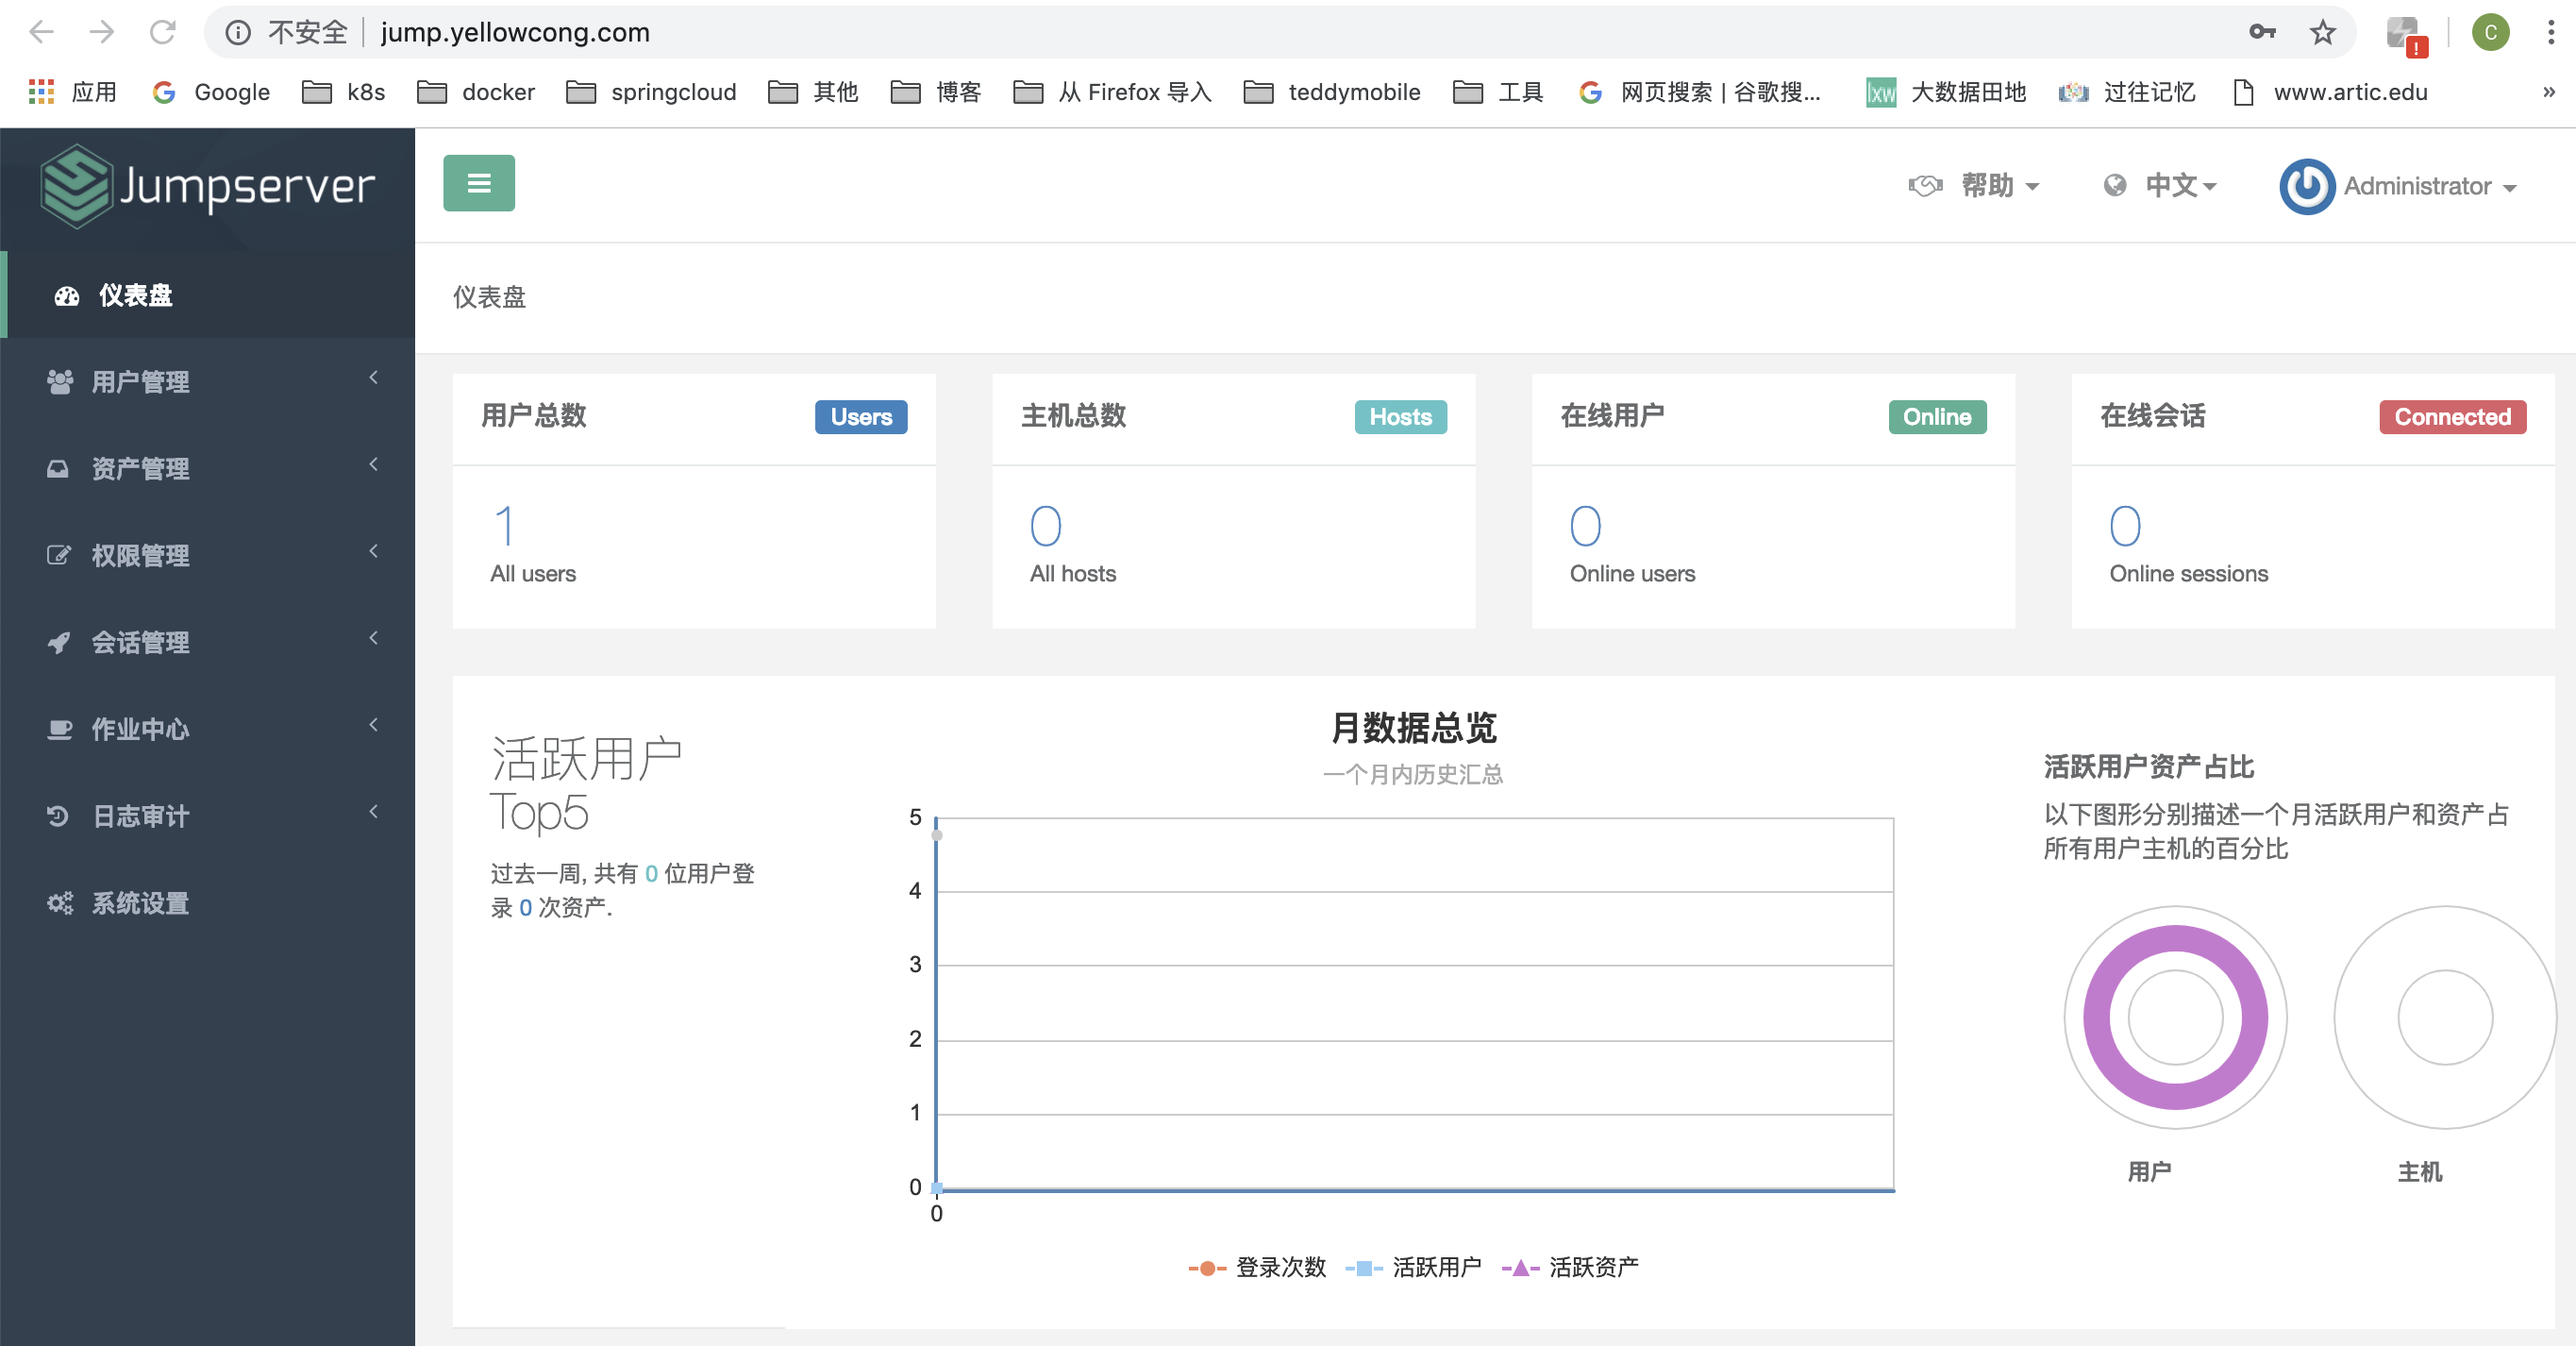
Reference articles
https://github.com/jumpserver/jumpserver
http://docs.jumpserver.org/zh/docs/step_by_step.html