I am a little white one, because the company needs to use RabbitMQ, I will look for data to install.Now I'll write down the steps and problems I've encountered to help you.
System: centOS final6.5
Download directory for files: /home/lmy/opt
Installation directory: /opt
I have the current directory in every step of my code, and switching directories is also explained.
1. Download the latest version of erlang into the folder opt, the current version is 20.0
[root@localhost opt]# wget http://erlang.org/download/otp_src_20.0.tar.gz2. View files when download is complete
[root@localhost opt]# ls
otp_src_20.0.tar.gz
3. Unzip the downloaded file
[root@localhost opt]# tar -zxvf otp_src_20.0.tar.gz 4. Compiling and installing Erlang is an environmental requirement. To prevent errors such as prompting when compiling that some packages are not installed, I installed the software Erlang needs in advance and installed it directly using yum.
[root@localhost usr]# yum install ncurses ncurses-base ncurses-devel ncurses-libs ncurses-static ncurses-term ocaml-curses ocaml-curses-devel -y

[root@localhost usr]# yum install openssl-devel zlib-devel –y

[root@localhost usr]# yum -y install make ncurses-devel gcc gcc-c++ unixODBC unixODBC-devel openssl openssl-devel
5. Compile and install Erlang: first switch to the unzipped directory, then configure.Following prefix is the installation directory, where I installed Erlang into the / opt/erlang directory
[root@localhost home]# cd /home/lmy/opt
[root@localhost opt]# ls
otp_src_20.0  otp_src_20.0.tar.gz
[root@localhost opt]# cd otp_src_20.0
[root@localhost otp_src_20.0]# ./configure --prefix=/opt/erlang --with-ssl -enable-threads -enable-smmp-support -enable-kernel-poll --enable-hipe --without-javac
The compiled picture is shown as follows:
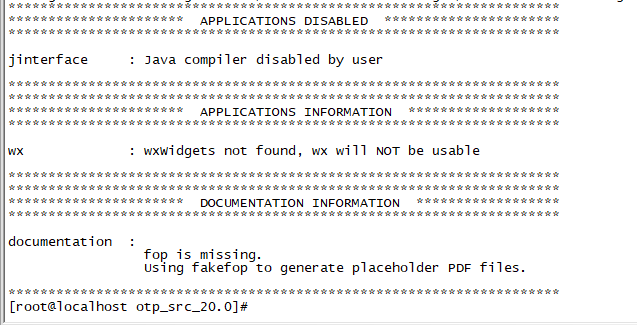
Next make it
[root@localhost otp_src_20.0]# make&&make installMake a soft connection when installation is complete
[root@localhost otp_src_20.0]# ln -s /opt/erlang/bin/erl /usr/local/bin/erlTest whether Erlang was installed successfully:
[root@localhost otp_src_20.0]# cd /usr/local/bin

[root@localhost bin]# erl

Erlang/OTP 20 [erts-9.0] [source] [64-bit] [smp:1:1] [ds:1:1:10] [async-threads:10] [hipe] [kernel-poll:false]
Eshell V9.0  (abort with ^G)

1> EvenN = lists:filter (fun (N) -> N rem 2 == 0 end, lists:seq (1,100)).

[2,4,6,8,10,12,14,16,18,20,22,24,26,28,30,32,34,36,38,40,42,
 44,46,48,50,52,54,56,58|...]

2>
2> halt().
[root@localhost bin]#
6. Now that Erlang has been installed successfully, we will modify the environment variables.
[root@localhost bin]# vi /etc/profile*Next, you open a file, press the "i" key to start editing the text, and add the following lines of code at the end of the text:
(Note: ERLANG_HOME is your installation directory at this time)*
ERLANG_HOME=opt/erlang
PATH=$ERLANG_HOME/bin:$PATH
export ERLANG_HOME
export PATH
Then press esc to exit the edit, then press':'and'wq' to save the exit.After saving, reactivate to make the environment variable take effect
[root@localhost bin]# source /etc/profileVerify that the append was successful
[root@localhost bin]#  echo $ERLANG_HOME

opt/erlang

[root@localhost bin]# echo $PATH

opt/erlang/bin:/usr/local/bin:/bin:/usr/bin:/usr/local/sbin:/usr/sbin:/sbin:/home/lmy/bin
[root@localhost bin]#
OK, so far our Erlang installation is complete!!
7. Download the latest version of rabbitmq, which is currently 3.6.10
The first is to switch to the directory I want to download, and the second is to download the file
[root@localhost bin]# cd /home/lmy/opt
[root@localhost opt]# wget http://www.rabbitmq.com/releases/rabbitmq-server/v3.6.10/rabbitmq-server-generic-unix-3.6.10.tar.xz
8. View downloaded files
[root@localhost opt]# ls
otp_src_20.0  otp_src_20.0.tar.gz  rabbitmq-server-generic-unix-3.6.10.tar.xz
[root@localhost opt]#
9. Install xz decompression software
[root@localhost opt]# yum -y install xz 10. Unzip RabbitMQ
[root@localhost opt]# xz -d  rabbitmq-server-generic-unix-3.6.10.tar.xz
[root@localhost opt]# tar -xvf rabbitmq-server-generic-unix-3.6.10.tar
11. Move the extracted files to my installation directory:
[root@localhost opt]# mv rabbitmq_server-3.6.10 /opt/12. Start RabbitMQ
[root@localhost opt]# cd /opt/rabbitmq_server-3.6.10/
[root@localhost rabbitmq_server-3.6.10]# cd sbin
[root@localhost sbin]# ./rabbitmq-server

             RabbitMQ 3.6.10. Copyright (C) 2007-2017 Pivotal Software, Inc.
  ##  ##      Licensed under the MPL.  See http://www.rabbitmq.com/
  ##  ##
  ##########  Logs: /opt/rabbitmq_server-3.6.10/var/log/rabbitmq/rabbit@localhost.log
  ######  ##        /opt/rabbitmq_server-3.6.10/var/log/rabbitmq/rabbit@localhost-sasl.log
  ##########
              Starting broker...
 completed with 0 plugins.
You can also start in the background with the following specific commands:
Start directly. /rabbitmq-server
Background boot. /rabbitmq-server-detached
Open the plug-in management page. /rabbitmq-plugins enable rabbitmq_management
Shut down the service. /rabbitmqctl stop
13. Create user admin password 123456:
[root@localhost sbin]# ./rabbitmqctl add_user admin 123456

Creating user "admin"

[root@localhost sbin]# ./rabbitmqctl set_user_tags admin administrator

Setting tags for user "admin" to [administrator]
[root@localhost sbin]#
Assign permissions to this user:
[root@localhost sbin]# ./rabbitmqctl set_permissions -p / admin ".*" ".*" ".*"

Setting permissions for user "admin" in vhost "/"
14. Open Plugin Management Page
[root@localhost sbin]# ./rabbitmq-plugins enable rabbitmq_managementView ip address:
[root@localhost sbin]# ifconfigAt this point my ip address is
92.168.190.132
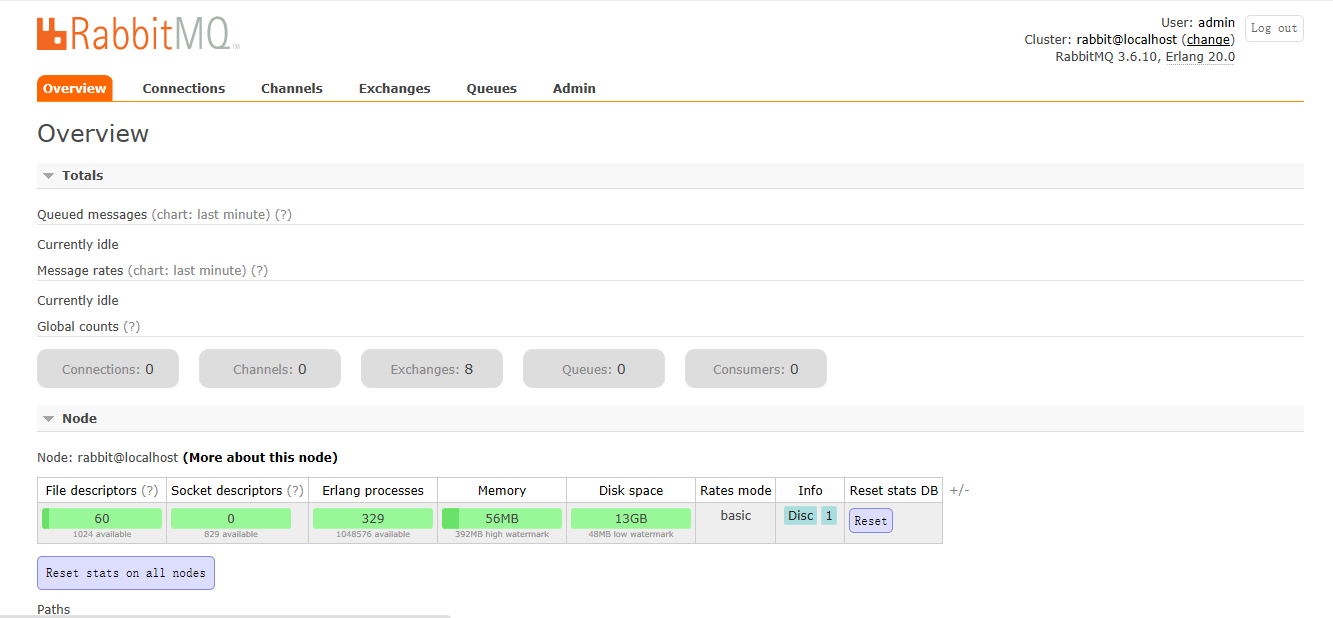
Then enter the address in the browser to the administration page
http://192.168.190.132:15672/#/
At this point, you may not go into the management interface to see if the firewall of the virtual machine is turned off and log in successfully after closing the firewall.