Zabbix is an enterprise-level distributed open source monitoring solution. It can monitor various network parameters as well as the health and integrity of servers. It supports flexible notification mechanism and provides excellent reporting and data visualization functions. Zabbix supports active polling and passive capture. The most important thing is that the source code is free to distribute and can be used by the public at will. This is also one of the important reasons for its popularity in small and medium-sized enterprises. This article briefly describes Zabbix features and installs Zabbix 3.4 based on entOS 7.
I. Characteristics of Zabbix
data collection
Availability and Performance Check
Support SNMP (including capture and active training), IPMI, JMX, VMware monitoring
_Custom Check
_Collect required data at custom intervals
Executed by Server/Proxy and agents
Flexible threshold definition
Highly configurable alerts
Real-time Chart Drawing
_Using built-in charting function, the contents of monitored items can be immediately plotted into charts.
Web monitoring function
Support for custom graphics
Rich Visualization Options
_Multiple monitoring items are combined to display in one view
_network topology
Template-based grouping checking
Secure User Authentication
Written in C language, high performance
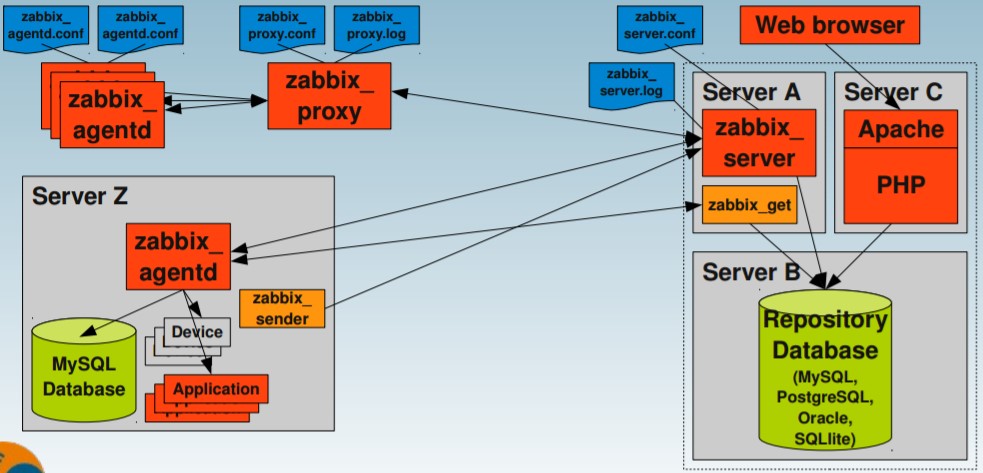
Composition of Zabbix
Server side
Zabbix Server is the core memory of all configuration information, statistical information and operational data. Used for reporting system availability, system completion integrity and statistical information.
Data Storage Side
Configuration information and data collected by Zabbix are stored in the database, supporting mysql, pg, oracle.
Web display terminal
_provides a Web-based access interface (written in PHP language)
Client
_Zabbix agents monitoring agent is deployed on the monitoring target, can actively monitor local resources and applications, and report the collected data to Zabbix Server.
Proxy proxy server
Zabbix proxy can collect performance and availability data for Zabbix Server. Proxy proxy server is an optional part of Zabbix software deployment; of course, Proxy proxy server can help single Zabbix Server share load pressure.
3. Zabbix Typical Architecture Deployment Diagram
IV. ENVIRONMENTAL PREPARATION
# more /etc/redhat-release          ##Demonstration environment
CentOS Linux release 7.4.1708 (Core)

# vi /etc/selinux/config                 ##Close selinux
SELINUX=disabled
# setenforce 0

# yum install mariadb-server mariadb -y    ##Install mariadb database
# systemctl start mariadb
# systemctl enable mariadb

##Add zabbix yum source, install zabbix server and web Management
# rpm -ivh http://repo.zabbix.com/zabbix/3.4/rhel/7/x86_64/zabbix-release-3.4-1.el7.centos.noarch.rpm
# yum install zabbix-server-mysql zabbix-web-mysql -y

# mysql      ##Log in to mysql to create database and directory
Welcome to the MariaDB monitor.  Commands end with ; or \g.
Your MariaDB connection id is 3
Server version: 5.5.56-MariaDB MariaDB Server

MariaDB [(none)]> create database zabbix character set utf8 collate utf8_bin;
Query OK, 1 row affected (0.00 sec)

MariaDB [(none)]> grant all privileges on zabbix.* to zabbix@localhost identified by 'zabbix#1235';
Query OK, 0 rows affected (0.00 sec)

##Adding zabbix metadata to mariadb
# zcat /usr/share/doc/zabbix-server-mysql-3.4.4/create.sql.gz | mysql -uzabbix -pzabbix#1235 zabbix
Configuration of zabbix
# cp /etc/zabbix/zabbix_server.conf /etc/zabbix/zabbix_server.conf.1121
# vim /etc/zabbix/zabbix_server.conf   ##Using the default configuration, just set the database password
DBPassword=zabbix#1235

# vim /etc/httpd/conf.d/zabbix.conf   ##Modify apache zabbix time zone
php_value date.timezone Asia/Shanghai

# cp /etc/httpd/conf/httpd.conf /etc/httpd/conf/httpd.conf.bk
# vim /etc/httpd/conf/httpd.conf                             ##Author : Leshami
Listen 3080     ##Use the non-default port 80 here          ##Blog  : http://blog.csdn.net/leshami

//Start related services
  # systemctl start zabbix-server.service
  # systemctl enable zabbix-server.service
  # systemctl start httpd
  # systemctl enable httpd

  # netstat -nltp|egrep "zabbix|httpd|mysql"
  tcp        0      0 0.0.0.0:10051          0.0.0.0:*              LISTEN      15720/zabbix_server
  tcp        0      0 0.0.0.0:3080            0.0.0.0:*              LISTEN      15385/httpd
  tcp        0      0 0.0.0.0:3306            0.0.0.0:*              LISTEN      14146/mysqld
  tcp6      0      0 :::10051                :::*                    LISTEN      15720/zabbix_server

//Firewall configuration
# firewall-cmd --add-port=3080/tcp --permanent
# firewall-cmd --add-port=10051/tcp --permanent
# systemctl reload firewalld.service
VI. GUI Installation and Configuration
Open the browser and enter http://yourip:port/zabbix 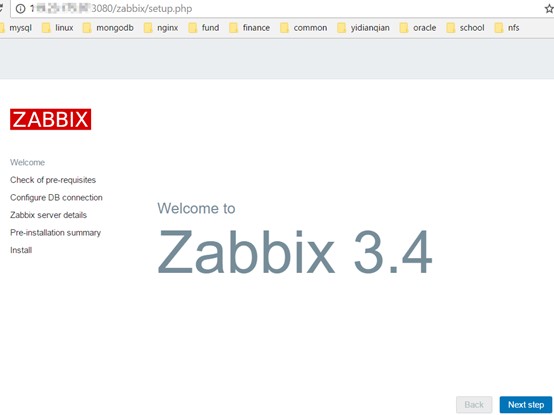
Environmental configuration testing, if not OK, should return to the previous steps for investigation 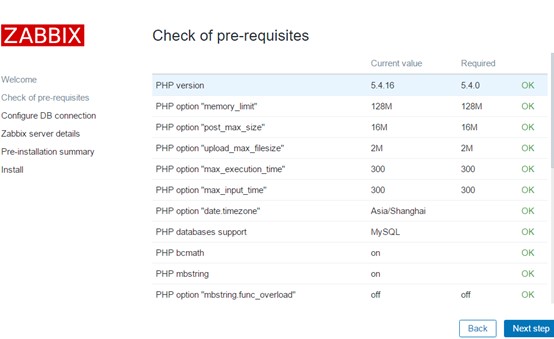
The connection to the database is configured below 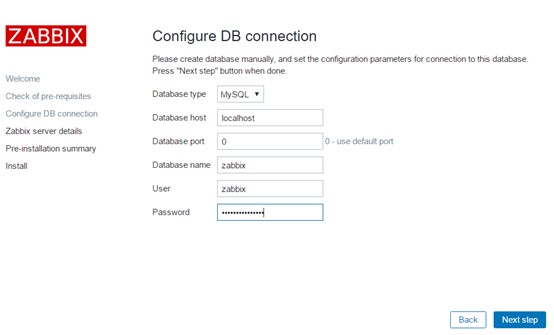
Server name and port configuration 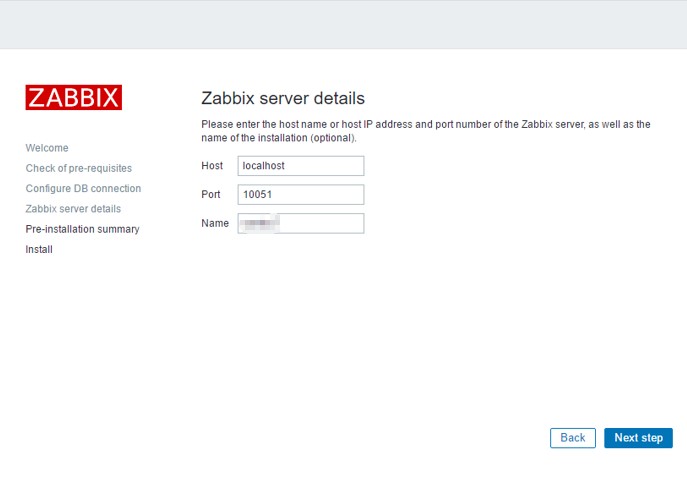
Complete installation 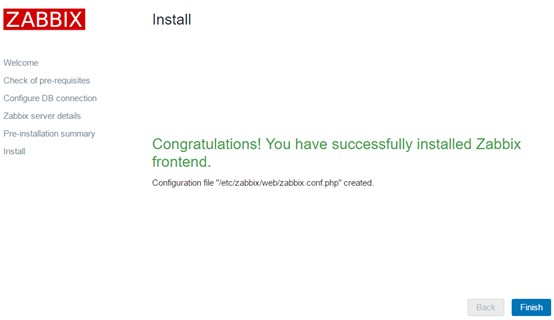
Login, default username Admin, password zabbix 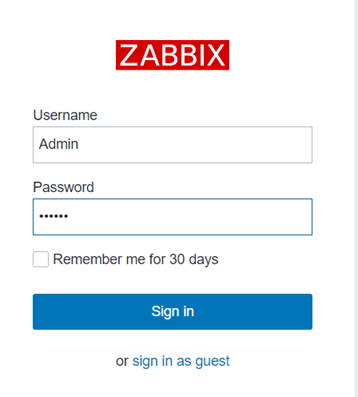
Client Installation and Configuration
For zabbix servers, they can also be monitored themselves. For self-monitoring, the agent end should also be installed.
For the installation of non-native agent, the source of yum should be configured first, then the agent side should be installed, and the agent configuration file should be modified to point to the server side.
# yum install zabbix-agent -y
# systemctl enable zabbix-agent.service

agent End configuration
[root@ydq-mnt zabbix]# vim /etc/zabbix/zabbix_agentd.conf
Server=127.0.0.1,10.80.234.38
ServerActive=127.0.0.1,10.80.234.38
# systemctl start zabbix-agent.service
VIII. Some Notices
1. Before installation, it is recommended to configure server-side and client-side/etc/hosts files to add IP mapping relationship between server-side and client-side hosts to the current host.
2. Unified Hostname is used in server-side and agent-side configuration files to distinguish case from case. Otherwise, it is easy to be disconnected.
3. Open the firewall port. For non-local agent, open port 10050

