1, Introduction to opencv
OpenCV is a cross platform computer vision and machine learning software library based on BSD license (open source), which can run on Linux, Windows, Android and Mac OS operating systems. It is lightweight and efficient - it is composed of a series of C functions and a small number of C + + classes. It also provides interfaces to Python, Ruby, MATLAB and other languages, implements many general algorithms in image processing and computer vision, and uses MMX and SSE instructions when available. Now it also provides support for c#, Ch, Ruby and GO.
2, Download and install opencv
2.1 download opencv
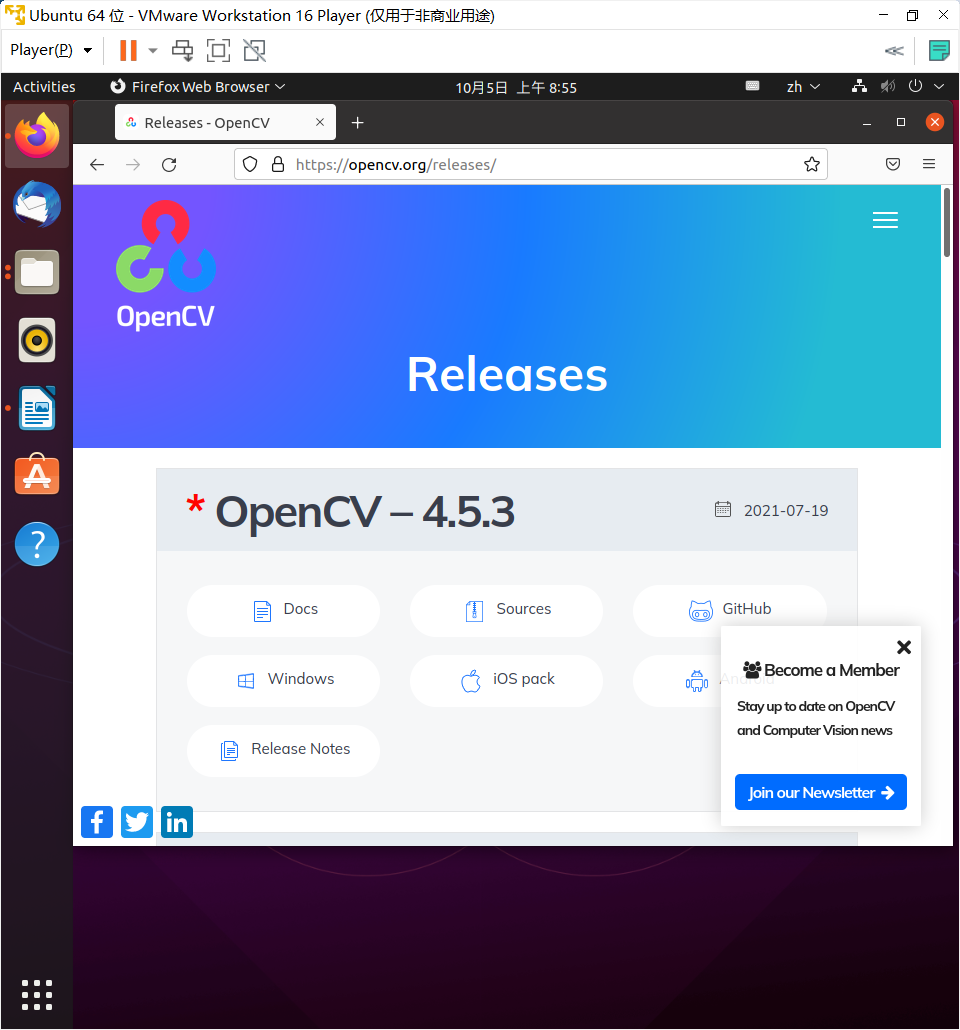
from Official website Download opencv. Since it is used under Linux, download the source version
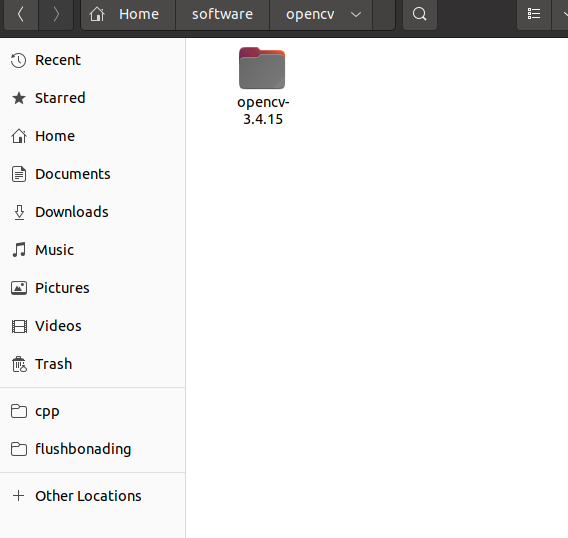
After downloading, copy the file to the home directory or create a new folder in home for storage. My storage directory is home/software/opencv. Enter the command line to unzip it
unzip opencv-3.4.15.zip
The results after decompression are as follows
2.2 configuring opencv environment
- The next step is to download the dependency library and cmake required by opencv. Because the downloaded configuration file cannot be used directly, it needs to be compiled with cmake
- When installing the dependency library, the installation may fail. You can use sudo apt update to update. If there is still an error, you can see whether the error is related to the key. Sudo apt key adv -- KeyServer keyserver.ubuntu.com -- recv keys is followed by the key prompted by the system.
sudo apt-get install cmake
sudo apt-get install build-essential libgtk2.0-dev libavcodec-dev libavformat-dev libjpeg.dev libtiff5.dev libswscale-dev libjasper-dev
- Then enter the file and create a my in the file_ build_ Dir file and enter
mkdir my_build_dir
cd my_build_dir
- Then cmake starts building and generating some configuration files
cmake -D CMAKE_BUILD_TYPE=Release -D CMAKE_INSTALL_PREFIX=/usr/local ..
- The next step is the compilation process. Sudo make is OK. If you want to speed up multi-threaded download, you can use sudo make -j9, but still pay attention to the computer performance. Linux may crash if there are too many threads
sudo make
sudo make -j9
- After completion, execute sudo make install, which is used for installation.
sudo make install
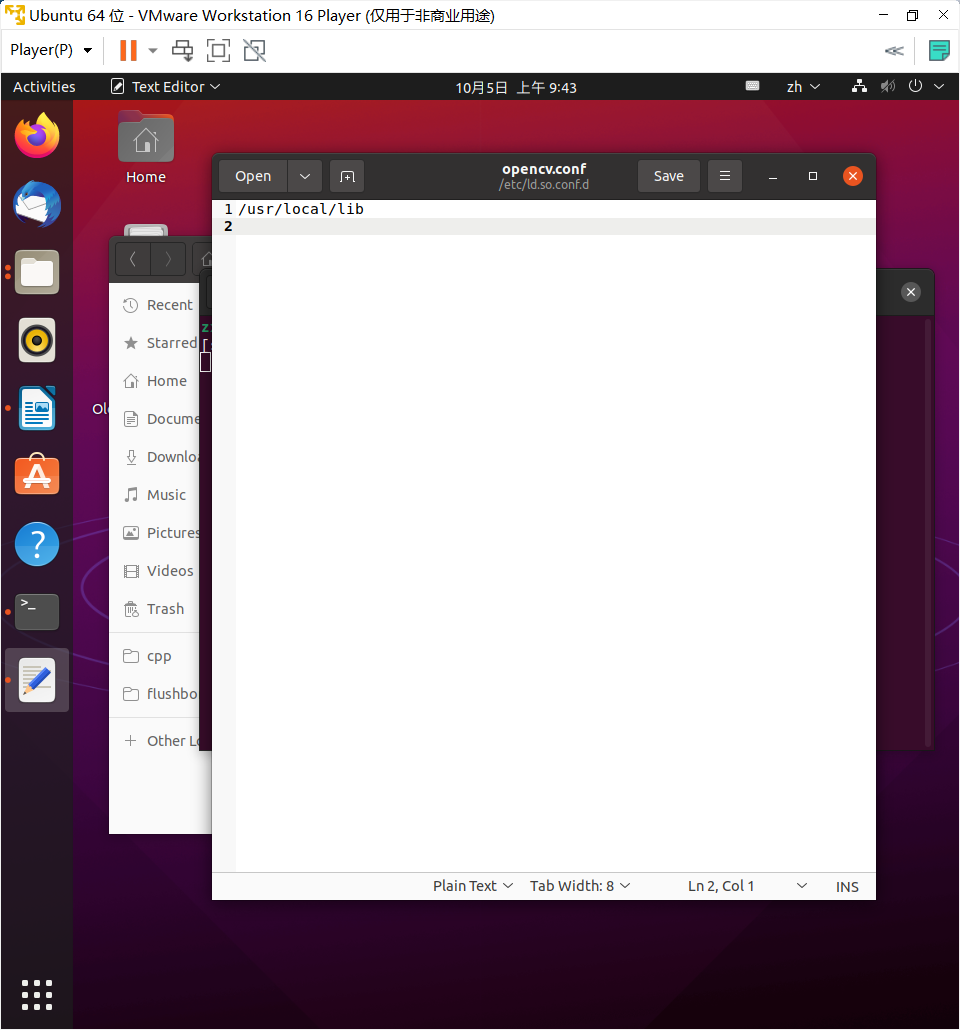
- The next step is to configure environment variables. The configuration process is a little more complicated than that under Windows system. First add Lu Jin through gedit, open the file, and add / usr/local/lib at the end of the file
sudo gedit /etc/ld.so.conf.d/opencv.conf
- After saving, switch to the command line interface and execute the command to make the configuration path take effect
sudo ldconfig
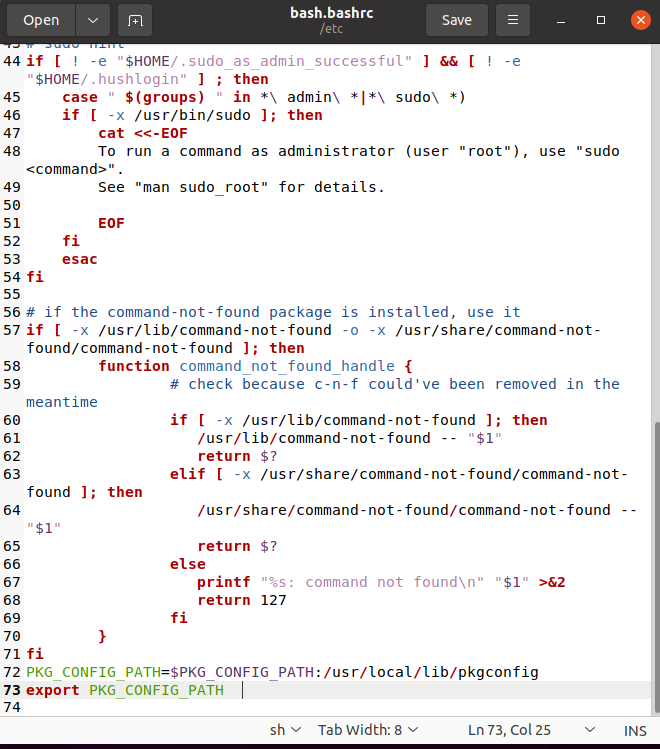
- Configure bash
sudo gedit /etc/bash.bashrc
- Add the following statement at the end of the file
PKG_CONFIG_PATH=$PKG_CONFIG_PATH:/usr/local/lib/pkgconfig
export PKG_CONFIG_PATH
- Finally, just update it. If the prompt is not installed, just download it according to the system prompt
sudo updatedb
2.3 code test
- Create a new mytest file in the installation directory to test whether the configuration is successful
mkdir mytest #Generate file
cd mytest #Enter folder
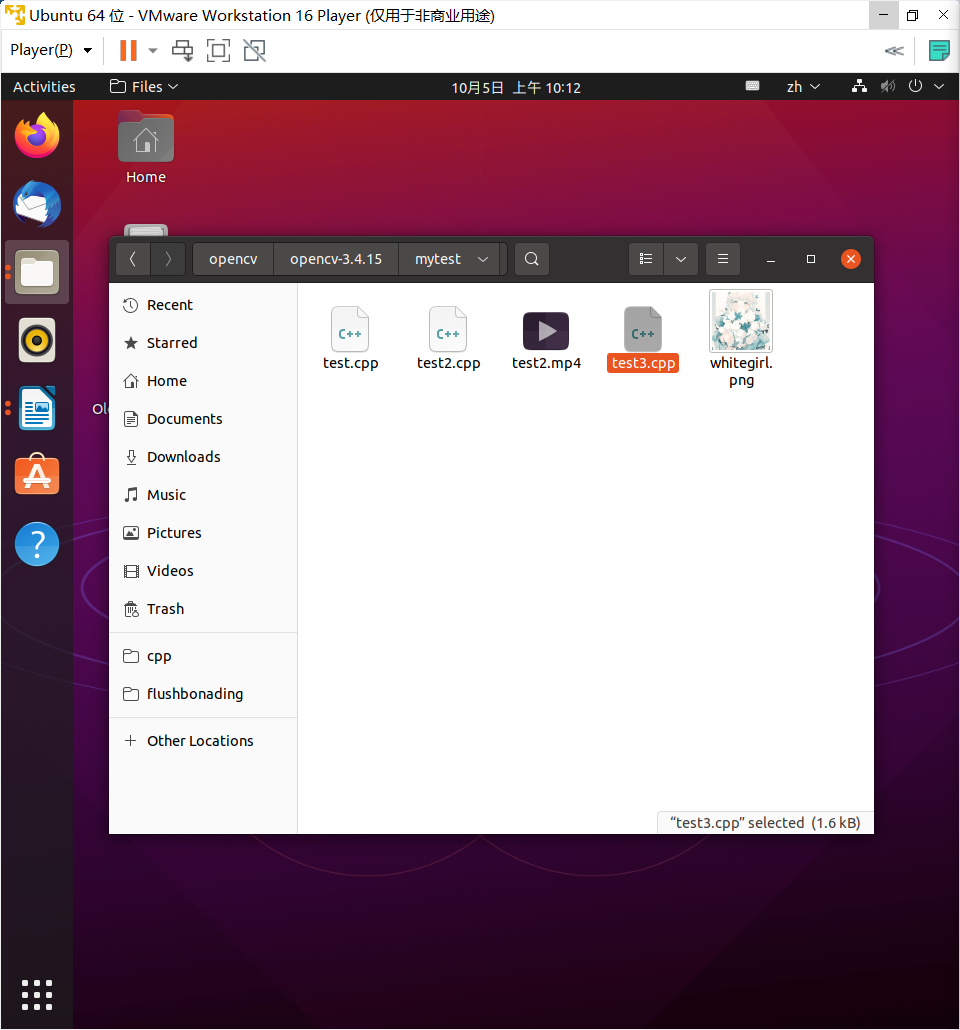
- Create test.cpp test2.cpp test3.cpp. Test.cpp is to perform special effects on pictures, test2.cpp is to play video, test3.cpp is to call the computer camera and shoot, and save the captured video in the current folder. In the folder, I also have an mp4 file and a png file
touch test.cpp
touch test2.cpp
touch test3.cpp
- test.cpp:
#include <opencv2/highgui.hpp>
#include <opencv2/opencv.hpp>
using namespace cv;
using namespace std;
int main(int argc, char** argv)
{
	CvPoint center;
    double scale = -3;

	IplImage* image = cvLoadImage("whitegirl.png");
	argc == 2? cvLoadImage(argv[1]) : 0;

	cvShowImage("Image", image);


	if (!image) return -1; 	center = cvPoint(image->width / 2, image->height / 2);
	for (int i = 0;i<image->height;i++)
		for (int j = 0;j<image->width;j++) {
			double dx = (double)(j - center.x) / center.x;
			double dy = (double)(i - center.y) / center.y;
			double weight = exp((dx*dx + dy*dy)*scale);
			uchar* ptr = &CV_IMAGE_ELEM(image, uchar, i, j * 3);
			ptr[0] = cvRound(ptr[0] * weight);
			ptr[1] = cvRound(ptr[1] * weight);
			ptr[2] = cvRound(ptr[2] * weight);
		}

	Mat src;Mat dst;
	src = cvarrToMat(image);
	cv::imwrite("whitegirl.png", src);

    cvNamedWindow("test",1);  	imshow("test", src);
	 cvWaitKey();
	 return 0;
}
- test2.cpp, pay attention to modify the address in videocapture, that is, the mp4 file in the computer. mat is a matrix. The waitkey delay cannot be deleted, otherwise it will flash
#include <opencv2/opencv.hpp>
using namespace cv;
int main()
{
	//Read video from camera
	VideoCapture capture("test2.mp4");
	//Cycle through each frame
	while(1){
		Mat frame;//Define a Mat variable to store the image of each frame
		capture >> frame;//Read current frame
		if(frame.empty())//Play finished, exit
			break;
		imshow("Read video frame",frame);//Displays the current frame
		waitKey(30);//Cover up 30ms
	}
	system("pause");
	return 0;
}
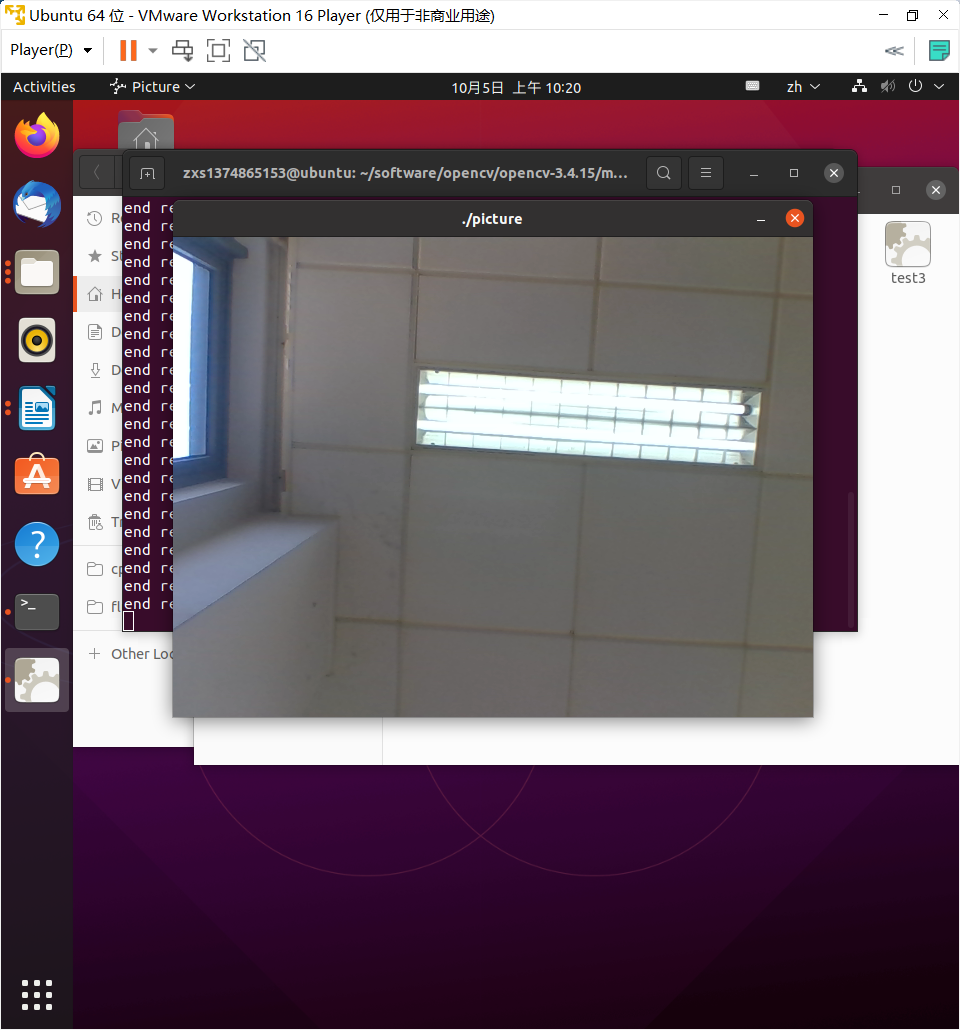
- test3.cpp:
/*********************************************************************
Turn on the computer camera, control the video recording with a blank space, and ESC exits and saves the video RecordVideo.avi
*********************************************************************/
#include<iostream>
#include <opencv2/opencv.hpp>
#include<opencv2/core/core.hpp>
#include<opencv2/highgui/highgui.hpp>
using namespace cv;
using namespace std;

int main()
{
	//Turn on the computer camera
	VideoCapture cap(0);
	if (!cap.isOpened())
	{
		cout << "error" << endl;
		waitKey(0);
		return 0;
	}

	//Get the resolution of cap
	int w = static_cast<int>(cap.get(CV_CAP_PROP_FRAME_WIDTH));
	int h = static_cast<int>(cap.get(CV_CAP_PROP_FRAME_HEIGHT));
	Size videoSize(w, h);
	VideoWriter writer("RecordVideo.avi", CV_FOURCC('M', 'J', 'P', 'G'), 25, videoSize);

	Mat frame;
	int key;//Record keyboard keys
	char startOrStop = 1;//0 starts recording video; 1 end recording video
	char flag = 0;//Recording flag 0 - not recording; 1 - recording

	while (1)
	{
		cap >> frame;
		key = waitKey(100);
		if (key == 32)//Press the space to start recording and pause recording to switch back and forth
		{
			startOrStop = 1 - startOrStop;
			if (startOrStop == 0)
			{
				flag = 1;
			}
		}
		if (key == 27)//Press ESC to exit the whole program and save the video file to disk
		{
			break;
		}

		if (startOrStop == 0 && flag==1)
		{
			writer << frame;
			cout << "recording" << endl;
		}
		else if (startOrStop == 1)
		{
			flag = 0;
			cout << "end recording" << endl;

		}
		imshow("./picture", frame);
	}
	cap.release();
	writer.release();
	destroyAllWindows();
	return 0;
}
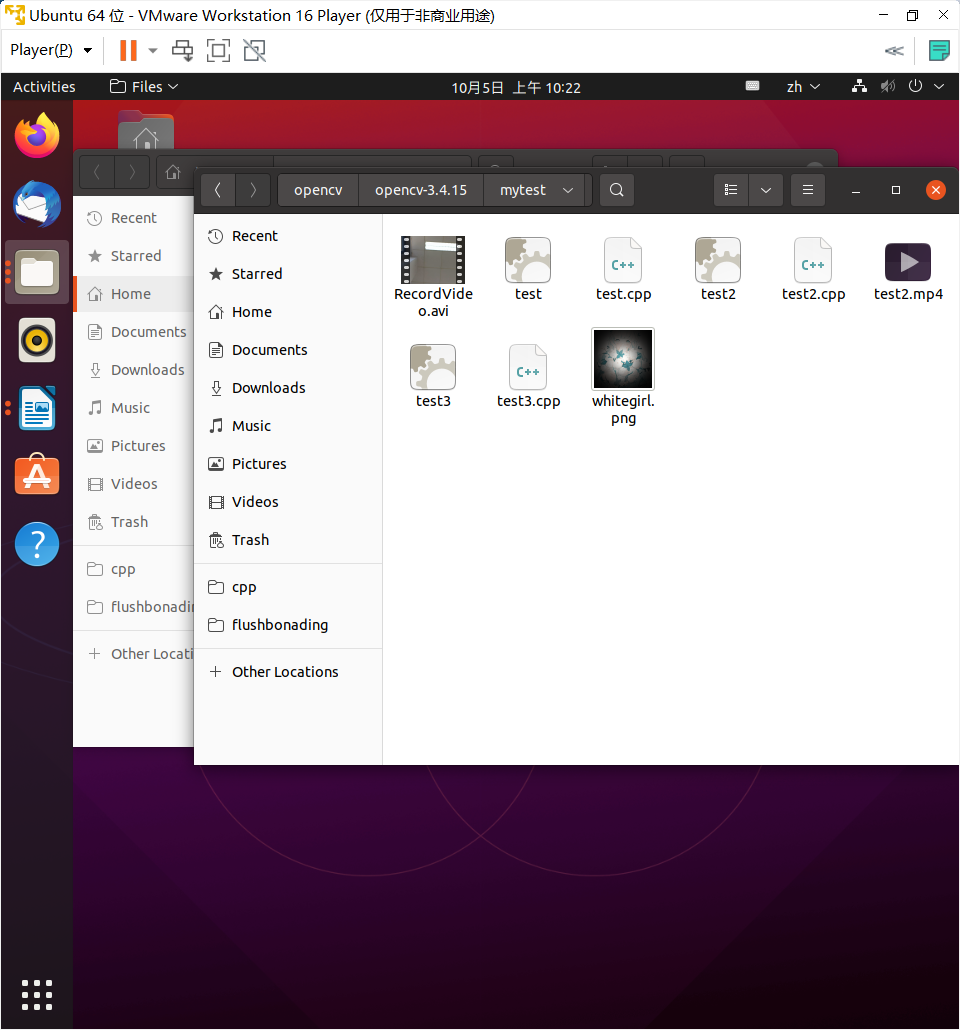
Open the command line under the current folder and enter the following commands to generate three executable files respectively
g++ test3.cpp -o test3 `pkg-config --cflags --libs opencv`
g++ test2.cpp -o test2 `pkg-config --cflags --libs opencv`
g++ test.cpp -o test `pkg-config --cflags --libs opencv`
Then view the effect in the executable file
- Picture:

- Video:
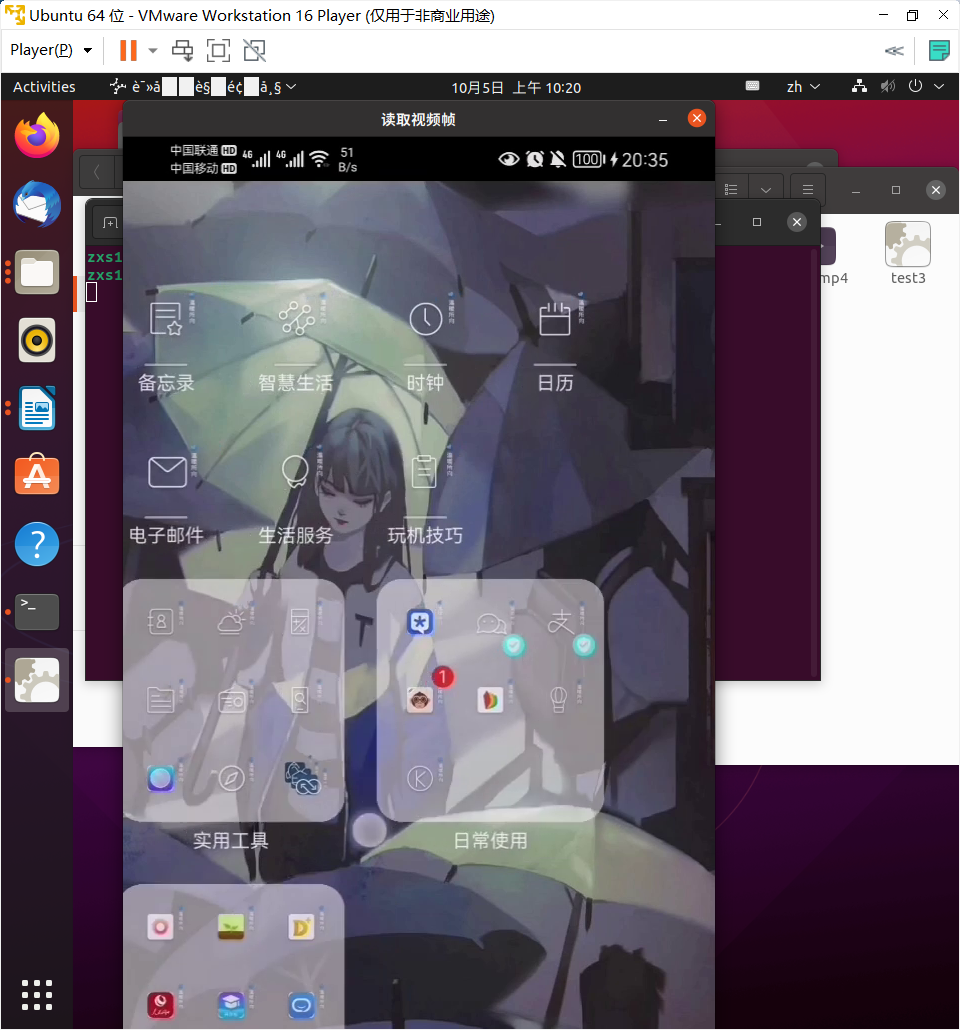
- Video:
When test3.cpp is executed, close the window directly, not exit the program directly, but regenerate the window. You can only press esc or ctrl+c, so the improvement code is as follows:
/*********************************************************************
Turn on the computer camera, control the video recording with a blank space, and ESC exits and saves the video RecordVideo.avi
*********************************************************************/
#include<iostream>
#include <opencv2/opencv.hpp>
#include<opencv2/core/core.hpp>
#include<opencv2/highgui/highgui.hpp>
using namespace cv;
using namespace std;

int main()
{
	//Turn on the computer camera
	VideoCapture cap(0);
	if (!cap.isOpened())
	{
		cout << "error" << endl;
		waitKey(0);
		return 0;
	}

	//Get the resolution of cap
	int w = static_cast<int>(cap.get(CV_CAP_PROP_FRAME_WIDTH));
	int h = static_cast<int>(cap.get(CV_CAP_PROP_FRAME_HEIGHT));
	Size videoSize(w, h);
	VideoWriter writer("RecordVideo.avi", CV_FOURCC('M', 'J', 'P', 'G'), 25, videoSize);

	Mat frame;
	int key=0;//Record keyboard keys
	char startOrStop = 1;//0 starts recording video; 1 end recording video
	char flag = 0;//Recording flag 0 - not recording; 1 - recording
	while (1)
	{
		cap >> frame;
			imshow("picture", frame);
		key = waitKey(100);
		if (key == 32)//Press the space to start recording and pause recording to switch back and forth
		{
			startOrStop = 1 - startOrStop;
			if (startOrStop == 0)
			{
				flag = 1;
			}
		}
		if (key == 27)//Press ESC to exit the whole program and save the video file to disk
		{
			break;
		}

		if (startOrStop == 0 && flag==1)
		{
			writer << frame;
			cout << "recording" << endl;
		}
		else if (startOrStop == 1)
		{
			flag = 0;
			cout << "end recording" << endl;

		}


		if(!cvGetWindowHandle("picture")){//Determine whether the window is closed
			break;
		}
	}
	cap.release();
	writer.release();
	destroyAllWindows();
	return 0;
}
3, Summary
opencv in linux needs to be compiled by cmake before it can be used, and the dependent library needs to be downloaded. At the same time, it also needs to configure the path. The process is not too troublesome. It should be noted that it depends on the download of the package and the configuration of the path. When calling the camera, first check whether the camera on the computer is connected. Second, change the compatibility of the usb interface of the linux system.
4, Reference
opencv
Function of configure/make/make install
[embedded] opencv tutorial for windows10 & ubantu16.04 & Raspberry pie 3B + installation