catalogue
1, Install opencv based on Ubuntu
2, Pictures of relevant operations
3, Video of relevant operation
1, Install opencv based on Ubuntu
1. Installation of opencv dependent environment
1.1 installation cmake
First, open the Ubuntu virtual machine, open the middle end, and enter the command line.
sudo apt-get install cmake
1.2 environment dependent installation
sudo apt-get install build-essential libgtk2.0-dev libavcodec-dev libavformat-dev libjpeg-dev libswscale-dev libtiff5-dev
sudo apt-get install libgtk2.0-dev
sudo apt-get install pkg-config
1.3 download opencv
First, open the virtual machine and enter in the virtual machine browser Releases - OpenCV Select the corresponding opencv version.
Note: when downloading opencv, the download may be slow due to network reasons. You can choose the domestic fast download address: OpenCV/opencv_contrib domestic fast download | cloud technology blog
2. Installation of compression package
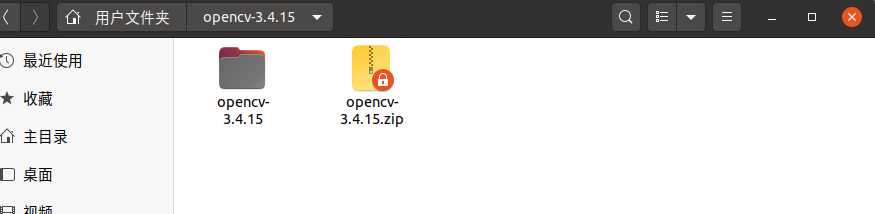
2.1 file decompression
Select the downloaded compressed package and unzip the compressed package into the corresponding folder (you can choose by yourself without qualitative requirements)
2.2 package installation
Open the decompressed package and build a build file
mkdir build
Open the build folder
cd build
Enter the following code to install
sudo cmake -D CMAKE_BUILD_TYPE=Release -D CMAKE_INSTALL_PREFIX=/usr/local ..
Waiting for installation.
two point three Compile
sudo make -j8
 have access to sudo make -j 8 ,sudo make -j4 ,sudo make
Note: it takes a long time here. Wait patiently. If the virtual machine is stuck, shut down the virtual machine and operate again.
2.4 installation
sudo make install
3. Configuration of relevant environment
Open / etc/ld.so.conf with gedit
Add a line / usr/loacal/lib to the file
Where / user/loacal is the opencv installation path, that is, the installation path specified in the makefile
sudo gedit /etc/ld.so.conf
The result is shown in the following figure: (this figure is the reference result)
 Run sudo ldconfig,
Modify the bash.bashrc file
sudo gedit /etc/bash.bashrc
Add at the end of the document:
PKG_CONFIG_PATH=$PKG_CONFIG_PATH:/usr/local/lib/pkgconfig
export PKG_CONFIG_PATH
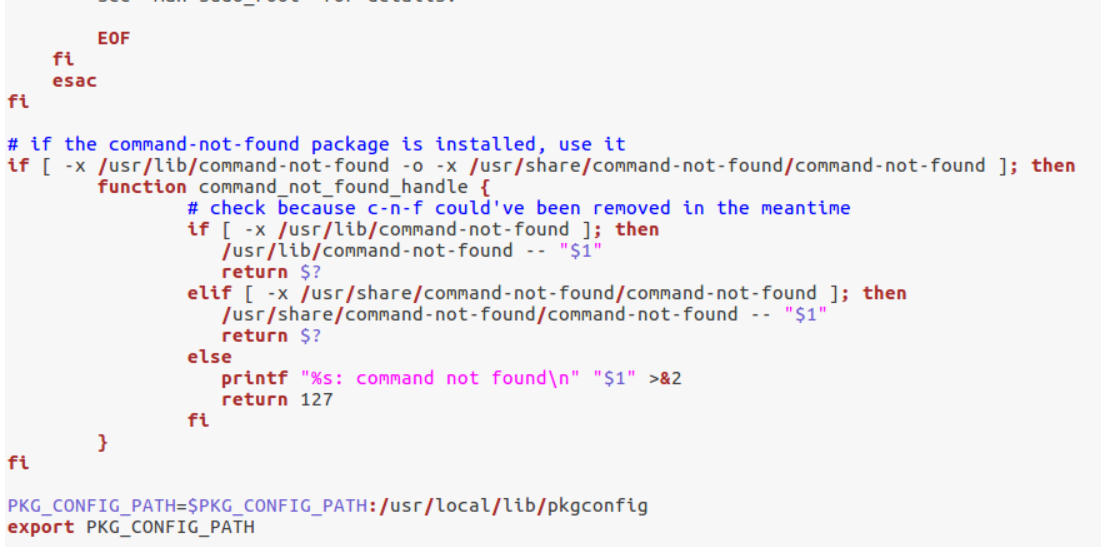
(reference Figure)
Then enter
source /etc/bash.bashrc
4. Check
pkg-config opencv --modversion
The results are as follows: 
opencv is installed successfully.
2, Pictures of relevant operations
1. Code writing
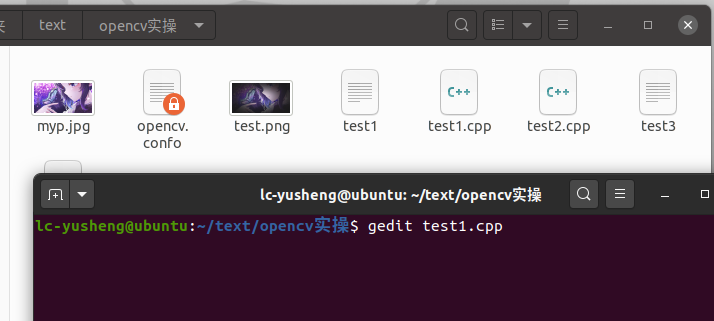
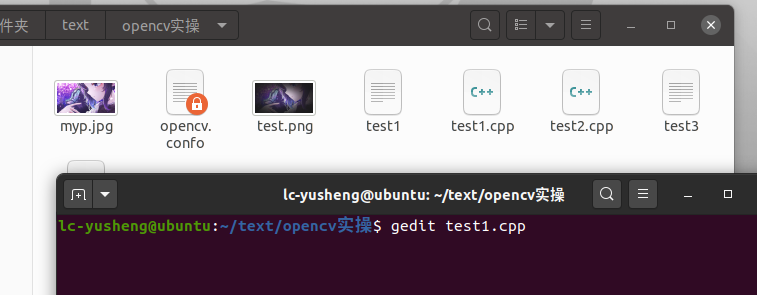
First create a code storage folder code, and then enter the folder to open the middle end.
gedit test1.cpp
#include <opencv2/highgui.hpp>
#include <opencv2/opencv.hpp>
using namespace cv;
using namespace std;
int main(int argc, char** argv)
{
	CvPoint center;
    double scale = -3;

	IplImage* image = cvLoadImage("myp.jpg");
	argc == 2? cvLoadImage(argv[1]) : 0;

	cvShowImage("Image", image);


	if (!image) return -1; 	center = cvPoint(image->width / 2, image->height / 2);
	for (int i = 0;i<image->height;i++)
		for (int j = 0;j<image->width;j++) {
			double dx = (double)(j - center.x) / center.x;
			double dy = (double)(i - center.y) / center.y;
			double weight = exp((dx*dx + dy*dy)*scale);
			uchar* ptr = &CV_IMAGE_ELEM(image, uchar, i, j * 3);
			ptr[0] = cvRound(ptr[0] * weight);
			ptr[1] = cvRound(ptr[1] * weight);
			ptr[2] = cvRound(ptr[2] * weight);
		}

	Mat src;Mat dst;
	src = cvarrToMat(image);
	cv::imwrite("test.png", src);

    cvNamedWindow("test",1);  	imshow("test", src);
	 cvWaitKey();
	 return 0;
}
Note: when entering the code, you need to change the file name in the corresponding code to the name of your own file.
2. Compiled file
g++ test1.cpp -o test1 `pkg-config --cflags --libs opencv`
Explanation:
gcc compiler: gcc + file name + - o + output file stream name + ` support package
Prepare a picture in the same folder. The file name is myp.jpg
3. Output results
./test1

If there is a problem, you can refer to the following reference link (the reason may be that the library file corresponding to opencv is not configured correctly)
3, Video of relevant operation
1. Configure Ubuntu camera
Refer to link for details: Installation and use example of OpenCV3.4.11 under Ubuntu 18.04_ ssj925319 blog - CSDN blog
2. Video playback
2.1 coding
The specific operation is as above. Only the corresponding code is attached here.
gedit test2.cpp
#include <opencv2/opencv.hpp>
using namespace cv;
int main()
{
//Read video from camera
VideoCapture capture("myv.avi");
//Cycle through each frame
while(1){
Mat frame;//Define a Mat variable to store the image of each frame
capture >> frame;//Read current frame
if(frame.empty())//Play finished, exit
break;
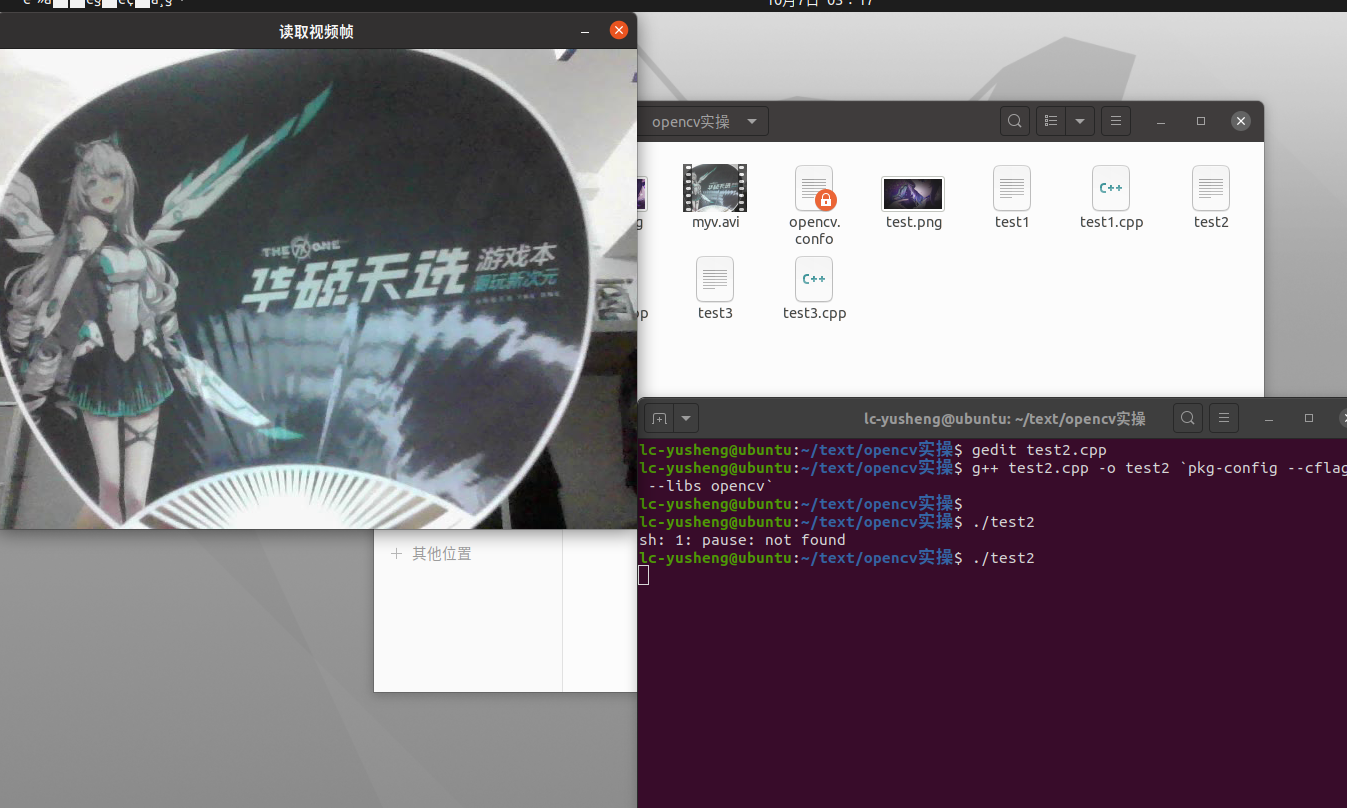
imshow("Read video frame",frame);//Displays the current frame
waitKey(30);//Cover up 30ms
}
system("pause");
return 0;
}
Code explanation:
If the statement: videocapture (0), and the subsequent parameter is set to 0, the video will be read from the camera and each frame will be displayed circularly; If it is set to the file name of a video, such as man.mp4, the video will be read and displayed circularly for each frame.
The Mat data structure in the while loop body is actually a dot matrix, corresponding to each point on the image. The set of points forms a frame image. For a detailed explanation of Mat, please see the Mat data structure in OpenCV
Statement: waitKey(30). The parameter unit in the statement is MS, that is, the interval of each frame is 30 ms. this statement cannot be deleted. Otherwise, an error will be executed and the video cannot be played or recorded.
If you need to open a video file on your hard disk to play, the code in line 5 should be modified to:
VideoCapture capture("xxxx.mp4"); //Uploaded file name
In the while loop in line 6, Mat is a class consisting of two parts of data: a matrix header (including matrix size, storage method, storage address and other information) and a pointer to the matrix of all pixel values (the matrix can have different dimensions according to the selected storage method).
The waitkey command controls the duration of imshow. When imshow is not followed by waitkey, it is equivalent to that imshow is not provided with a time display image, and only an empty window flashes by. Therefore, waitkey must be added.
2.2 compile test2.cpp file
g++ test2.cpp -o test2 `pkg-config --cflags --libs opencv`
two point three Output results
./test2
3. Video recording
3.1 coding
gedit test3.cpp
test3.cpp:
/*********************************************************************
Turn on the computer camera, control the video recording with a blank space, and ESC exits and saves the video RecordVideo.avi
*********************************************************************/
#include<iostream>
#include <opencv2/opencv.hpp>
#include<opencv2/core/core.hpp>
#include<opencv2/highgui/highgui.hpp>
using namespace cv;
using namespace std;

int main()
{
	//Turn on the computer camera
	VideoCapture cap(0);
	if (!cap.isOpened())
	{
		cout << "error" << endl;
		waitKey(0);
		return 0;
	}

	//Get the resolution of cap
	int w = static_cast<int>(cap.get(CV_CAP_PROP_FRAME_WIDTH));
	int h = static_cast<int>(cap.get(CV_CAP_PROP_FRAME_HEIGHT));
	Size videoSize(w, h);
	VideoWriter writer("RecordVideo.avi", CV_FOURCC('M', 'J', 'P', 'G'), 25, videoSize);

	Mat frame;
	int key;//Record keyboard keys
	char startOrStop = 1;//0 starts recording video; 1 end recording video
	char flag = 0;//Recording flag 0 - not recording; 1 - recording

	while (1)
	{
		cap >> frame;
		key = waitKey(100);
		if (key == 32)//Press the space to start recording and pause recording to switch back and forth
		{
			startOrStop = 1 - startOrStop;
			if (startOrStop == 0)
			{
				flag = 1;
			}
		}
		if (key == 27)//Press ESC to exit the whole program and save the video file to disk
		{
			break;
		}

		if (startOrStop == 0 && flag==1)
		{
			writer << frame;
			cout << "recording" << endl;
		}
		else if (startOrStop == 1)
		{
			flag = 0;
			cout << "end recording" << endl;

		}
		imshow("picture", frame);
	}
	cap.release();
	writer.release();
	destroyAllWindows();
	return 0;
}
This code will run all the time in the while loop. If you try to close the image display window with the mouse, you will find that it can't be closed all the time. You need to use the keyboard Ctrl+C to forcibly interrupt the program, which is very unfriendly. The improvement methods are as follows:
#include <opencv2/opencv.hpp>
using namespace cv;
int main()
{
  VideoCapture capture(0);
  int key;
  while(1)
  {
     Mat frame;
     capture >> frame;
     key = waitKey(100);
      if (key == 27)
	{
		break;
	}

     imshow("Read video frame",frame);
     waitKey(30);
   }
     system("pause");
     return 0;
}
three point two Compile the test3.cpp file
g++ test3.cpp -o test3 `pkg-config --cflags --libs opencv`
three point three Output results
./test3
When recording video, press space to start and ESC to end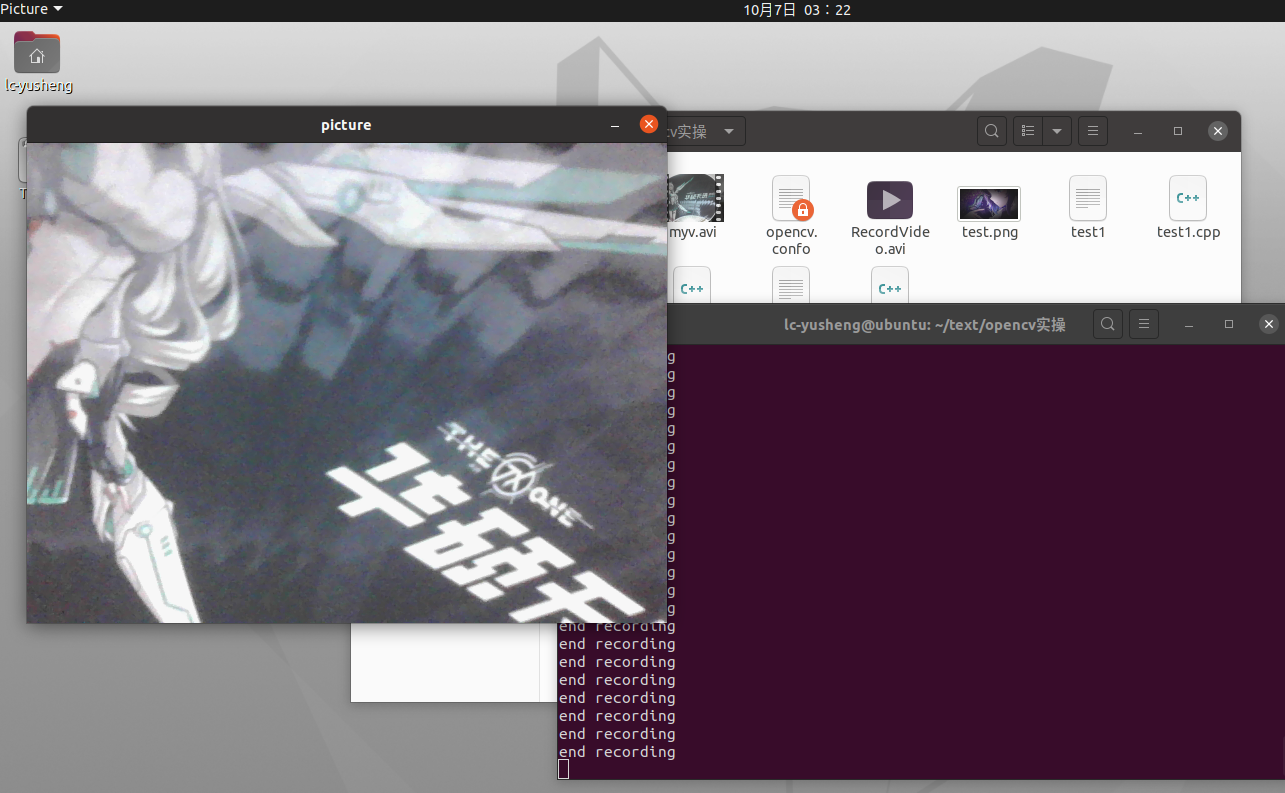
An AVI format video is generated.
For more OpenCV tutorials, please refer to: OpenCV tutorial: super detailed OpenCV introductory tutorial, worthy of collection!
4, Summary
In this experiment, the installation of opencv took me most of my time. Among them, I also encountered the problem of too much rain, but with my unremitting efforts and various references, I finally successfully installed opencv. As for the relevant operations of opencv, with the help of my predecessors on the Internet, I also successfully completed this experiment.
5, References
Correct method of installing opencv in ubuntu_ Taotao name CSDN blog_ ubuntu installing opencv
Installation and use example of OpenCV3.4.11 under Ubuntu 18.04_ ssj925319 blog - CSDN blog
 https://mooc1.chaoxing.com/ueditorupload/read?objectId=2b8aea8003e93aaf6326bdba9a606cae&fileOriName=%E7%AC%AC4%E5%91%A8%E5%B5%8C%E5%85%A5%E5%BC%8F%E7%B3%BB%E7%BB%9F%E4%BD%9C%E4%B8%9A-opencv%E7%BC%96%E7%A8%8B%E5%8F%82%E8%80%83%E8%B5%84%E6%96%99.docx