MariaDB is installed by default in CentOS, which is a branch of MySQL, but MySQL should be installed in the system for the sake of need, and MariaDB can be overwritten directly after installation.
1 Download and install MySQL's official Yum Repository
[root@localhost ~]# wget -i -c http://dev.mysql.com/get/mysql57-community-release-el7-10.noarch.rpm
Using the above command, you can download the installation Yum Repository, which looks like 25KB, and then you can install it directly.
[root@localhost ~]# yum -y install mysql57-community-release-el7-10.noarch.rpm
The MySQL server is then installed.
[root@localhost ~]# yum -y install mysql-community-server
This step may take some time, and when the installation is complete, the previous mariadb will be overwritten.
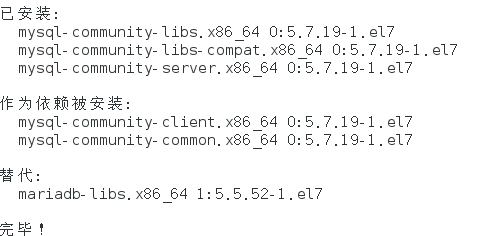
So far, MySQL has been installed, and then some settings for MySQL have been set up.
2 MySQL database settings
Start MySQL first
[root@localhost ~]# systemctl start mysqld.service
View MySQL running status, as shown below:
[root@localhost ~]# systemctl status mysqld.service
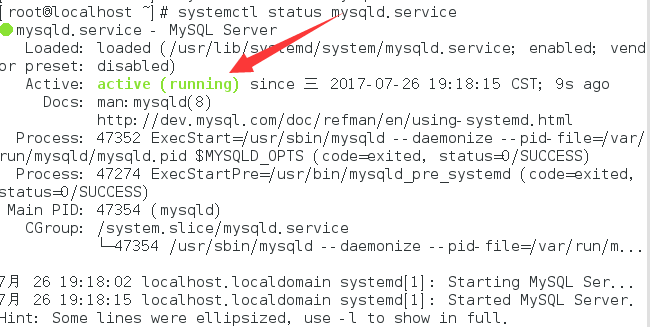
At this time, MySQL has started to work properly, but to enter MySQL, you have to find the password of the root user at this time. You can find the password in the log file by following commands:
[root@localhost ~]# grep "password" /var/log/mysqld.log

Enter the database with the following commands:
[root@localhost ~]# mysql -uroot -p
Enter the initial password, and nothing can be done at this time, because MySQL by default must change the password before it can operate the database:
mysql> ALTER USER 'root'@'localhost' IDENTIFIED BY 'new password';
There is a problem here. If the new password is set too simply, it will be wrong:

The reason is that MySQL has a specification for password settings, specifically related to the value of validate_password_policy:

MySQL's complete initial password rules can be viewed through the following commands:
mysql> SHOW VARIABLES LIKE 'validate_password%';
+--------------------------------------+-------+
| Variable_name                        | Value |
+--------------------------------------+-------+
| validate_password_check_user_name    | OFF   |
| validate_password_dictionary_file    |       |
| validate_password_length             | 4     |
| validate_password_mixed_case_count   | 1     |
| validate_password_number_count       | 1     |
| validate_password_policy             | LOW   |
| validate_password_special_char_count | 1     |
+--------------------------------------+-------+
7 rows in set (0.01 sec)
The length of the password is determined by validate_password_length, and the formula for validate_password_length is:
validate_password_length = validate_password_number_count + validate_password_special_char_count + (2 * validate_password_mixed_case_count)
Mine is a modified one. Initially, the first value is ON and validate_password_length is 8. You can modify it by following commands:
mysql> set global validate_password_policy=0;
mysql> set global validate_password_length=1;
After setting up, I found the values above, at this time the password can be set very simple, such as 1234 and so on. The password settings for this database are complete.
Finally, if cloud services are available, the remote connection authority should be enabled:
GRANT ALL PRIVILEGES ON *.* TO 'root'@'%' IDENTIFIED BY 'password' WITH GRANT OPTION;
However, there is another problem at this time, because the installation of Yum Repository will automatically update every yum operation in the future, which needs to be uninstalled:
[root@localhost ~]# yum -y remove mysql57-community-release-el7-10.noarch
Reprint to blog:
https://www.cnblogs.com/bigbrotherer/p/7241845.html