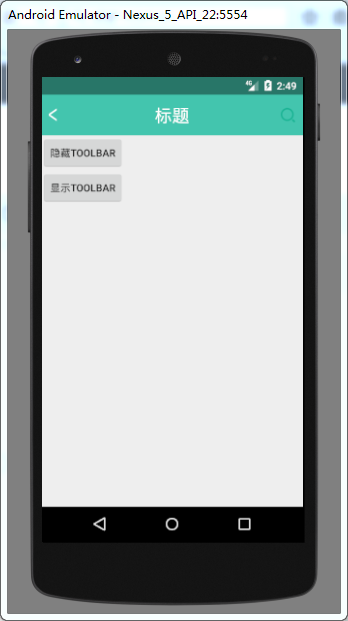
    The first one is about three steps to modify the background color of the status bar, which can not be realized dynamically and has too many limitations. It can be implemented with toolbar. Now the mainstream APP, the home page is in the form of an activity + multiple fragment s, in addition to the personality center page, other pages are displayed status bar, personal center pages are filled with content status bar. The three-step implementation of the immersive status bar in the previous article can not be achieved, but can be achieved with toolbar. Some people say that he has never used toolbar and is too lazy to try it. In fact, toolbar is a layout. What's the difficulty?
    It also takes only three steps to implement the immersive status bar with toolbar.
    The first step is to add toolbar to the layout file, taking my toolbar content as an example:
<android.support.v7.widget.Toolbar
        android:id="@+id/toolbar"
        android:layout_width="match_parent"
        android:layout_height="wrap_content"
        android:minHeight="?attr/actionBarSize"
        android:fitsSystemWindows="true"
        app:contentInsetLeft="0dp"
        app:contentInsetStart="0dp"
        android:background="@color/light_bule"
        app:popupTheme="@style/ThemeOverlay.AppCompat.Light">

        <RelativeLayout
            android:layout_width="match_parent"
            android:layout_height="?attr/actionBarSize"
            android:orientation="horizontal">

            <ImageView
                android:id="@+id/img1_toolbar"
                android:layout_width="wrap_content"
                android:layout_height="wrap_content"
                android:layout_centerVertical="true"
                android:layout_marginLeft="30px"
                android:src="@mipmap/arrow_back_white" />

            <LinearLayout
                android:id="@+id/ll2_toolbar"
                android:layout_width="wrap_content"
                android:layout_height="wrap_content"
                android:layout_centerInParent="true"
                android:orientation="horizontal">
                <TextView
                    android:layout_width="wrap_content"
                    android:layout_height="wrap_content"
                    android:text="Title"
                    android:textColor="#ffffff"
                    android:textSize="24sp"/>
            </LinearLayout>

            <LinearLayout
                android:layout_width="wrap_content"
                android:layout_height="wrap_content"
                android:layout_alignParentRight="true"
                android:layout_centerVertical="true"
                android:orientation="horizontal">

                <TextView
                    android:id="@+id/tv3_toolbar"
                    android:layout_width="wrap_content"
                    android:layout_height="wrap_content"
                    android:layout_marginRight="30px"
                    android:background="@mipmap/search" />

            </LinearLayout>
        </RelativeLayout>
    </android.support.v7.widget.Toolbar>
What's your title, you change your content. Here we should pay attention to these attributes.
        android:layout_height="wrap_content"
        android:minHeight="?attr/actionBarSize"
        android:fitsSystemWindows="true"
        app:contentInsetLeft="0dp"
        app:contentInsetStart="0dp"
    The best height is the package content, and then add a minimum height, otherwise the content will not be fully displayed. Then there is fitsSystem Windows, which allows layout content to fill the status bar. The previous article also said that this property, and then from the left, 0 dp from the beginning of the two attributes, you do not add, you will always feel that the content of toolbar will be biased to the right.
    The second step, of course, is to remove the title, otherwise it would be ugly. It's best to add it to the theme, otherwise every activity will be added once, which is troublesome. Some people said, I add in the base class, you are at will. Do my P. Anyway, I added it to the theme. Add the following code under styles.xml file in the values directory under res
    <style name="AppTheme.NoActionBar">
        <item name="windowActionBar">false</item>
        <item name="windowNoTitle">true</item>
    </style>
Then, under the res directory, create a new values-v19 directory, and create a new styles.xml file in it (people can see what they are doing at a glance, yes, do the adaptation). Add the following code
<style name="AppTheme.NoActionBar">
        <item name="windowActionBar">false</item>
        <item name="windowNoTitle">true</item>
        <item name="android:windowTranslucentStatus">true</item>
    </style>
The third step is to replace the theme in your list file with the theme here.
Project Links