1, Introduction to OpenCV
OpenCV is a cross platform computer vision and machine learning software library based on BSD license (open source), which can run on Linux, Windows, Android and Mac OS operating systems. [1] It is lightweight and efficient - it is composed of a series of C functions and a small number of C + + classes. At the same time, it provides interfaces with Python, Ruby, MATLAB and other languages, and realizes many general algorithms in image processing and computer vision.
OpenCV is written in C + + language. It has C + +, Python, Java and MATLAB interfaces and supports Windows, Linux, Android and Mac OS. OpenCV mainly tends to real-time visual applications and uses MMX and SSE instructions when available. Now it also provides support for c#, Ch, Ruby and GO.
2, Install OpenCV
Installation environment: Ubuntu 18.04 system installed on VMware virtual machine
2.1 installation package download
Download OpenCV package
Download using browser in virtual machine
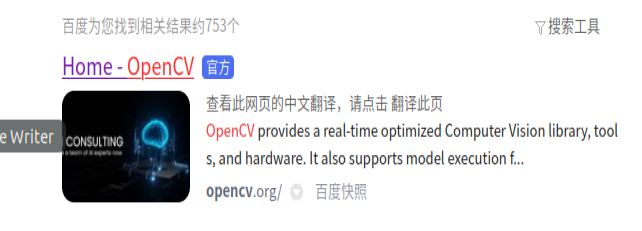
Search official website
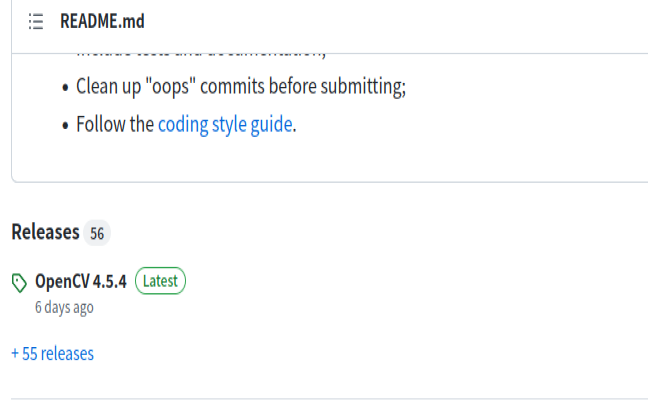
Select Github

Select the latest version
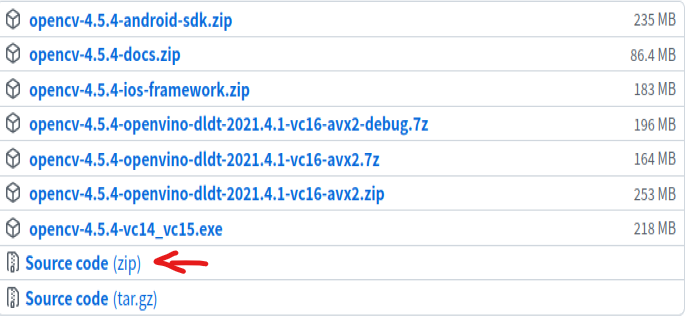
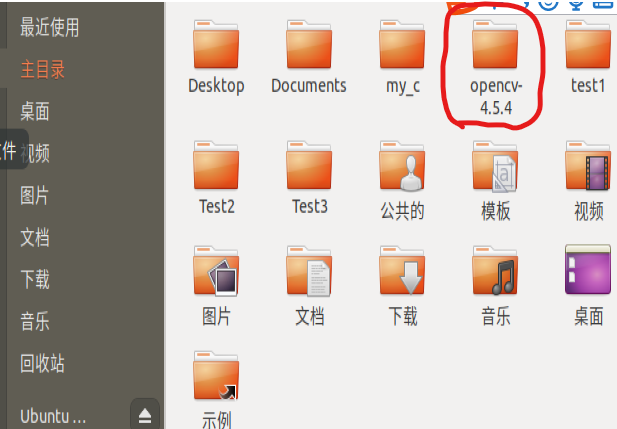
Right click to extract to a folder for storage
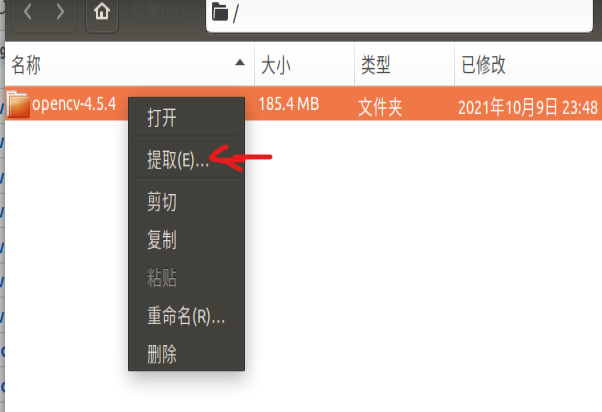
After completion, it is as follows:
2.2 installation with cmake
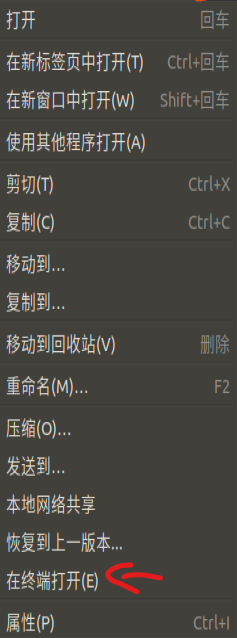
Right click the OpenCV folder and select open on terminal
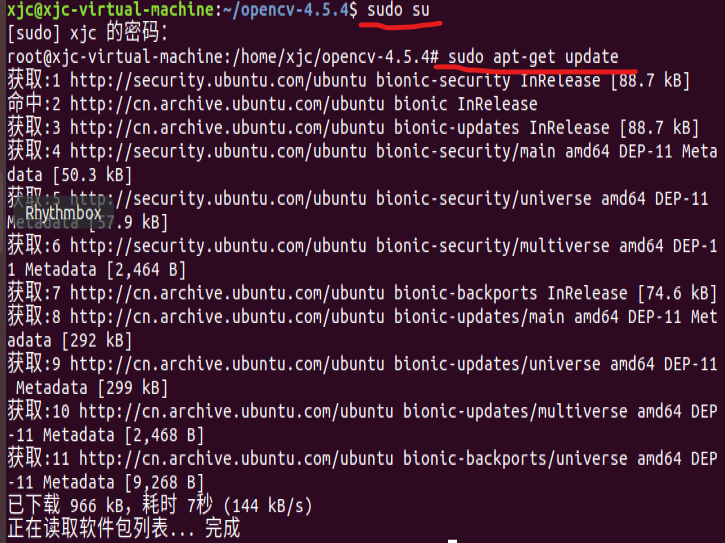
First enter the root user and update it
sudo su
sudo apt-get update
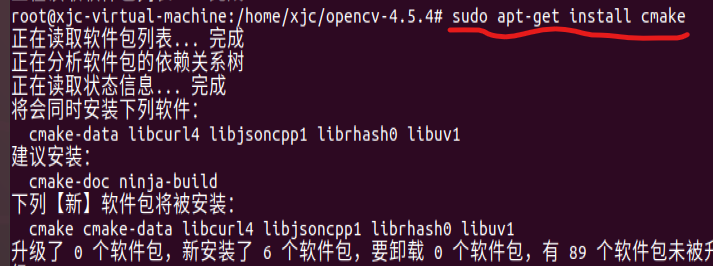
Then execute the command to install cmake
sudo apt-get install cmake
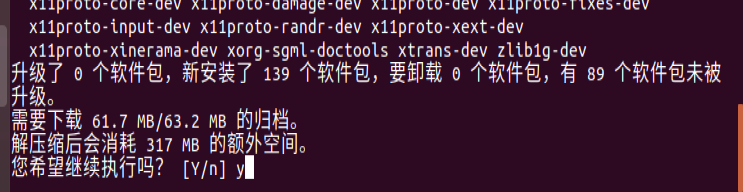
Execute the following command to install the dependent Libraries
sudo apt-get install build-essential libgtk2.0-dev libavcodec-dev libavformat-dev libjpeg.dev libtiff5.dev libswscale-dev libjasper-dev
When I execute this statement, there is an error: libjasper dev cannot be overwritten. Because it already exists, I delete the last library: libjasper dev when I execute this command
Use the ctrl+c copy command in the host, and then use the shortcut ctrl+shift+v paste command in the virtual machine, provided that VMware Tools is installed in the virtual machine
Delete the last library and execute the above command successfully
Creating the build folder
mkdir build
Then go to the folder we created
cd build

Use cmake to compile parameters, or use the second default parameter.
cmake -D CMAKE_BUILD_TYPE=Release -D CMAKE_INSTALL_PREFIX=/usr/local ..
cmake ..
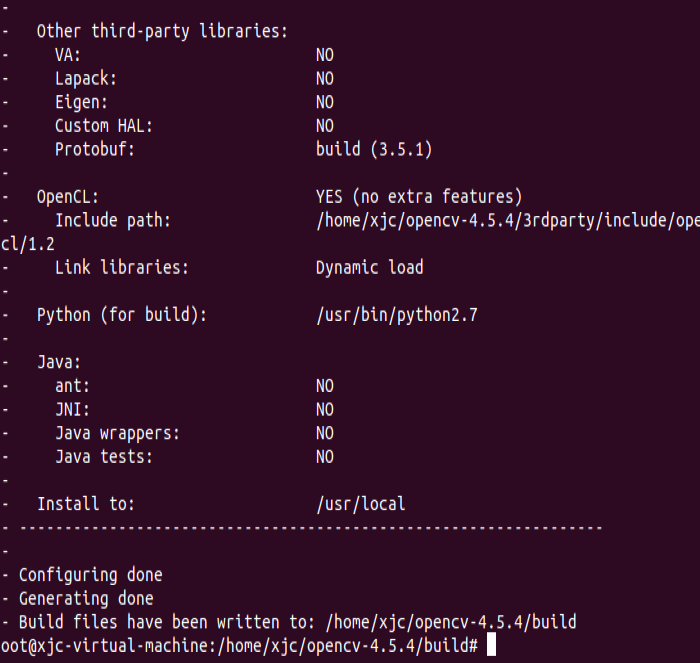
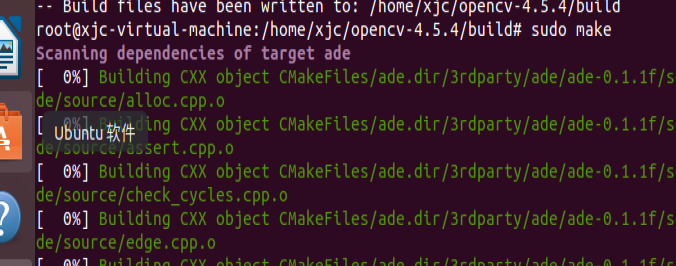
Use make to create a compilation, which is still carried out in the build folder (a long compilation process)
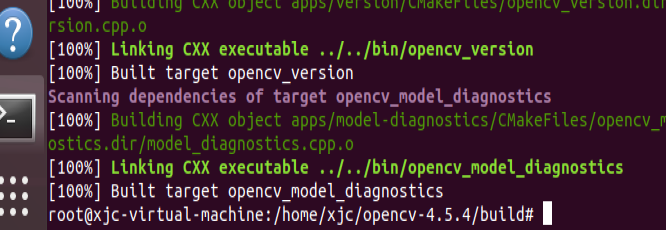
sudo make
Compilation complete!!
install
sudo make install
If no error is reported during the installation, the installation can be completed.
2.3 configuration environment
Modify the opencv.conf file. The opened file is empty. Add the installation path of OpenCV Library: / usr/local/lib
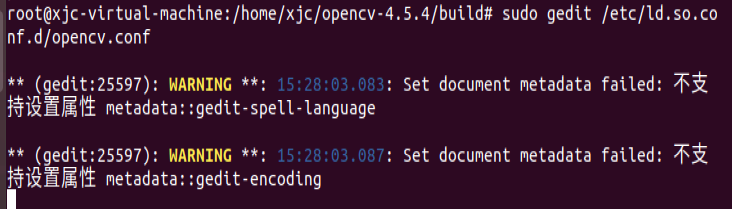
sudo gedit /etc/ld.so.conf.d/opencv.conf
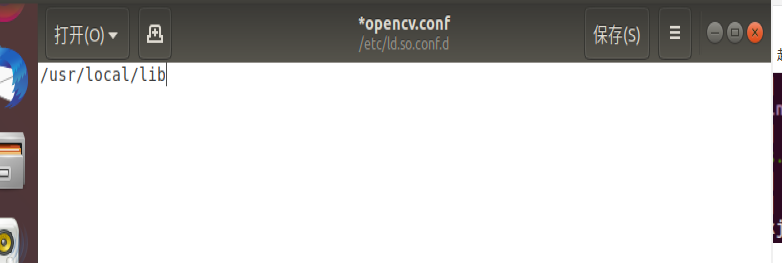
Exit the folder after saving, and save and close in the upper right corner
After saving, you will see the previous warning information. Don't worry. It's normal.
Update system shared link library
sudo ldconfig

Configure Bash and modify bash.bashrc file
sudo gedit /etc/bash.bashrc
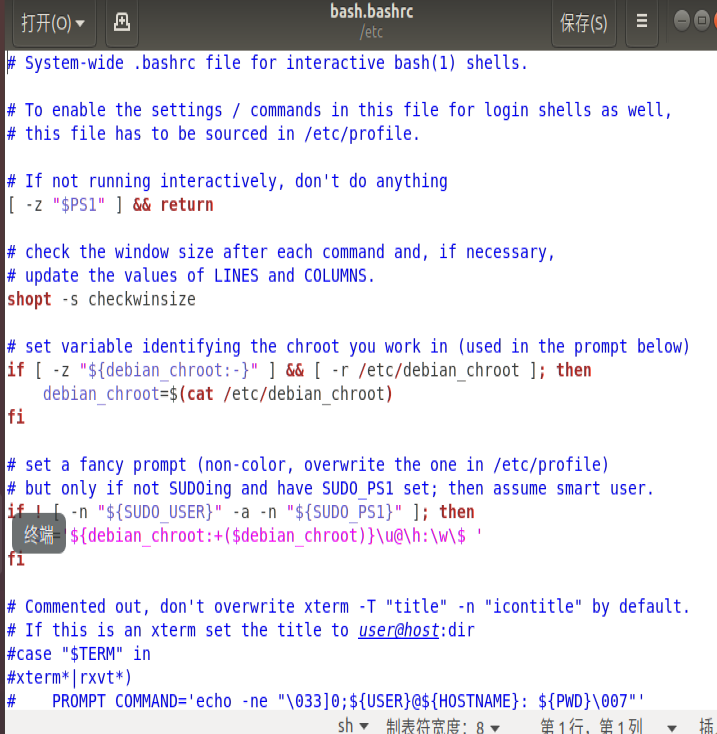
Add at the end of the document:
PKG_CONFIG_PATH=$PKG_CONFIG_PATH:/usr/local/lib/pkgconfig
export PKG_CONFIG_PATH

Save and exit, and then execute the following command to make the configuration effective
source /etc/bash.bashrc

Update it
sudo updatedb
View the version information of opencv
pkg-config --modversion opencv
Error report found
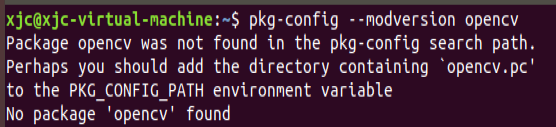
Because we use the OpenCV4 version, PKG config is not used by default
reference: Why does OpenCV4 "PKG config -- modversion opencv" display "No package 'opencv' found"? resolvent!
3, Use example
3.1 picture application
First create a code storage folder, and then enter the folder.

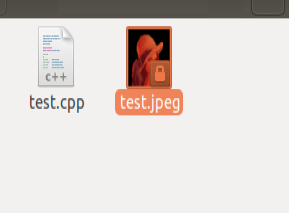
test.cpp
#include <opencv2/highgui.hpp>
#include <opencv2/opencv.hpp>
using namespace cv;
using namespace std;
int main(int argc, char** argv)
{
CvPoint center;
double scale = -3;
IplImage* image = cvLoadImage("lena.jpg");
argc == 2? cvLoadImage(argv[1]) : 0;
cvShowImage("Image", image);
if (!image) return -1; center = cvPoint(image->width / 2, image->height / 2);
for (int i = 0;i<image->height;i++)
for (int j = 0;j<image->width;j++) {
double dx = (double)(j - center.x) / center.x;
double dy = (double)(i - center.y) / center.y;
double weight = exp((dx*dx + dy*dy)*scale);
uchar* ptr = &CV_IMAGE_ELEM(image, uchar, i, j * 3);
ptr[0] = cvRound(ptr[0] * weight);
ptr[1] = cvRound(ptr[1] * weight);
ptr[2] = cvRound(ptr[2] * weight);
}
Mat src;Mat dst;
src = cvarrToMat(image);
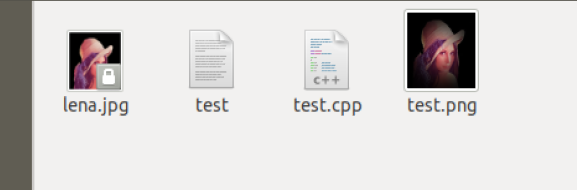
cv::imwrite("test.png", src);
cvNamedWindow("test",1); imshow("test", src);
cvWaitKey();
return 0;
}
Compiled file
gcc test.cpp -o test `pkg-config --cflags --libs opencv`
gcc compiler: gcc + file name + - o + output file stream name + ` support package
Compilation error!!! Baidu said: you need to compile your interface module with C + + compiler. After changing gcc to g + +, it is correct. You can see that there is an executable file test,
Prepare a picture in the same folder with the file name: test.jpeg
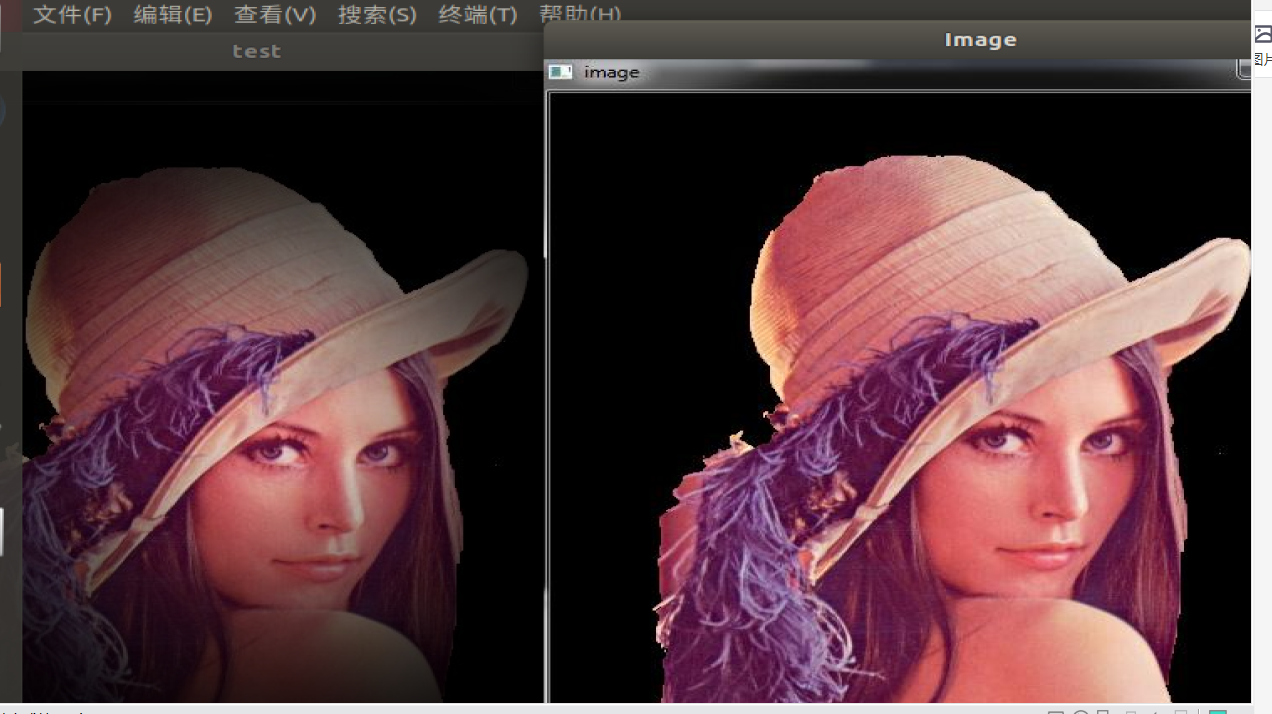
Output results:
./test
You can see that lena.jpg generates a test.png with different effects
3.2 video application
Get camera permissions for virtual machine
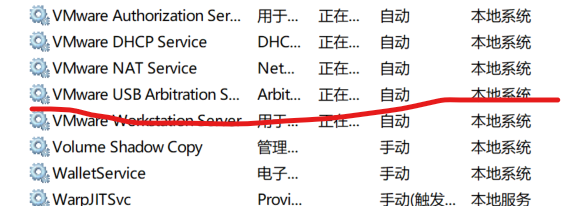
Use the shortcut key Win + R, enter services.msc and enter.
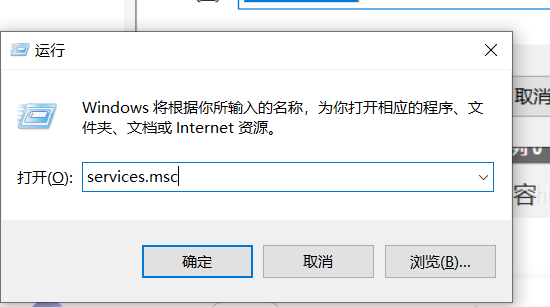
Locate the VMware USB Arbitration S... Service and make sure it is started
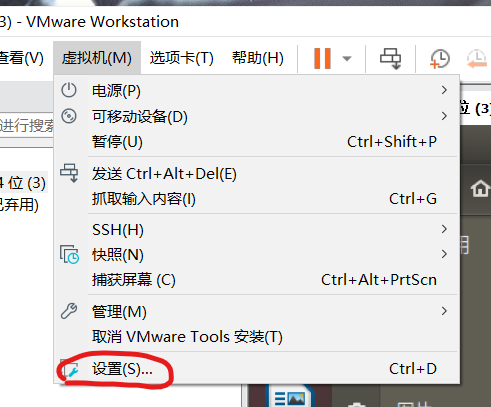
Click virtual machine, and then click Settings
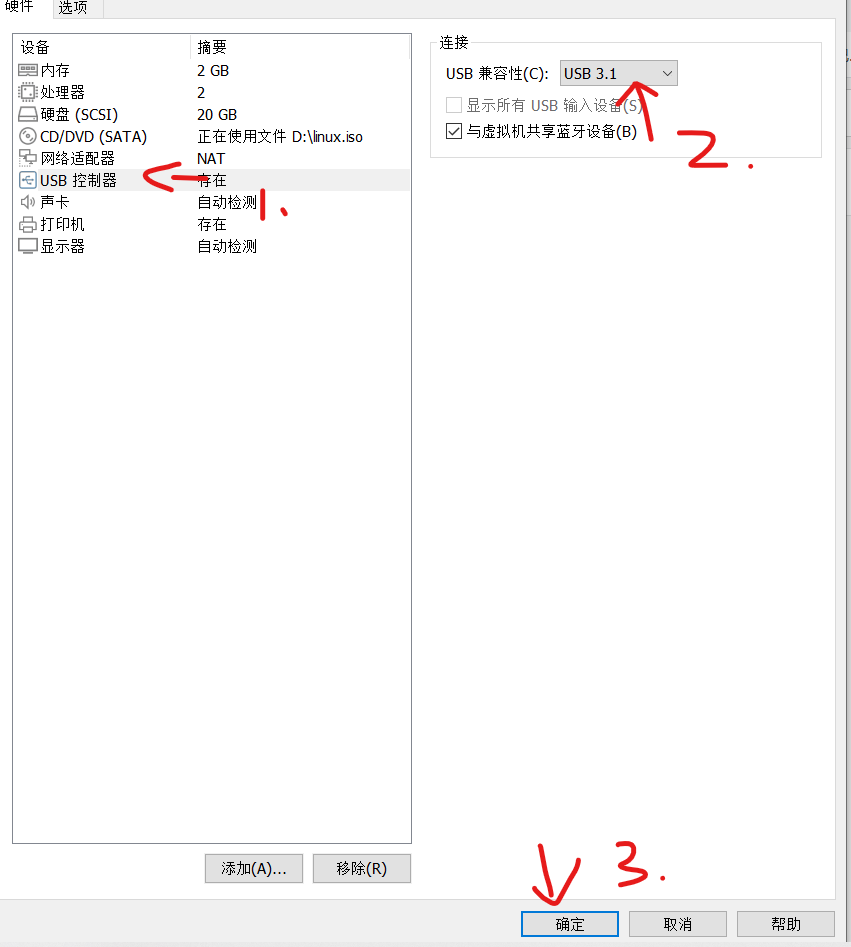
Select "USB controller", set "USB compatibility" to "USB 3.1", and click OK.
Select "virtual machine", then "removable device", then "Acer BisonCarm,NB Pro", finally click "connect", and then click "OK" in the pop-up window
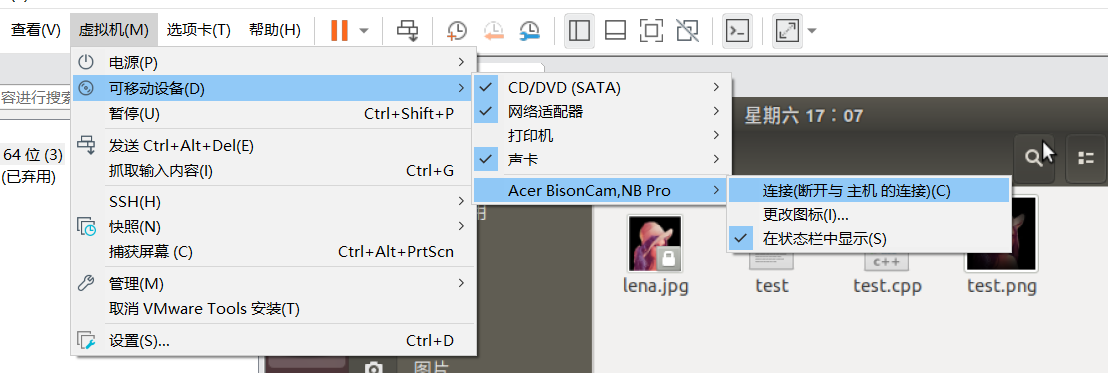
If there is a small green dot on the camera icon in the lower right corner of the virtual machine, the connection is successful.

Play video
Create a test1.cpp file
The code is as follows
#include <opencv2/opencv.hpp>
using namespace cv;
int main()
{
	//Read video
	VideoCapture capture("sd.mp4");
	//Cycle through each frame
	while(1){
		Mat frame;//Define a Mat variable to store the image of each frame
		capture >> frame;//Read current frame
		if(frame.empty())//Play finished, exit
			break;
		imshow("Read video frame",frame);//Displays the current frame
		waitKey(30);//Cover up 30ms
	}
	system("pause");
	return 0;
}
If the statement: videocapture (0), and the subsequent parameter is set to 0, the video will be read from the camera and each frame will be displayed circularly; If it is set to the file name of a video, such as man.mp4, the video will be read and displayed circularly for each frame.
The Mat data structure in the while loop is actually a dot matrix, which corresponds to each point on the image. The set of points forms a frame image. For a detailed explanation of Mat, please see the Mat data structure in OpenCV
Statement: waitKey(30). The parameter unit in the statement is MS, that is, the interval of each frame is 30 ms. this statement cannot be deleted. Otherwise, an error will be executed and the video cannot be played or recorded.
Prepared an sd.mp4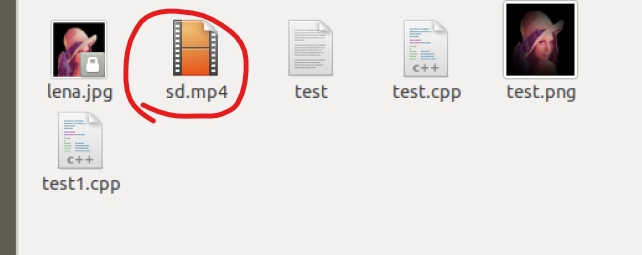
Compile test1.cpp file
g++ test1.cpp -o test1 `pkg-config --cflags --libs opencv`
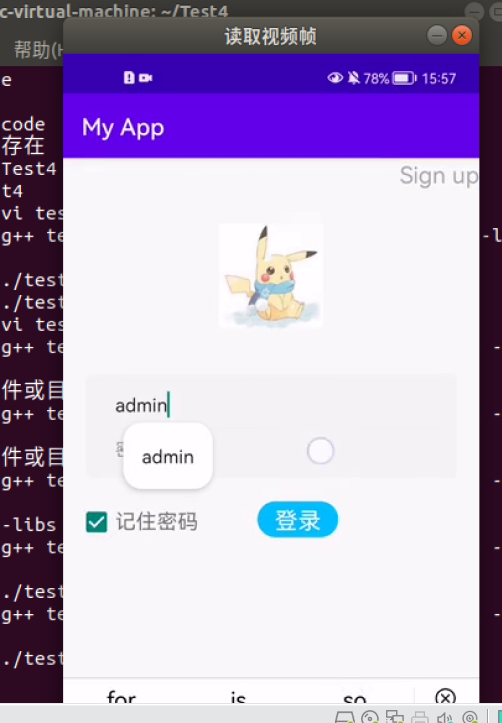
Output results
./test1
record video
Create a test2.cpp file
The code is as follows:
/*********************************************************************
Turn on the computer camera, control the video recording with a blank space, and ESC exits and saves the video RecordVideo.avi
*********************************************************************/
#include<iostream>
#include <opencv2/opencv.hpp>
#include<opencv2/core/core.hpp>
#include<opencv2/highgui/highgui.hpp>
using namespace cv;
using namespace std;

int main()
{
	//Turn on the computer camera
	VideoCapture cap(0);
	if (!cap.isOpened())
	{
		cout << "error" << endl;
		waitKey(0);
		return 0;
	}

	//Get the resolution of cap
	int w = static_cast<int>(cap.get(CV_CAP_PROP_FRAME_WIDTH));
	int h = static_cast<int>(cap.get(CV_CAP_PROP_FRAME_HEIGHT));
	Size videoSize(w, h);
	VideoWriter writer("RecordVideo.avi", CV_FOURCC('M', 'J', 'P', 'G'), 25, videoSize);

	Mat frame;
	int key;//Record keyboard keys
	char startOrStop = 1;//0 starts recording video; 1 end recording video
	char flag = 0;//Recording flag 0 - not recording; 1 - recording

	while (1)
	{
		cap >> frame;
		key = waitKey(100);
		if (key == 32)//Press the space to start recording and pause recording to switch back and forth
		{
			startOrStop = 1 - startOrStop;
			if (startOrStop == 0)
			{
				flag = 1;
			}
		}
		if (key == 27)//Press ESC to exit the whole program and save the video file to disk
		{
			break;
		}

		if (startOrStop == 0 && flag==1)
		{
			writer << frame;
			cout << "recording" << endl;
		}
		else if (startOrStop == 1)
		{
			flag = 0;
			cout << "end recording" << endl;

		}
		imshow("picture", frame);
	}
	cap.release();
	writer.release();
	destroyAllWindows();
	return 0;
}
compile
g++ test2.cpp -o test2 `pkg-config --cflags --libs opencv`
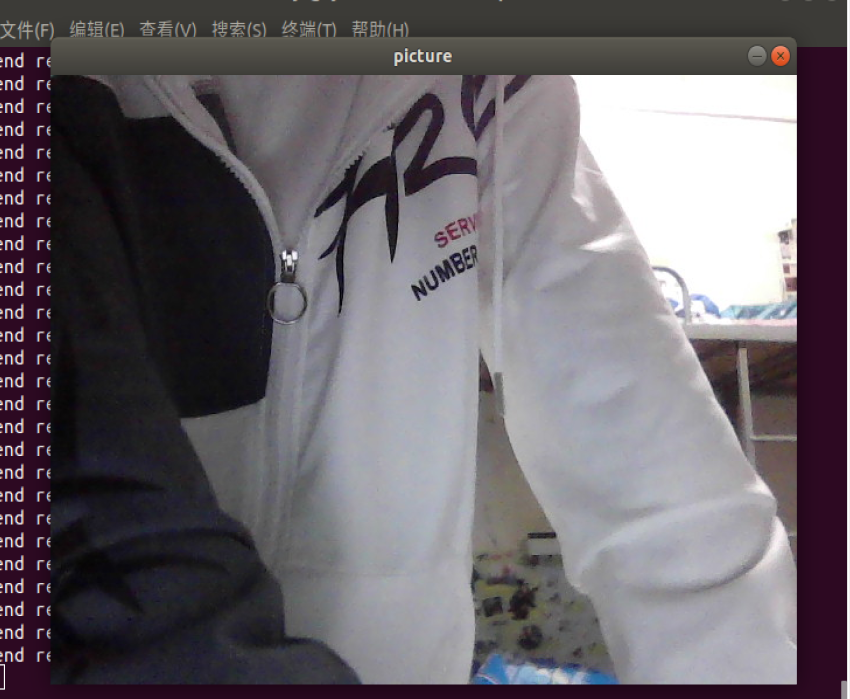
Output results:
./test2
An. avi file is generated and frames are generated continuously.
4, Summary
gcc test1.cpp -o test1 pkg-config --cflags --libs opencv
gcc compiler: gcc + file name + - o + output file stream name + ` support package
In the test.1cpp code, the Mat data structure in the while loop body is actually a dot matrix, corresponding to each point on the image, and the set of points forms a frame image. For a detailed explanation of Mat, please see the Mat data structure in OpenCV
5, References
Installation and use example of OpenCV3.4.11 under Ubuntu 18.04