Fast setup of spring cloud
Spring Cloud is a microservice framework, which is based on spring boot, a complete set of distributed system solutions provided by Spring Cloud.
First, we use gradle to create:
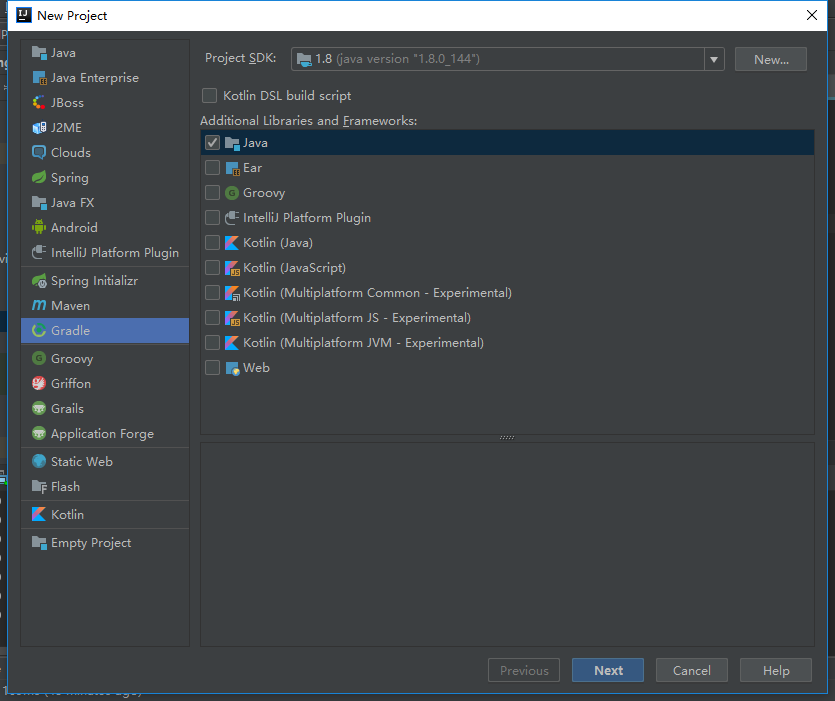
Select JDK and check Java, then next
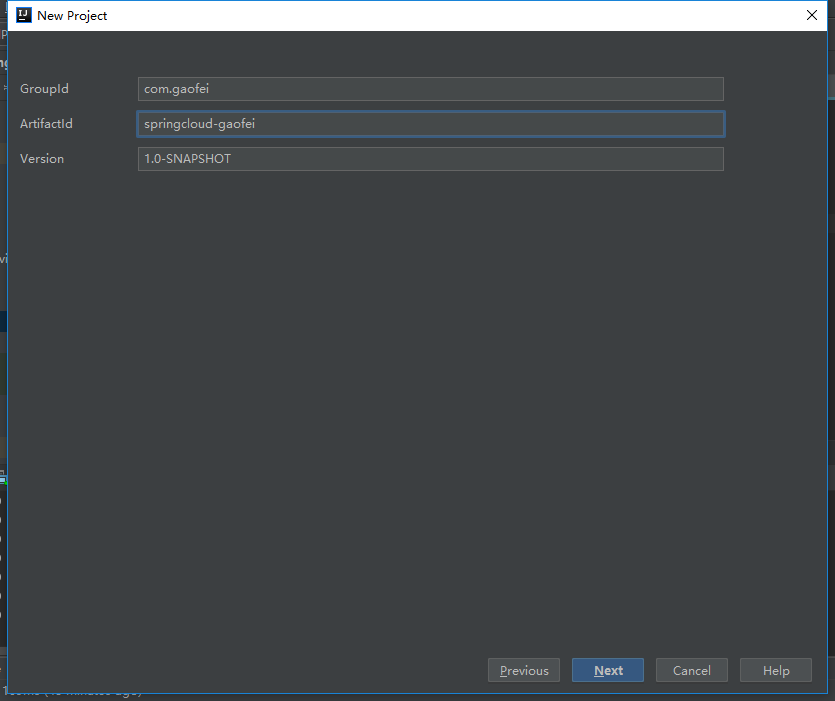
Package name already has project name. Next step:
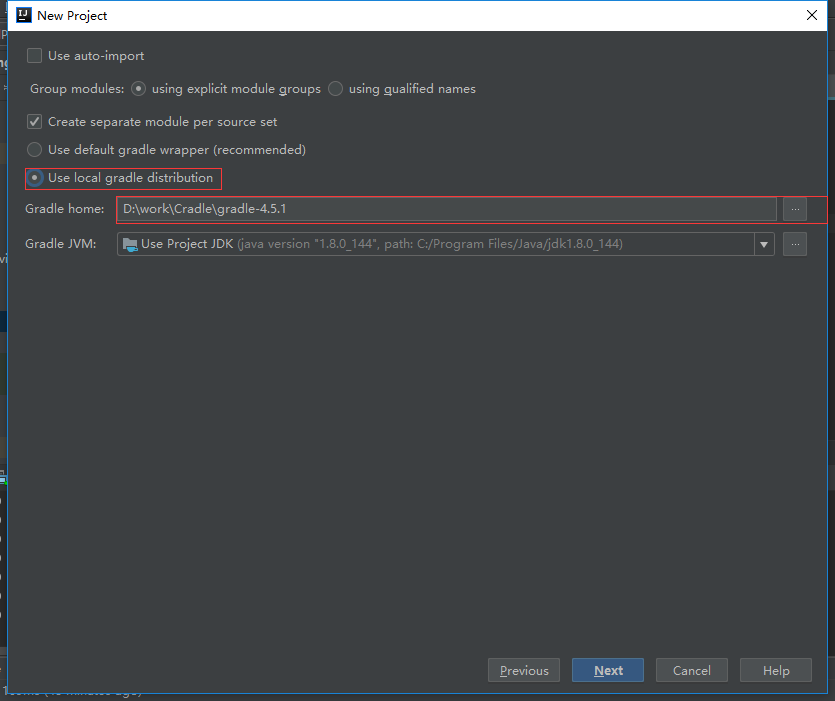
Select our local gradle package and continue to the next step. Click build.gradle and add our dependency:
group 'com.gaofei'
version '1.0-SNAPSHOT'

//gradle Plug in used
apply plugin: 'java'
//gradle Use spring-boot Easier to pack
apply plugin: 'spring-boot'


//jdk Version number
sourceCompatibility = 1.8


//This project
dependencies {
    testCompile group: 'junit', name: 'junit', version: '4.12'
}

//Due to this creation gradle Did not appear src,This is solved by the following code
task "create-dirs" << {
    sourceSets*.java.srcDirs*.each {
        it.mkdirs()
    }
    sourcScts*.resources.srcDirs*.each{
        it.midirs()
    }
}


//Compile build time configuration
buildscript {
    ext{
        springBootVersion='1.5.10.RELEASE' //springBootVersion It's a self-defined variable that says springboot Plug in version
    }
    repositories {
        maven{ url 'http://maven.aliyun.com/nexus/content/groups/public/'}
        jcenter()
        mavenCentral()
        maven{ url "http://repo.spring.io/snapshot" }
        maven{ url "http://repo.spring.io/milestone" }
        maven{ url "http://repo.spring.io/release" }
        maven{ url 'http://repo.spring.io/plugins-snapshot' }
    }
    dependencies{
        classpath("org.springframework.boot:spring-boot-gradle-plugin:${springBootVersion}")//Refer to springboot A plug-in for
    }
}


//Unified configuration of all projects means that all modules are configured uniformly, and all subsequent modules are not required to be configured again
allprojects {

    group 'com.gaofei' //Grouping
    version '1.0-SNAPSHOT' //Version number

    ext{
        springCloudVersion='Edgware.SR2'
    }
    //All projects will refer to Alibaba cloud maven
    repositories {
        maven{ url 'http://maven.aliyun.com/nexus/content/groups/public/'}
        jcenter()
        mavenCentral()
        maven{ url "http://repo.spring.io/snapshot" }
        maven{ url "http://repo.spring.io/milestone" }
        maven{ url "http://repo.spring.io/release" }
        maven{ url 'http://repo.spring.io/plugins-snapshot' }
    }
}

//Unified configuration of all subprojects
subprojects {
    apply plugin: 'java'
    apply plugin: 'idea'
    apply plugin: 'spring-boot'

    dependencies {
        compile('org.springframework.boot:spring-boot-starter-web'){
            //Use undertow To replace tomacat
            exclude module:"spring-boot-starter-tomcat"
        }
        //Replace tomcat
        compile 'org.springframework.boot:spring-boot-starter-undertow'
        //Health examination
        compile 'org.springframework.boot:spring-boot-starter-actuator'
        dependencies {
            testCompile group: 'junit', name: 'junit', version: '4.12'
        }
    }
    //Version control plug-in
    dependencyManagement{
        imports{
            mavenBom "org.springframework.cloud:spring-cloud-dependencies:${springCloudVersion}"
        }
    }

}
You can see the function of each code block through comments. Here we use Alibaba cloud's warehouse
Next, we start to build the eureka registration center, which is created through the new - > module and the gradle project
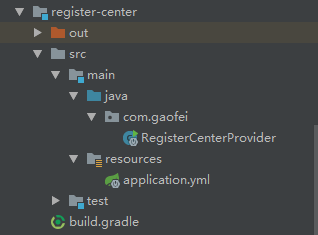
Add Eureka server dependency in build
//Indicates that it is a server
    compile 'org.springframework.cloud:spring-cloud-starter-eureka-server'
Next, configure in application.yml
server:
  port: 8000
spring:
  application:
    name: register-center #Name
eureka:
  client:
    register-with-eureka: false #Do not register to be a registry at startup
    fetch-registry: false
Startup class
@SpringBootApplication
@EnableEurekaServer//Show that you are a registry
public class RegisterCenterProvider {
    public static void main(String[] args) {

        SpringApplication.run(RegisterCenterProvider.class);
    }
}
Start up:
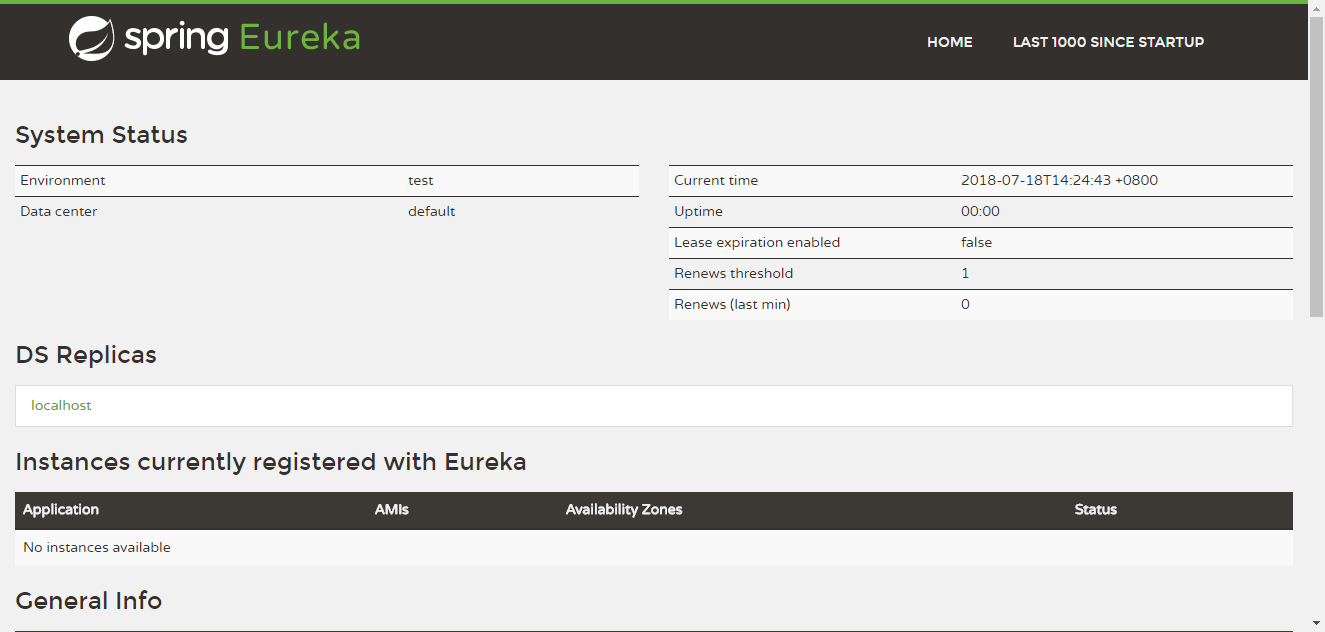
This means that the registry is started successfully
Create a service to register with the service center
Create a gradle module project
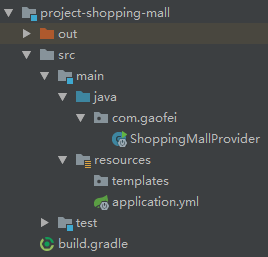
Add thymeleaf component in build.gradle, and the dependency of eureka client component
   //thymeleaf assembly
    compile  'org.springframework.boot:spring-boot-starter-thymeleaf'
    //eureka Client components
    compile 'org.springframework.cloud:spring-cloud-starter-eureka'
For more information about thymeleaf, please refer to: https://www.cnblogs.com/wangkee/p/9305134.html
Configure in application.yml:
server:
  port: 8001
spring:
  application:
    name: project-shopping-mall #The name registered in the registry, which will map the url with key value pairs
  thymeleaf:
    cache: false #Close cache
eureka:
  client:
    service-url:
      defaultZone: http://localhost:8000/eureka/ #Register to the registry
  instance:
    prefer-ip-address: true #There are two ways to register. One is to register with the host name, and the other is to register with the ip address, which is used here
Startup class:
@SpringBootApplication
@EnableDiscoveryClient //Express eureka Client
public class ShoppingMallProvider {
    public static void main(String[] args) {
        SpringApplication.run(ShoppingMallProvider.class);
    }
}
Start up:
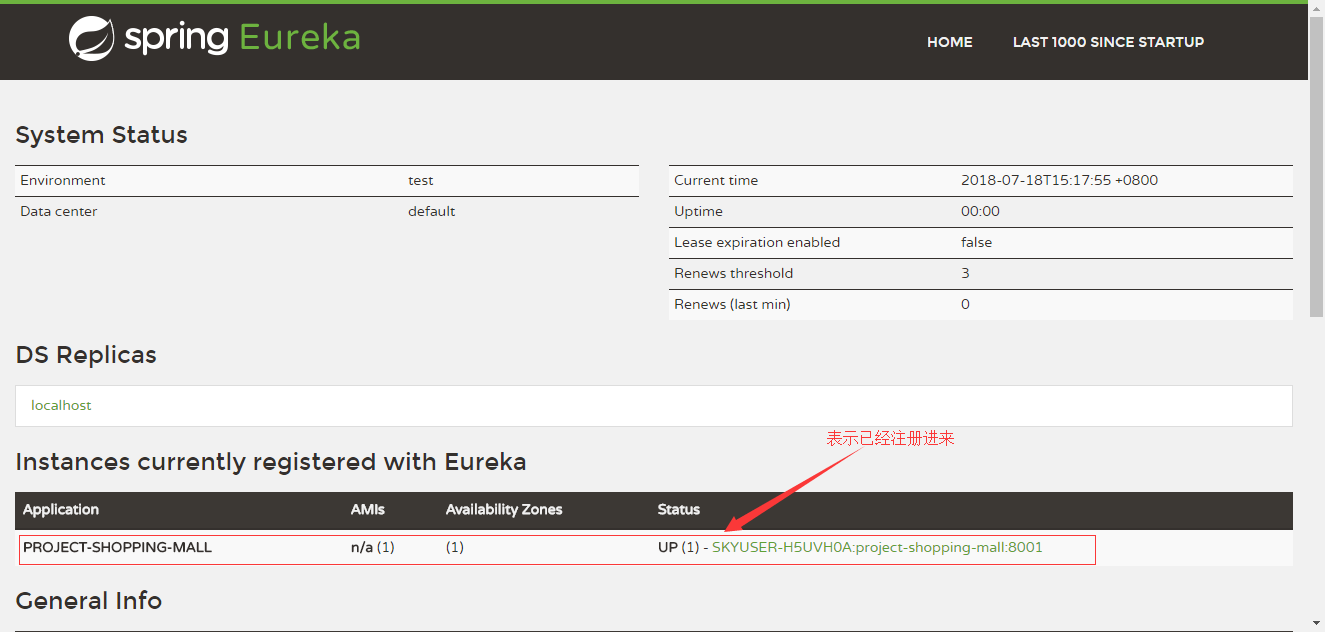
Success!
The next few articles will talk about the components used in spring cloud