Reference link
https://www.bilibili.com/video/BV1mW411S7ot?p=42
catalog
1.listView
2.simpleAdapter
3.baseAdapter
4. About the application of baseAdapter in binding
##############This is the fence
##############
##############
##############
introduce
listView is a view used to output lists. Lists are often used in mobile apps, such as the display of each note in the notes app
Here is a brief introduction to the usage of various listviews
This article introduces these listView methods. simpleadapter,baseAdapter and expandable listadapter
Among them, simpleadapter is generally used for simple lists. Although it can realize any layout, it cannot achieve the purpose of logical judgment, such as not making each list display different pictures. baseAdapter can basically meet all the needs
Here's how to use listView (if you only need to output one data, just use listView)
##############
##############
##############
Use of listView
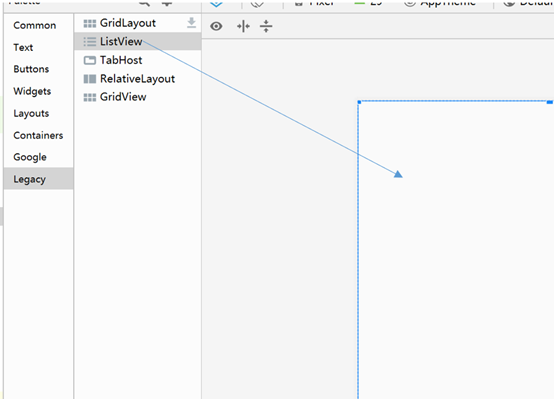
1. Mr. Cheng, drag listView into the window
2. Next, create the data to be used in listView
Create a new XML file in the res/values folder arrays.xml
The contents are as follows
<?xml version="1.0" encoding="utf-8"?>
<resources>

    <string-array name="a">
        <item>A</item>
        <item>B</item>
        <item>C</item>
    </string-array>
</resources>
String array represents the dataset to be used by listView
3. Return to the listView interface
You can use the
<ListView></ListView>
Middle input android:entries= Call "@ array / a" or modify it in this interface

The results are shown in the figure
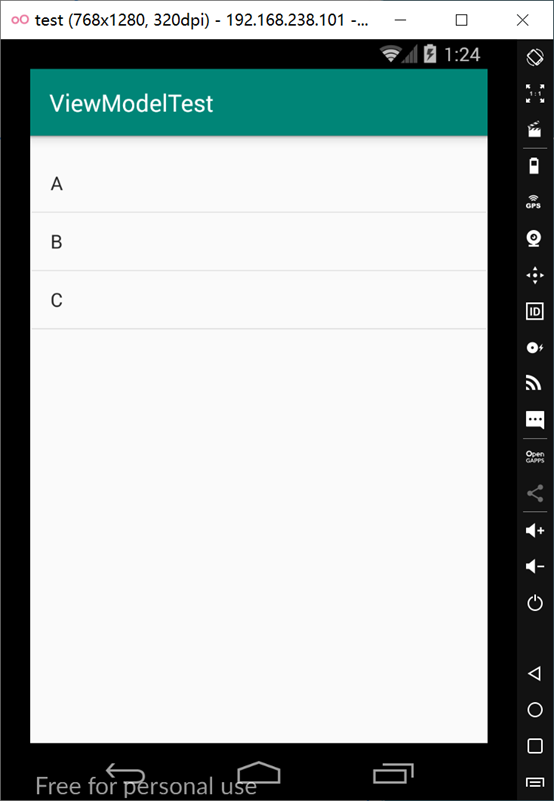
However, many functions cannot be implemented at present. For example, a list contains multiple data. The following simpleAdapter can further solve the problem
##############
##############
##############
##############
##############
##############
Use of SimpleAdapter
simpleAdapter is a method
The constructor is simpleadapter (context context, list <? Extensions map
Where context is the context, just pass in this
Data is the data source, which can be passed in the form of map
Resource is the id of the layout file. Because simpleAdapter can realize simple layout, another layout file will be created
from is the key value in the map object
To is an array of the id of the view to pass in the resource layout file above
1. So first establish data source
List<Map<String,?>> inf=new ArrayList<>();   //map

        for(int i=0;i<3;i++){
           Map<String, String> temp=new HashMap<>();r
            temp.put("name","feng"+i);
            temp.put("age",10+i+"");
            inf.add(temp);
        }
The above code simply adds a few data. Now inf can be passed in as a parameter
2. Then create a new layout as a single list format
Example create a constraintLayout named lista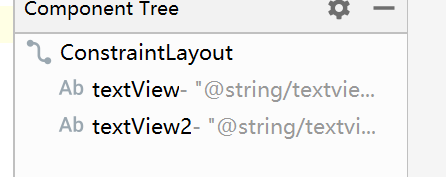
Two textviews are built in it (the ID is textView1 and textview2 respectively)
3.from needs to indicate the id of the variable to be passed in
String[] from={"name","age"};
4.int[] to need to indicate the id of the textView to be assigned in the newly created layout
Int[] to={R.id.textView1,R.id.textView2}
5. Now create the simpleAdapter
SimpleAdapter simpleAdapter=new SimpleAdapter(this,inf,R.layout.lista,from,to);
6.listView adds the adapter
listView.setAdapter(simpleAdapter);
The results are shown in the figure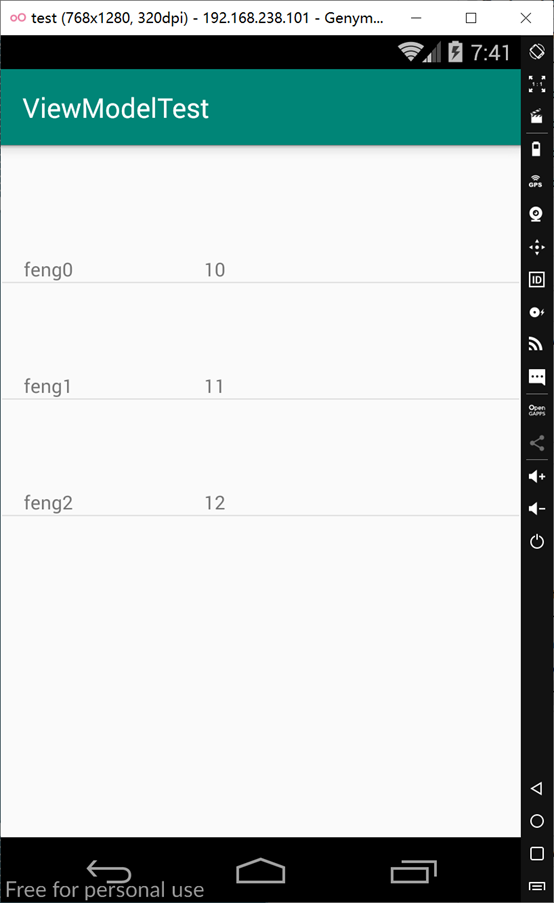
simpleAdapter can basically meet most simple requirements, while baseAdapter can realize logic writing
##############
##############
##############
##############
##############
Use of BaseAdapter
BaseAdapter is an abstract class, so to use it, you need to implement a class and its abstract methods
1. First define the data to be displayed in the list, which is the same as the data of simpleAdapter
 List<Map<String,?>> inf=new ArrayList<>();   //map

        for(int i=0;i<3;i++){
           Map<String, String> temp=new HashMap<>();r
            temp.put("name","feng"+i);
            temp.put("age",10+i+"");

            inf.add(temp);

        }
2. Implement BaseAdapter class
 @Override
        public int getCount() {     //Represents the number in the list, that is, the number in inf
            return inf.size();
        }

        @Override
        public Object getItem(int position) {        //Get something in the specified location
            return inf.get(position);
        }

        @Override
        public long getItemId(int position) {        //Get the id of the item in the specified location. Return as is here
            return position;
        }

        @Override
        public View getView(int position, View convertView, ViewGroup parent) {    //All the logic writing is here

			//Bind lista to the view, and then just return the view
			 View view= LayoutInflater.from(parent.getContext()).inflate(R.layout.lista,null);

			##########################################################################
			//
			TextView textView=view.findViewById(R.id.textView);
 			textView.setText(inf.get(position).get("name");
 			TextView textView2=view.findViewById(R.id.textView2);
			textView2.setText(inf.get(position).get("age");
 			##########################################################################
            return view;
        }
You can insert the logic you want to use in the middle of the pound sign
3. Finally, declare in activity
		MyBaseAdapter myBaseAdapter=new MyBaseAdapter();
        listView.setAdapter(myBaseAdapter);
##############
##############
##############
##############
##############
About the combination of BaseAdapter and binding
1. Create data class
public class Data {

    public int a;
    public int b;

}
2. Add reference to data class in xml
  <data>
        <variable
            name="data1"
            type="com.example.viewmodeltest.Data" />
    </data>
3. The getView() method of baseadapter is rewritten as follows
@Override
public View getView(int position, View convertView, ViewGroup parent) {
ListaBinding binding2;    //ListaBinding is lista.xml Automatically generated classes after conversion to data binding format

//Bind binding2
if(convertView==null){
    binding2= DataBindingUtil.inflate(LayoutInflater.from(this.mContext),R.layout.lista,parent,false);
    convertView=binding2.getRoot();
    convertView.setTag(binding2);
}
else{
    binding2=(ListaBinding) convertView.getTag();
}


 binding2.setVariable(BR.data1,this.data.get(position));    //This method is the transfer of data

return convertView;
}
Reference link
https://www.bilibili.com/video/BV1mW411S7ot?p=42