Overview of Hive
Hive is a Hadoop-based data warehouse tool that maps structured data files to a table and provides SQL-like query capabilities.
Hive is essentially a MapReduce program that converts HQL.
Data processed by Hive is stored in HDFS, and the underlying implementation of analytic data can be MapReduce, tes, or Spark, with its executor running on Yarn.
Advantages and disadvantages of Hive
Advantage:
1. Simple to use and easy to use class SQL syntax.
2. Scalability allows you to scale up your cluster at any time.
3. Extensibility, support for custom functions.
4. There is no need to develop MapReduce programs.
Disadvantages:
1. Low efficiency and high latency, which have advantages for processing large data.
2. Record-level additions and deletions are not supported.
3.Don't support things.
4. Tuning is difficult.
Hive Installation
Installation configurations are only available on the primary node servers in the cluster, and the package can go to the official home page. https://hive.apache.org/ Download:
Upload the installation package to the / usr directory of hadoop-1 using Xftp: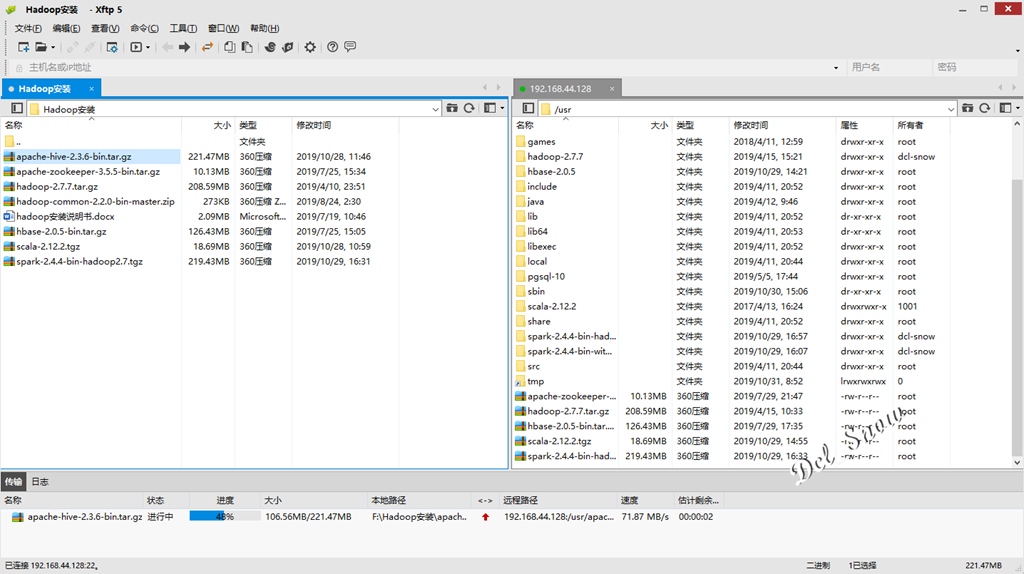
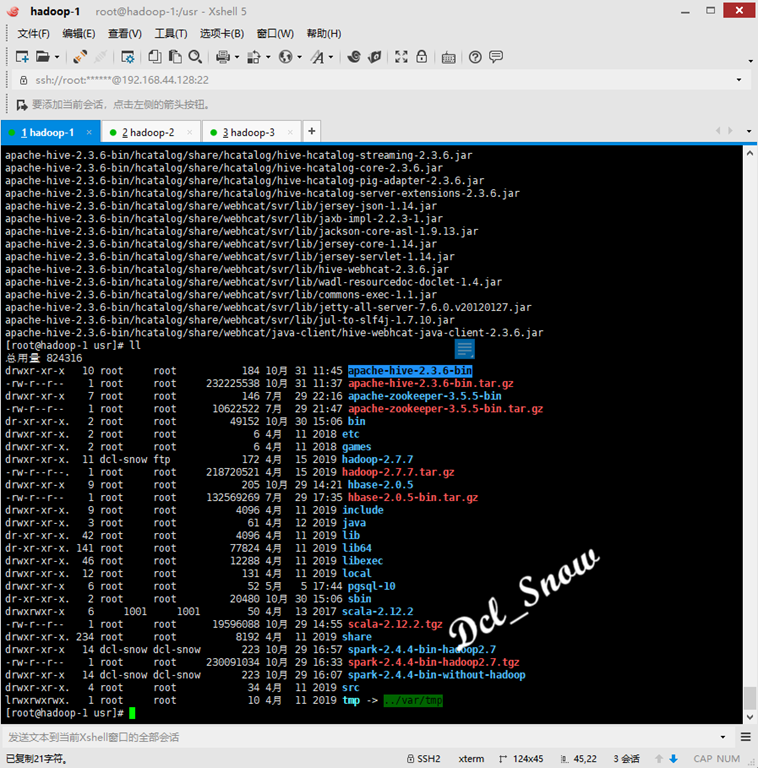
Enter the / user directory and use the tar command to unzip the package and execute the command:
1 # tar zxvf apache-hive-2.3.6-bin.tar.gzThe apache-hive-2.3.6-bin directory is generated in the / usr directory when the decompression is complete:
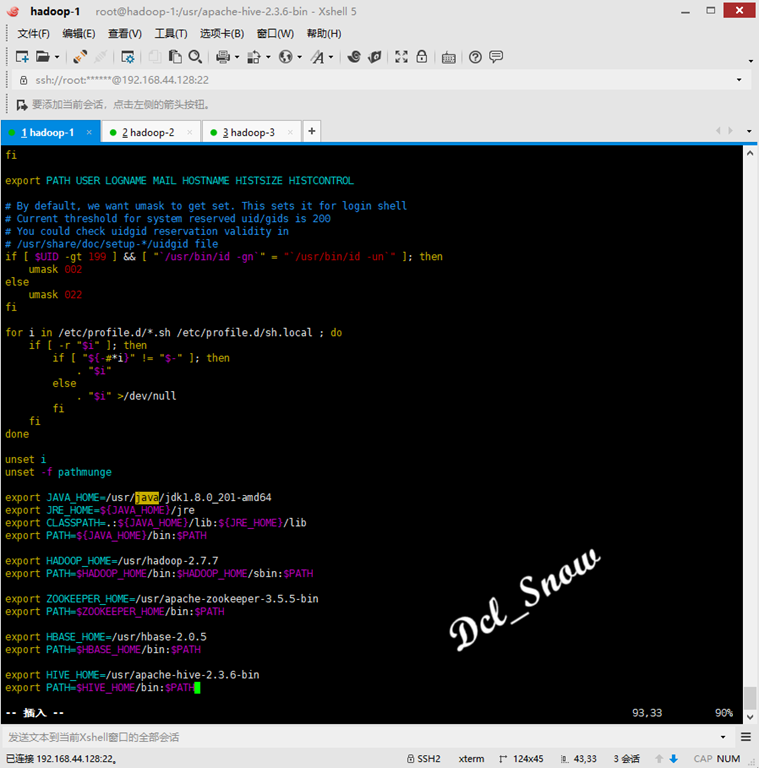
Edit environment variables using vim:
1 # vim /etc/profileAdd the following:
  1 export HIVE_HOME=/usr/apache-hive-2.3.6-bin
  2 export PATH=$HIVE_HOME/bin:$PATH
Save to exit and execute the command to make the changes take effect:
1 # source /etc/profileHive Configuration
Create/root/hive and/root/hive/warehouse directories in HDFS using the following commands:
  1 # hadoop fs -mkdir -p /root/tmp
  2 # hadoop fs -mkdir -p /root/hive/warehouse

Use the following command to grant permissions to the directory:
  1 # hadoop fs -chmod a+w /root/tmp
  2 # hadoop fs -chmod a+w /root/hive/warehouse
hive-site.xml file configuration
Use the following command to enter the Hive profile directory and view the file:
  1 # cd /usr/apache-hive-2.3.6-bin/conf
  2 # ll

There is no hive-site.xml file. Use the following command to copy the hive-default.xml.template file as a hive-site.xml file:
1 # cp hive-default.xml.template hive-site.xml

Use vim to edit the hive-site.xml file:
1 # vim hive-site.xml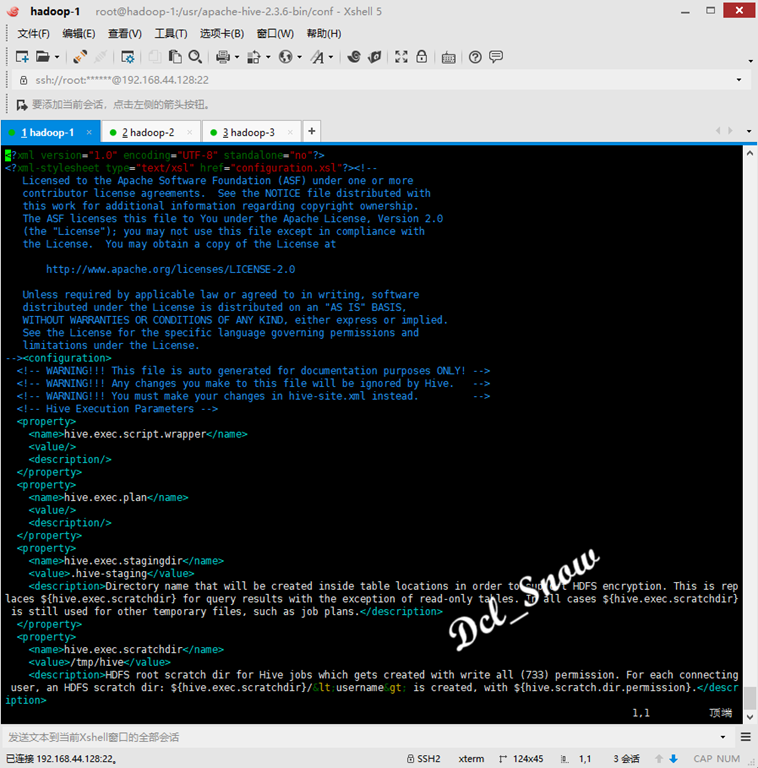
Make the following changes to the contents of the configuration file:
1 <property> 2 <name>hive.metastore.warehouse.dir</name> 3 <value>/root/hive/warehouse</value> 4 <description>location of default database for the warehouse</description> 5 </property> 6 <property> 7 <name>hive.exec.scratchdir</name> 8 <value>/root/tmp</value> 9 <description>HDFS root scratch dir for Hive jobs which gets created with write all (733) permission. For each connecting user, an HDFS scratch dir: ${hive.exec.scratchdir}/<username> is created, with ${hive.scratch.dir.permission}.</description> 10 </property> 11 <property> 12 <name>javax.jdo.option.ConnectionURL</name> 13 <value>jdbc:mysql://localhost:3306/metastore_db?createDatabaseIfNotExist=true&useSSL=false</value> 14 <description> 15 JDBC connect string for a JDBC metastore. 16 To use SSL to encrypt/authenticate the connection, provide database-specific SSL flag in the connection URL. 17 For example, jdbc:postgresql://myhost/db?ssl=true for postgres database. 18 </description> 19 </property> 20 <property> 21 <name>javax.jdo.option.ConnectionDriverName</name> 22 <value>com.mysql.jdbc.Driver</value> 23 <description>Driver class name for a JDBC metastore</description> 24 </property> 25 <property> 26 <name>javax.jdo.option.ConnectionUserName</name> 27 <value>root</value> 28 <description>Username to use against metastore database</description> 29 </property> 30 <property> 31 <name>javax.jdo.option.ConnectionPassword</name> 32 <value>Password@123!</value> 33 <description>password to use against metastore database</description> 34 </property> 35 <property> 36 <name>hive.metastore.schema.verification</name> 37 <value>true</value> 38 <description> 39 Enforce metastore schema version consistency. 40 True: Verify that version information stored in is compatible with one from Hive jars. Also disable automatic 41 schema migration attempt. Users are required to manually migrate schema after Hive upgrade which ensures 42 proper metastore schema migration. (Default) 43 False: Warn if the version information stored in metastore doesn't match with one from in Hive jars. 44 </description> 45 </property>
Then replace all ${system:java.io.tmpdir} in the configuration file with/usr/apache-hive-2.3.6-bin/tmp;
Replace all ${system:user.name} with root.
Create a tmp directory under the /usr/apache-hive-2.3.6-bin directory with permissions using the following commands:
  1 # mkdir /usr/apache-hive-2.3.6-bin/tmp
  2 # chmod a+w /usr/apache-hive-2.3.6-bin/tmp

hive-site.sh file configuration
Using the following command, copy the hive-env.sh.template file as a hive-env.sh file:
1 # cp hive-env.sh.template hive-env.shUse vim to edit the hive-env.sh file:
1 # vim hive-env.shAdd the installation path for Hadoop:
1 HADOOP_HOME=/usr/hadoop-2.7.7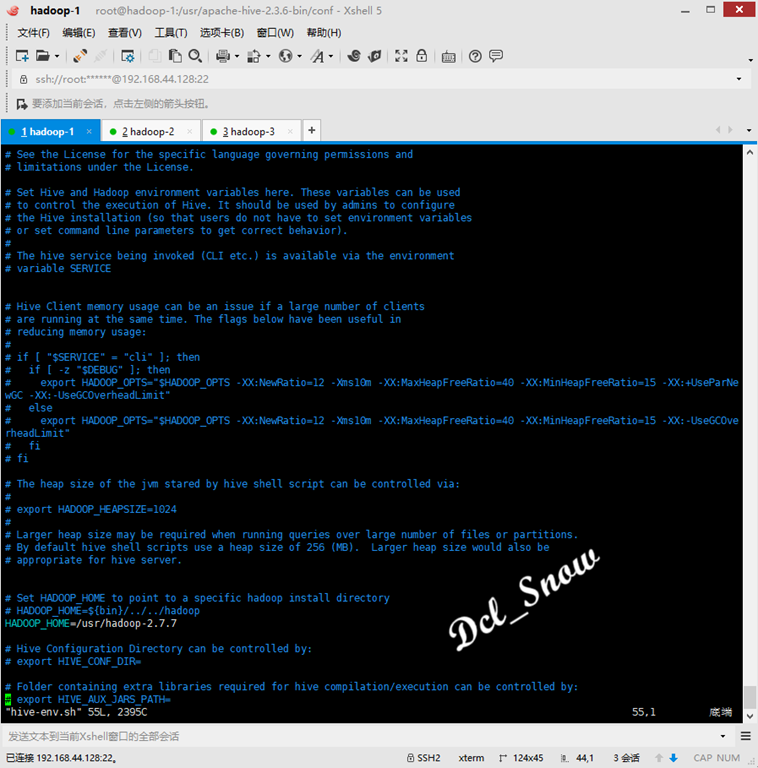
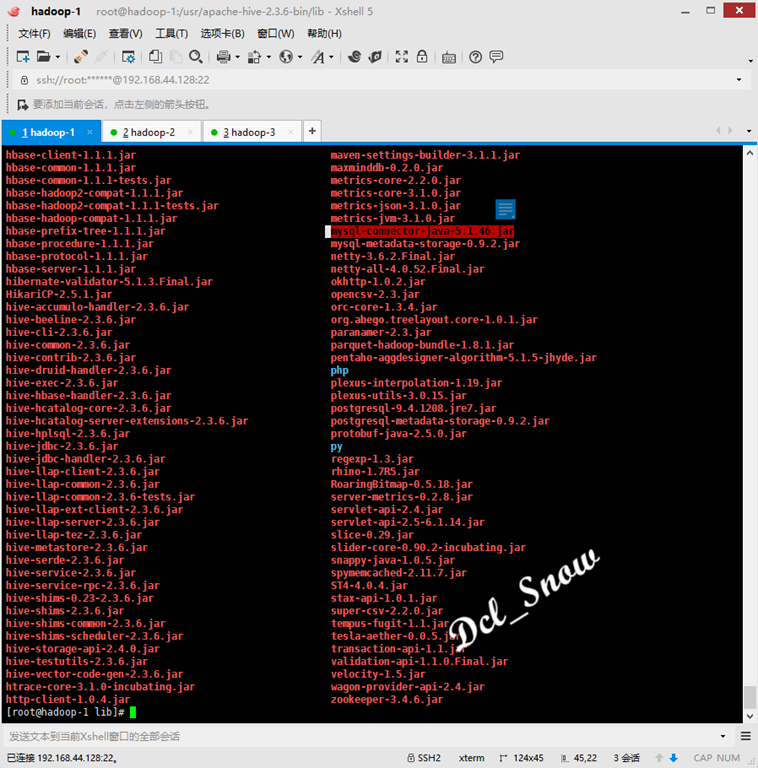
Add Database Driver Package
Since Hive uses a derby database to store metadata by default and can only be accessed on a single basis (two Hive clients cannot be opened at the same time), the native installed MySQL 5.7 database is used here and the installation of MySQL has been recorded in the previous section (previous connection: https://www.cnblogs.com/Dcl-Snow/p/11969388.html ), so place the driver package for the database connection in the / usr/apache-hive-2.3.6-bin/lib directory:
Hive uses
Before using Hive, ensure that the Hadoop and MySQL databases are up and running.
Perform the following command to initialize MySQL (just install and configure it for the first time using Execute):
1 # schematool -initSchema -dbType mysql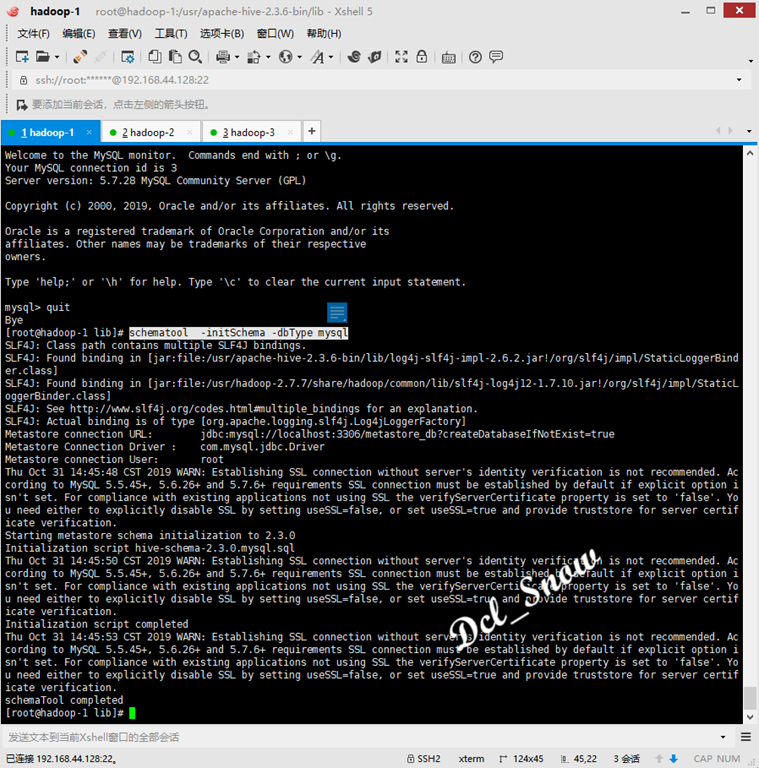
Log in to the database and query using the following commands:
1 > show databases;You can see that the database metastore_db configured in hive-site.xml has been created:

Use the following command for table queries of database metastore_db:
  1 > use metastore_db;
  2 > show tables;
Hive-related tables generated by initializing the database can be queried:

Use the following command to enter Hive:
1 # hive
Hive Test
View the database:
1 > show databases;Create a database:
1 > create database testhive;Enter a database:
1 > use testhive;Display table information for a database:
1 > show tables;Create database tables:
1 > create table testtable(id int,name string,age int) row format delimited fields terminated by ' ' lines terminated by '\n';
View the database table structure:
1 > desc testtable;Delete a database:
1 > drop database if exists testhive;
Hive loads the local file data, creates a test.txt file in the / home directory, and writes the following:
  1 1 Dcl_Snow 18
  2 2 Dcl 19
  3 3 Snow 20
Execute the following command to load the data from the file into the testtable table table in the testhive database:
1 > load data local inpath '/home/test.txt' into table testhive.testtable;View the data in the table:
1 > select * from testhive.testtable;
Be careful:
The delimiter and line break for table building should be the same as the delimiter and line break for data in test.txt. Otherwise, when querying table data, the data will be displayed as NULL.