Absrtact: This article mainly studied how to install Tomcat server in Linux environment.
Preparation
Check Java environment variables
Check whether the system is configured with Java environment variables:
1 [root@localhost ~]# java -version
2 java version "1.8.0_91"
3 Java(TM) SE Runtime Environment (build 1.8.0_91-b14)
4 Java HotSpot(TM) 64-Bit Server VM (build 25.91-b14, mixed mode)
5 [root@localhost ~]#
Indicates that Java has been installed. You can proceed to the next step. Otherwise, you need to install Java before proceeding.
Open the specified port of firewall
The default port used by Tomcat is 8080. If the firewall is enabled for Linux, but port 8080 is not released, the Linux server cannot be accessed through the IP address.
View firewall status:
1 [root@localhost bin]# firewall-cmd --state
2 running
3 [root@localhost bin]#
running indicates that the firewall has been opened. Continue to check whether port 8080 has been opened:
1 [root@localhost bin]# firewall-cmd --query-port=8080/tcp
2 no
3 [root@localhost bin]#
no indicates that port 8080 has not been opened and needs to be opened manually:
1 [root@localhost bin]# firewall-cmd --add-port=8080/tcp --permanent
2 success
3 [root@localhost bin]#
Restart firewall:
1 [root@localhost bin]# firewall-cmd --reload
2 success
3 [root@localhost bin]#
Query port 8080 again:
1 [root@localhost bin]# firewall-cmd --query-port=8080/tcp
2 yes
3 [root@localhost bin]#
yes indicates that the port has been opened. You can access the server through port 8080.
Install with downloaded zip
Official website address
Tomcat's official website address:
https://tomcat.apache.org
You can download the latest version on the official website. If you need to download the previous version, you can use the following address:
https://archive.apache.org/dist/tomcat
Compressed package version
Each version provides different installation packages according to different use environments, which can be downloaded according to the actual situation:
apache-tomcat-x.zip: the basic publishing package of Windows, which does not contain the batch scripts related to Windows services and the APR local library under Windows.
apache-tomcat-x.tar.gz: same as zip package, but with different compression format, it is mainly provided for Linux system.
apache-tomcat-x.exe: the executable installation package of windows. Its functions are basically the same as zip. It is applicable to Windows shortcut key and system service startup.
apache-tomcat-x-windows-x86.zip: 32-bit Windows publishing package, which contains the APR local library used with the 32-bit Windows system JVM, and adapts to the 32-bit and 64 bit operating systems.
apache-tomcat-x-windows-x64.zip: 64 bit Windows publishing package, including the APR local library used with the 32-bit Windows system JVM, which only adapts to the 64 bit operating system.
Note that if you need to put it on Linux, you need to download the compressed package with the suffix format of ﹣ tar.gz ﹣.
install
Use the tool to upload the downloaded file to the computer with Linux system.
Extract the contents of the package to the / opt Directory:
1 [root@localhost ~]# tar -zxvf /opt/apache-tomcat-9.0.29.tar.gz -C /opt/
After decompression, the installation is completed.
Enter the directory after decompression, enter the bin directory, and execute the startup.sh file:
1 [root@localhost bin]# ./startup.sh
2 Using CATALINA_BASE:   /opt/apache-tomcat-9.0.29
3 Using CATALINA_HOME:   /opt/apache-tomcat-9.0.29
4 Using CATALINA_TMPDIR: /opt/apache-tomcat-9.0.29/temp
5 Using JRE_HOME:        /opt/jdk1.8.0_91
6 Using CLASSPATH:       /opt/apache-tomcat-9.0.29/bin/bootstrap.jar:/opt/apache-tomcat-9.0.29/bin/tomcat-juli.jar
7 Tomcat started.
8 [root@localhost bin]#
Open the browser, and enter the address of the Linux server in the address bar http://192.168.35.128:8080. If you see the following page, the startup is successful:
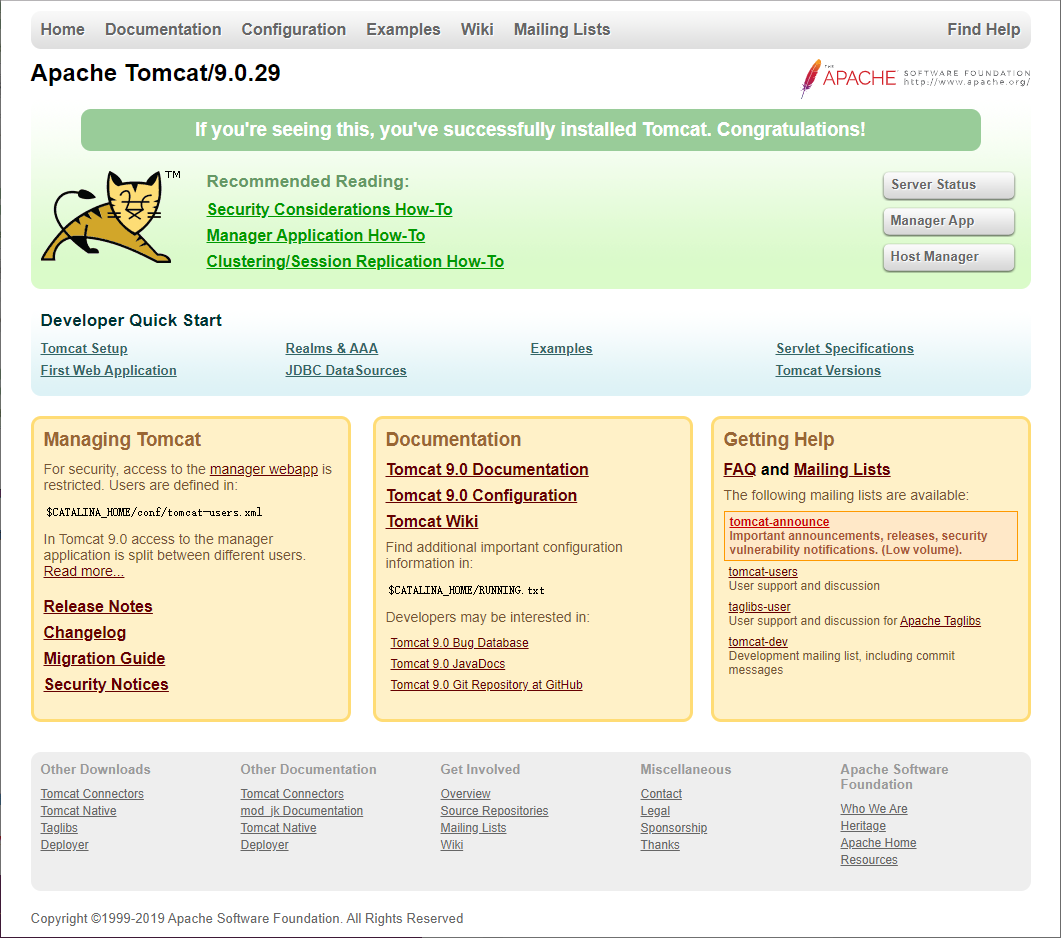
If you don't see this page, it means that port 8080 of the firewall is not turned on. You need to turn it on manually and try to access it again.
If you need to shut down Tomcat, you need to execute the "shutdown.sh" file in the "bin" directory:
1 [root@localhost bin]# ./shutdown.sh
2 Using CATALINA_BASE:   /opt/apache-tomcat-9.0.29
3 Using CATALINA_HOME:   /opt/apache-tomcat-9.0.29
4 Using CATALINA_TMPDIR: /opt/apache-tomcat-9.0.29/temp
5 Using JRE_HOME:        /opt/jdk1.8.0_91
6 Using CLASSPATH:       /opt/apache-tomcat-9.0.29/bin/bootstrap.jar:/opt/apache-tomcat-9.0.29/bin/tomcat-juli.jar
7 [root@localhost bin]#
Install using yum command
Select version and install
Use the yum search tomcat command to view the available installation packages:
 1 [root@localhost ~]# yum search tomcat
 2 Plug in loaded: fastestmirror
 3 Loading mirror speeds from cached hostfile
 4  * base: mirrors.tuna.tsinghua.edu.cn
 5  * extras: mirrors.zju.edu.cn
 6  * updates: mirrors.tuna.tsinghua.edu.cn
 7 ========================================================== N/S matched: tomcat ===========================================================
 8 tomcat-admin-webapps.noarch : The host-manager and manager web applications for Apache Tomcat
 9 tomcat-docs-webapp.noarch : The docs web application for Apache Tomcat
10 tomcat-javadoc.noarch : Javadoc generated documentation for Apache Tomcat
11 tomcat-jsp-2.2-api.noarch : Apache Tomcat JSP API implementation classes
12 tomcat-jsvc.noarch : Apache jsvc wrapper for Apache Tomcat as separate service
13 tomcat-lib.noarch : Libraries needed to run the Tomcat Web container
14 tomcat-servlet-3.0-api.noarch : Apache Tomcat Servlet API implementation classes
15 tomcat-webapps.noarch : The ROOT and examples web applications for Apache Tomcat
16 tomcatjss.noarch : JSS Connector for Apache Tomcat, a JSSE module for Apache Tomcat that uses JSS
17 tomcat.noarch : Apache Servlet/JSP Engine, RI for Servlet 3.0/JSP 2.2 API
18 tomcat-el-2.2-api.noarch : Expression Language v2.2 API
19
20   Name and profile match only,Use " search all"Try.
21 [root@localhost ~]#
Use the yum install -y tomcat command to install:
 1 [root@localhost ~]# yum install -y tomcat
 2 Plug in loaded: fastestmirror
 3 base                                                                                                               | 3.6 kB  00:00:00
 4 extras                                                                                                             | 2.9 kB  00:00:00
 5 mysql-connectors-community                                                                                         | 2.5 kB  00:00:00
 6 mysql-tools-community                                                                                              | 2.5 kB  00:00:00
 7 mysql56-community                                                                                                  | 2.5 kB  00:00:00
 8 updates                                                                                                            | 2.9 kB  00:00:00
 9 Loading mirror speeds from cached hostfile
10  * base: mirrors.tuna.tsinghua.edu.cn
11  * extras: mirrors.zju.edu.cn
12  * updates: mirrors.tuna.tsinghua.edu.cn
13 Resolving dependencies
14 ...
15 Total downloads:61 M
16 Downloading packages:
17 Delta RPMs disabled because /usr/bin/applydeltarpm not installed.
18 ...
19
20 already installed:
21   tomcat.noarch 0:7.0.76-9.el7_6
22 ...
23
24 Complete!
25 [root@localhost ~]#
However, the specific version and installation location cannot be selected flexibly in this way, so it is recommended to use the pre downloaded installation package for installation.