1. Introduction to InfluxDB Part 1: Installation
1.1. Environmental preparation
Centos 7 + Telegraf 1.10.3 + InfluxDB 1.7.6 + InfluxDb Studio
1.2. InfluxDB
1.2.1. Install influxDB
wget https://dl.influxdata.com/influxdb/releases/influxdb-1.7.6.x86_64.rpm
sudo yum localinstall influxdb-1.7.6.x86_64.rpm
1.2.2. Start InfluxDB
systemctl start influxd
1.2.3. Configuring influxDB
# Create a database and use the influx command to enter the influxdb command line
influx
create database telegraf;
use telegraf;

# Create a user with the username telegraf password telegraf below. Note that the username is double quoted and the password is single quoted
create user "telegraf" with password 'telegraf';

# Enter exit to exit the influx command line
exit
1.3. telegraf
1.3.1. Install telegraf
wget https://dl.influxdata.com/telegraf/releases/telegraf-1.10.3-1.x86_64.rpm
sudo yum localinstall telegraf-1.10.3-1.x86_64.rpm
1.3.2. Configuring telegraf
1. Configure connection Influxdb information (outputs.influxdb)
sudo vi /etc/telegraf/telegraf.conf

# Configuration for influxdb server to send metrics to
[[outputs.influxdb]]
  ## The full HTTP or UDP URL for your InfluxDB instance.
  ##
  ## Multiple urls can be specified as part of the same cluster,
  ## this means that only ONE of the urls will be written to each interval.
  # urls = ["udp://localhost:8089"] # UDP endpoint example
  urls = ["http://localhost:8086"] # required
  ## The target database for metrics (telegraf will create it if not exists).
  database = "telegraf" # required

  ## Name of existing retention policy to write to.  Empty string writes to
  ## the default retention policy.
  retention_policy = ""
  ## Write consistency (clusters only), can be: "any", "one", "quorum", "all"
  write_consistency = "any"

  ## Write timeout (for the InfluxDB client), formatted as a string.
  ## If not provided, will default to 5s. 0s means no timeout (not recommended).
  timeout = "5s"
  username = "telegraf"
  password = "telegraf"
  ## Set the user agent for HTTP POSTs (can be useful for log differentiation)
  # user_agent = "telegraf"
  ## Set UDP payload size, defaults to InfluxDB UDP Client default (512 bytes)
  # udp_payload = 512
urls: denotes the address and port number of influxdb
 Database:influxdb database name
 username: database user name
 Password: database password
1.3.3. Start telegraf
systemctl start telegraf
1.4. View Influx data using InfluxDb Studio
1.4.1. Download InfluxDb Studio
https://github.com/CymaticLabs/InfluxDBStudio/releases/download/v0.2.0-beta.1/InfluxDBStudio-0.2.0.zip
1.4.2. Connect to Influxdb
After unzipping, open InfluxDBStudio.exe
Click Create to create an InfluxDB connection.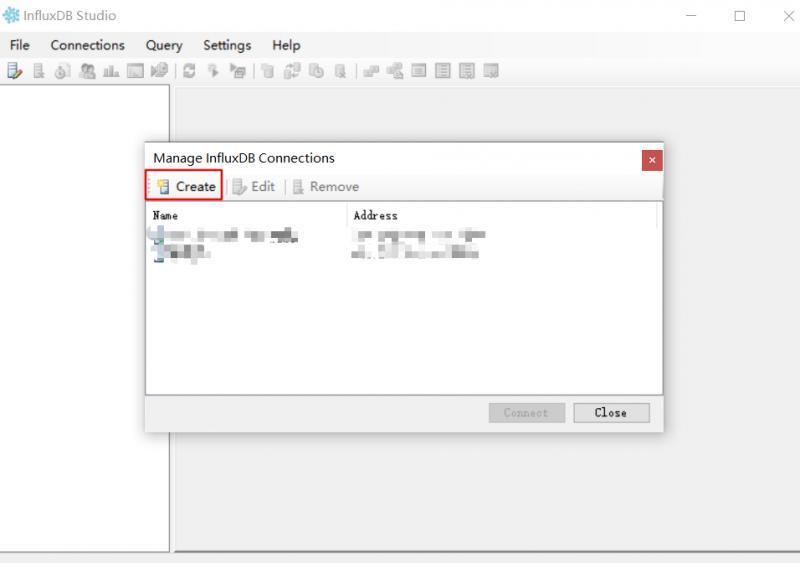
Name: Give the connection a name
 Address:InfluxDB IP address and port number, port defaults to 8086
 Database: Created database, just created: telegraf
 UserName: Database User Name
 Password: Database password
Click [Save], save the connection, and then click [Connect] to enter the database details.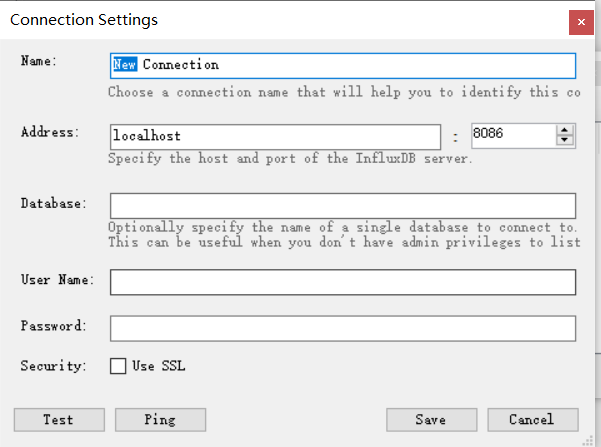
Displays the default monitoring server data for telegraf.
Double-click a table name to create a query statement.Click Run Query on the toolbar to view the data information.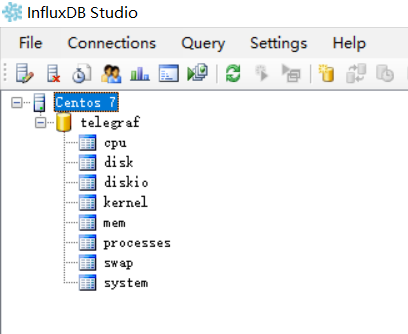
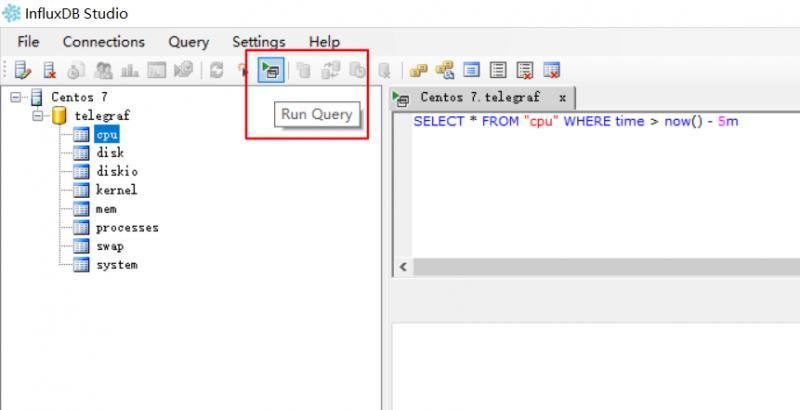
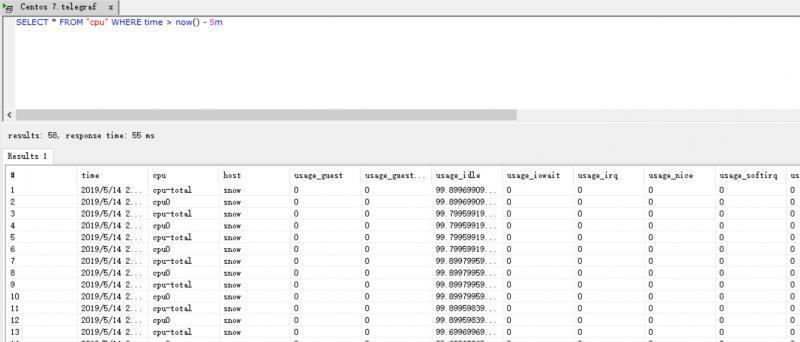
At this point, the foundation environment has been built.
ghost