One. Generate static library and dynamic library with Gcc.
3. Static library
When the program is compiled, it will be connected to the object code. The existence of static library is not required for program operation.
3. Dynamic library
It is not connected to the object code when the program is compiled, but loaded when the program is running.
The difference between the two: the former is compiled and connected, and the latter is loaded by program running.
(1) hello instance usage Library
1. Preparation process
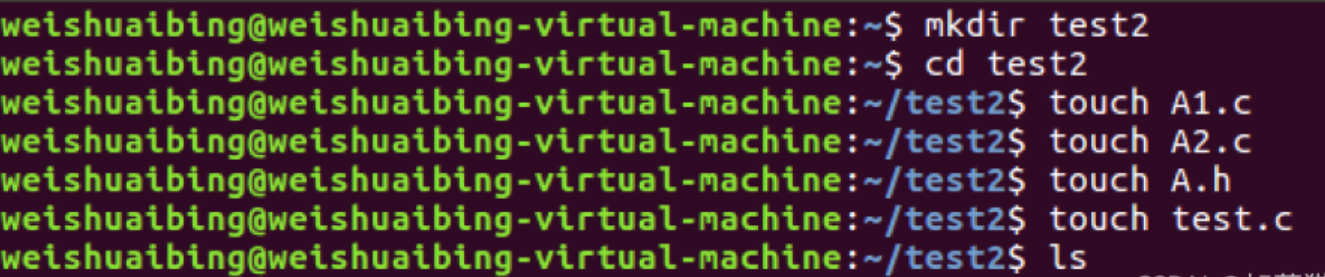
(1) Create a directory

(2) hello code
#ifndef HELLO_H
#define HELLO_H
void hello(const char *name);
#endif//HELLO_H
hello.h
#ifndef HELLO_H
#define HELLO_H
void hello(const char *name);
#endif//HELLO_H
hello.c
#include<stdio.h>
void hello(const char *name)
{
	printf("Hello %s\n",name);
}
main.c
#include"hello.h"
int main()
{
	hello("everyone");
	return 0;
}
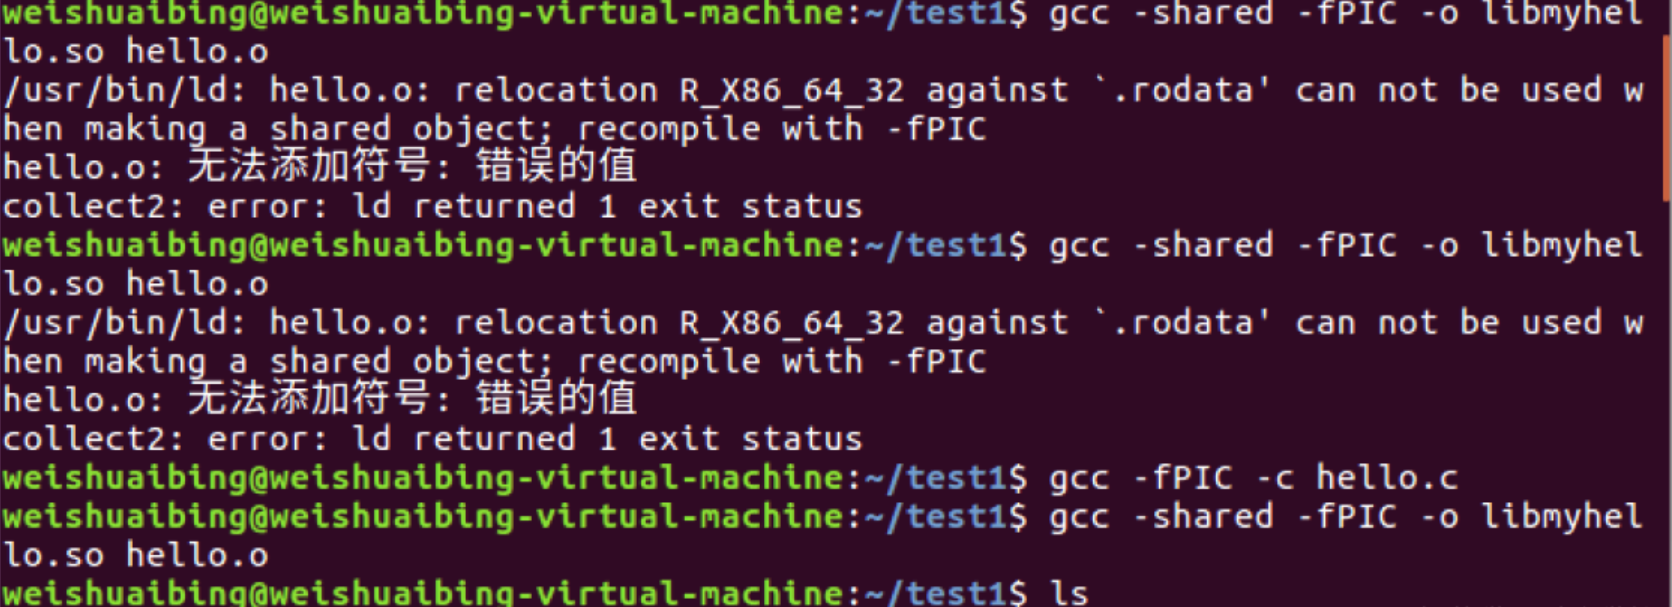
(3)gcc compiled. o file
gcc-c. hello.c

2. Use of static library
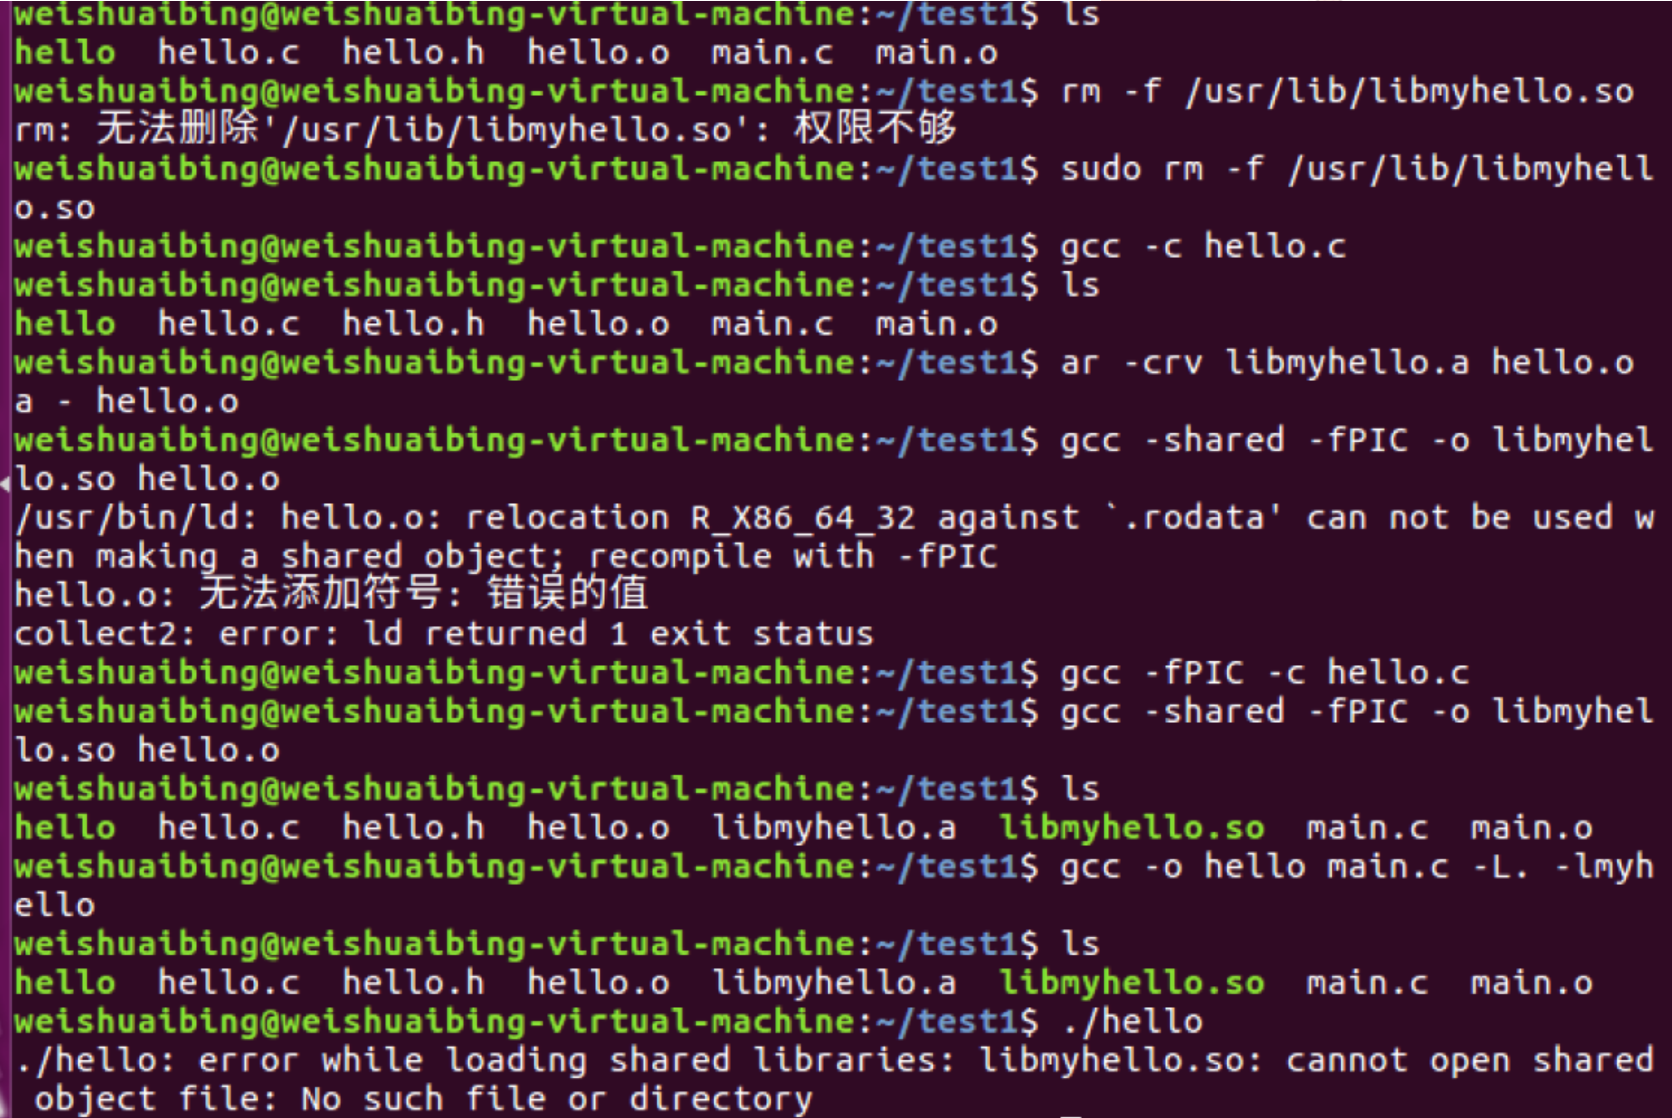
(1) Create static library
Tools for creating static libraries: ar
Static library file naming specification: it is a. A file with Lib as the prefix

(2) Using static libraries in programs
gcc-o hello main.c-L -lmyhello

gcc main.c libmyhello.a-o hello

Generate the executable file gcc-o hello main.c libmygello.a as main.o gcc-c main.c

(3) Verify the characteristics of static library
When the static library is deleted, run the executable and find that the program is still running normally, indicating that the static library has no connection with program execution. At the same time, it also shows that the static library is connected to the code when the program is compiled.

3. Use of dynamic library
(1) . create dynamic library
Create dynamic library: gcc
Dynamic library file naming specification: with lib as the prefix, it is a. so file
(2) Executing dynamic libraries in programs
gcc-o hello main.c-l.-lmyhello or gcc main.c libmyhello.so-o hello
Run the executable hello again, and an error will appear

Solution to the problem: copy libmyhello.so to the directory / usr/lib. Because the library file is found in / usr/lib at runtime

4. Comparison between static library and dynamic library
GCC compiles the. o file gcc-c hello.c
Create a static library ar CRV libmyhello. A hello. O
Create the dynamic library gcc-shared-fPIC-o libmyhello.so hello.o
Use the library to generate the executable gcc-o Hello main. C-L. - lmyhello
Executable. / hello
An error will be reported when executing the executable file. It can be seen that when the static library and dynamic library exist at the same time, the program will give priority to the dynamic library.
(2) Example 1 use library
1. Code
A1.c
#include<stdio.h>
void print1(int arg)
{
	printf("A1 print arg:%d\n",arg);
}
A2.c
#include<stdio.h>
void print2(char *arg)
{
	printf("A2 printf arg:%s\n",arg);
}
A.h
#ifndef A_H
#define A_H
void print1(int);
void print2(char *);
#endif
test.c
#include<stdio.h>
#include"A.h"
int main()
{
	print1(1);
	print2("test");
	return(0);
}
Operation steps:
2. Use static library in program
ar crv libfile.a A1.o A2.o
gcc-o test test.c libfie.a
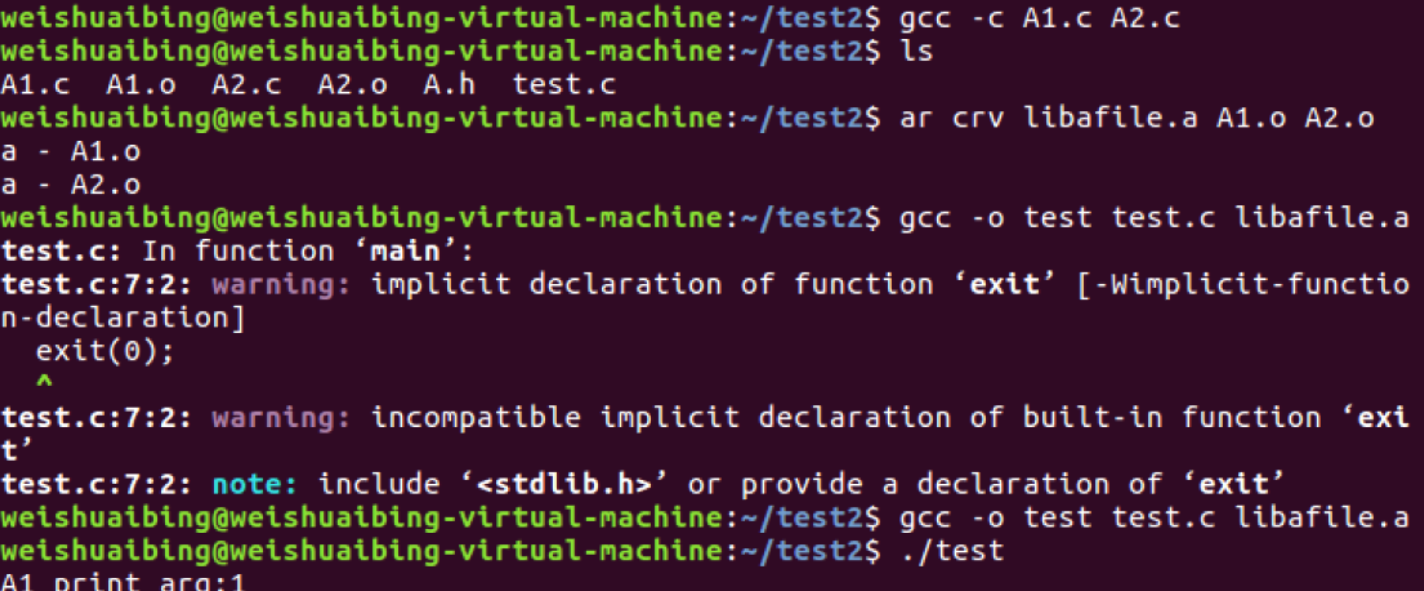
Error resolution: modify exit (0) in test.c to return 0
3. Use of dynamic library
gcc-shared-fPIC-o libfile.so A1.oA2.o
gcc-o test test.c libfile.so

(3) Example 2 use library
1. Code
sub1.c
float x2x(int a,int b)
{
	float c=0;
	c=a+b;
	return c;
}
sub2.c
float x2y(int a,int b)
{
float c=0;
c=a/b;
return c;
}
sub.h
#ifndef SUB_H
#define SUB_H
float x2x(int a,int b);
float x2y(int a,int b);
#endif
main.c
#include<stdio.h>
#include"sub.h"
void main()
{
	int a,b;
	printf("Please input the value of a:");
	scanf("%d",&a);
	printf("Please input the value of b:");
	scanf("%d",&b);
	printf("a+b=%.2f\n",x2x(a,b));
	printf("a/b=%.2f\n",x2y(a,b));
}
gcc-c sub1.c sub2.c
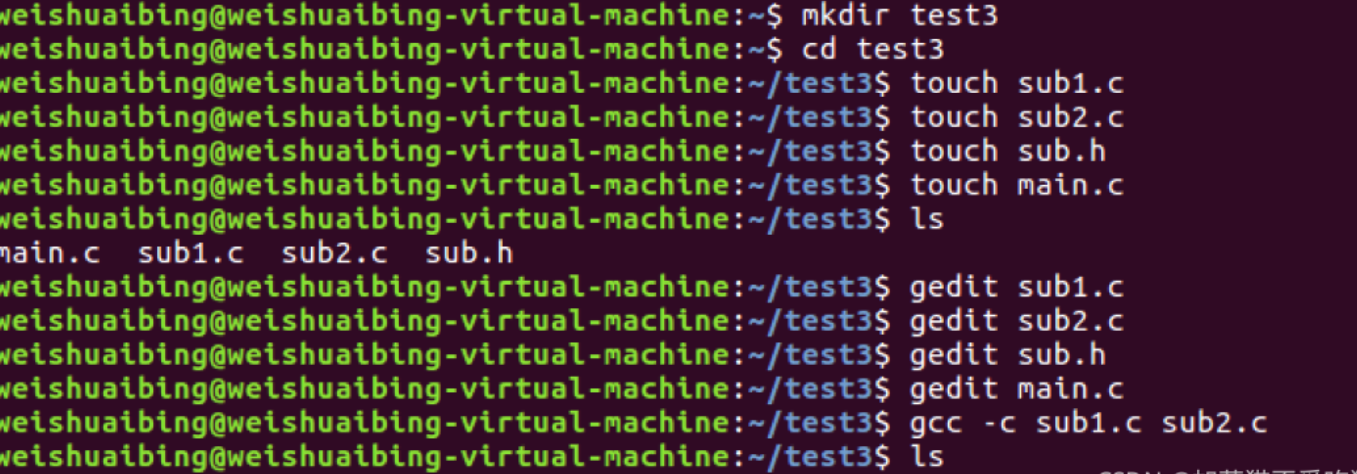
2. Static library
ar crv libsub.a sub1.o sub2.o
gcc-o main main.c libsub.a

3. Dynamic library
gcc-shared -fPIC libsub.so sub1.o sub2.o
gcc-o main main.c libsub.so

4. Comparison of generated files between static library and dynamic library
ll

Static library
Dynamic library
Through comparison, it is found that the static library is much smaller than the dynamic library,
There is also a small difference in the size of the generated executable.
Experiment 2
(1) Commands commonly used in Linux GCC
1. Source code
#include <stdio.h>
int main(void)
{
  printf("Hello World!\n");
  return 0;
}
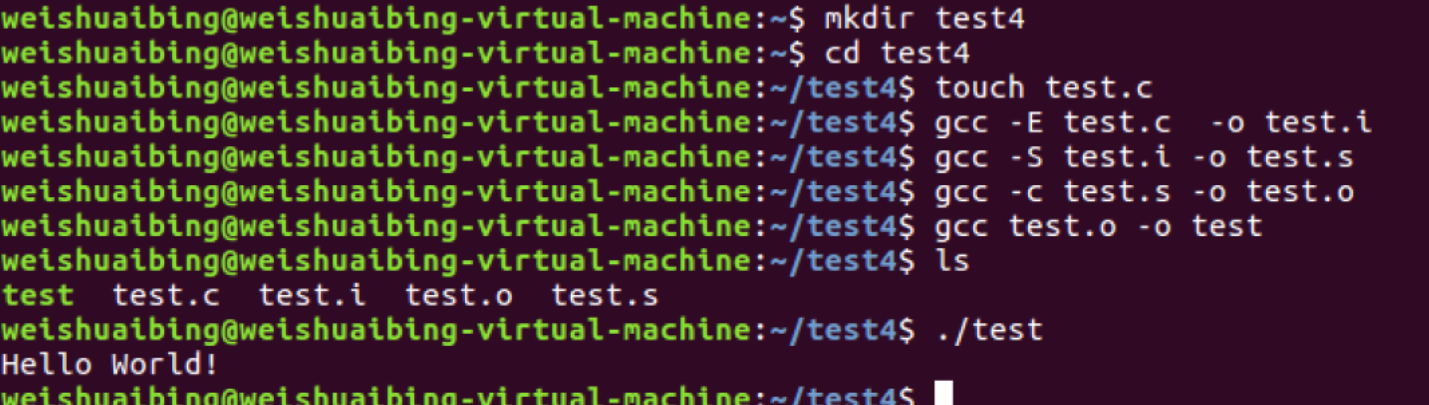
test.c program:
2. Compilation process
The one-step compilation instruction is gcc test.c -o test
1) Pretreatment
gcc -E test.c -o test.i or gcc -E test.c
2) Compile
gcc -S test.i -o test.s
3) Compilation
gcc -c test.s -o test.o
4) Connect
gcc test.o -o t
(2) The story behind GCC compiler
1. Preparation
1) Create
Create directory
2) Source code
Hello.c program: ` #include < stdio. H >
int main(void)
{
printf("Hello World! \n");
return 0;
}
`
2. Compilation process
1) Pretreatment
① Delete all #define, expand all macro definitions, and process all conditional precompiled instructions, such as #if #ifdef #elif #else #endif, etc.
② Process #include precompiled instructions and insert the included files into the location of the precompiled instructions.
③ Delete all comments' / / 'and' / * * / '.
④ Add line number and file ID to generate debugging line number and compilation error warning line number during compilation.
⑤ All the #pragma compiler instructions are reserved and need to be used in subsequent compilation processes.
gcc -E Hello.c -o Hello.i

2)compile
 The compilation process is to generate the corresponding assembly code after a series of lexical analysis, syntax analysis, semantic analysis and optimization of the preprocessed files.
`
gcc -S Hello.i -o Hello.s
``3) Compilation
The assembly process calls to process the assembly code, generate instructions that can be recognized by the processor, and store them in the object file with suffix. o. Since almost every assembly statement corresponds to a processor instruction, the assembly process is relatively simple compared with the compilation process. It can be translated one by one by calling the assembler as in Binutils according to the comparison table of assembly instructions and processor instructions.
When the program is composed of multiple source code files, each file must complete the assembly work and generate the. o object file before entering the next link work. Note: the object file is already part of the final program, but it cannot be executed until it is linked.
gcc -c Hello.s -o Hello.o
Can be called directly as Compile:`as -c hello.s -o hello.o`
use Binutils Medium as take hello.s File assembly generates object files,
(hello.o Target file is ELF Format (redirectable file)
4) Link
① Static linking refers to adding the static library directly to the executable file in the compilation stage, so that the executable file will be relatively large. The linker copies the code of the function from its location (in different object files or static link libraries) to the final executable program. In order to create an executable file, the main tasks that the linker must complete are: symbol parsing (connecting the definition and reference of symbols in the target file) and relocation (corresponding the symbol definition to the memory address, and then modifying all references to symbols).
② Dynamic link means that only some description information is added in the link stage, and the corresponding dynamic library is loaded into memory from the system when the program is executed.
in Linux system, the order of dynamic library search path when gcc compiles links is usually: first, find the path specified by the parameter - L of gcc command; Then from the environment variable LIBRARY_PATH addressing specified by path; Then find the default paths / lib, / usr/lib, / usr/local/lib.
in Linux system, the order of dynamic library search paths when executing binary files is usually: first search the dynamic library search path specified when compiling object code; From the environment variable LD_LIBRARY_PATH addressing specified by path; Then search the path from the dynamic library specified in the configuration file / etc/ld.so.conf; From the default path / lib
And / usr/lib.
in Linux system, you can use ldd command to view a shared library that the executable program depends on.
/**************/
gcc Hello.c -o Hello //Link using dynamic libraries
size Hello //Use size to view size
ldd Hello
/*************/
gcc -static Hello.c -o Hello //Link using static libraries
size Hello //Use size to view size
ldd Hello
The final file generated after the linker links is ELF Format executable One ELF Executable files are usually linked into different segments, such as.text,.data,.rodata,.bss Equal segment. `` `3.Operation steps 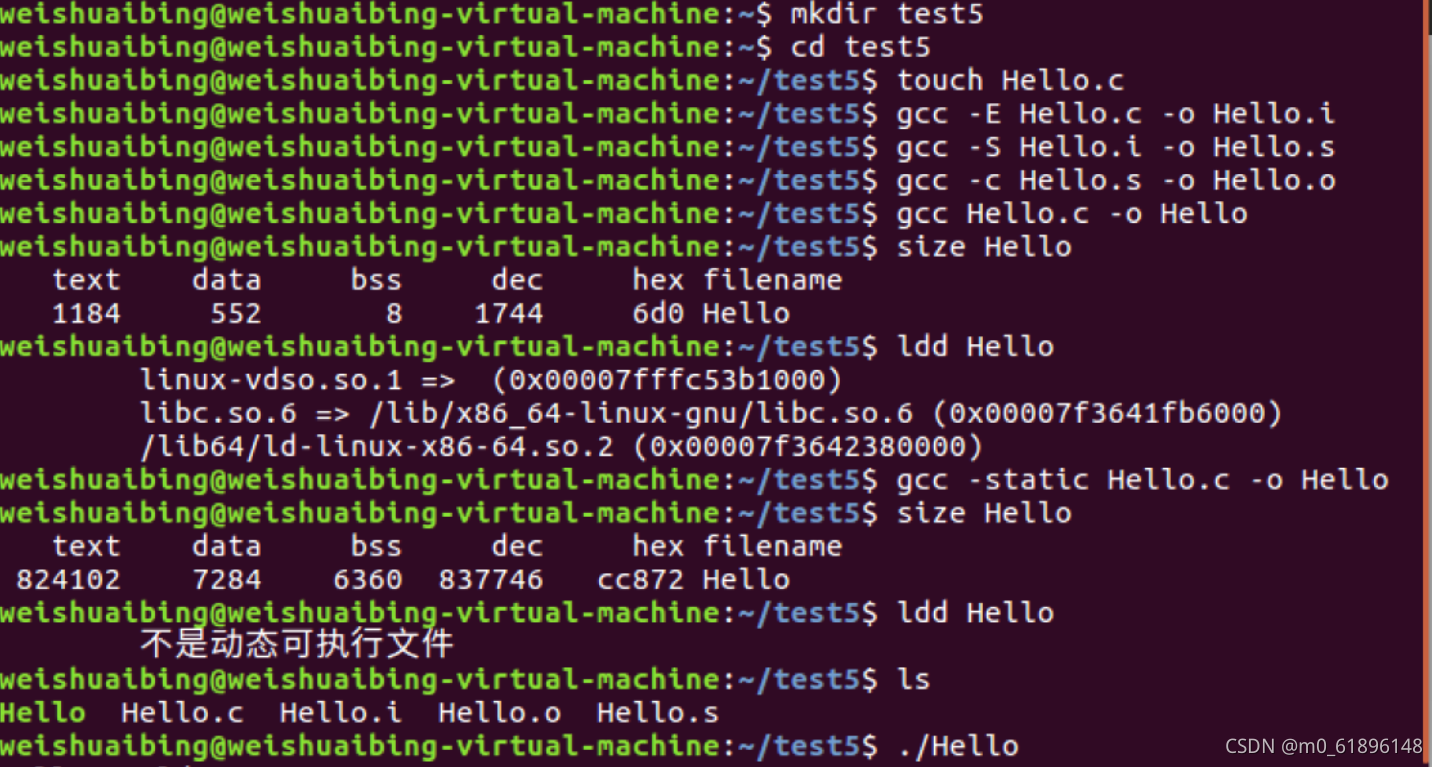 4.analysis ELF file 1)ELF File segment ELF File at ELF Header and Section Header Table between.
A typical ELF file contains the following paragraphs:
. text: instruction code snippet of the compiled program.
. rodata: ro stands for read only, that is, read-only data (such as constant const).
. data: initialized C program global variables and static local variables.
. bss: uninitialized C program global variables and static local variables.
. debug: debug the symbol table. The debugger uses this section of information to help debug.
View its individual section Information about:

readelf -S Hello
2) Disassembly ELF
Since elf files cannot be opened as normal text files, if you want to view an ELF file package directly
The instructions and data contained need to be disassembled.
① Disassembly is as follows:`
objdump -D Hello


```② Disassemble and C The language source code is mixed and displayed:
gcc -o Hello -g Hello.c / / add the - g option
objdump -S Hello
Experiment 3
(1) Install OpenCV
1. Installation package
1) Download OpenCV 3.4.11 package
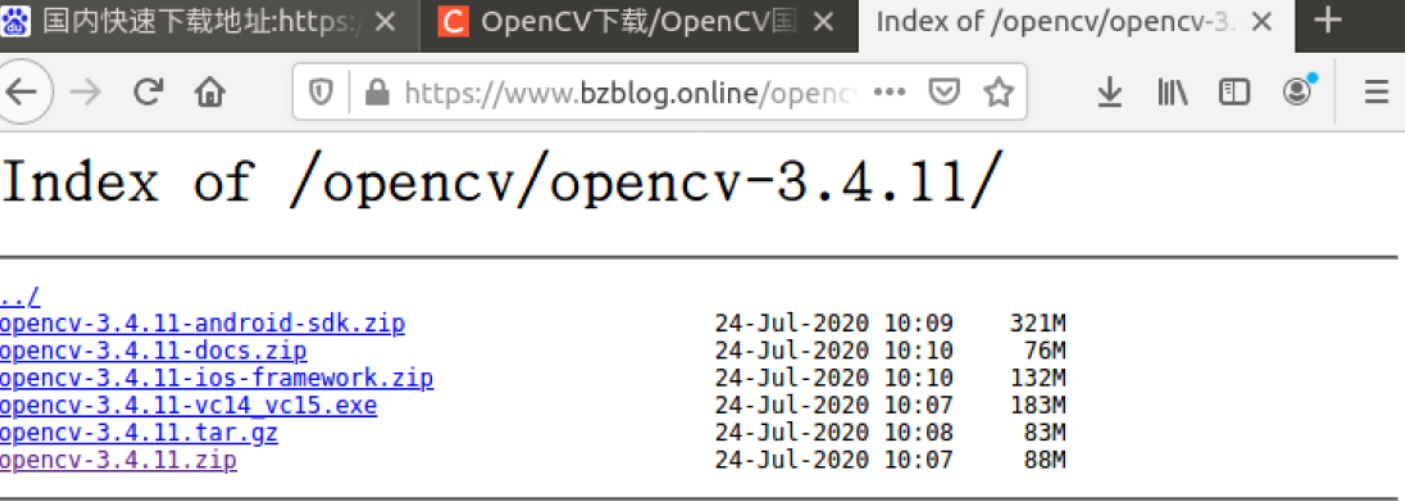
2) Decompress package
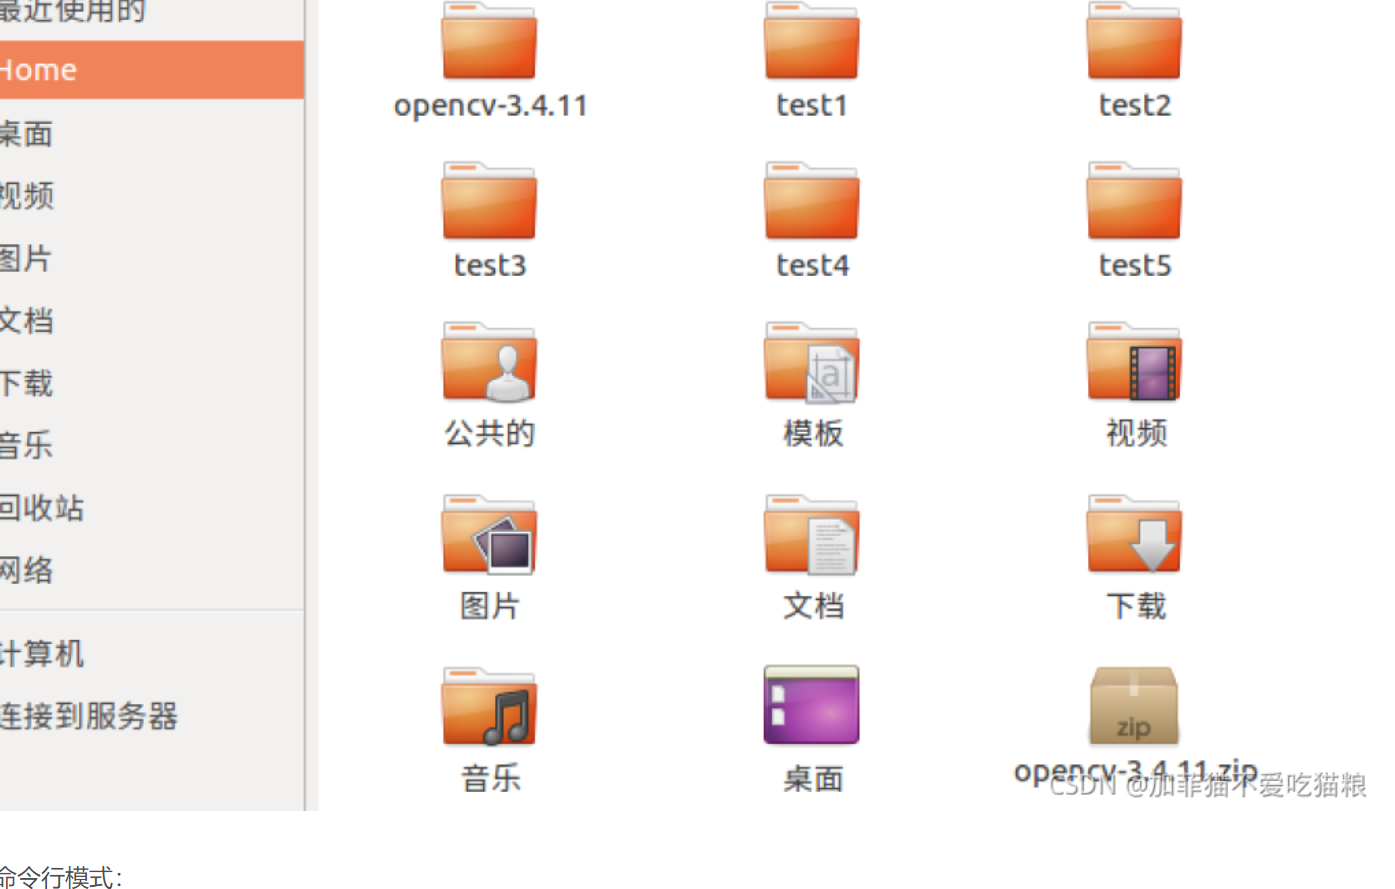
Copy opencv-3.4.11.zip to the home folder and extract it here
Enter command line mode: ` unzip opencv-3.4.11.zip

`3) Installing opencv using cmake
Enter the extracted folder: opencv-3.4.11
cd opencv-3.4.11


``get into root User and update:

sudo su
sudo apt-get update

```Execute the command to install cmake: ` sudo apt get install cmake

`
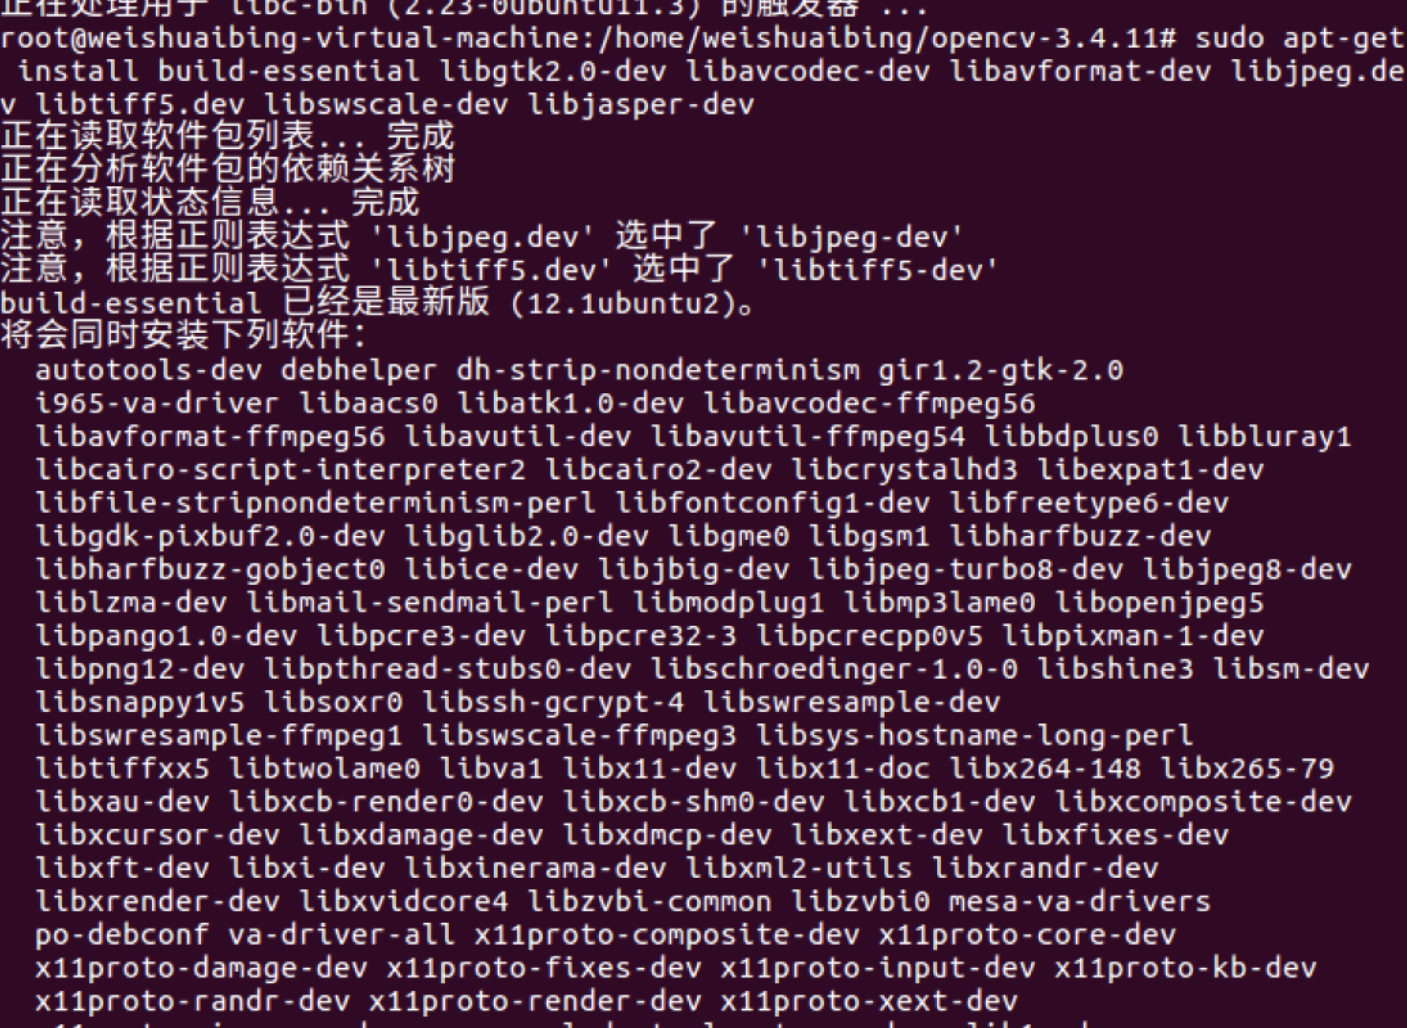
Copy commands, install dependent Libraries
sudo apt-get install build-essential libgtk2.0-dev libavcodec-dev libavformat-dev libjpeg.dev libtiff5.dev libswscale-dev libjasper-dev


`establish build Folder and enter:
mkdir build
cd build
``
Compile parameters using cmake:
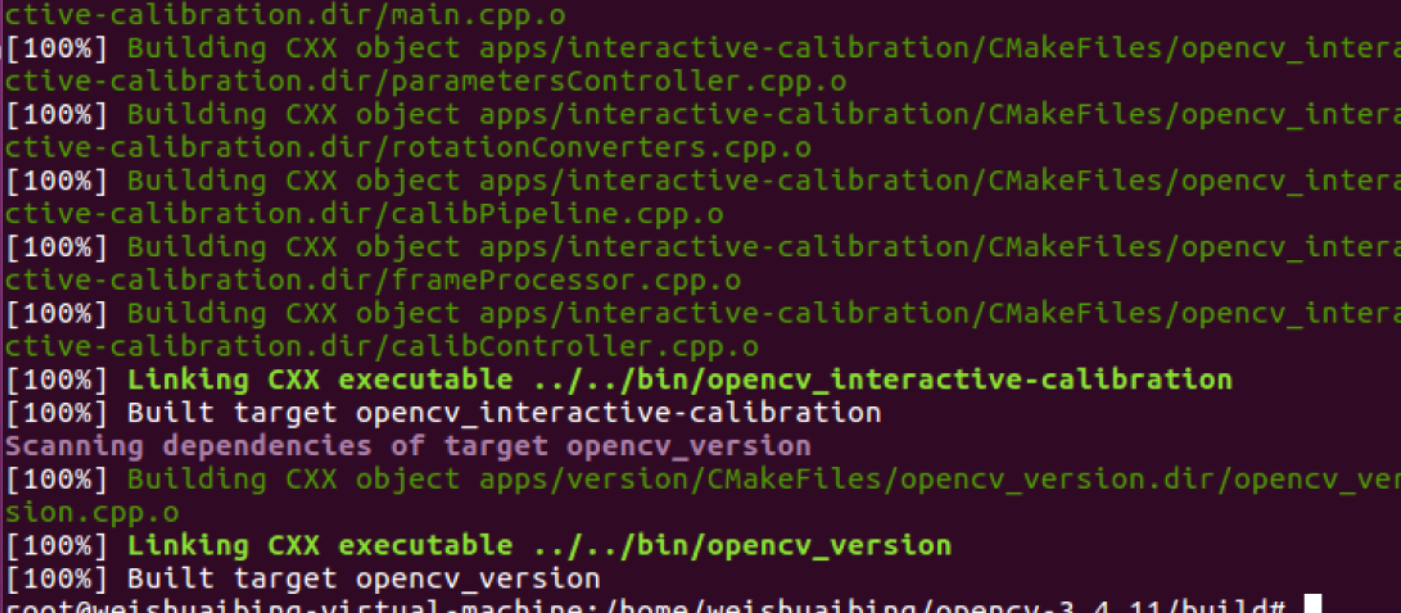
cmake -D CMAKE_BUILD_TYPE=Release -D CMAKE_INSTALL_PREFIX=/usr/local ..
`
4)use make Create compilation
 stay build Folder:

sudo make
`

Compilation complete:
5) Installation
sudo make install
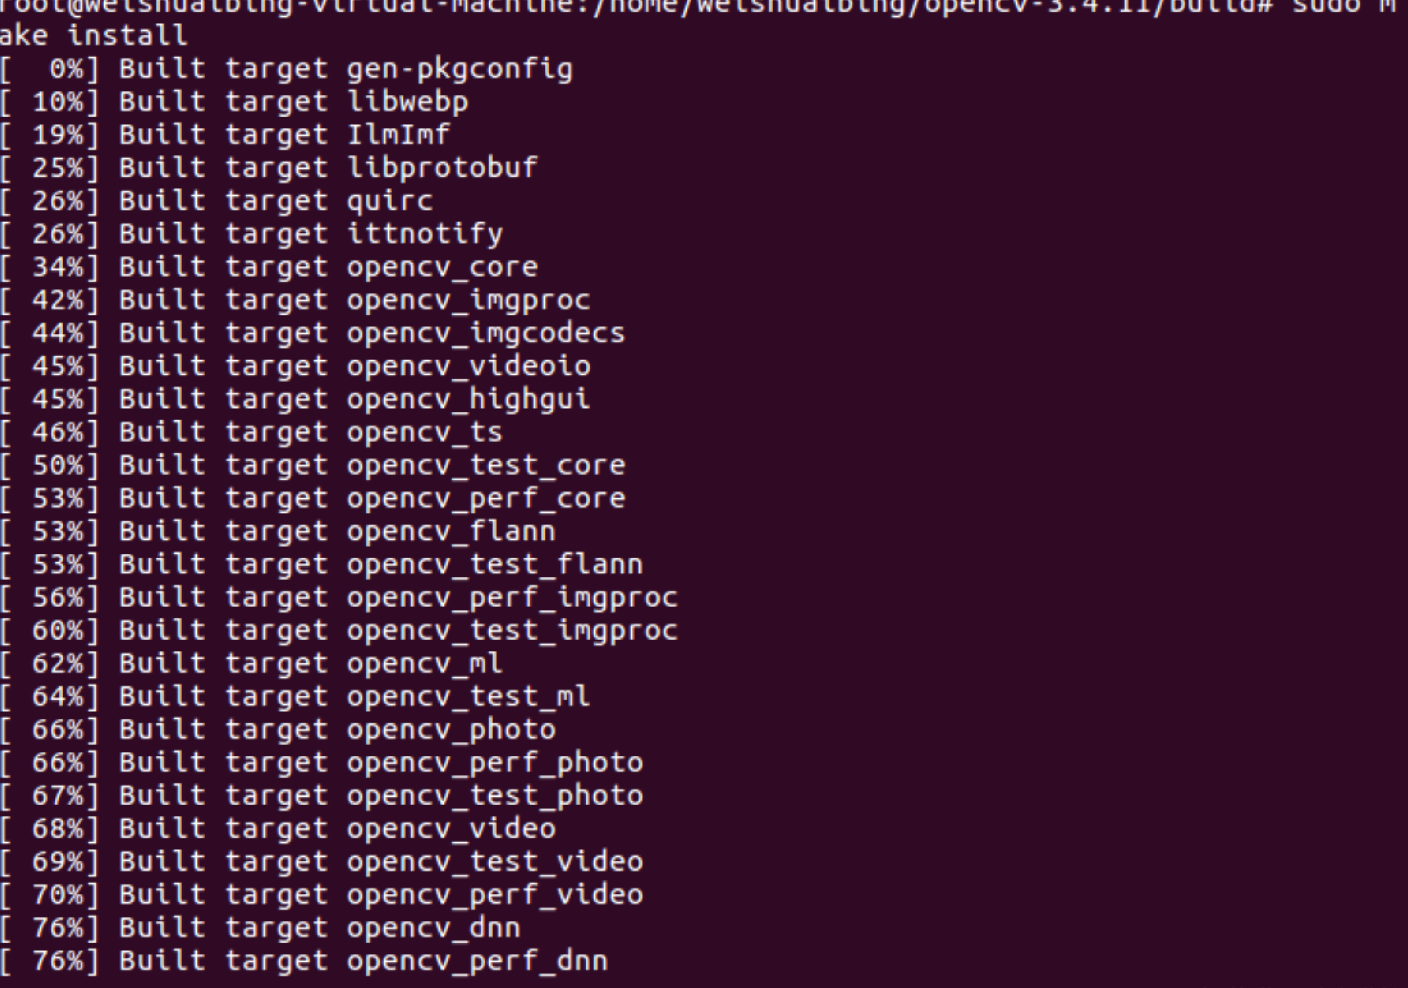
No error is reported during installation, that is, the installation is completed
2. Configuration environment
Modify the opencv.conf file. The opened file is empty. Add the installation path of OpenCV Library: / usr/local/lib
sudo gedit /etc/ld.so.conf.d/opencv.conf

After executing this command, you may open an empty file. Don't worry, just add ` / usr/local/lib at the end of the file
`
You will see a warning message after saving

Update system shared link library:
`sudo ldconfig
`
Add at the end of the document
PKG_CONFIG_PATH=$PKG_CONFIG_PATH:/usr/local/lib/pkgconfig
export PKG_CONFIG_PATH
Save, exit, and then execute the command to make the configuration effective
source /etc/bash.bashrc
to update
sudo updatedb
View the version information of opencv
pkg-config --modversion opencv
Installation succeeded.
(2) Picture display
1. Write code
1) Create a new folder mytest under opencv-3.4.11
cd opencv-3.4.11
mkdir mytest
Create test.cpp
touch test.cpp
Enter programming
sudo gedit  /test.cpp
#sudo vim /test.cpp
#Edit according to your own configuration editor
Edit the following code:
Note that the header file < opencv2. Hightgui. CPP > < opencv2 / OpenCV. HPP >;
The image path is directly placed in the home directory;
#include <opencv2/highgui.hpp>
#include <opencv2/opencv.hpp>
using namespace cv;
using namespace std;
int main(int argc, char** argv)
{
CvPoint center;
double scale = -3;
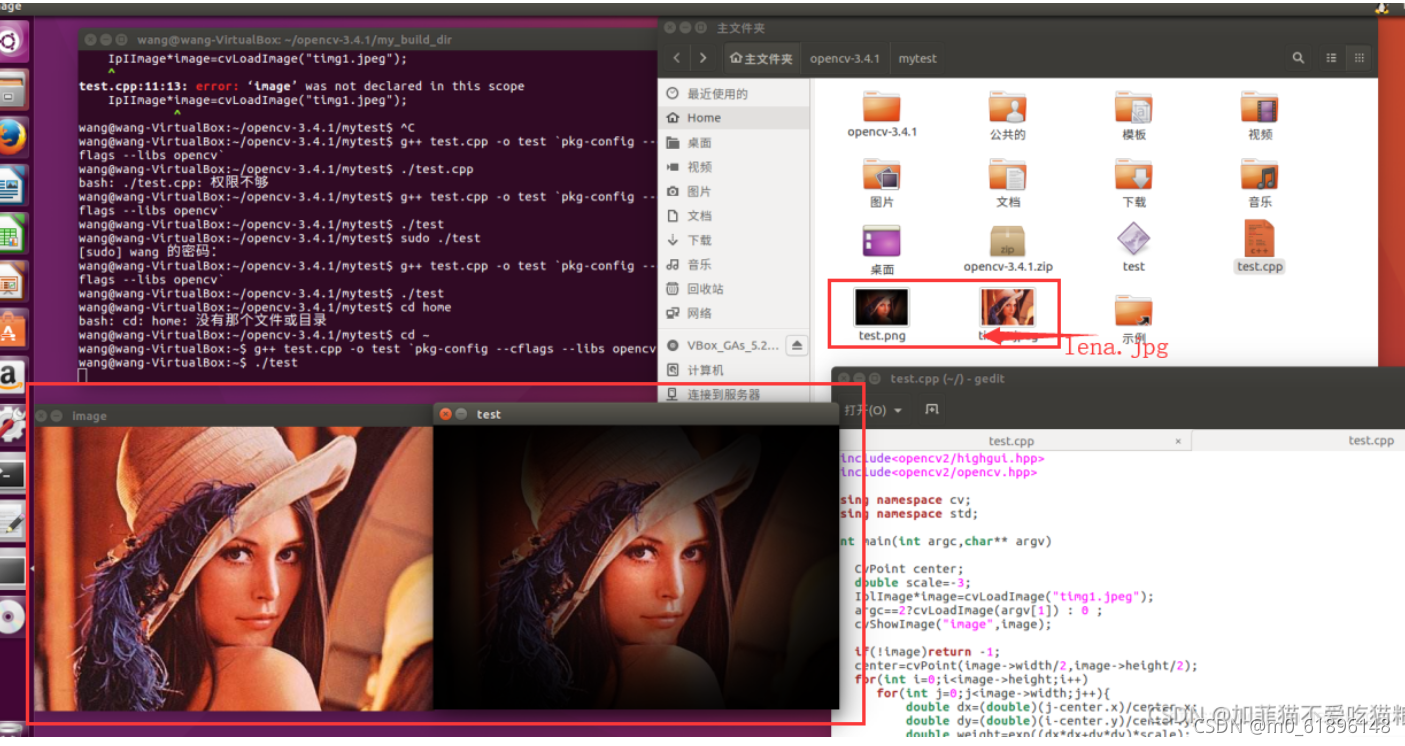
IplImage* image = cvLoadImage("lena.jpg");
argc == 2? cvLoadImage(argv[1]) : 0;
cvShowImage("Image", image);
if (!image) return -1; center = cvPoint(image->width / 2, image->height / 2);
for (int i = 0;i<image->height;i++)
for (int j = 0;j<image->width;j++) {
double dx = (double)(j - center.x) / center.x;
double dy = (double)(i - center.y) / center.y;
double weight = exp((dx*dx + dy*dy)*scale);
uchar* ptr = &CV_IMAGE_ELEM(image, uchar, i, j * 3);
ptr[0] = cvRound(ptr[0] * weight);
ptr[1] = cvRound(ptr[1] * weight);
ptr[2] = cvRound(ptr[2] * weight);
}
Mat src;Mat dst;
src = cvarrToMat(image);
cv::imwrite("test.png", src);
cvNamedWindow("test",1); imshow("test", src);
cvWaitKey();
return 0;
}
Save and compile:
gcc test.cpp -o test `pkg-config --cflags --libs opencv` ```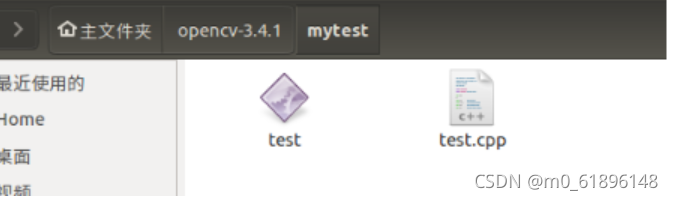 gcc compiler: gcc +file name+ -o+Output file stream name +` Support package function
./test
 Obtained during compilation opencv Header file, link lib How to the path of the library file: If the compilation does not specify a path, the header file will be viewed gcc Environment variables and find the system default directory:/usr/include,/usr/local/include,link lib library gcc Environment variables and find default paths for:/lib,/usr/lib,/usr/local/lib. (3) Compressed video 1.Get camera permissions for virtual machine 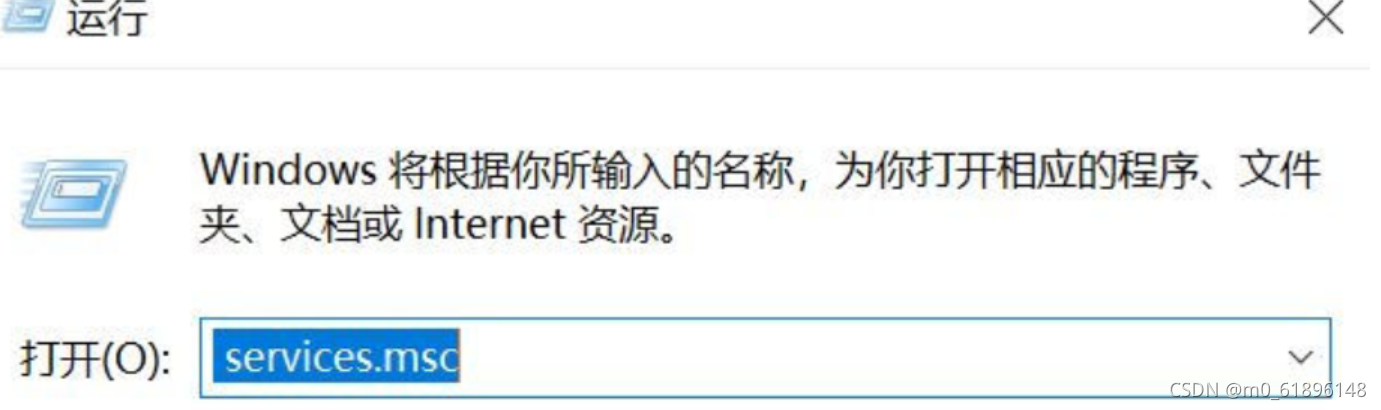 1)Use shortcut keys Win + R ,input services.msc ,And enter. 2)find VMware USB Arbitration Service,Make sure to start. 3)Click virtual machine, and then click settings(S)... ". 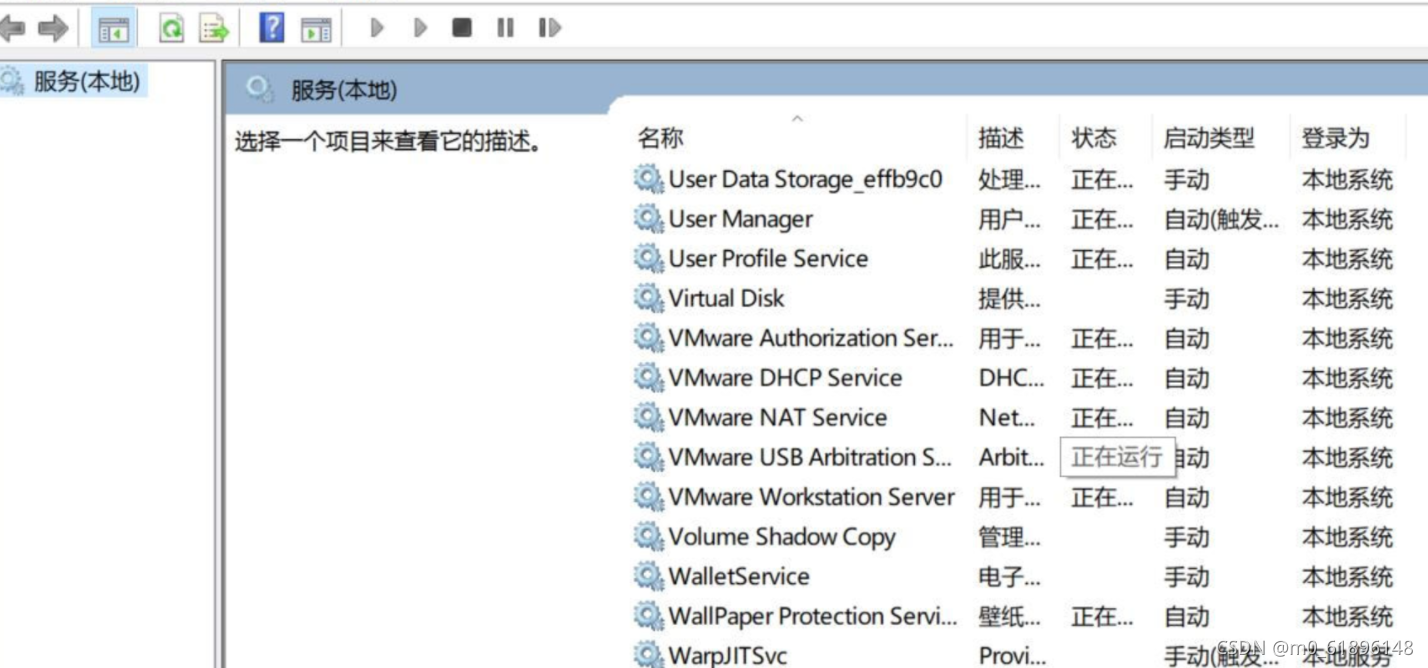 4)Choose“ USB Controller "will“ USB Compatibility is set to“ USB 3.1 " ,And click OK. 5)Select virtual machines and then removable devices 2.Play video 1)establish test2.cpp file
gedit test2.cpp
`
2) test2.cpp source code
#include <opencv2/opencv.hpp>
using namespace cv;
int main()
{
//Read video from camera
VideoCapture capture("K.mp4");
//Cycle through each frame
while(1){
Mat frame;//Define a Mat variable to store the image of each frame
capture >> frame;//Read current frame
if(frame.empty())//Play finished, exit
break;
imshow("Read video frame",frame);//Displays the current frame
waitKey(30);//Cover up 30ms
}
system("pause");
return 0;
}
``
Prepare a small video. I have one here qq video

3)compile test2.cpp File.
g++ test2.cpp -o test2 pkg-config --cflags --libs opencv
 4)Output results.
./test2
5)problem analysis
① If you need to open a video file on your hard disk to play, how to modify the code in line 7 of the example code
Change videocapture (0) in the code in line 7 of the sample code to videocapture ("/ home / opencv-3.4.11 / k.mp4"), that is, change 0 to the name of the video to be played and the path where it is stored.
VideoCapture capture(0). If the following parameters are set to 0, it means that the video is read from the camera and displayed circularly every frame; if it is set to the file name of a video, such as K.mp4, the video will be read and displayed circularly every frame.
② In line 9 of the sample code while In the cycle, Mat What data structure is it? Why do you have to add a sentence waitKey Delay code, can you delete it?
The Mat data structure in the while loop is actually a dot matrix, corresponding to each point on the image. Each image is composed of countless points, that is, Mat is an image matrix.
The parameter unit of waitKey() function is ms MS, and its function is to constantly refresh the image. Without this, the real-time display of the image cannot be realized, that is, the change of the image cannot be seen.
③ The sample code will be displayed in while If you try to close the image display window with the mouse, you will find that it can't be closed. You need to use the keyboard Ctrl+C Forced interrupt program, very unfriendly. How to improve?
Add a judgment statement to close.
3.record video
1)establish test3.cpp file
gedit test3.cpp
2) test3.cpp source code
/*********************************************************************
Turn on the computer camera, control the video recording with a blank space, and ESC exits and saves the video RecordVideo.avi
*********************************************************************/
#include
#include <opencv2/opencv.hpp>
#include<opencv2/core/core.hpp>
#include<opencv2/highgui/highgui.hpp>
using namespace cv;
using namespace std;
int main()
{
//Turn on the computer camera
VideoCapture cap(0);
if (!cap.isOpened())
{
cout << "error" << endl;
waitKey(0);
return 0;
}
//Get the resolution of cap
int w = static_cast<int>(cap.get(CV_CAP_PROP_FRAME_WIDTH));
int h = static_cast<int>(cap.get(CV_CAP_PROP_FRAME_HEIGHT));
Size videoSize(w, h);
VideoWriter writer("RecordVideo.avi", CV_FOURCC('M', 'J', 'P', 'G'), 25, videoSize);

Mat frame;
int key;//Record keyboard keys
char startOrStop = 1;//0 starts recording video; 1 ends recording video
char flag = 0;//Recording flag 0 - not recording; 1 - recording

while (1)
{
	cap >> frame;
	key = waitKey(100);
	if (key == 32)//Press the space to start recording and pause recording to switch back and forth
	{
		startOrStop = 1 - startOrStop;
		if (startOrStop == 0)
		{
			flag = 1;
		}
	}
	if (key == 27)//Press ESC to exit the whole program and save the video file to disk
	{
		break;
	}

	if (startOrStop == 0 && flag==1)
	{
		writer << frame;
		cout << "recording" << endl;
	}
	else if (startOrStop == 1)
	{
		flag = 0;
		cout << "end recording" << endl;

	}
	imshow("picture", frame);
}
cap.release();
writer.release();
destroyAllWindows();
return 0;
}
3)compile test3.cpp file
g++ test3.cpp -o test3 pkg-config --cflags --libs opencv
./test3
When the ESC key is pressed, the video capture screen is closed.
3, Experimental summary
There are still a lot of contents in this assignment. There are many tasks to be completed, but I can complete the task well through my unremitting efforts. After all, I have always been so modest. Although I have encountered some mistakes in the process, I can also get the correct results through Baidu and the boss's blog reference. Generally speaking, I still have a long way to go in the future, and I hope I hope I can make greater progress.