Android animation and overview mainly covers the following contents:
- Animation and transition (I). Overview and use of view animation
- Animation and transition (II). Advanced view Animation: extend the definition of animation
- Animation and transition (III), interpolator and estimator overview and use
- Animation and transition (IV). Use Layout, offset and layoutParam to realize displacement animation
- Animation and transition (V). Use scrollTo, scrollBy and Scroller to realize scrolling animation
- Animation and transition (VI). Use ViewDragHelper to realize smooth drag animation
- Animation and transition (VII). Adding entry animation for ViewGroup and overview of LayoutAnimation
- Animation and transition (VIII). Provide deletion and new smooth animation effects for Viewgroup, and overview of LayoutTransition
- Animation and transition (IX). Overview of Svg animation, Vector Drawable and tripartite SVGA framework
- Animation and transition (x). Overview of the use of Property Animation animation
- Animation and transition (XI). Using Fling animation to move the view, overview of using Fling animation animation
- Animation and transition (XII). Use physical spring animation to add animation to the view. Overview of the use of spring animation animation
- Animation and transition (XIII), view, Activity transition animation overview
- Animation and transition (XIV). Overview of Lottie animation
- Animation and transition actual combat (XV). Drag sorting effect of imitating today's headlines
- Animation and transition practice (XVI), imitation IOS sideslip deletion effect
- Animation and transition actual combat (17), imitation card flop effect
1. The "father" of view animation -- Matrix
1-1. Matrix definition
The most important method of matrix multiplication is the general matrix product. It is meaningful only when the number of column s of the first matrix is the same as the number of row s of the second matrix [1]. Generally, when it refers to a matrix product, it refers to a general matrix product.
If a is the matrix of and B is the matrix of, then matrix C is the product of matrices A and B, which is recorded as, where the row and column elements in matrix C can be expressed as: [1]

As follows:


for instance 🌰
You can think about how the following results come out.

In fact, according to the above formula (row A and column B), it is not difficult to get it
5* 2 + 2* 1 + 4* 4 = 24      |     5* 4 + 2* 3+ 4 * 2 = 34
3* 2 + 8 * 1 + 4* 2 = 20     |     3* 4 + 8 * 3 + 2* 2 = 40
6* 2 + 0 * 1+ 4 * 3 = 24     |     6* 4 + 0 * 3 + 4* 2 = 32
0 * 2 + 1* 1 + 6* 3 = 19     |     0* 4 + 1* 3 + 6* 2 =  15
Well, I believe you understand matrix multiplication.
1-2. Matrix in Android
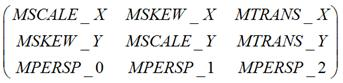
The four view changes (Translate, scale, and Matrix) in android are a 3x3 Matrix.
quote:
1. Detailed explanation of the most complete method of android matrix: https://blog.csdn.net/feather_wch/article/details/79622095
So what does this matrix represent? We can see from their names here that scale is scaling, skew is tangent (mentioned in canvas transformation), trans is translation, and persp represents perspective
From the perspective of Matrix alone, I don't know how to realize the transformation of canvas. Fortunately, Android helps us provide Matrix and encapsulates the Matrix, which can quickly help us realize the four transformation operations of view.
- postTranslate(x, y) displacement
- postSkew(kx, ky) stagger
- postRotate(degrees)
- postScale(sx, sy, px, py) scaling
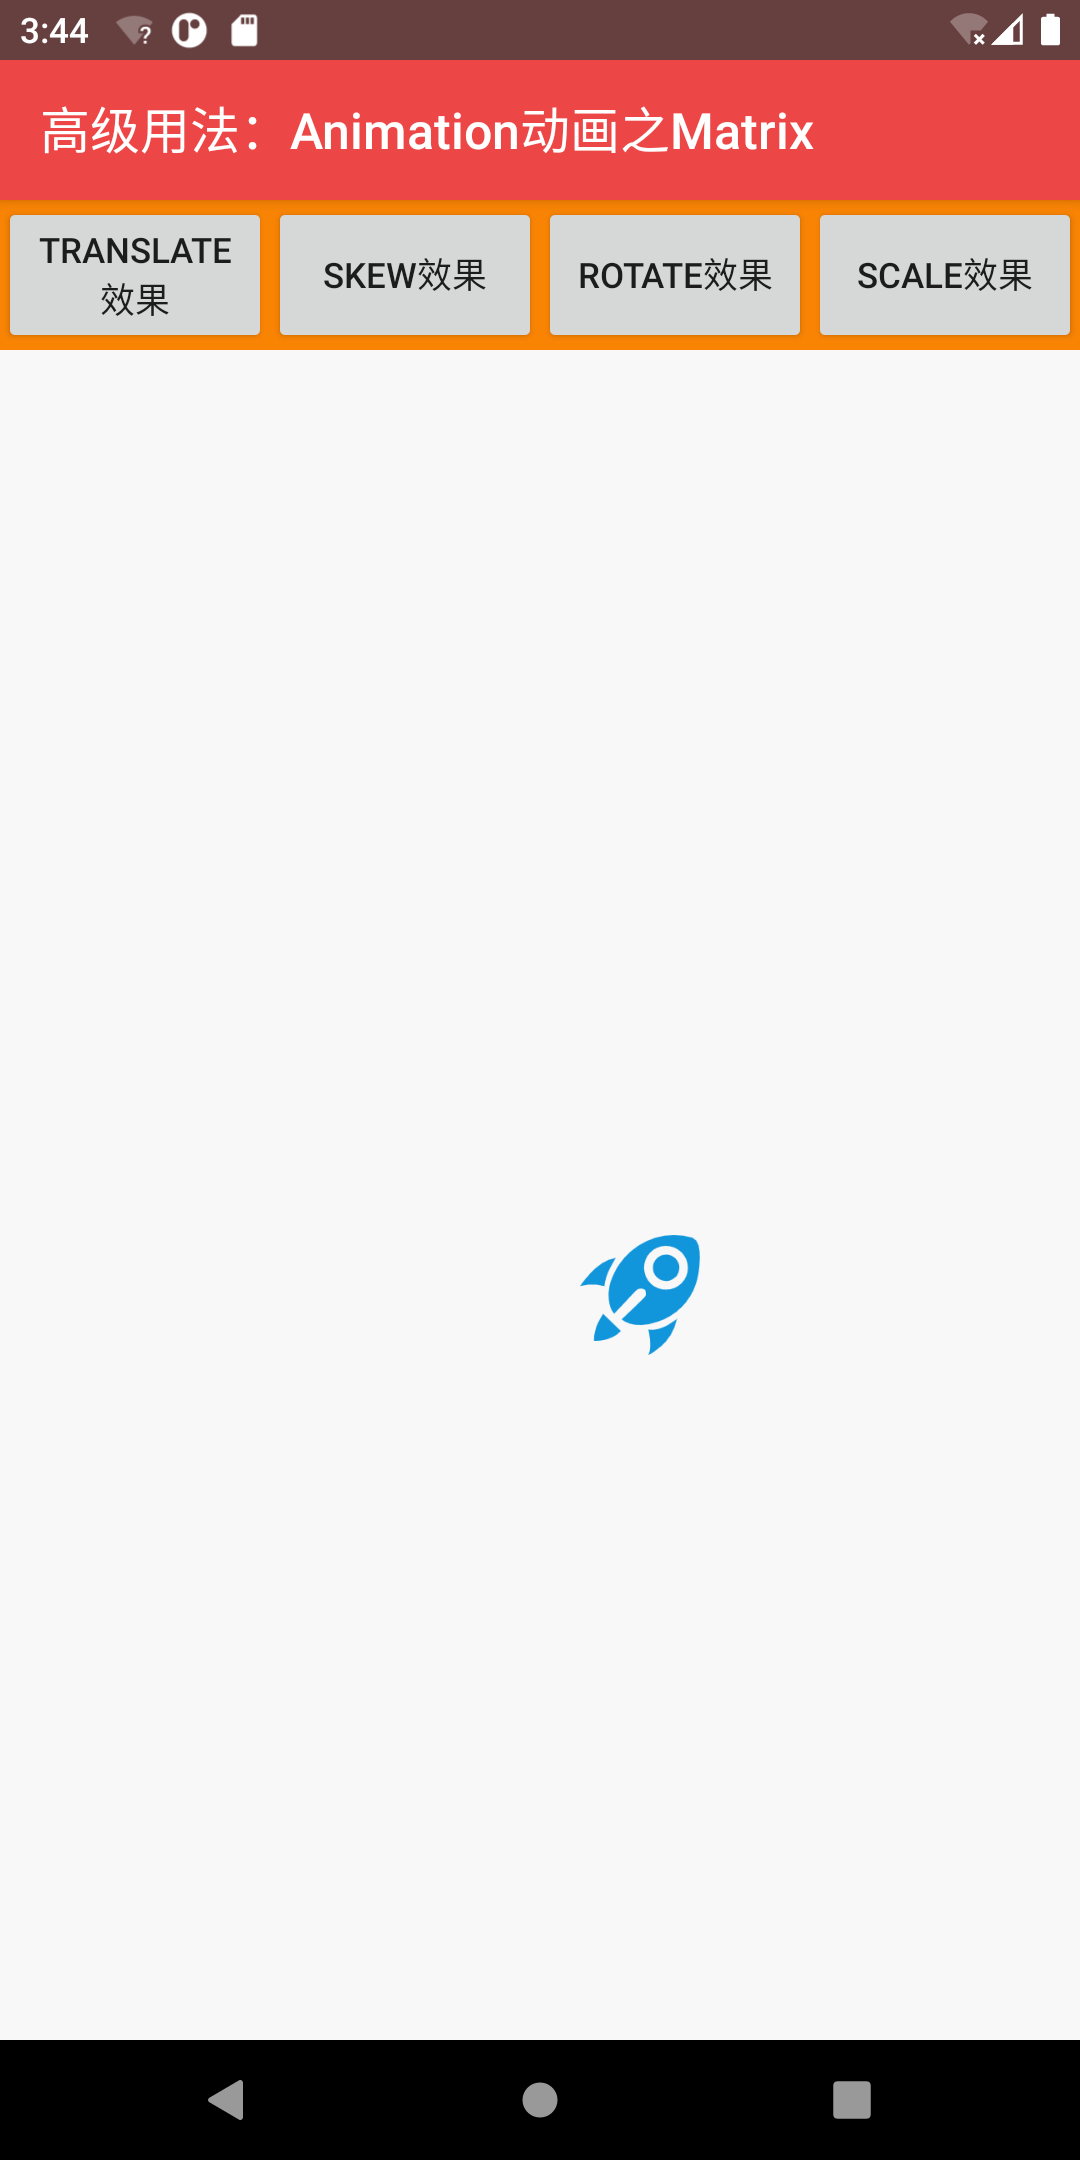
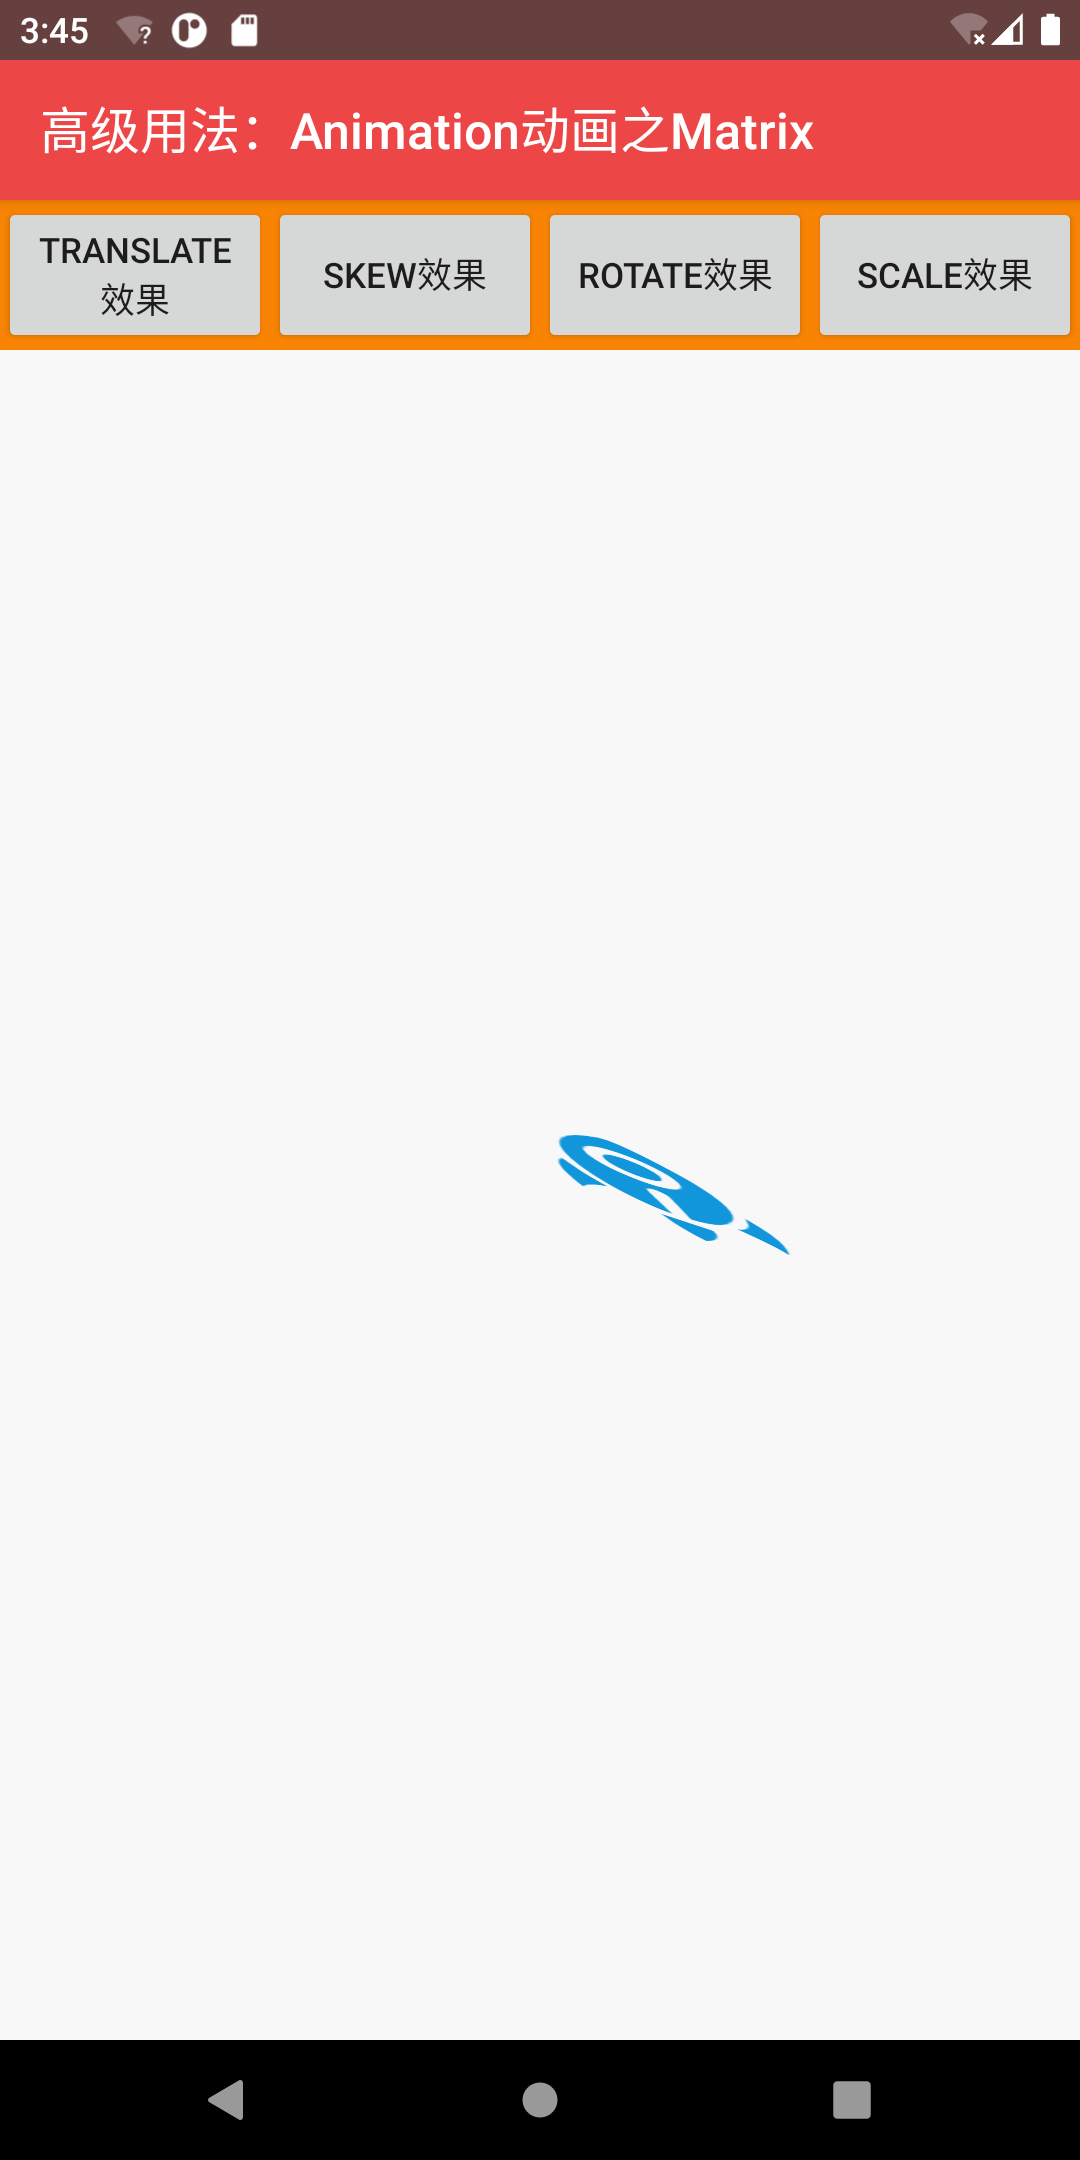
Here is an example to see the effect
Look at the normal effect first

translation
vMatrixView.postTranslate(100F, 100F)
rotate
vMatrixView.postRotate(90F)
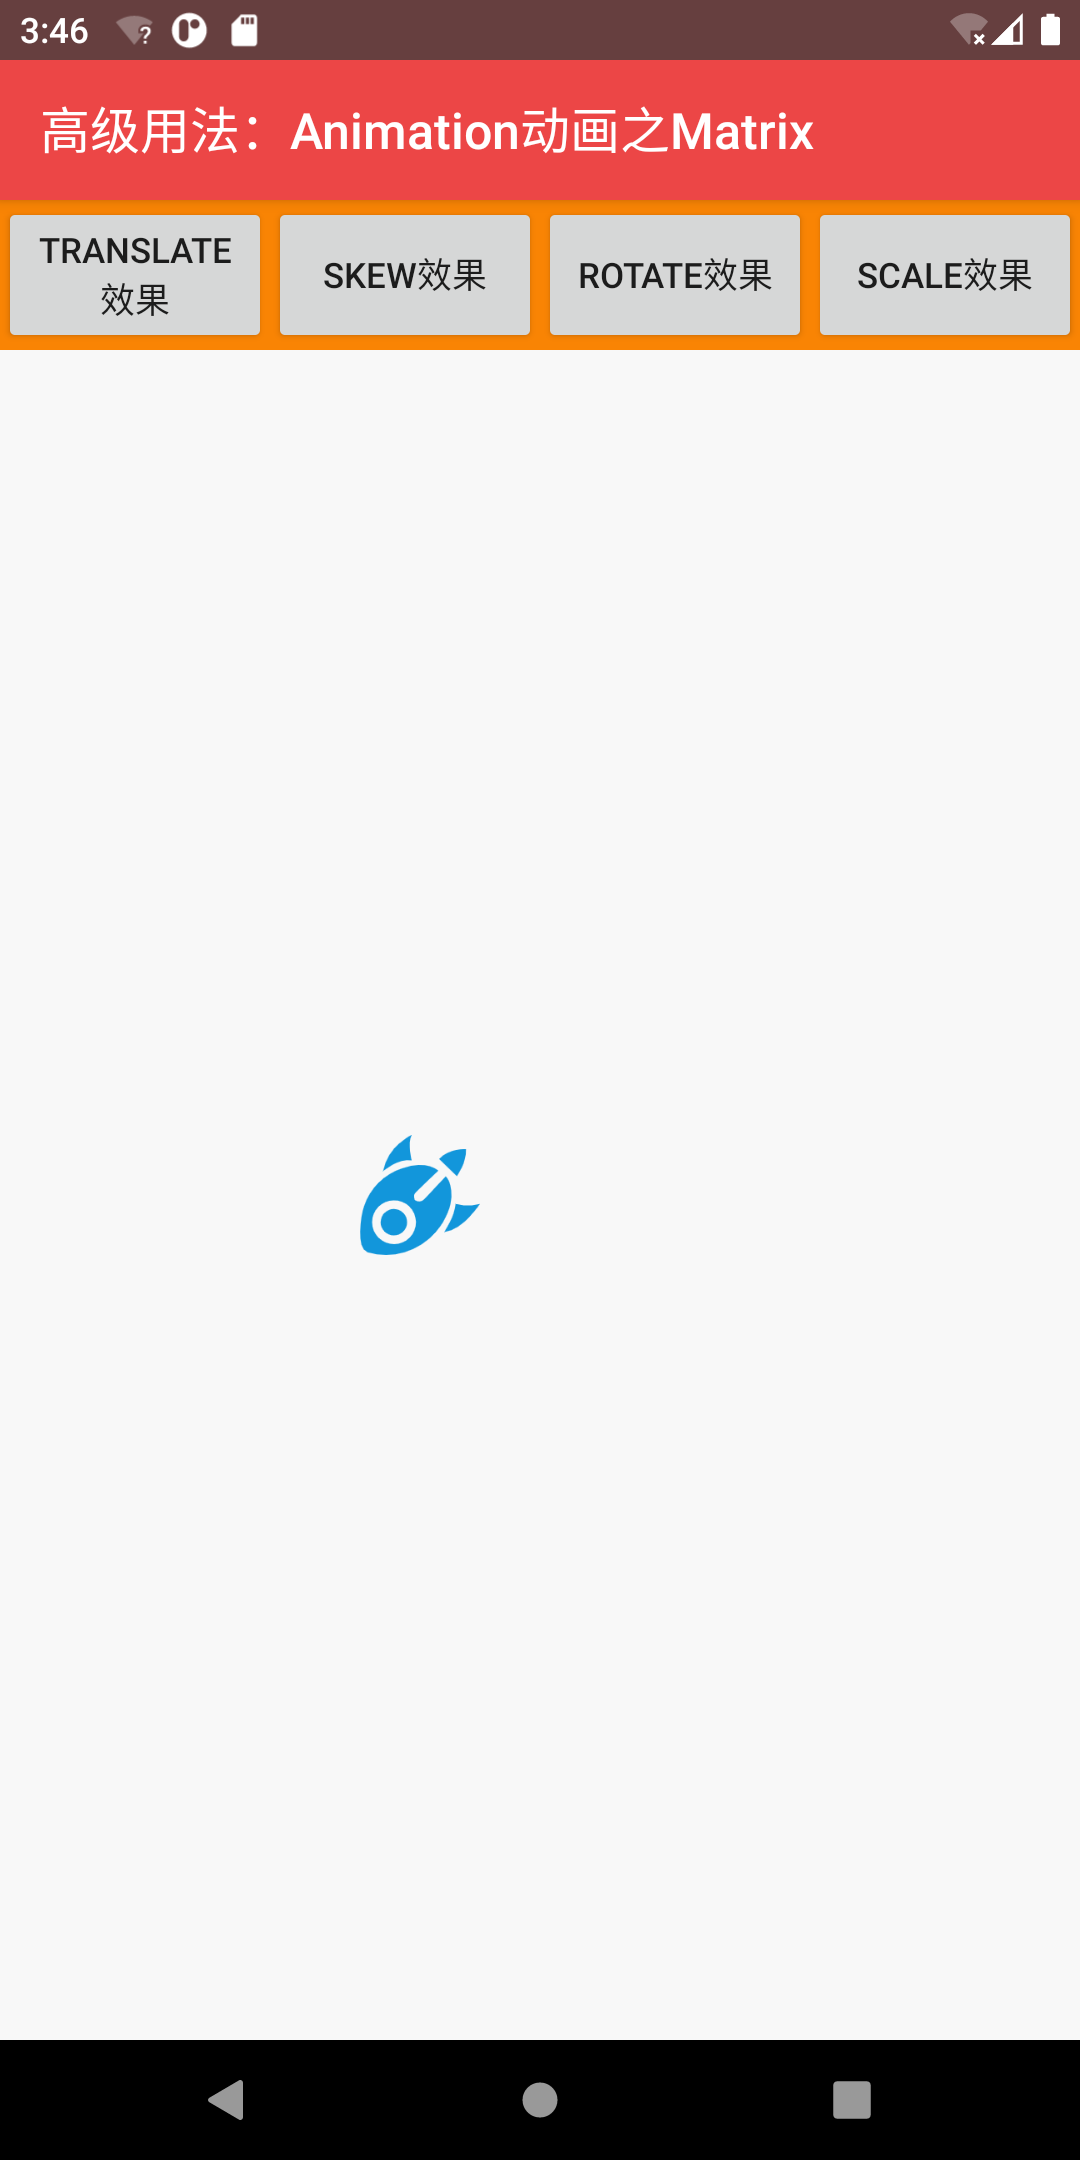
zoom
vMatrixView.postScale(1.5F, 1.5F, 0F, 0F)
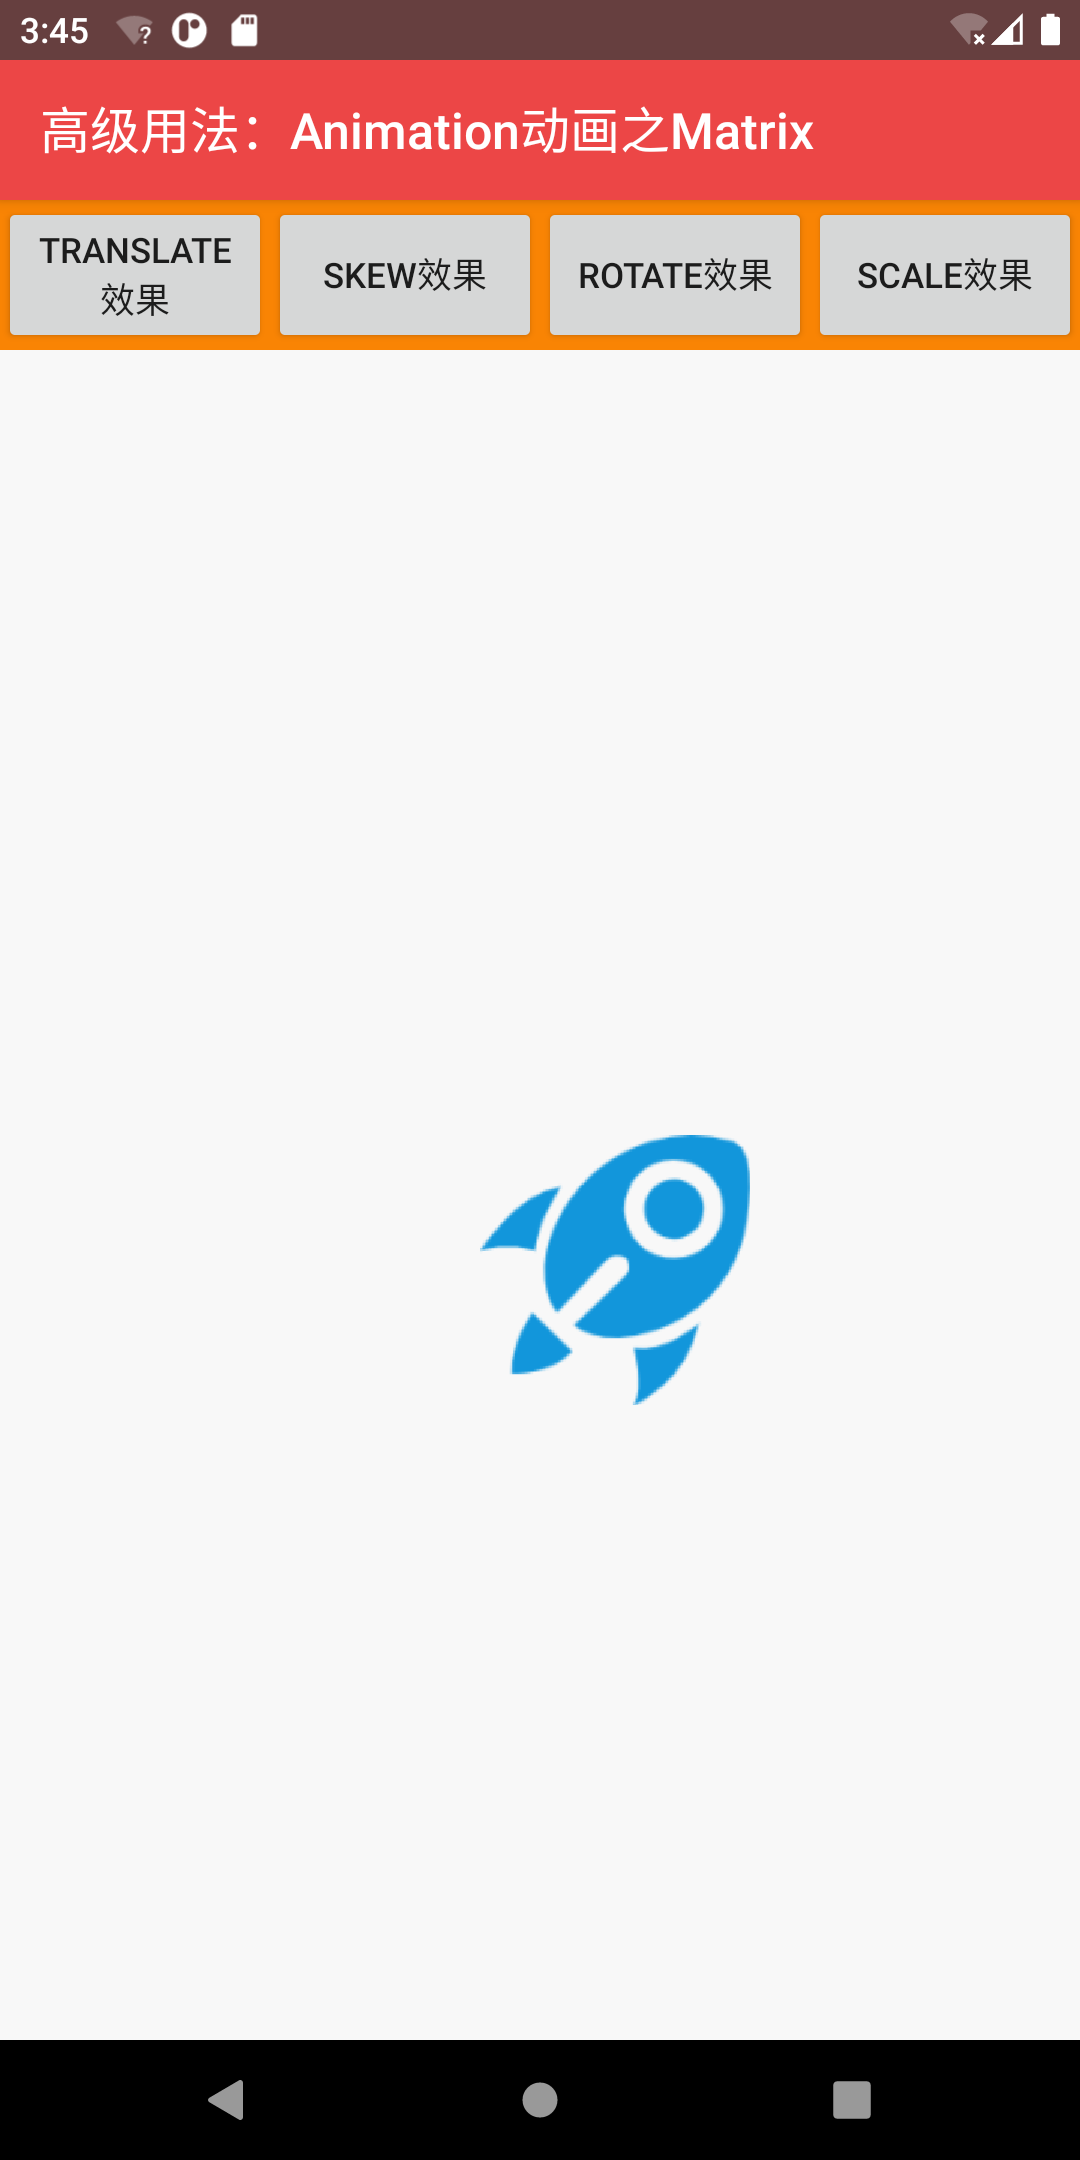
Staggered cutting
vMatrixView.postSkew(1F, 0F)
1-3. Set the Matrix to rotate along the Y axis
The matrix was mentioned earlier, and the following effects are achieved through custom view animation
<?xml version="1.0" encoding="utf-8"?>
<androidx.constraintlayout.widget.ConstraintLayout xmlns:android="http://schemas.android.com/apk/res/android"
    xmlns:app="http://schemas.android.com/apk/res-auto"
    android:layout_width="match_parent"
    android:layout_height="match_parent">

    <androidx.appcompat.widget.AppCompatButton
        android:id="@+id/btnStartAnim"
        android:layout_width="wrap_content"
        android:layout_height="wrap_content"
        android:text="Show animation"
        app:layout_constraintStart_toStartOf="parent"
        app:layout_constraintTop_toTopOf="parent" />

    <androidx.appcompat.widget.AppCompatImageView
        android:id="@+id/ivRedPackageCard"
        android:layout_width="wrap_content"
        android:layout_height="wrap_content"
        android:src="@drawable/ic_shake_award_bg"
        app:layout_constraintBottom_toBottomOf="parent"
        app:layout_constraintEnd_toEndOf="parent"
        app:layout_constraintStart_toStartOf="parent"
        app:layout_constraintTop_toTopOf="parent" />
</androidx.constraintlayout.widget.ConstraintLayout>
Implement an Animation
To implement Animation, you need to implement initialize(int width, int height, int parentWidth, int parentHeight) and applyTransformation(float interpolatedTime, Transformation t) methods.
The initialize(int width, int height, int parentWidth, int parentHeight) method mainly initializes some attributes
Handle animation transformation effects in applyTransformation(float interpolatedTime, Transformation t)
public class RotationYAnimation extends Animation {

    private int centerX, centerY;
    private Camera camera = new Camera();

    /**
     * Get the coordinates and define the animation time
     */
    @Override
    public void initialize(int width, int height, int parentWidth, int parentHeight) {
        super.initialize(width, height, parentWidth, parentHeight);
        //Obtain the coordinates of the center point
        centerX = width / 2;
        centerY = width / 2;
        setInterpolator(new AccelerateInterpolator());
    }

    /**
     * Angle setting for rotation
     */
    @Override
    protected void applyTransformation(float interpolatedTime, Transformation t) {
        final Matrix matrix = t.getMatrix();
        camera.save();
        //Set the position of the camera
        camera.setLocation(0, 0, 180);
        //The center is the y-axis rotation, where you can set the X-axis, Y-axis and Z-axis by yourself
        camera.rotateY(360 * interpolatedTime - 360);
        //Add our camera to the transformation matrix
        camera.getMatrix(matrix);
        //Set flip center point
        matrix.preTranslate(-centerX, -centerY);
        matrix.postTranslate(centerX, centerY);
        camera.restore();
    }
}
use
bindView {
    val rotationYAnimation = RotationYAnimation()
    rotationYAnimation.duration = 700L
    btnStartAnim.setOnClickListener {
        ivRedPackageCard.startAnimation(rotationYAnimation)
        val boxScaleXAnimator =
            ObjectAnimator.ofFloat(ivRedPackageCard, "scaleX", 0f, 1f)
        val boxScaleYAnimator =
            ObjectAnimator.ofFloat(ivRedPackageCard, "scaleY", 0f, 1f)
        val boxAlphaAnimator =
            ObjectAnimator.ofFloat(ivRedPackageCard, "alpha", 0f, 1f)
        boxAlphaAnimator.duration = 300
        AnimatorSet().apply {
            duration = 700L
            playTogether(boxScaleXAnimator, boxScaleYAnimator, boxAlphaAnimator)
        }.start()
    }
}