Maintain address for forwarding: http://blog.csdn.net/stalendp/article/details/21993227
This article mainly analyses a Shader, so as to feel the charm of Shader, and learn the usage of related shader functions.
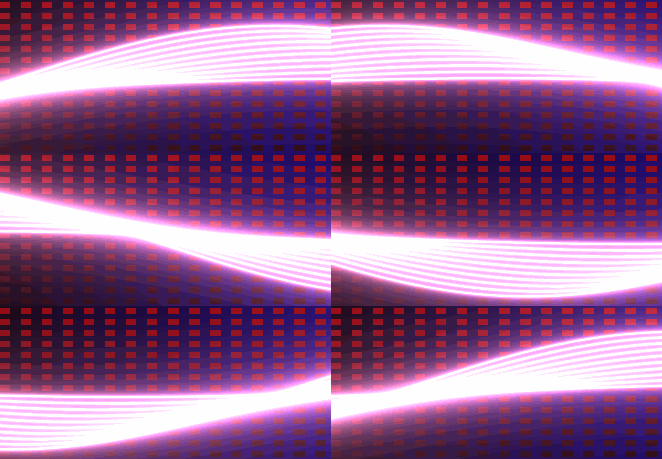
Let's see how Shader works first:

Here is the code:
The following analysis:
1. ComputeScreenPos analysis:
Used to convert three-dimensional coordinates into points on the screen. There are two ways, please refer to. Official example
ComputeScreenPos is defined in the UnityCG.cginc file as follows:
Principle analysis (to be continued)
2. Drawing Background
2.1) fmod For the remainder, for example, fmod(1.5, 1.0) returns 0.5;
2.2) step(a,x): 0 if x < a; 1 if x >= a; for example: step(1, 1.2), return 1; step(1, 0.8) return 0;
2.3) Combining fmod and step can get a dotted line effect. For example, the code to get the dotted line length of 1 is as follows:
c1 = fmod(x, 2*width); c1=step(width,c1); // where width is 1
Then if the range of x is [0,1], the value of C 1 is 0; in the range of [1,2], the value of C 1 is 1; 2 is a period;
Then fmod plays a role in the production cycle, step calculates 0 and 1 in the cycle;
2.4) By applying the knowledge in 2.3 to 2 dimensions, the square can be calculated.
The usage of lerp function: lerp (a, b, f)
F is a percentage (range of values [0, 1]); if f is 0, then lerp returns a, f is 1, then b. If f is between 0 and 1, the value between a and b is returned.
In code
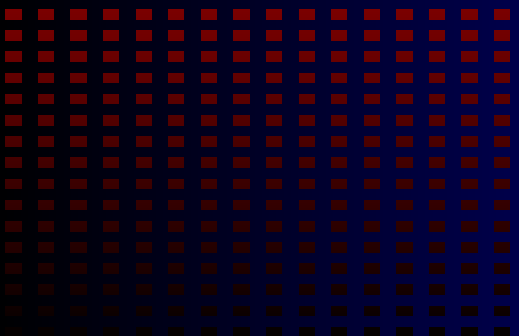
lerp(uv.x * COLOR 1, uv.y * COLOR 2, c1*c2); where the values of c1 and C2 are either 1 or 0, they can be meshed. The background is drawn as follows:

3. Drawing of ripple
3.1) Conversion of coordinates
UV = 1.0 + 2.0 * uv; / / / extend and displace the original UV to get a new uv. Our operation is done on the new uv, and the final display will map to the original uv. Please refer to the following figure.

3.2) Draw a straight line:
Since the y axis is moved to the center of the screen, the upper half of the screen is positive and the lower half is negative. The code is as follows:
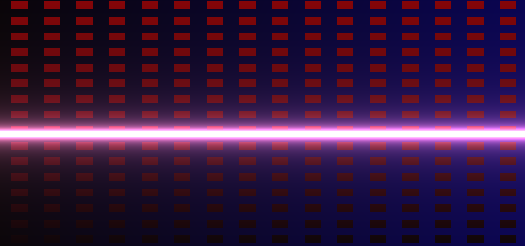
Among them, 50.0 is used to control the width of the line (the larger the value, the thinner the line). The effect is as follows:

3.3) Change a straight line into a curve and make it move:
The results are as follows:

3.4) Draw more curves to form waves:
- for(float i=0.0; i<10.0; i++) {
- uv.y += (0.07 * sin(uv.x + i/7.0 + _Time.y));
- wave_width = abs(1.0 / (150.0 * uv.y));
- wave_color += fixed3(wave_width * 1.9, wave_width, wave_width * 1.5);
- }
In fact, shader writing, many times through continuous effect overlay and debugging to achieve results.


