In the last article, we explained the main concepts of restful api to let you have a preliminary understanding. In this article, we will learn to develop the interface of restful architecture through the Django framework of python.
1, Development environment
Development language: Python 3.6
IDE :Pycharm
Framework: Django 2.2.12
Test tool: Postman
2, Development preparation
There are two ways for django to develop restful api, one is based on view function, the other is class view. It is more recommended to use class view, which can make the code level more concise and clear.
First, we create a django project named myapi in pycharm.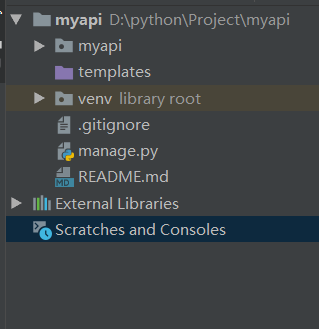
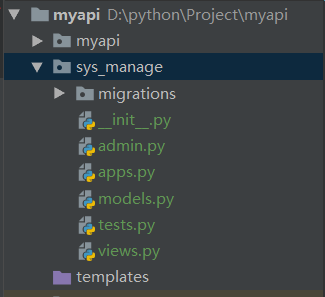
Run the following command to generate a new app named sys < manage, which is used to test the functionality of the restful api. After running, you can see the newly generated app.
python manage.py startapp sys_manage
In the installed? Apps of the setting file, add the app name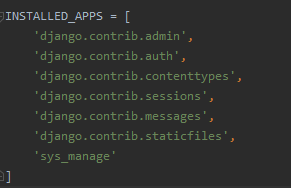
Modify the sys manage / models.py file to add the UserInfo model, which is used to store the object information of the test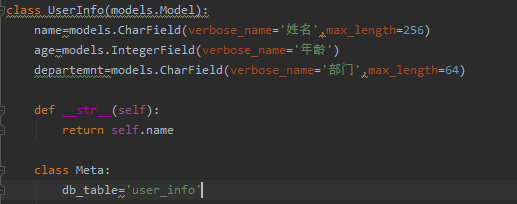
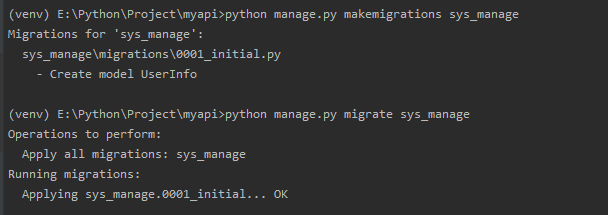
Run the following name to generate the corresponding database table structure
python manage.py makemigrations sys_manage
python manage.py migrate sys_manage
At this point, we are ready to start the development of restful api.
3, restful api development
As mentioned in the previous chapter, each url of restful represents a resource. Because we operate locally, the web domain name uses django's default http://127.0.0.1:8000, and the complete url is http://127.0.0.1:8000/api/users, which is used to represent user resources. By performing HTTP requests (GET, POST, PUT and DELETE) on this url, our restful function is verified.
First of all, we create the corresponding class view named User in the sys manage / views file
from django.views.generic import View
from sys_manage.models import UserInfo
from django.views.decorators.csrf import csrf_exempt
from django.http import JsonResponse

class User(View):
    pass
In the msapi/urls.py file, add the route to this kind of view
from django.contrib import admin
from django.urls import path
from sys_manage import views
urlpatterns = [
    path('api/users/',views.User.as_view()),
    path('api/users/<int:id>',views.User.as_view()),
]
GET request
Next, let's write a corresponding get request method. In the get request, there are two types: obtaining all user information and obtaining the specified user information. The corresponding URLs are as follows
htttp://127.0.0.1:8000/api/users get all user information
http://127.0.0.1:8000/api/users/id #Get user information for the specified ID
We will judge whether the id value and query criteria are passed in the function to return the corresponding data. The code is as follows:
class User(View):

    def get(self, request,id=0):
        search_dict={}
        #GET parameter
        name=request.GET.get('name')
        age=request.GET.get('age')
        department=request.GET.get('dep')
        #Add to search criteria if parameters exist
        if id:
            search_dict['id']=id
        if name:
            search_dict['name']=name
        if age:
            search_dict['age']=age
        if department:
            search_dict['department']=department
        #Query results based on search criteria
        users=UserInfo.objects.filter(**search_dict).all()
        userinfo=[]
        for u in users:
            udata={
                'id':u.id,
                'name':u.name,
                'age':u.age,
                'departemnt':u.department
            }
            userinfo.append(udata)
        #Return to user information list
        return JsonResponse({'code':0,'message':'Success!','data':userinfo})
Since there is no data in the database at present, we can insert several pieces of data into the database first, then start the project and test the get method through postman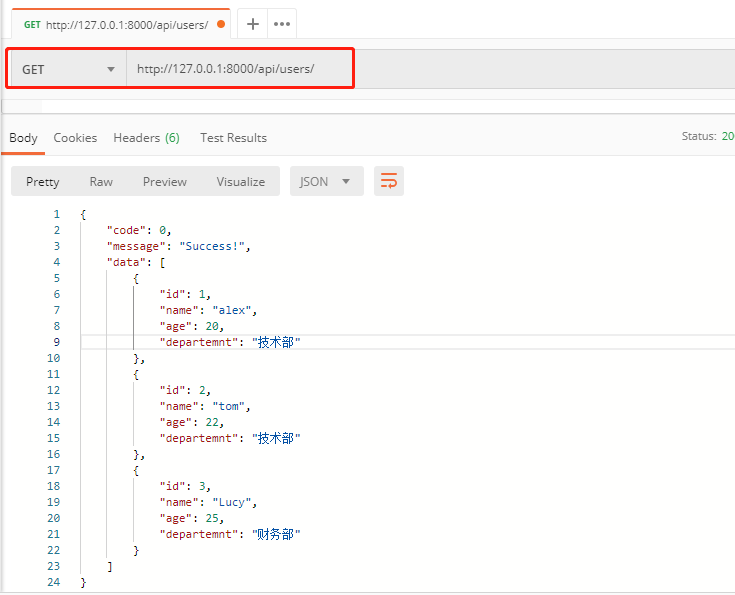
You can also obtain individual user information according to the id number, as follows:
Or, query by parameter condition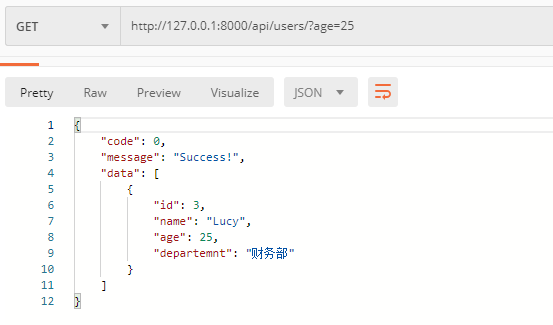
POST request
Next, we will write another code to process POST requests, which is used to generate user objects. The code is as follows:
    def post(self, request):
        data=json.loads(request.body)
        name=data.get('name')
        age=data.get('age')
        departemnt=data.get('dep')
        udata={
            'name':name,
            'age':age,
            'department':departemnt
        }
        user=UserInfo(**udata)
        user.save()
        return JsonResponse({'code':0,'message':'Success!'})
In POST requests, there will be cross domain problems. You can add a dispatch function, or 403 access forbidden errors will be reported during the test.
    @csrf_exempt
    def dispatch(self,*args, **kwargs):
        return super(User,self).dispatch(*args,**kwargs)
We test the POST request and create a new user object named Jim. The request returns the success information.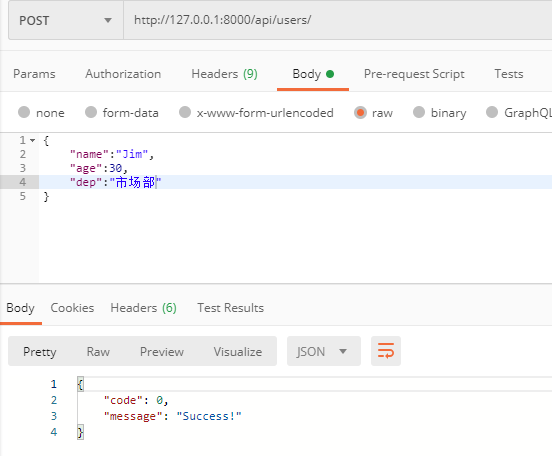
Then through the GET method, see if the new user has been created. You can see in the red that the user has created.
In addition to GET and POST, there are PUT and DELETE methods, which represent update information and deletion. The code is as follows.
You can test it by yourself according to the code.
    def put(self, request,id):
        update_dict={}
        name=request.GET.get('name')
        age=request.GET.get('age')
        department=request.GET.get('dep')
        if name:
            update_dict['name']=name
        if age:
            update_dict['age']=age
        if department:
            update_dict['department']=department

        UserInfo.objects.filter(id=id).update(**update_dict)
        return JsonResponse({'code':0,'message':'Success!'})

    def delete(self, request,id):
        UserInfo.objects.filter(id=id).delete()
        return JsonResponse({'code':0,'message':'Success!'})